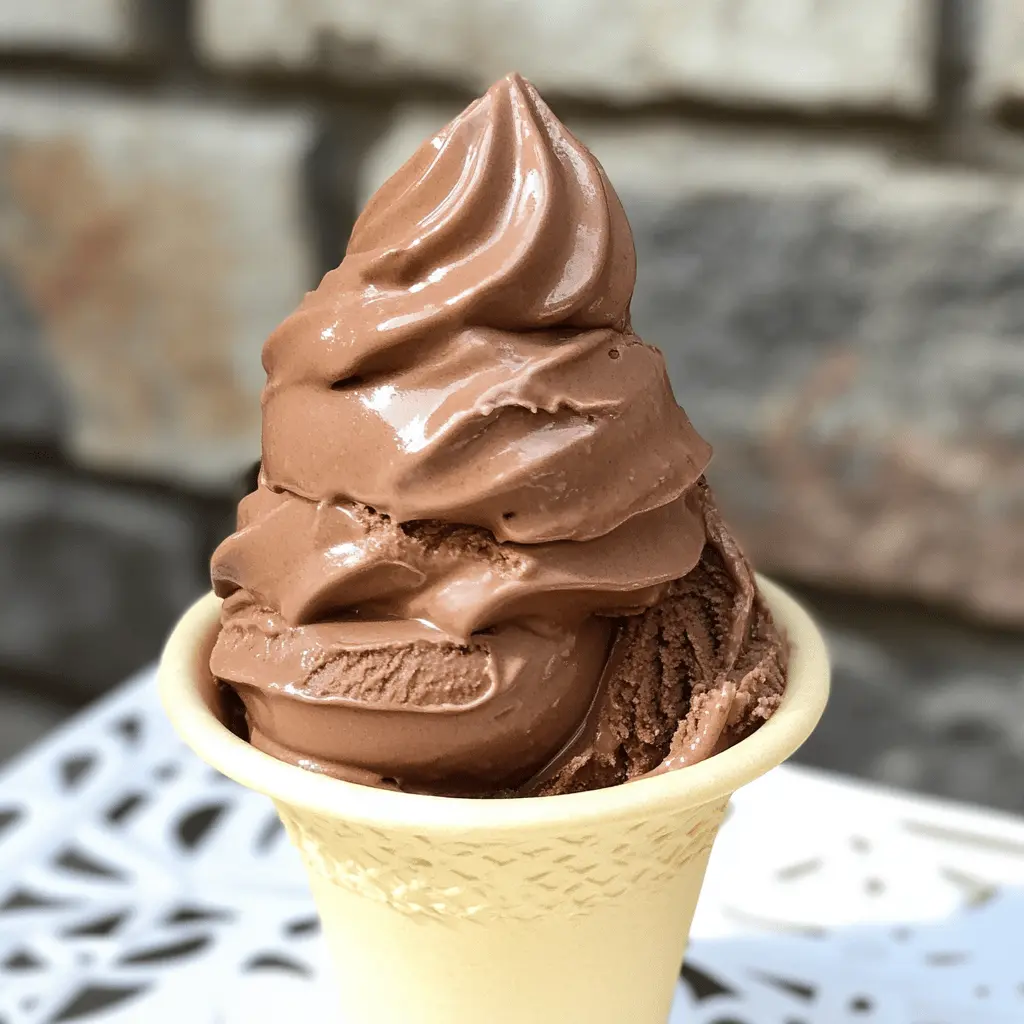
This Easy Classic Chocolate Ice Cream is a creamy treat that brings a smile with each scoop! It’s made with just a few simple ingredients like cocoa powder and cream.
I can’t resist making this ice cream on a hot day. It’s so easy; you just mix everything and churn it! Perfect for topping with sprinkles or squeezing into a cone. Yum!
Key Ingredients & Substitutions
Heavy Cream: This gives the ice cream its rich and creamy texture. If you’re looking for a lighter option, you can substitute half of the cream with half-and-half. However, the texture will be less creamy.
Whole Milk: Whole milk adds to the creaminess, but you can use 2% milk for a slightly lighter version. If you’re dairy-free, try almond milk or coconut milk, though the flavor and texture will change a bit.
Cocoa Powder: Unsweetened cocoa powder provides that deep chocolate flavor. If you want a sweeter taste, use Dutch-processed cocoa powder. Just note that it can be less intense in flavor.
Granulated Sugar: This sweetens the ice cream. If you’re trying to cut sugar, consider using a sugar substitute like stevia, but remember to adjust the quantity according to sweetness level.
Vanilla Extract: This adds depth to the flavor. You could use vanilla bean paste for a more intense vanilla flavor or even try almond extract for a unique twist.
How Do I Get the Creamiest Ice Cream?
To create that ultra-creamy texture, chilling the mixture is a key step! Here’s how to ensure your ice cream is smooth and delicious:
- After mixing the ingredients, let the mixture chill in the fridge for at least 1 hour. The colder it is, the better it churns.
- Make sure your ice cream maker’s bowl is fully frozen before pouring in the mixture. This helps the ice cream freeze quickly, leading to smaller ice crystals!
- Don’t skip the churning! Churn according to your ice cream maker’s instructions for a smooth, soft-serve texture.
Lastly, for a firmer ice cream, let it freeze for a couple of hours after churning—it makes all the difference!
Easy Classic Chocolate Ice Cream
Ingredients You’ll Need:
- 2 cups heavy cream
- 1 cup whole milk
- 3/4 cup granulated sugar
- 1/2 cup unsweetened cocoa powder
- 1 teaspoon pure vanilla extract
- A pinch of salt
How Much Time Will You Need?
This tasty chocolate ice cream will take about 10 minutes to prepare, plus 1 hour for chilling and 2 hours for freezing. So, in total, you’re looking at about 3 hours, but most of that time is waiting!
Step-by-Step Instructions:
1. Mix the Dry Ingredients:
In a medium bowl, whisk together the cocoa powder, sugar, and a pinch of salt. Make sure everything is well combined to avoid any lumps in your ice cream later!
2. Add the Milk:
Gradually pour in the whole milk while whisking. This helps dissolve the dry ingredients completely. Continue whisking until the mixture is smooth and free of lumps.
3. Add the Cream and Vanilla:
Stir in the heavy cream and the vanilla extract. Mix until everything is fully combined and creamy.
4. Chill the Mixture:
Cover the bowl with plastic wrap or a lid and place it in the refrigerator. Chill for at least 1 hour. The colder the mixture, the better your ice cream will be!
5. Churn the Ice Cream:
Once the mixture is chilled, pour it into your ice cream maker. Churn according to the manufacturer’s instructions, which usually takes around 20-25 minutes. The mixture should look like soft serve when it’s done.
6. Freeze the Ice Cream:
Transfer the churned ice cream to a freezer-safe container. Spread it out evenly and cover it tightly. Freeze for at least 2 hours to let it firm up completely.
7. Serve and Enjoy:
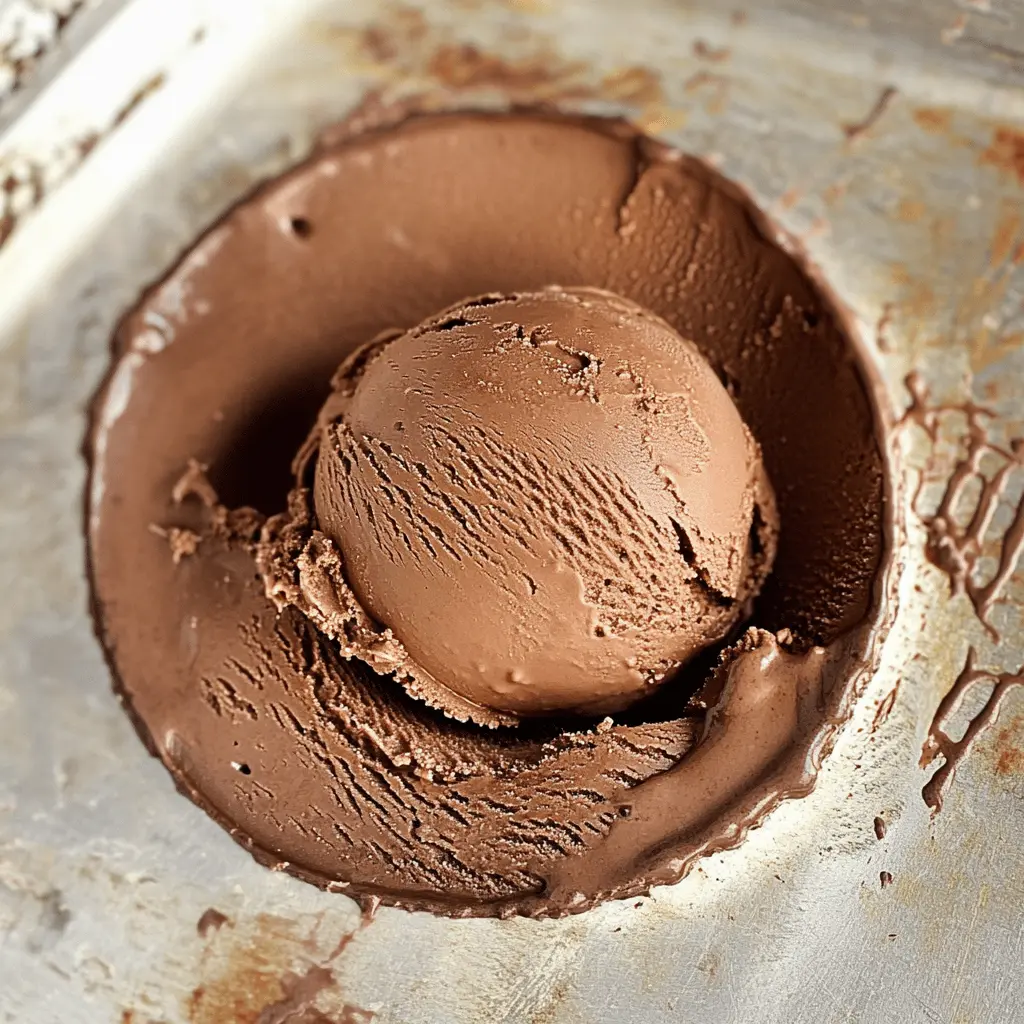
When you’re ready to indulge, scoop the chocolate ice cream into bowls. Enjoy every creamy spoonful of your homemade treat!
This recipe yields a smooth and luscious homemade chocolate ice cream that’s easy to make and perfect for chocolate lovers. Happy scooping!
Frequently Asked Questions (FAQ)
Can I Use Low-Fat Milk Instead of Whole Milk?
Yes, you can use low-fat milk or even skim milk, but keep in mind that this may result in a less creamy texture. For the best flavor and creaminess, whole milk is preferred.
What If I Don’t Have an Ice Cream Maker?
No worries! You can still make ice cream without one. After mixing everything, pour the mixture into a shallow dish and freeze it. Stir it every 30 minutes for about 2-3 hours until it’s firm and creamy.
How to Store Leftover Ice Cream?
Store any leftover ice cream in an airtight container in the freezer. It will last about 2-3 weeks. To soften it for scooping, let it sit at room temperature for a few minutes before serving.
Can I Add Mix-Ins Like Nuts or Chocolate Chips?
Absolutely! You can fold in mix-ins like nuts, chocolate chips, or swirls of fudge after churning. Just add them in during the last few minutes of churning or gently fold them in before freezing for a fun twist!