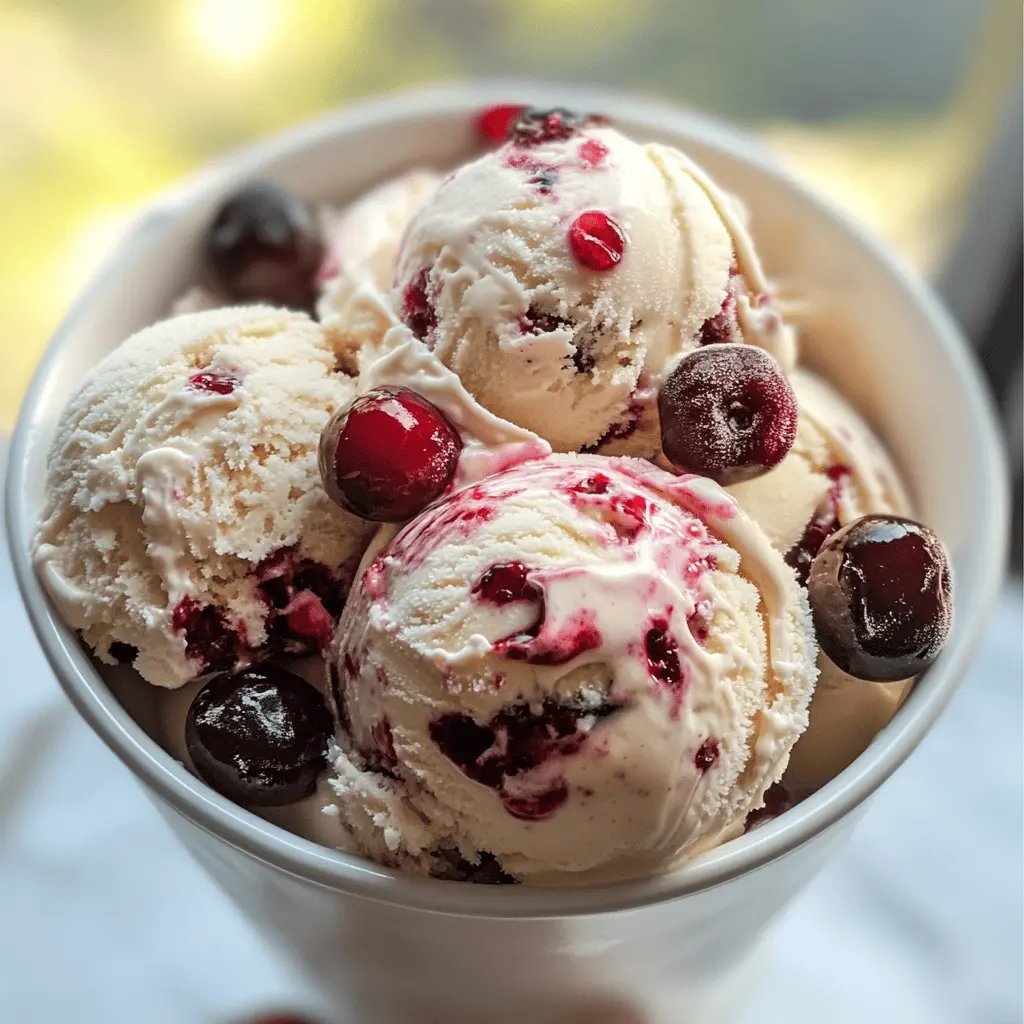
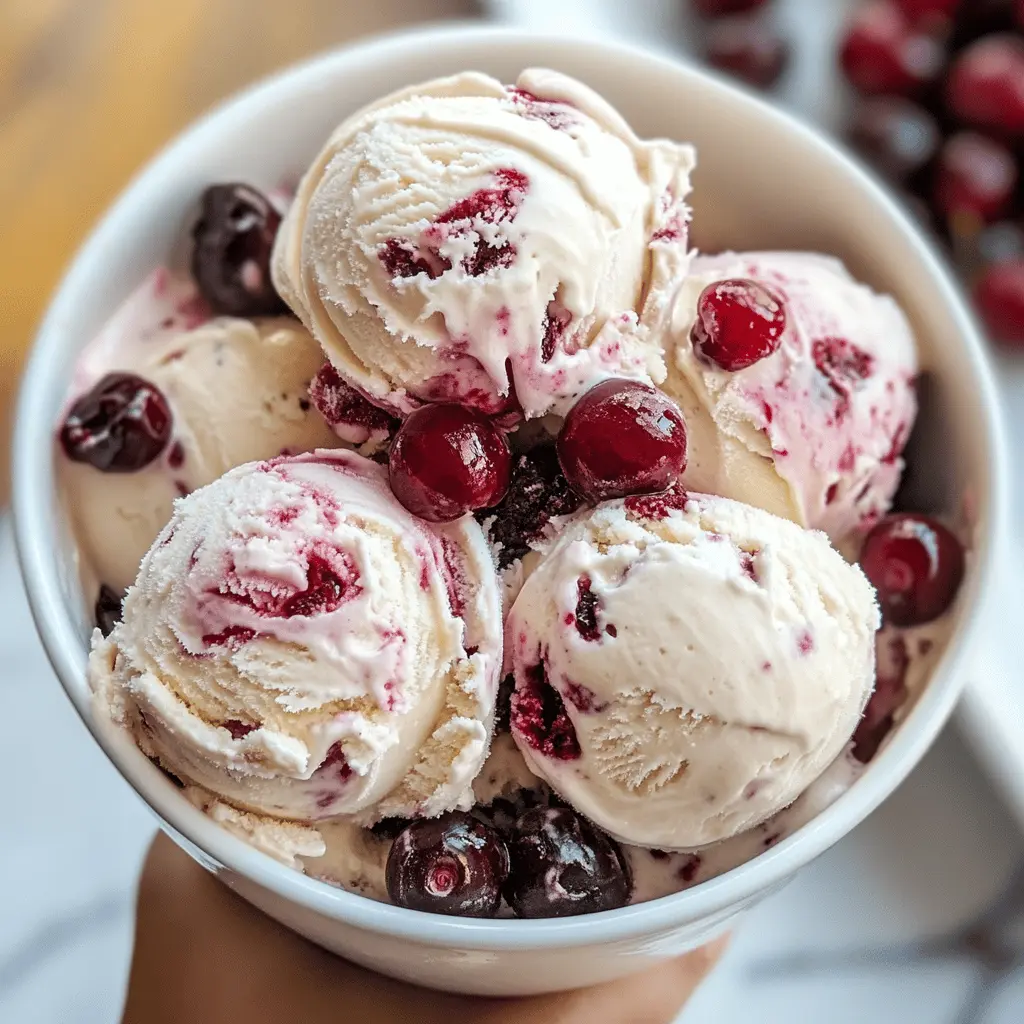
This Easy Homemade Cherry Garcia Ice Cream is a fun treat with creamy vanilla ice cream, juicy cherries, and crunchy chocolate chips mixed in. It’s like a happy party in every scoop!
Making this ice cream is a breeze! Just blend, freeze, and enjoy. I love serving it as a dessert after dinner or on a sunny day—it’s the perfect chill-out treat! 🍒
Key Ingredients & Substitutions
Heavy Cream: This gives the ice cream its creamy texture. If you’re looking for a lighter version, consider using half-and-half or a combination of Greek yogurt and milk. However, it may alter the texture slightly.
Whole Milk: Whole milk adds richness. If you want a lower-fat option, you could use 2% milk, but the ice cream won’t be as creamy. Almond or coconut milk could also work, especially if you’re dairy-free!
Granulated Sugar: This sweetens the ice cream. You can use honey or maple syrup as natural sweeteners, just be mindful of using less since they are sweeter than sugar.
Fresh or Frozen Cherries: If cherries are out of season, using frozen pitted cherries is a great alternative. You can also use other fruits like strawberries or raspberries to change up the flavor!
Dark Chocolate Chunks: These add a delightful crunch. You can swap them for milk chocolate or even white chocolate if you prefer a sweeter touch.
How Do I Get the Best Texture for My Ice Cream?
Achieving a perfect ice cream texture can be tricky, but following this technique will help. Make sure to chill your base before churning. This speeds up the process and gives a smoother end result.
- Chill the mixture in the refrigerator for at least 2 hours; overnight is even better!
- When churning, ensure your ice cream maker bowl is completely frozen. If not, your ice cream won’t set properly.
- Lastly, remember to add the cherries and chocolate in the last few minutes of churning to avoid breakage and ensure they’re well-distributed.
With these tips, you’ll have smooth and creamy Cherry Garcia ice cream every time! Enjoy this delightful treat anytime you want a sweet refresher!
Easy Homemade Cherry Garcia Ice Cream
Ingredients:
- 2 cups heavy cream
- 1 cup whole milk
- 3/4 cup granulated sugar
- 1 tablespoon vanilla extract
- 1/2 teaspoon salt
- 1 cup fresh or frozen pitted cherries, chopped
- 1 tablespoon lemon juice (if using fresh cherries)
- 3/4 cup dark chocolate chunks or chips
- Optional: 1 teaspoon cherry liqueur or kirsch (for enhanced cherry flavor)
How Much Time Will You Need?
This delicious Cherry Garcia ice cream will take you about 15 minutes of active preparation time, plus 2 hours to chill the mixture, and an additional 4 hours to freeze. So, plan for at least 6 hours of time to enjoy this refreshing treat!
Step-by-Step Instructions:
1. Prepare The Cherries:
If you are using fresh cherries, start by pitting and chopping them into small pieces. Place them in a bowl and toss with lemon juice to keep them from browning. If you’re using frozen cherries, simply thaw them and drain any excess liquid before chopping.
2. Make The Ice Cream Base:
In a large mixing bowl, combine the heavy cream, whole milk, granulated sugar, vanilla extract, and salt. Whisk everything together until the sugar is completely dissolved. This will create a rich and creamy base for your ice cream!
3. Chill The Mixture:
Cover the bowl with plastic wrap and place it in the refrigerator. Let it chill for at least 2 hours or overnight if you have the time. Chilling the mixture ensures that it churns properly and achieves a smooth texture.
4. Churn The Ice Cream:
Once chilled, pour the mixture into your ice cream maker. Churn according to the manufacturer’s instructions, which typically takes about 20-25 minutes until you reach a soft-serve consistency.
5. Add The Mix-Ins:
During the last 5 minutes of churning, gently add the chopped cherries and dark chocolate chunks to the mix. This will help them distribute evenly throughout your ice cream while maintaining their flavors and textures.
6. Freeze To Firm Up:
Transfer the churned ice cream into an airtight container. Freeze it for at least 4 hours or until it is firm. This step is essential to achieving that scoopable ice cream texture!
7. Serve And Enjoy:
When you’re ready to serve, scoop the ice cream into bowls. You can top it with extra cherries or chocolate pieces if you like. Enjoy your delightful homemade Cherry Garcia ice cream!
This recipe yields a creamy vanilla base with pops of sweet cherry and crunchy dark chocolate, just like the classic flavor but made fresh at home!
FAQ for Easy Homemade Cherry Garcia Ice Cream
Can I Use Frozen Cherries Instead of Fresh?
Absolutely! Frozen pitted cherries work perfectly in this recipe. Just make sure to thaw them and drain any excess liquid before chopping to avoid extra moisture in your ice cream.
How Long Will the Ice Cream Last in the Freezer?
Your homemade Cherry Garcia ice cream can last in the freezer for up to 1 month when stored in an airtight container. Just be sure to let it sit at room temperature for a few minutes before scooping to soften it up.
Can I Substitute the Heavy Cream for a Lighter Option?
Yes! You can substitute heavy cream with half-and-half or a mixture of Greek yogurt and milk for a lighter version. Keep in mind that using lighter alternatives may affect the creaminess and texture of the ice cream.
What Other Mix-Ins Can I Use?
Feel free to get creative! You can substitute dark chocolate chunks with milk or white chocolate chips, or you can add other fruits like strawberries or raspberries for a twist on flavors!
This FAQ should help address common questions you might have while making your delicious Cherry Garcia ice cream! Enjoy! 🍦