Crack Chicken Foil Packets come out creamy, smoky, and packed with enough melted cheese and bacon to make plain chicken feel like an afterthought. The foil keeps every bit of the ranch seasoning, cream cheese, and cheddar right where it belongs, so the chicken cooks in its own little steam bath and stays juicy instead of drying out over the fire or grill.
The trick is in the order. Ranch seasoning goes directly on the chicken so it has a chance to season the meat, while the cream cheese cubes melt into the cheddar and bacon as the packets cook. Heavy-duty foil matters here because thin foil tears, leaks, and lets the cheese run off before the chicken is done.
Below, I’ve included the one thing that keeps these packets from turning messy, plus a few easy swaps if you’re cooking for a crowd, skipping the campfire, or working with what you already have on hand.
The chicken stayed juicy and the cheese melted into this creamy sauce right inside the foil. Ours hit 165°F right on time and the bacon stayed crisp enough to keep its texture.
Save these Crack Chicken Foil Packets for campfire dinners, grill nights, and any time you want bacon, ranch, and melted cheese all in one packet.
The Part That Keeps the Chicken Juicy in the Foil
Foil packet chicken can go wrong fast when the filling starts cooking before the meat has a chance to stay tender. The cure is sealing the packet well and keeping the heat at medium, not blasting it over high heat. High heat hardens the outside of the chicken before the inside has time to come up to temperature, which leaves you with dry edges and cheese that separates instead of turning creamy.
This recipe also works because the toppings do double duty. The cream cheese melts into the cheddar and bacon, creating a rich layer that baste the chicken from above while the ranch seasoning keeps the meat from tasting flat. Once the packets are sealed, you want enough space inside for steam to move around, but not so much air that the packet puffs open and leaks.
What the Bacon, Cream Cheese, and Ranch Are Each Doing Here
- Chicken breasts — Boneless breasts work best because they cook at the same pace and slice cleanly when the packets open. If one side of your chicken is much thicker, pound it lightly so it’s closer to an even thickness and doesn’t need extra time.
- Ranch seasoning mix — This is the backbone of the flavor, and the packet version gives you the right salt-herb-garlic balance without measuring half a dozen spices. Homemade ranch seasoning can work, but it needs enough salt or the whole packet tastes muted.
- Cream cheese — Cube it so it melts faster and blends into the cheddar instead of sitting in one solid lump. Full-fat cream cheese gives the smoothest result; lower-fat versions can loosen up and turn a little grainy under heat.
- Cheddar cheese — Shredded cheddar melts into the best texture here. Pre-shredded works fine, but block cheese you shred yourself usually melts a little cleaner because it doesn’t carry the same anti-caking coating.
- Bacon — Cook it first so it stays crisp enough to taste like bacon instead of turning soft and greasy in the packet. If you use bacon that’s undercooked, the extra fat can puddle in the foil and make the topping heavy.
- Heavy-duty foil — This is one place where the sturdy version matters. Thin foil tears when you open the packet or move it over the grate, and a leak means losing all the creamy cheese that makes the dish work.
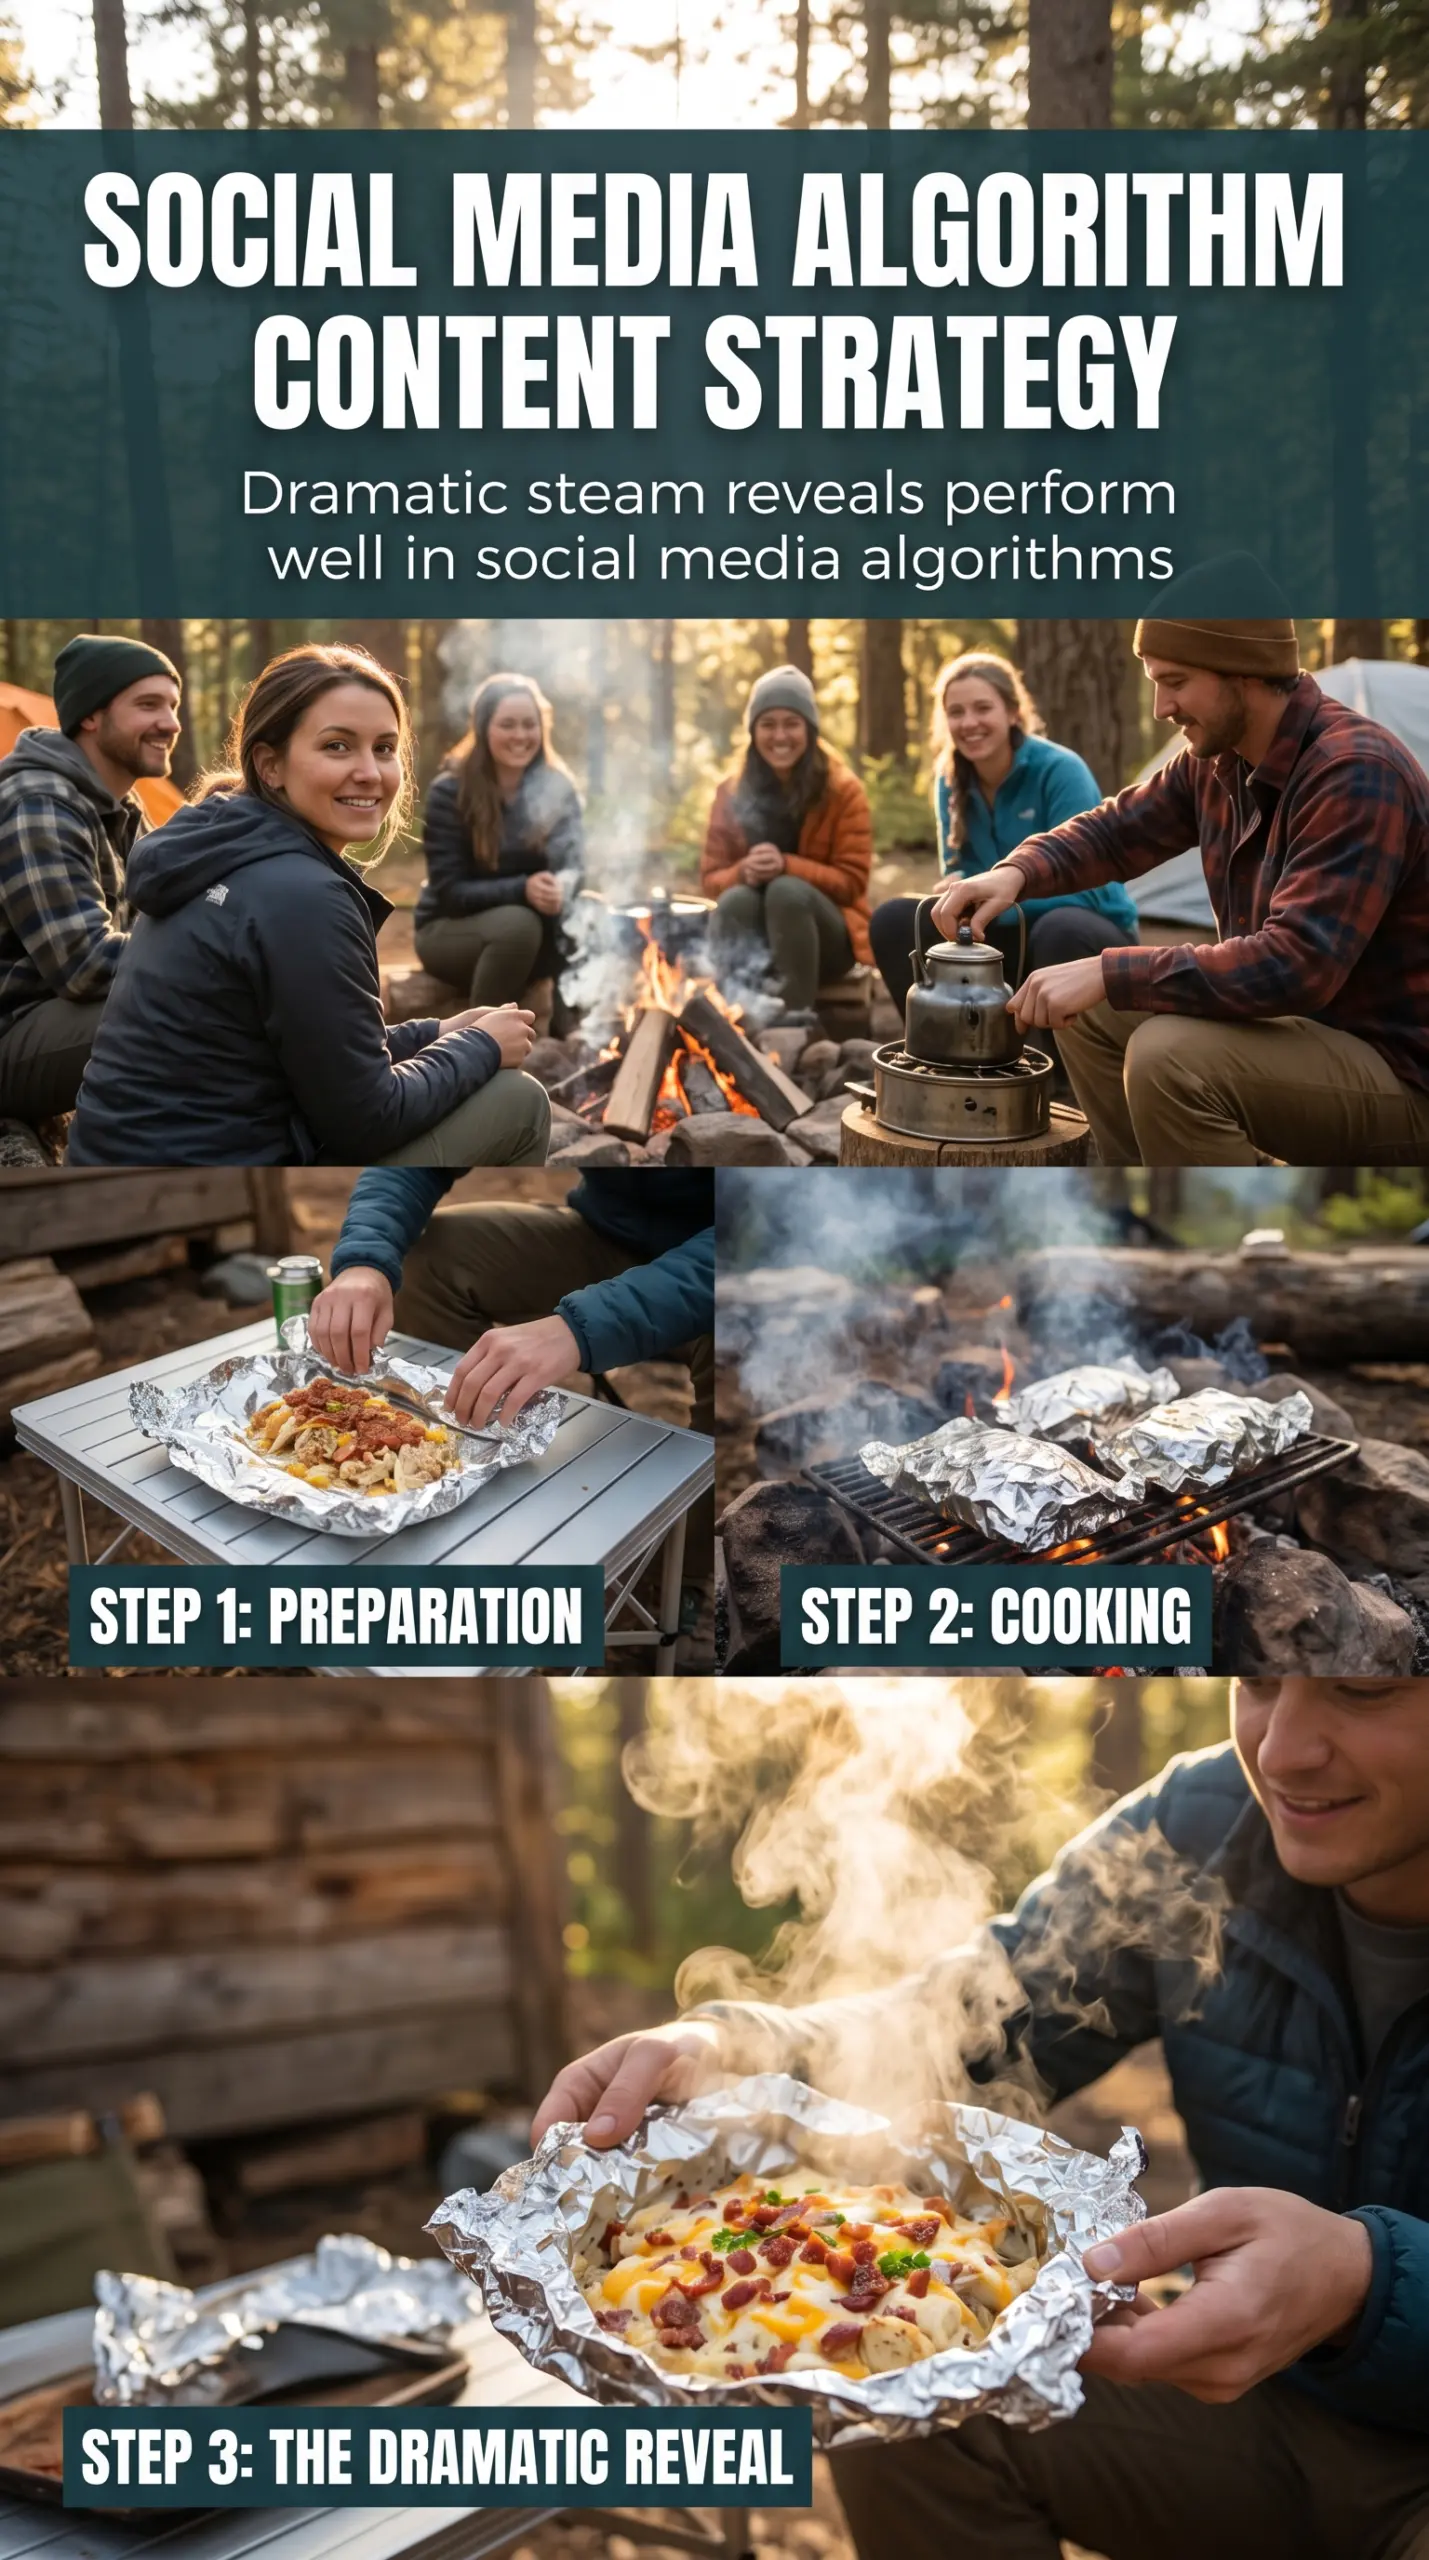
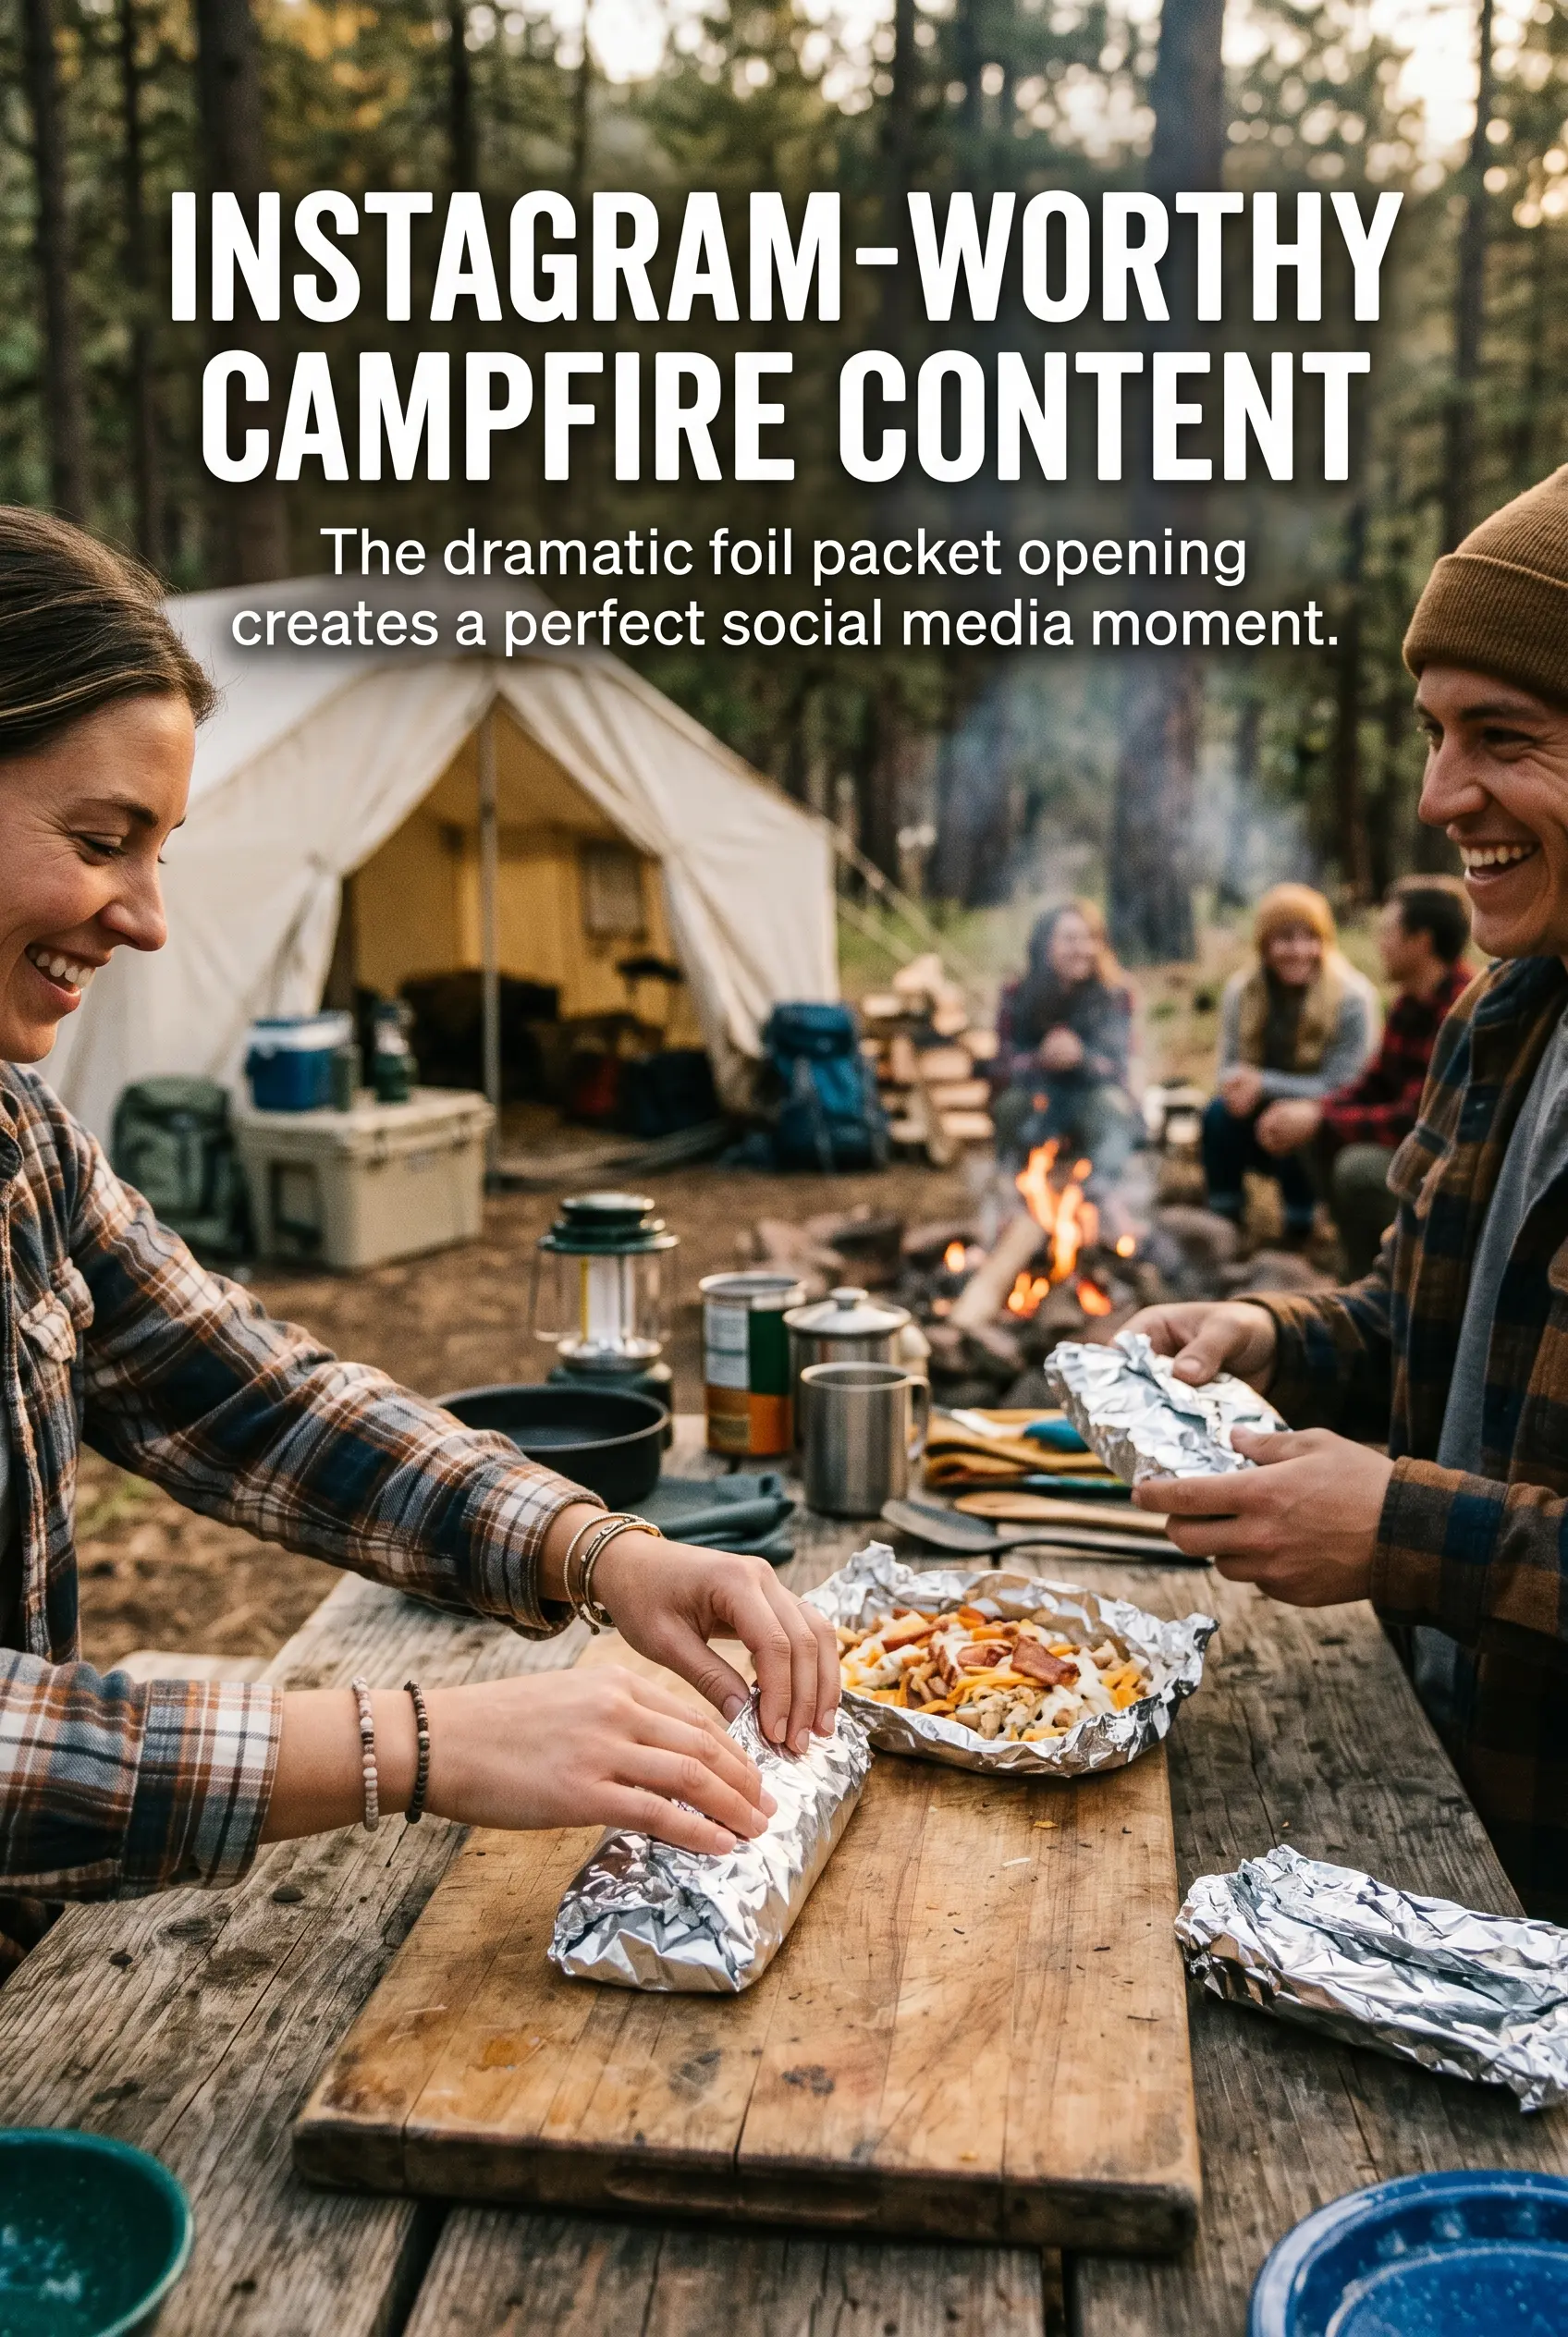
How to Build the Packet So Nothing Leaks or Overcooks
Layer the Chicken First
Set each chicken breast on its own sheet of heavy-duty foil and keep the pieces centered so you have enough foil to fold and seal later. Sprinkle the ranch seasoning evenly over the top, then spread the bacon, cream cheese, cheddar, and green onions over the chicken. If the cheese is piled mostly in one spot, that side can scorch before the rest melts, so distribute the toppings across the full surface.
Seal for Steam, Not for Squeeze
Fold the foil up and over the chicken, then crimp the edges tightly to form a sealed packet. Leave a little room above the toppings so steam can circulate inside the packet. If the foil is pressed hard against the cheese, it can stick and tear when you open it, which is the fastest way to lose the creamy topping you just built.
Cook Until the Chicken Reaches Temperature
Place the packets on a campfire grate over medium heat and cook for 20 to 25 minutes, depending on thickness. The safest signal is the internal temperature: the chicken should reach 165°F at the thickest part. If the packets sit over flames that are too hot, the foil can scorch and the cheese can split before the chicken finishes, so steady heat wins here.
Open Carefully and Serve Hot
Let the packets sit for a minute, then open them away from your face because the steam bursts out fast. The cheese should look melted and glossy, and the chicken should be tender enough to cut with a fork. If the topping looks loose, give the packet another minute off the heat before serving; it settles into a better texture as it rests.
How to Adapt These Packets for the Grill, the Oven, or Different Diets
Oven-Baked Version
Bake the sealed packets on a sheet pan at 400°F until the chicken reaches 165°F, usually about 25 to 30 minutes. You lose a little smoky campfire flavor, but the chicken stays just as juicy and the cheese melts evenly.
Grill-Only Weeknight Shortcut
If you’re cooking on a gas grill, keep the burners at medium and set the packets over indirect heat. Direct flame can burn the foil before the chicken is done, especially if the packets are thin or the toppings are piled high.
Low-Carb, Gluten-Free, and Keto Friendly
This recipe already fits low-carb and gluten-free eating as written, as long as your ranch seasoning is certified gluten-free. It’s one of those dinners that doesn’t need a swap to work for those diets, which is part of why it’s such a handy packet meal.
What to Use When You’re Out of Cream Cheese
Neufchâtel or a thick, full-fat Boursin-style cheese can stand in, but the flavor shifts slightly and the filling will be a little softer. Sour cream won’t give you the same packed, melty texture, so it’s a weaker swap for foil packets.
Storage and Reheating
- Refrigerator: Store leftovers in an airtight container for up to 3 days. The cheese firms up as it chills, but the flavor stays good.
- Freezer: These freeze well if you cool the cooked chicken first and wrap portions tightly. The texture of the cheese won’t be as smooth after thawing, but the packet flavors still hold up.
- Reheating: Reheat gently in a covered dish in the oven at 325°F or in the microwave at medium power. High heat can make the cheese separate and the chicken go stringy before the center warms through.
Answers to the Questions Worth Asking
Crack Chicken Foil Packets
Ingredients
Equipment
Method
- Lay a chicken breast on a sheet of heavy-duty aluminum foil.
- Sprinkle the chicken breast with ranch seasoning mix.
- Top the chicken with crumbled bacon, shredded cheddar cheese, cream cheese cubes, and sliced green onions.
- Fold the foil into a sealed packet, keeping the filling inside.
- Place the packets on a campfire grate over medium heat for 20-25 minutes, until the chicken reaches 165°F, with foil staying tightly sealed.
- Carefully open the packets and serve hot, letting the cheesy mixture visibly steam and melt together.