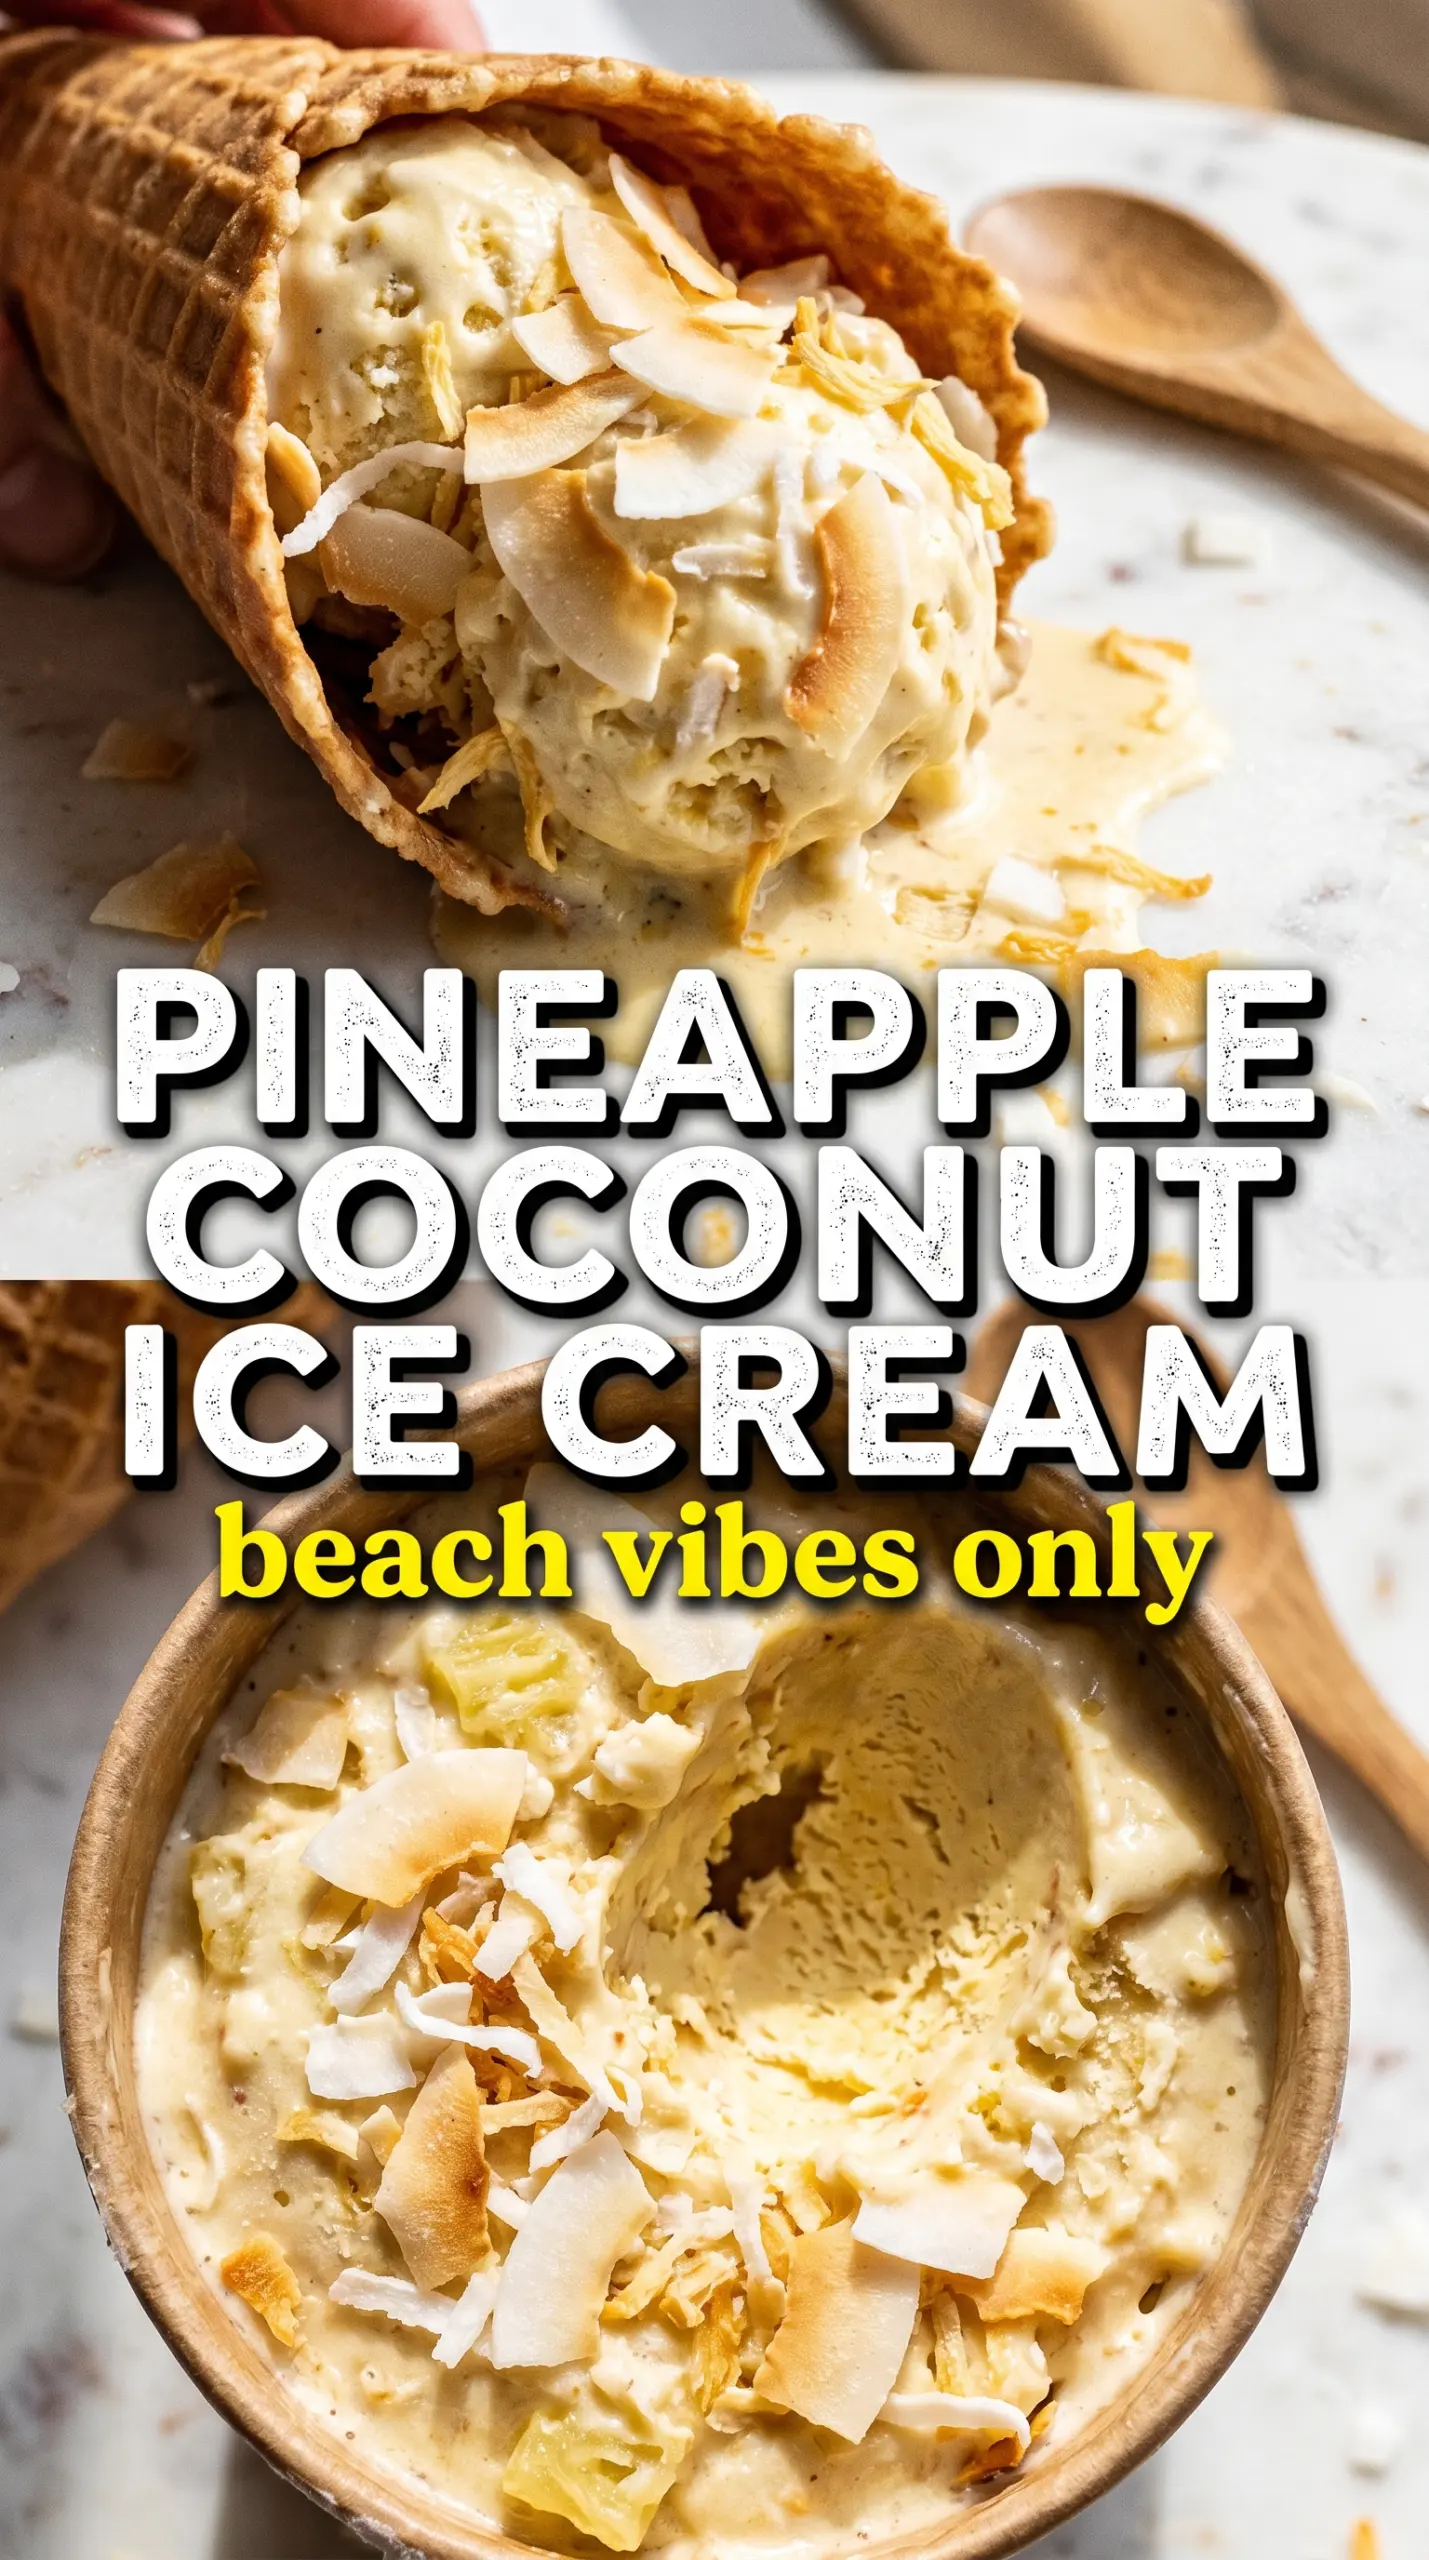
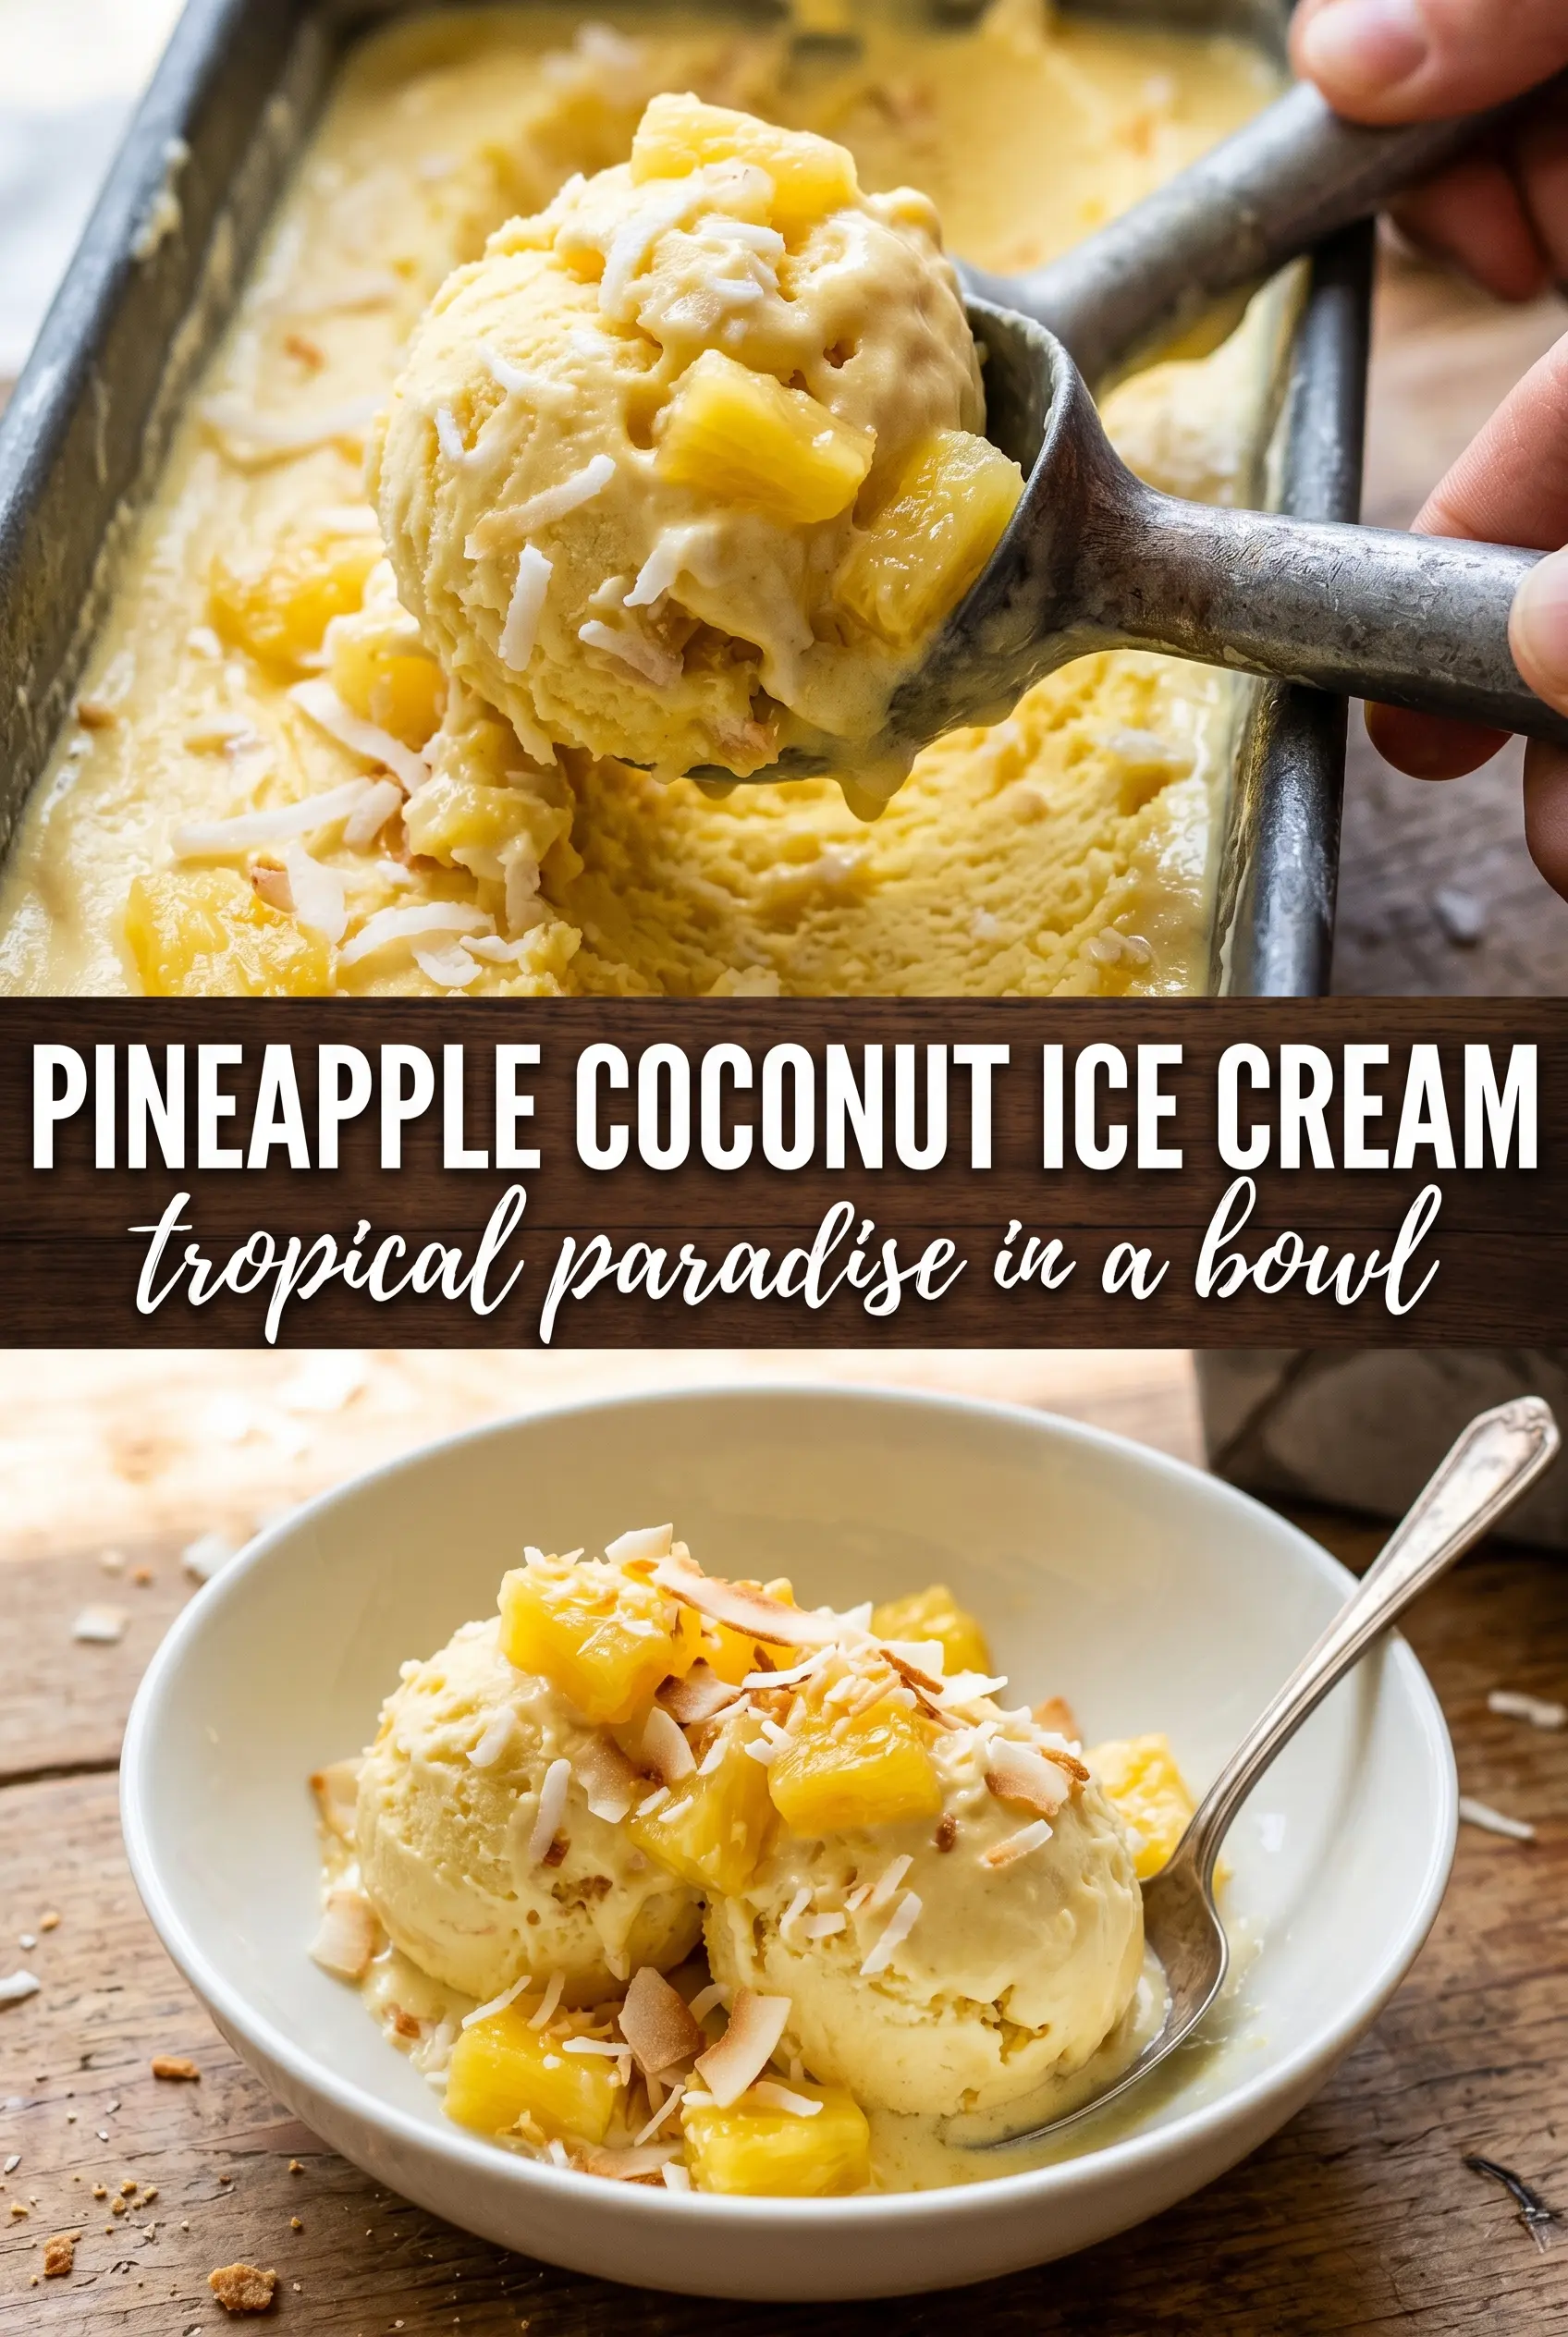
Tropical pineapple coconut ice cream turns into the kind of frozen dessert people keep sneaking from the freezer with a spoon straight from the container. The base is rich and custardy, but the pineapple keeps it bright, with little bursts of sweet-tart fruit in every scoop. Toasted coconut adds a gentle chew and a deeper coconut note that keeps the whole thing from tasting flat or one-note.
What makes this version work is the balance between the custard and the fruit. The yolks give you a smooth, scoopable base, while the coconut milk brings that lush, creamy body without drowning out the pineapple. The pineapple goes in near the end of churning so it stays distinct instead of turning the whole batch watery, and the toasted coconut keeps its texture instead of disappearing into the mix.
Below, I’ll walk through the one part that matters most for a silky texture, plus the best way to keep the pineapple from making the ice cream icy. There’s also a storage note worth reading if you want clean scoops after a night in the freezer.
The custard turned out silky and the pineapple stayed in little bright pockets instead of freezing into hard chunks. I chilled it overnight and it churned beautifully.
Save this pineapple coconut ice cream for the nights when you want creamy custard, real fruit, and toasted coconut in every scoop.
The Custard Base Has to Be Set Before the Fruit Goes In
Pineapple is the ingredient that can make homemade ice cream go from plush to icy if it’s handled too early. Fresh fruit brings water with it, and water is what hardens into sharp crystals in the freezer. That’s why the custard needs to be fully cooked, fully chilled, and already thick before the pineapple is folded in near the end.
The other thing that matters here is temperature. If you dump hot custard into the egg yolks too fast, you’ll get sweet scrambled eggs instead of a smooth base. Whisking slowly while you temper the yolks keeps them from seizing, and cooking the mixture to about 175°F gives you enough body without crossing into curdled territory.
- Full-fat coconut milk — This gives the ice cream its coconut backbone and creamy mouthfeel. Light coconut milk won’t give you the same richness, and the finished texture will feel thinner.
- Heavy cream — Cream softens the coconut’s density and helps the scoop stay smooth after freezing. You can swap in half-and-half in a pinch, but the ice cream will freeze harder.
- Fresh pineapple — Use fresh, finely diced pineapple for the cleanest flavor and the least iciness. If you use canned, drain it very well and expect a softer, wetter mix.
- Egg yolks — They build the custard and keep the finished ice cream velvety. There isn’t a true one-to-one replacement here if you want the same texture.
- Toasted shredded coconut — Toasting matters because it deepens the coconut flavor and keeps the pieces from tasting raw. Add it at the end so it stays pleasantly chewy.
What Each Ingredient Is Actually Doing in This Ice Cream
- Base ingredient (cream, milk, or custard) — This provides the foundation and richness. Quality matters.
- Sweetener (sugar, honey, or condensed milk) — This sweetens and prevents ice crystals. The ratio is critical.
- Flavor element (vanilla, fruit, chocolate, coffee, or other) — This defines the ice cream personality. Use quality ingredients.
- Egg yolks (if making custard base) — These create richness and silky texture. Optional but elevates ice cream.
- Churning (if using ice cream maker) — This incorporates air and prevents ice crystals. Critical for smooth texture.
- Freezing temperature and time — Proper freezing prevents rock-hard texture. Store at 0°F or below.
- Mix-ins (chocolate, cookies, fruit, or swirls) — These add texture and prevent one-dimensional flavor. Add near end of churning.
- Serving temperature (slightly soft, not rock hard) — This provides creamy mouthfeel. Remove from freezer 5 minutes before serving.
How to Keep the Pineapple Bright Instead of Icy
Heating the Base the Right Way
Warm the coconut milk, cream, and sugar just until the sugar dissolves and the mixture steams. You’re not trying to boil it. Then whisk a little of the hot liquid into the yolks first, which brings them up in temperature slowly. Once the yolks are tempered, pour everything back into the saucepan and cook it while stirring constantly until it coats the spoon and reaches 175°F.
If the custard starts looking grainy or starts clinging in tiny curds, pull it off the heat immediately and strain it. That step catches the bits before they ruin the texture. After straining, stir in the coconut extract, vanilla, and salt while the base is still warm enough to bloom the flavor but not hot enough to knock them flat.
Chilling Until It’s Cold Through
This base needs a long chill, not a quick one. Cool it at room temperature first, then refrigerate it until it’s thoroughly cold, at least 4 hours and longer if you can. Churning warm custard is one of the fastest ways to get soft, sloppy ice cream that never firms up properly. Cold base equals finer texture.
Adding the Fruit at the End
Churn the custard until it’s thick and softly frozen, then add the diced pineapple and toasted coconut during the last 5 minutes. That timing keeps the fruit suspended without shredding it or releasing too much juice into the base. If you add pineapple too early, the ice cream can freeze with crunchy ice bits instead of clear fruit flavor.
Make It Dairy-Free
Use full-fat coconut milk plus a can of coconut cream instead of the heavy cream. The texture will be a little denser and more coconut-forward, but it still churns into a rich frozen dessert. Skip the dairy entirely and keep the custard heat gentle so the yolks thicken smoothly.
For a Stronger Pineapple Flavor
Swap half of the fresh pineapple for very well-drained crushed pineapple. It gives you a more pronounced pineapple note, but it also brings extra moisture, so the ice cream will be a touch softer. Drain it thoroughly and pat it dry if you want to keep the texture tight.
Skip the Ice Cream Maker
You can freeze the chilled custard in a shallow pan and stir it every 30 to 40 minutes until set. The texture won’t be as fine as churned ice cream, but it still works. Stir in the pineapple and toasted coconut as the mixture starts to thicken so they distribute evenly.
Turn It Into a Piña Colada Version
Add a little extra coconut extract and a spoonful of finely grated lime zest. That pushes the flavor toward piña colada territory without making it taste perfumed. Keep the zest light, because too much will fight the pineapple instead of lifting it.
Storage and Reheating
- Refrigerator: The churned ice cream should go straight into the freezer, not the fridge. It’s meant to be frozen, and refrigeration will only soften it into a puddle.
- Freezer: Store it in a tightly sealed container for up to 2 weeks. Press a piece of parchment or plastic wrap directly on the surface to slow ice crystals.
- Reheating: Let it sit at room temperature for 5 to 10 minutes before scooping. If it’s rock hard, it usually means the freezer was too cold or the base needed a little more fat; don’t microwave it or the edges will melt before the center is usable.
Questions I Get Asked About This Recipe
Pineapple Coconut Ice Cream
Ingredients
Equipment
Method
- In a saucepan over medium heat, whisk together coconut milk, heavy cream, and granulated sugar until the sugar dissolves and the mixture looks smooth. Visual cue: steam should be rising gently, but avoid a rolling boil.
- In a bowl, slowly whisk the warm coconut mixture into the egg yolks to temper them. Pour gradually while whisking to keep the yolks from scrambling.
- Return everything to the saucepan and cook, stirring constantly, until the custard thickens to 175F. Visual cue: it should coat the back of a spoon without looking curdled.
- Strain the custard through a fine mesh strainer, then stir in coconut extract, vanilla extract, and salt. Visual cue: the final base should be glossy and pourable.
- Cool the custard to room temperature, then refrigerate at least 4 hours until very cold. Visual cue: the mixture should feel chilled through the whole container.
- Churn in an ice cream maker according to the manufacturer’s instructions until it looks like soft-serve. Visual cue: add diced pineapple and toasted shredded coconut during the last 5 minutes so they stay visible.
- Transfer to a freezer-safe container and freeze until scoopable. Visual cue: the edges should firm up while the center becomes easy to scoop.


