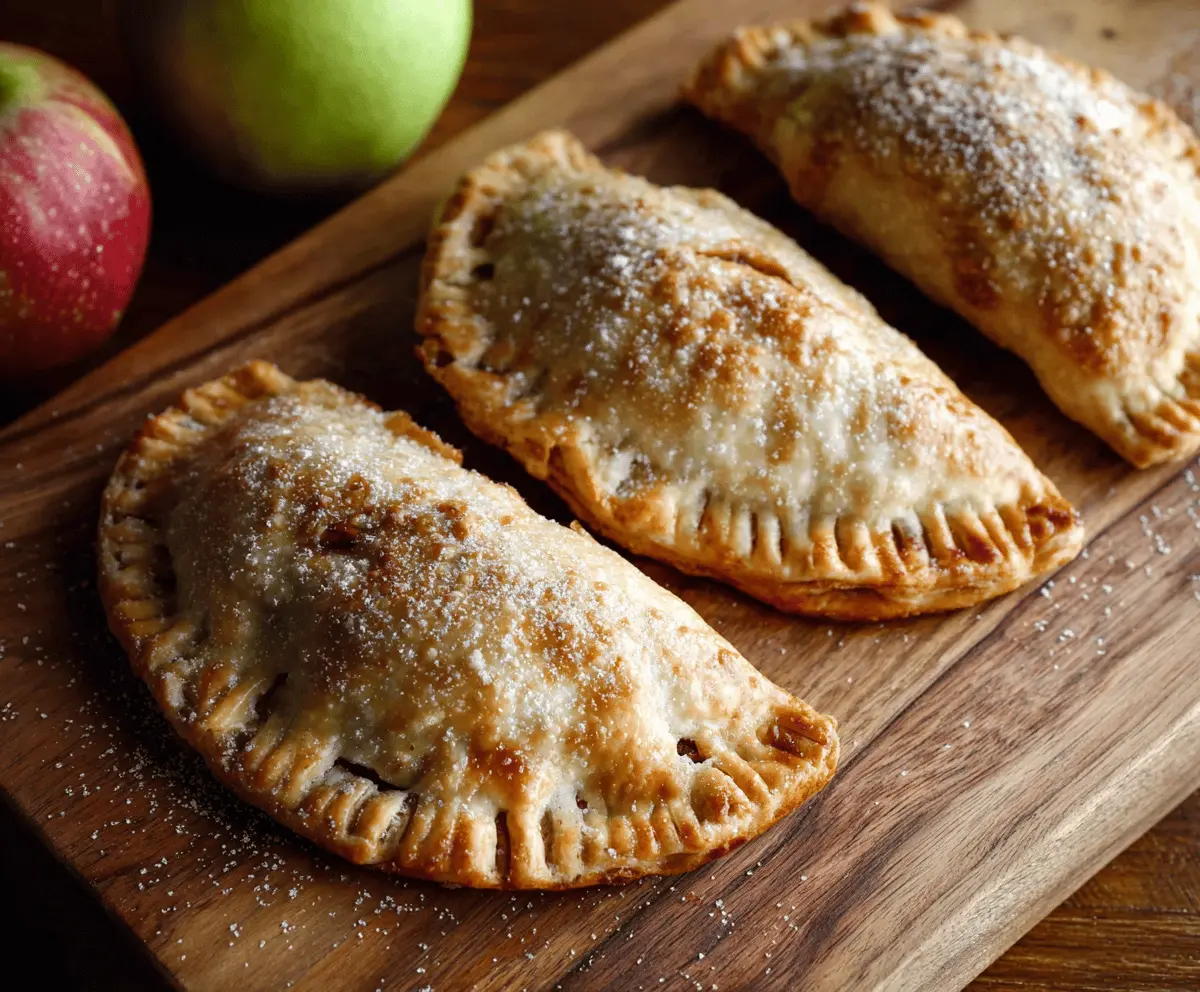
Apple hand pies are mini treats filled with sweet, spiced apples and tucked inside flaky pastry. They’re like little pockets of happiness, perfect for on-the-go snacking!
Making these pies is fun and easy, and they smell amazing while baking. I love to enjoy them warm, maybe with a scoop of ice cream on top. How about you? 😊
Key Ingredients & Substitutions
All-Purpose Flour: This is essential for your pie dough. If you want a gluten-free option, consider using a 1:1 gluten-free flour blend. It may affect the texture a little but will still hold up nicely!
Butter: Cold unsalted butter is key for a flaky crust. If you’re looking for a dairy-free substitution, coconut oil or a vegan butter alternative works well too – just keep it cold!
Apples: I love combining Granny Smith (tart) and Fuji (sweet) for balanced flavor. If those aren’t available, use any firm apples like Honeycrisp or Braeburn. Avoid soft apples like McIntosh, as they can turn mushy.
Spices: Ground cinnamon and nutmeg enhance the apple flavors beautifully. You can swap nutmeg for allspice if you prefer, or add a pinch of vanilla for extra aroma.
How to Achieve the Perfect Pie Dough?
Getting the pie dough just right can be tricky, but with a few tips, you’ll nail it! Start with cold ingredients to maintain that buttery flakiness.
- Mix the flour and salt first, then cut in the cold butter until you see small crumbs.
- Add ice water gradually; too much makes the dough tough.
- Form the dough into a ball and refrigerate it for at least one hour. This resting period is crucial for ease of rolling later.
When rolling out, keep the surface lightly floured and avoid pressing too hard—gentle pressure helps retain the light texture of the crust.
How to Make Delicious Apple Hand Pies
Ingredients You’ll Need:
For the Dough:
- 2 cups all-purpose flour
- 1/2 teaspoon salt
- 2/3 cup cold unsalted butter, cut into small cubes
- 4-6 tablespoons ice water
For the Apple Filling:
- 2 medium apples (such as Granny Smith and Fuji), peeled, cored, and diced
- 1/4 cup granulated sugar
- 1 teaspoon ground cinnamon
- 1/4 teaspoon ground nutmeg
- 1 teaspoon lemon juice
- 1 tablespoon all-purpose flour (to thicken filling)
For the Topping:
- 1 egg, beaten (for egg wash)
- Granulated sugar or coarse sugar for sprinkling
- Powdered sugar for dusting (optional)
How Much Time Will You Need?
Overall, this delightful recipe takes about 30 minutes of active prep time, plus 1 hour to chill the dough. After that, you’ll spend about 20-25 minutes baking. In just under 2 hours, you’ll have warm, delicious hand pies ready to enjoy!
Step-by-Step Instructions:
1. Make the Pie Dough:
In a large bowl, whisk together 2 cups of flour and 1/2 teaspoon of salt. Next, add the cold butter cubes. Use a pastry cutter or your fingers to mix until the mixture resembles coarse crumbs, with some pea-sized pieces of butter remaining. This is what makes your crust flaky!
2. Combine and Chill:
Gradually add ice water, about 1 tablespoon at a time, mixing gently. Stop adding water when the dough just comes together! Form it into a ball and flatten it into a disk. Wrap it in plastic wrap and pop it in the refrigerator for at least 1 hour.
3. Prepare the Apple Filling:
While the dough is chilling, let’s make the filling! In a medium bowl, mix the diced apples, 1/4 cup of granulated sugar, 1 teaspoon of ground cinnamon, 1/4 teaspoon of ground nutmeg, 1 teaspoon of lemon juice, and 1 tablespoon of flour. Toss everything together until the apples are well coated. Set aside.
4. Roll Out the Dough:
Once the dough has chilled, take it out and roll it out on a lightly floured surface until it’s about 1/8 inch thick. Use a round cutter or a bowl about 4-5 inches in diameter to cut out circles of dough.
5. Fill and Shape the Hand Pies:
Take about 2 tablespoons of apple filling and place it in the center of each dough circle. Fold the dough over to create a half-moon shape. Press the edges well with a fork to seal them tightly, so no filling escapes during baking!
6. Prepare for Baking:
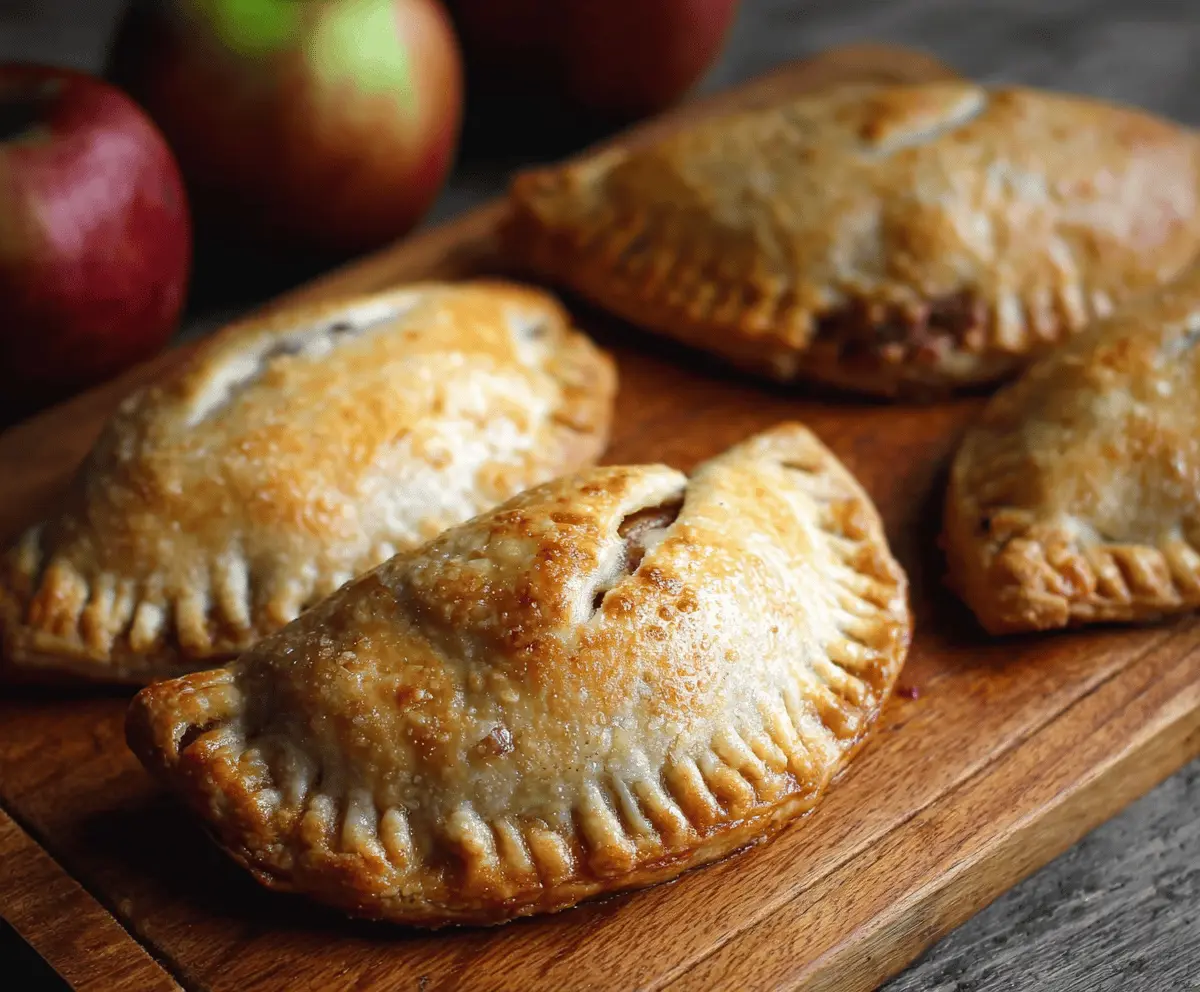
Arrange the hand pies on a parchment-lined baking sheet. Brush the tops with the beaten egg to give them a nice golden color and sprinkle with granulated or coarse sugar for a little sparkle.
7. Bake the Hand Pies:
Preheat your oven to 375°F (190°C). Bake the pies for about 20-25 minutes or until they are golden brown and crisp. The aroma will be irresistible!
8. Cool and Serve:
Once baked, remove the hand pies from the oven and let them cool on a wire rack for 10 minutes. If you like, dust them with powdered sugar before serving. These hand pies can be enjoyed warm or at room temperature, making them a perfect treat!
Enjoy this tasty snack or dessert filled with warm apple goodness. Happy baking! 🍏🥧
Can I Use Different Types of Apples?
Absolutely! While Granny Smith and Fuji offer a great flavor balance, you can use any firm apples like Honeycrisp, Braeburn, or even a mix of your favorites. Just avoid soft varieties like McIntosh as they can turn mushy when cooked.
Can I Make the Dough Ahead of Time?
Yes! You can prepare the dough up to 2 days in advance. Just wrap it tightly in plastic wrap and keep it in the refrigerator. When you’re ready to use it, let it sit at room temperature for about 10-15 minutes before rolling out.
How Do I Store Leftover Hand Pies?
Leftover hand pies can be stored in an airtight container at room temperature for up to 2 days. For longer storage, refrigerate them for up to a week or freeze for up to 3 months. To reheat, bake in a preheated oven at 350°F (175°C) for about 10 minutes until warmed through.
Can I Add Other Ingredients to the Filling?
Definitely! Feel free to add nuts such as chopped walnuts or pecans, raisins, or a splash of vanilla extract to the apple filling for added flavor and texture. Just be mindful of the overall filling quantity so they fit nicely in the hand pies.