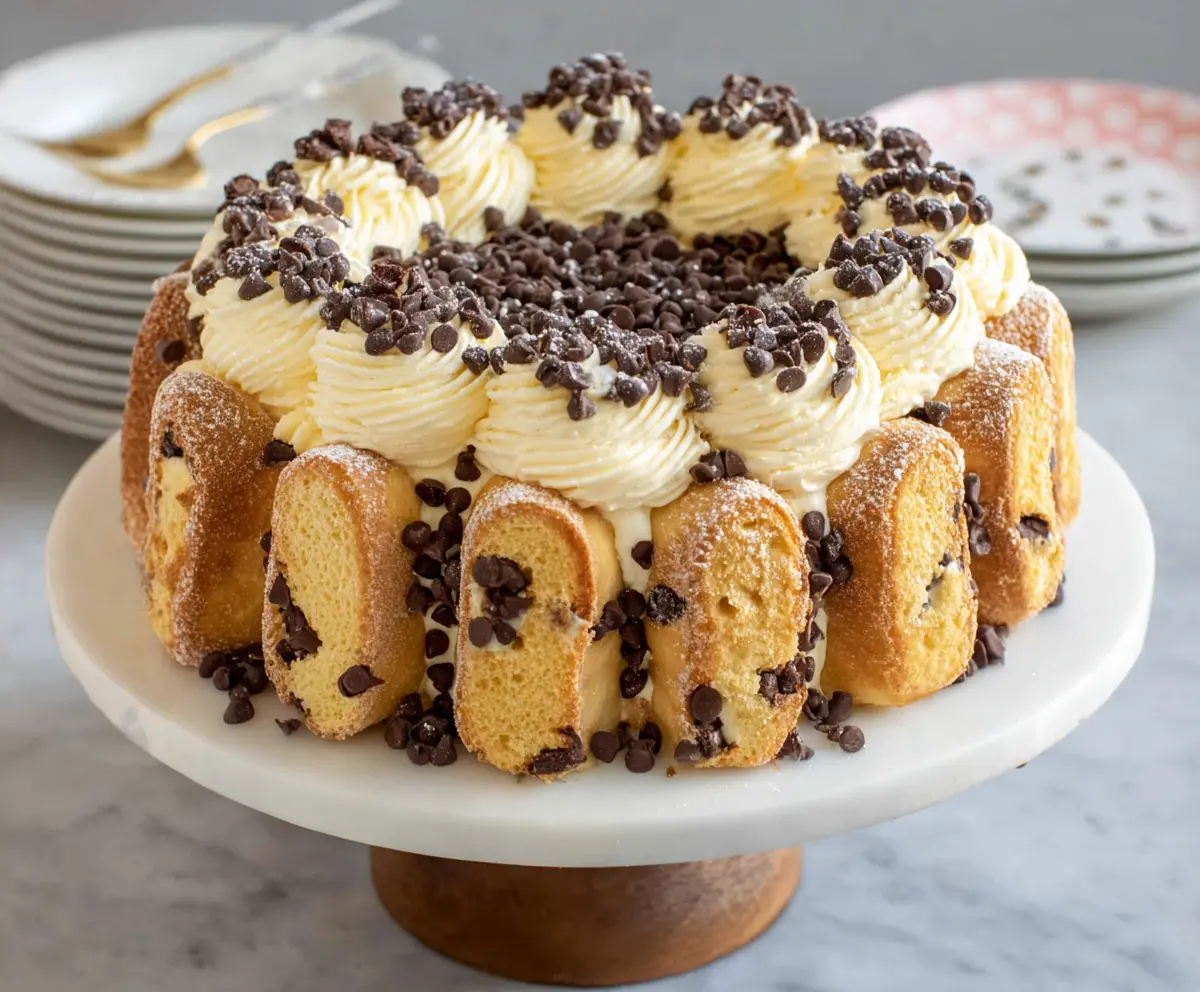
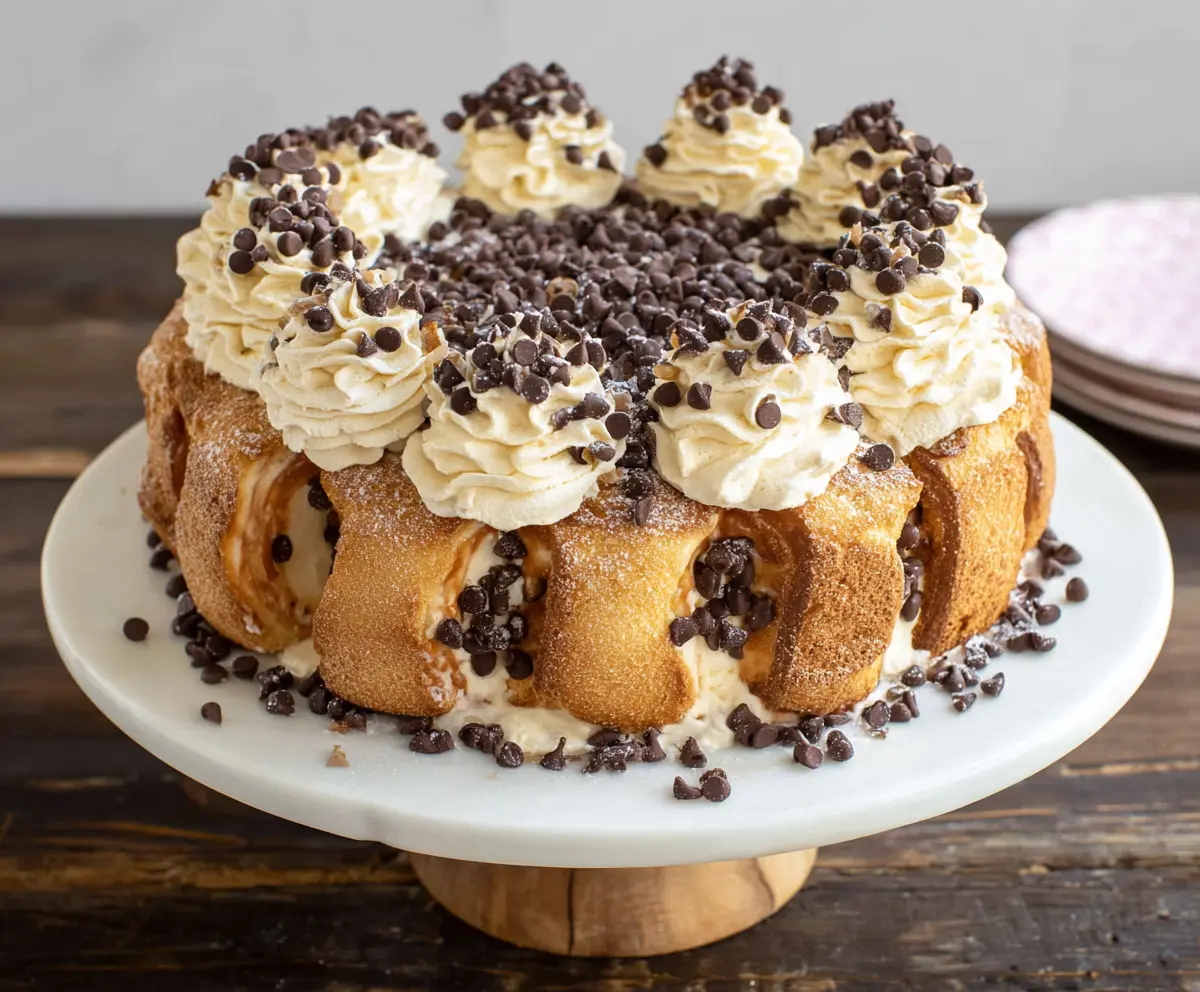
This Cannoli Cake is a delightful twist on the classic Italian dessert. With layers of moist cake, creamy ricotta frosting, and crunchy chocolate chips, it’s a treat you can’t resist!
Every bite feels like a little celebration! It’s perfect for parties, or just a cozy night in. I can’t wait to share this scrumptious cake with friends, but I might save a slice for myself! 😄
Key Ingredients & Substitutions
Cake Mix: A yellow or vanilla cake mix is perfect for this recipe. If you’d like a homemade touch, you can make a vanilla sponge cake from scratch. It gives a richer flavor, but is a little more work!
Ricotta Cheese: This is a must for that classic cannoli flavor. If you can’t find ricotta, cottage cheese that’s been blended until smooth can serve as a substitute, although the texture will be slightly different.
Mascarpone Cheese: Mascarpone adds creaminess to the filling. If you need a substitute, you can use cream cheese blended with some heavy cream for a similar texture.
Ladyfinger Cookies: These provide beautiful structure and presentation. If you can’t find them, you can use sponge cake cut into strips or even shortbread cookies for a different take.
How Do I Ensure My Ricotta Filling Is Perfectly Smooth?
The secret to a creamy filling lies in draining the ricotta well. If it’s too watery, your filling will be runny. Use cheesecloth or a fine-mesh strainer for at least an hour to let the moisture escape. The drier the ricotta, the better your filling will be!
When mixing the filling, start by blending the ricotta and mascarpone until smooth. Use an electric mixer for the best results, and gradually add in the powdered sugar and vanilla. This prevents lumps and ensures even sweetness throughout.
Once combined, gently fold in the mini chocolate chips to keep their shape and texture intact. This will also give that signature cannoli taste in every bite!
Cannoli Cake
Ingredients You’ll Need:
For the Cake:
- 1 box yellow or vanilla cake mix (plus ingredients called for on the box, typically eggs and oil)
For the Filling:
- 2 cups ricotta cheese, well drained
- 1 cup mascarpone cheese
- 3/4 cup powdered sugar (plus extra for dusting)
- 1 teaspoon vanilla extract
- 1 teaspoon ground cinnamon
- 1 cup mini chocolate chips (plus extra for garnish)
For Decoration:
- 1 8-10 oz package ladyfinger cookies (savoiardi)
- Optional: 2 tablespoons sugar (to sprinkle on ladyfingers before decorating)
How Much Time Will You Need?
This delightful Cannoli Cake will take you about 30 minutes of prep time and around 40-45 minutes to bake, followed by at least 1-2 hours of chilling in the refrigerator. It’s an enjoyable process that results in a beautiful dessert to impress your friends and family!
Step-by-Step Instructions:
1. Bake the Cake:
Start by preheating your oven and preparing the cake mix according to the package instructions. Use a bundt pan or tube pan for a lovely ring shape. Once baked, allow the cake to cool completely on a wire rack before you move on to the filling.
2. Prepare the Ricotta Filling:
Drain the ricotta cheese thoroughly using a cheesecloth or fine mesh strainer for at least an hour, or even overnight, to remove excess moisture. In a mixing bowl, combine the drained ricotta, mascarpone cheese, powdered sugar, vanilla extract, and cinnamon. Beat until the mixture is smooth and creamy.
3. Add Chocolate Chips to Filling:
Gently fold 1 cup of mini chocolate chips into the ricotta filling to give it that classic cannoli texture. This will make every bite a tasty experience!
4. Assemble Cake Layers (Optional):
If you’re feeling fancy and want to create layers, slice the cooled cake horizontally in half or into multiple layers. Spread a generous layer of the ricotta filling on the bottom layer and carefully place the top layer on.
5. Apply a Thin Crumb Coat:
Cover the entire cake with a thin layer of the ricotta filling. This helps seal in any crumbs. Place the cake in the fridge for about 20 minutes to firm it up.
6. Decorate the Cake:
Now, for the fun part! Stand the ladyfinger cookies vertically all around the outer edge of the cake, gently pressing them into the ricotta frosting to make them stick. If you like, sprinkle a little sugar on the ladyfingers for a touch of sparkle!
7. Pipe the Frosting:
Take the remaining ricotta filling and place it in a piping bag fitted with a large star tip. Pipe beautiful rosettes or swirls around the top edge of the cake to give it an elegant look.
8. Garnish:
Sprinkle extra mini chocolate chips generously over the frosting and in the center of the cake. This adds extra flavor and cuteness to your dessert.
9. Final Touch:
For a beautiful finish, lightly dust the entire cake with powdered sugar. It makes everything look dreamy!
10. Chill and Serve:
Finally, refrigerate the cake for at least 1-2 hours before serving to allow all those flavors to meld beautifully. When you’re ready, slice up your Cannoli Cake and enjoy every creamy, crunchy bite!
This cake is not just a dessert; it’s a celebration of Italian flavors that everyone will love! Perfect for special occasions or simply to enjoy at home.
Can I Use a Different Type of Cheese Instead of Ricotta and Mascarpone?
While ricotta and mascarpone are traditional for the filling, you can substitute with a blended cream cheese for mascarpone if needed. For the ricotta, blended cottage cheese can work in a pinch, but the texture will differ slightly.
How Do I Store Leftover Cannoli Cake?
Store any leftovers in an airtight container in the fridge for up to 3 days. The cake may set a little firmer in the fridge, so allow it to sit at room temperature for about 15-20 minutes before serving to bring back some creaminess.
Can I Make This Cake in Advance?
Absolutely! You can bake the cake and prepare the filling a day ahead. Just assemble and decorate it before serving. It actually tastes even better after sitting for a day as the flavors meld!
What If I Can’t Find Ladyfinger Cookies?
If ladyfingers are not available, you can use strips of sponge cake or even vanilla wafers as a substitute. Just make sure whatever you use can hold its shape when pressed into the filling!