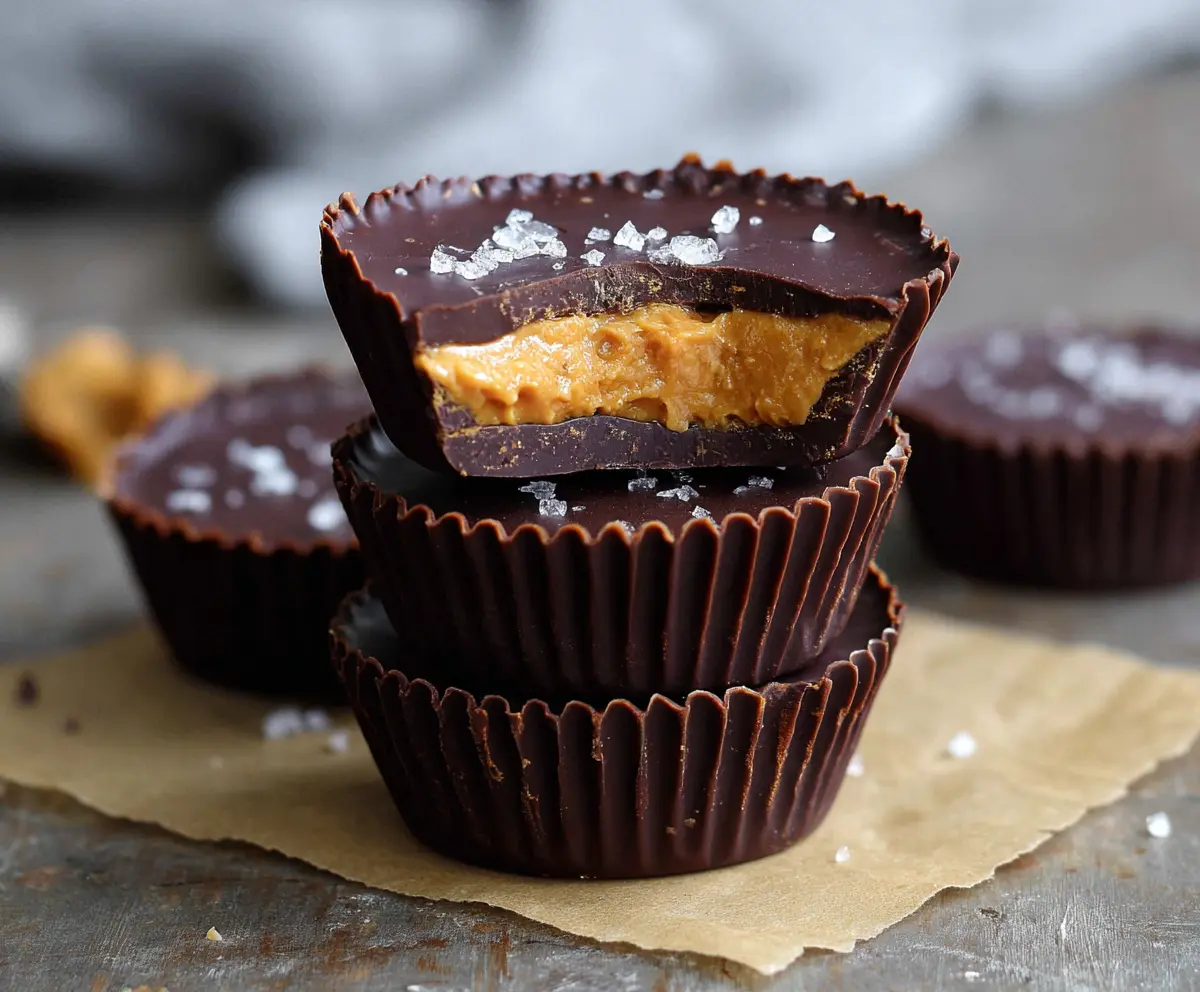
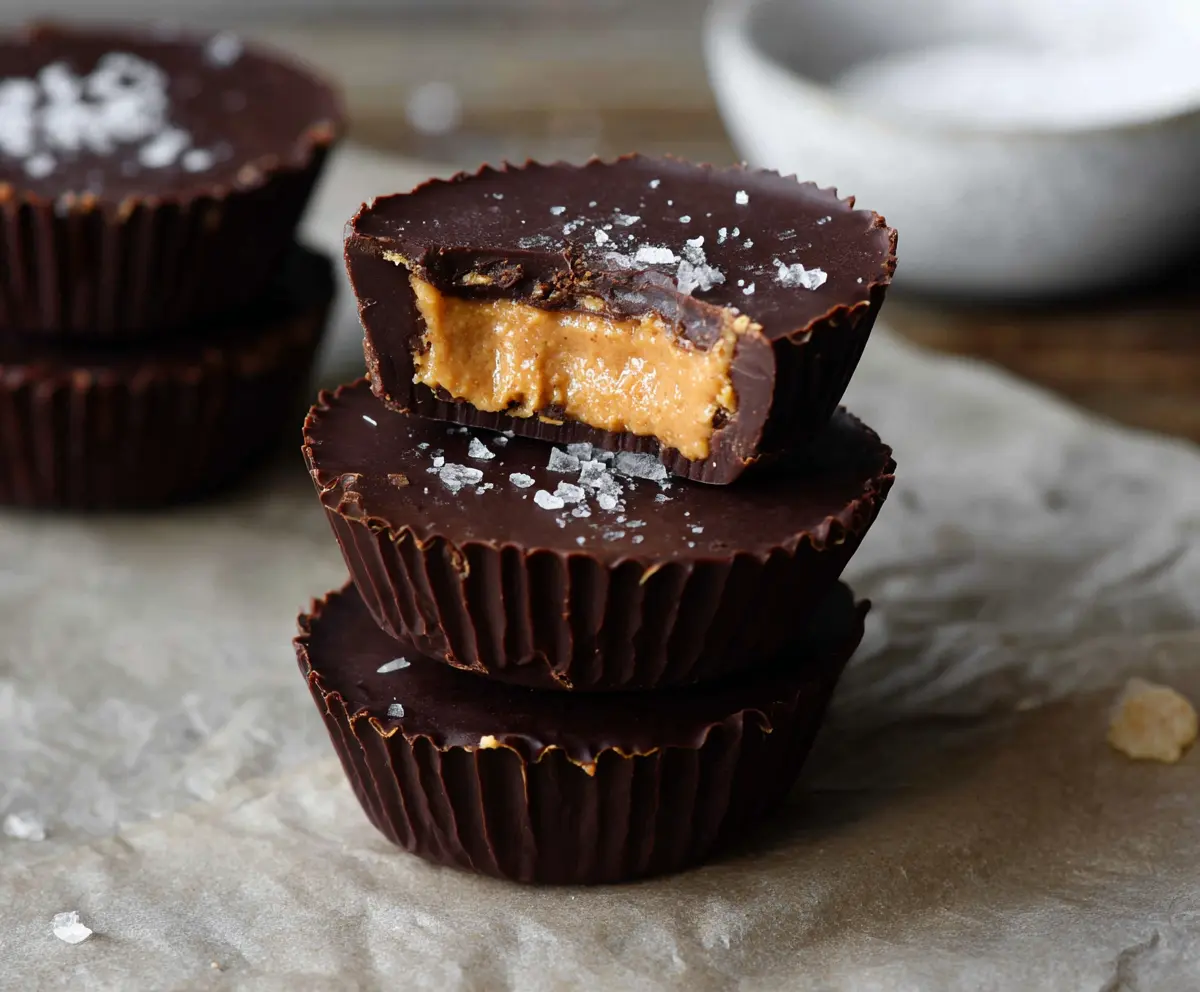
These Dark Chocolate Peanut Butter Cups are a yummy treat that brings together rich dark chocolate and creamy peanut butter. They are simple to make and perfect for satisfying your sweet tooth!
Trust me, once you make these, you might want to keep them all to yourself! 😄 I like to store them in the fridge so they stay cool and delicious. Grab one when you need a little pick-me-up!
Key Ingredients & Substitutions
Dark Chocolate: Use high-quality dark chocolate with at least 70% cocoa for a rich flavor. You can substitute with milk chocolate if you prefer something sweeter, or even use dairy-free chocolate chips for a vegan option.
Peanut Butter: I recommend creamy peanut butter for a smooth filling. If you’re allergic to peanuts, try almond butter or sunflower seed butter instead—both work beautifully!
Powdered Sugar: This adds sweetness and helps with texture. If you want a healthier option, you can use coconut sugar or a sugar-free sweetener like stevia, just adjust the quantity to taste.
Unsalted Butter: This helps to soften the peanut butter mixture. You could also try coconut oil for a dairy-free version, which gives a nice richness.
How Do I Get the Chocolate Coating Just Right?
Coating the peanut butter cups might seem tricky, but here’s how to do it smoothly. It’s vital to melt the chocolate gently to avoid burning it. Follow these steps:
- Use a microwave in 30-second bursts, stirring in between until fully melted. This ensures even melting.
- Spoon a little chocolate into the liners and tilt them to spread the chocolate around the sides, creating a shell. This gives your cups a thicker base.
- After freezing the first layer, make sure the peanut butter filling isn’t overly thick to allow for an even chocolate covering.
- Smooth the top layer of chocolate gently with a spoon to make them look neat and delicious!
With these tips, your chocolate cups will not only taste great but look fantastic too!
How to Make Dark Chocolate Peanut Butter Cups
Ingredients You’ll Need:
For the Chocolate Layer:
- 1 1/2 cups dark chocolate chips or chopped dark chocolate (choose 70% cocoa or higher for a rich flavor)
For the Peanut Butter Filling:
- 1/2 cup creamy peanut butter (natural or regular, based on what you like)
- 2 tablespoons powdered sugar
- 1 tablespoon unsalted butter, softened
- 1/4 teaspoon vanilla extract
For Topping (optional):
- Flaky sea salt, for sprinkling on top
How Much Time Will You Need?
This recipe takes about 15 minutes to prepare, plus an additional 30 minutes to chill in the freezer. In total, you should plan for roughly 45 minutes before you’re enjoying your delicious dark chocolate peanut butter cups!
Step-by-Step Instructions:
1. Prepare the Muffin Tin:
Start by lining a muffin tin with paper cupcake liners. This will help you easily remove the peanut butter cups later.
2. Melt the Chocolate:
In a microwave-safe bowl, add 1 cup of dark chocolate chips. Microwave in 30-second intervals, stirring after each interval until the chocolate is smooth and fully melted. Make sure not to overheat!
3. Create the Chocolate Base:
Spoon about 1 tablespoon of the melted chocolate into each cupcake liner. Tilt the liners to spread the chocolate evenly across the bottom and up the sides a bit. Once done, place the muffin tin in the freezer for about 10 minutes to let the chocolate set.
4. Make the Peanut Butter Filling:
While the chocolate is setting, mix together the peanut butter, powdered sugar, softened butter, and vanilla extract in a bowl. Stir until the mixture is smooth and creamy. This will be your delicious filling!
5. Add the Peanut Butter Layer:
After 10 minutes, remove the muffin tin from the freezer. Spoon about 1 tablespoon of the peanut butter mixture onto the hardened chocolate layer in each liner. Gently flatten the top with the back of a spoon.
6. Cover with Chocolate:
Melt the remaining 1/2 cup of chocolate chips using the microwave again, just as before. Once melted, pour this over the peanut butter layer in each cup, smoothing it gently with a spoon to create an even surface.
7. Add Sea Salt (Optional):
If you like a touch of salt, sprinkle a small pinch of flaky sea salt on top of each cup. This adds a lovely contrast to the sweetness!
8. Final Chill:
Place the muffin tin back in the freezer for at least 20 minutes, or until the chocolate is fully set.
9. Enjoy Your Treat:
Once set, carefully remove the peanut butter cups from the liners. Store any leftovers in an airtight container in the refrigerator for a sweet treat whenever you crave it!
These Dark Chocolate Peanut Butter Cups are rich and decadent, making them a perfect treat for yourself or a thoughtful gift for someone special. Enjoy every bite!
Can I Use Milk Chocolate Instead of Dark Chocolate?
Yes, you can use milk chocolate if you prefer a sweeter flavor. Just keep in mind that it will change the overall taste of the peanut butter cups, making them creamier and less rich.
What Can I Substitute for Peanut Butter?
If you’re looking for alternatives, you can use almond butter, cashew butter, or sunflower seed butter. Just ensure that the substitute is creamy to maintain the texture of the filling!
How Do I Store Leftover Peanut Butter Cups?
Store any leftovers in an airtight container in the refrigerator for up to one week. They can also be frozen for longer storage—just separate them with parchment paper to prevent sticking!
How Do I Make These Peanut Butter Cups Vegan?
To make these cups vegan, switch to dairy-free dark chocolate and use a plant-based butter substitute, like coconut oil or a vegan butter. Ensure that the peanut butter you use is also vegan-friendly!