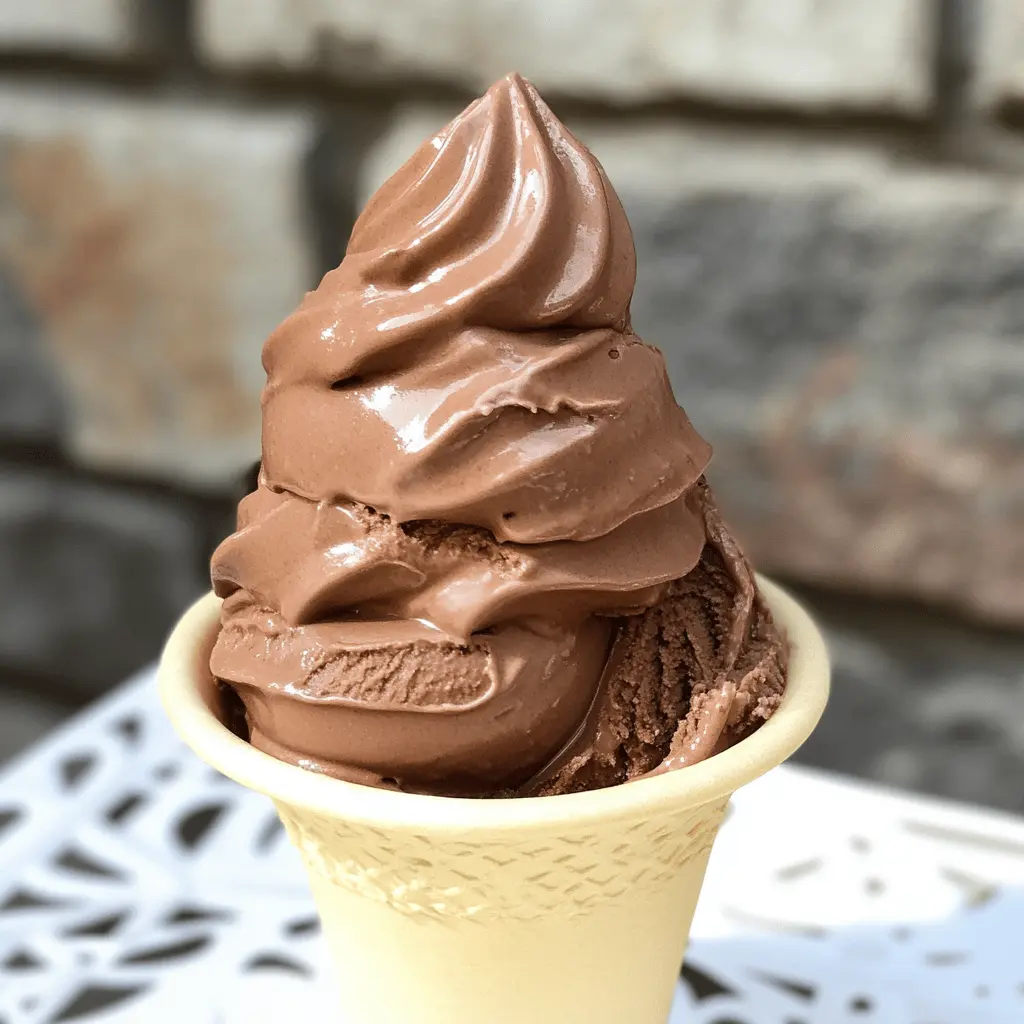
This Easy Classic Chocolate Ice Cream is a creamy treat that will make your taste buds sing! It’s made with simple ingredients like chocolate, cream, and sugar, making it a must-try.
You don’t need an ice cream maker to enjoy this! Just mix, freeze, and scoop. Every bite is rich, sweet, and oh-so-chocolatey—perfect for hot days or cozy nights in!
Key Ingredients & Substitutions
Heavy Cream: This gives the ice cream its creamy texture. If you’re looking for a lighter option, you can use half-and-half instead, but it won’t be quite as rich.
Whole Milk: Whole milk adds creaminess. You can substitute with 2% milk, but your ice cream will be less creamy. Alternatively, for a non-dairy version, almond or coconut milk can work, but test with smaller amounts of sugar as they may be sweeter.
Granulated Sugar: Regular sugar works best here, but you can substitute with brown sugar for added depth or try alternatives like coconut sugar for a lower glycemic option. Just keep in mind it may alter the flavor slightly.
Cocoa Powder: This is key for the chocolate flavor. Dutch-process cocoa can provide a richer taste, while raw cacao has a more intense chocolate flavor and is less processed.
Chocolate: Semi-sweet chocolate is commonly used, but you can opt for dark chocolate for a richer, less sweet option. For vegan ice cream, try using a dairy-free chocolate.
How Do I Get the Smoothest Ice Cream Without an Ice Cream Maker?
If you don’t have an ice cream maker, no worries! You can still achieve a creamy texture by using a simple method:
- After mixing all ingredients and chilling the mixture, transfer it to a shallow dish.
- Freeze for about 30 minutes, then stir vigorously with a fork to break up ice crystals.
- Repeat this every 30 minutes for about 3-4 hours until the ice cream is fully firm and creamy.
This method mimics the churning process and helps create a smooth texture that rivals scooped ice cream from an ice cream maker.
Easy Classic Chocolate Ice Cream
Ingredients You’ll Need:
- 2 cups heavy cream
- 1 cup whole milk
- 3/4 cup granulated sugar
- 1/2 cup unsweetened cocoa powder
- 4 ounces semi-sweet or dark chocolate, chopped
- 1 teaspoon pure vanilla extract
- Pinch of salt
Time Needed:
This chocolate ice cream recipe will take about 15 minutes of active preparation time. You’ll need to chill the mixture for at least 2 hours before churning, and then freeze it for an additional 4 hours to set. Overall, plan on a total of about 6 hours and 15 minutes, including prep and chill time.
Step-by-Step Instructions:
1. Combine Dry Ingredients:
In a medium saucepan, mix together the granulated sugar, unsweetened cocoa powder, and a pinch of salt. This will create a rich chocolate base for your ice cream.
2. Add Milk:
Gradually whisk in the whole milk while heating over medium heat. Stir constantly until the sugar and cocoa have dissolved completely and the mixture is smooth and warm—just don’t let it boil!
3. Melt the Chocolate:
Once warm, remove the saucepan from the heat. Add the chopped chocolate and stir until it melts and blends into a silky mixture. This adds an extra layer of chocolatey goodness.
4. Mix in Cream and Vanilla:
Pour the chocolate mixture into a bowl and let it cool slightly. Once it’s cool, stir in the heavy cream and pure vanilla extract. The cream makes it super creamy and delicious!
5. Chill the Mixture:
Cover the bowl with plastic wrap or a lid and refrigerate the chocolate mixture for at least 2 hours, or until it’s thoroughly chilled. Chilling is important for the best texture.
6. Churn the Ice Cream:
Once chilled, pour the mixture into your ice cream maker. Follow the manufacturer’s instructions to churn, usually about 20-25 minutes. The mixture will become thick and creamy.
7. Freeze the Ice Cream:
Transfer the soft ice cream to an airtight container. Freeze it for at least 4 hours or until it’s firm enough to scoop.
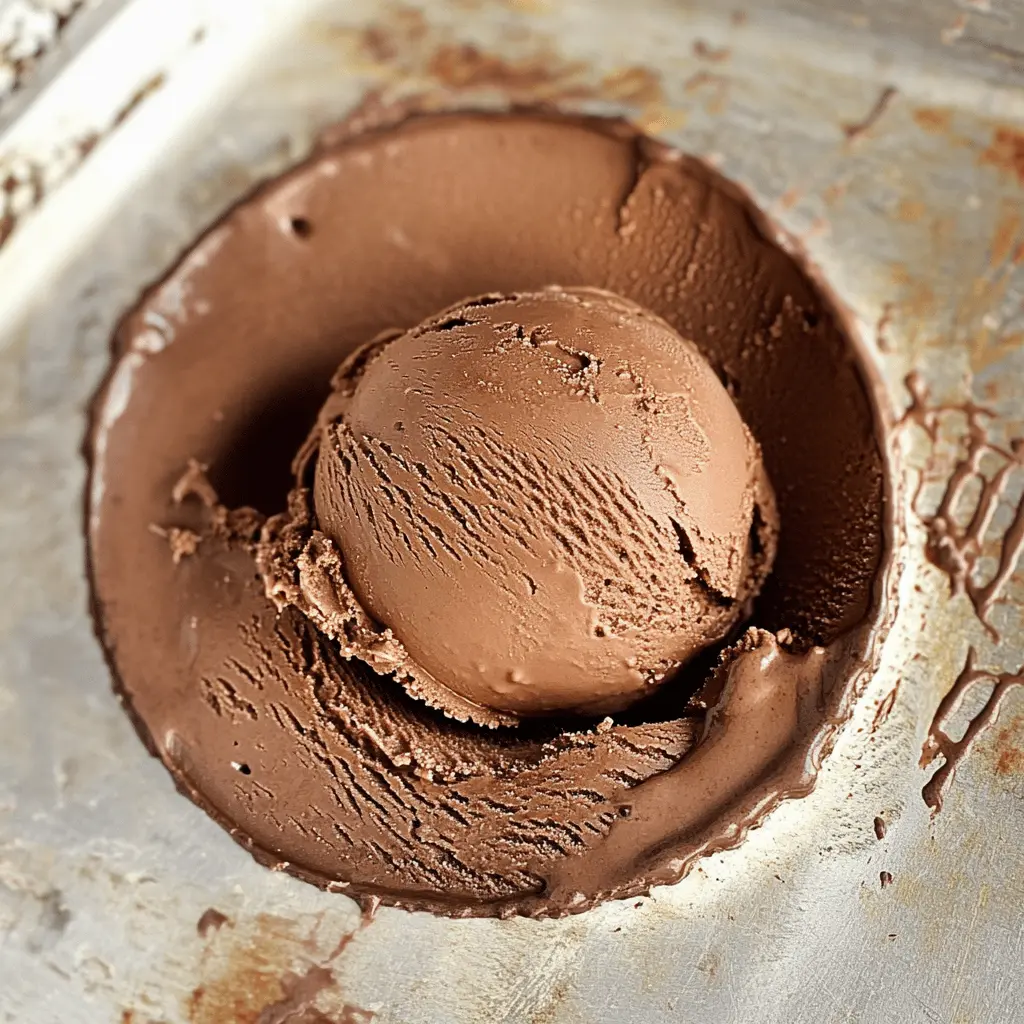
8. Serve and Enjoy:
Scoop the homemade chocolate ice cream into bowls or cones and enjoy your delicious creation! It’s perfect for a hot day or as a sweet treat anytime.
This recipe yields a rich, creamy homemade chocolate ice cream that captures the classic flavor and texture, perfect for any chocolate lover. Enjoy every delicious scoop!
Frequently Asked Questions
Can I Use Different Milk Alternatives?
Yes, you can substitute whole milk with alternatives like almond milk or coconut milk for a dairy-free version. Just keep in mind that this may change the texture and flavor slightly, so choose unsweetened varieties when possible.
How Can I Make This Ice Cream Vegan?
To make this chocolate ice cream vegan, use coconut cream instead of heavy cream, and opt for a dairy-free chocolate for the chopped chocolate. Additionally, ensure that your sugar is labeled as vegan, as some sugars are processed using bone char.
Can I Add Mix-ins to the Ice Cream?
Absolutely! Feel free to fold in chocolate chips, nuts, or even swirls of caramel or peanut butter after churning. Just add these mix-ins during the last few minutes of churning to incorporate them evenly!
What’s the Best Way to Store Leftover Ice Cream?
Store any leftover ice cream in an airtight container in the freezer. To maintain the best texture, place a piece of plastic wrap directly on the surface of the ice cream before sealing the container. It should stay fresh for up to 2 weeks.