This mint chocolate chip ice cream is a delicious treat you can make at home! It has a cool mint flavor mixed with sweet chocolate chips, making it perfect for hot days.
Making ice cream might sound tricky, but believe me, it’s as simple as mixing and freezing! I love to scoop it into a cone and enjoy it while lounging in the sun. 🌞
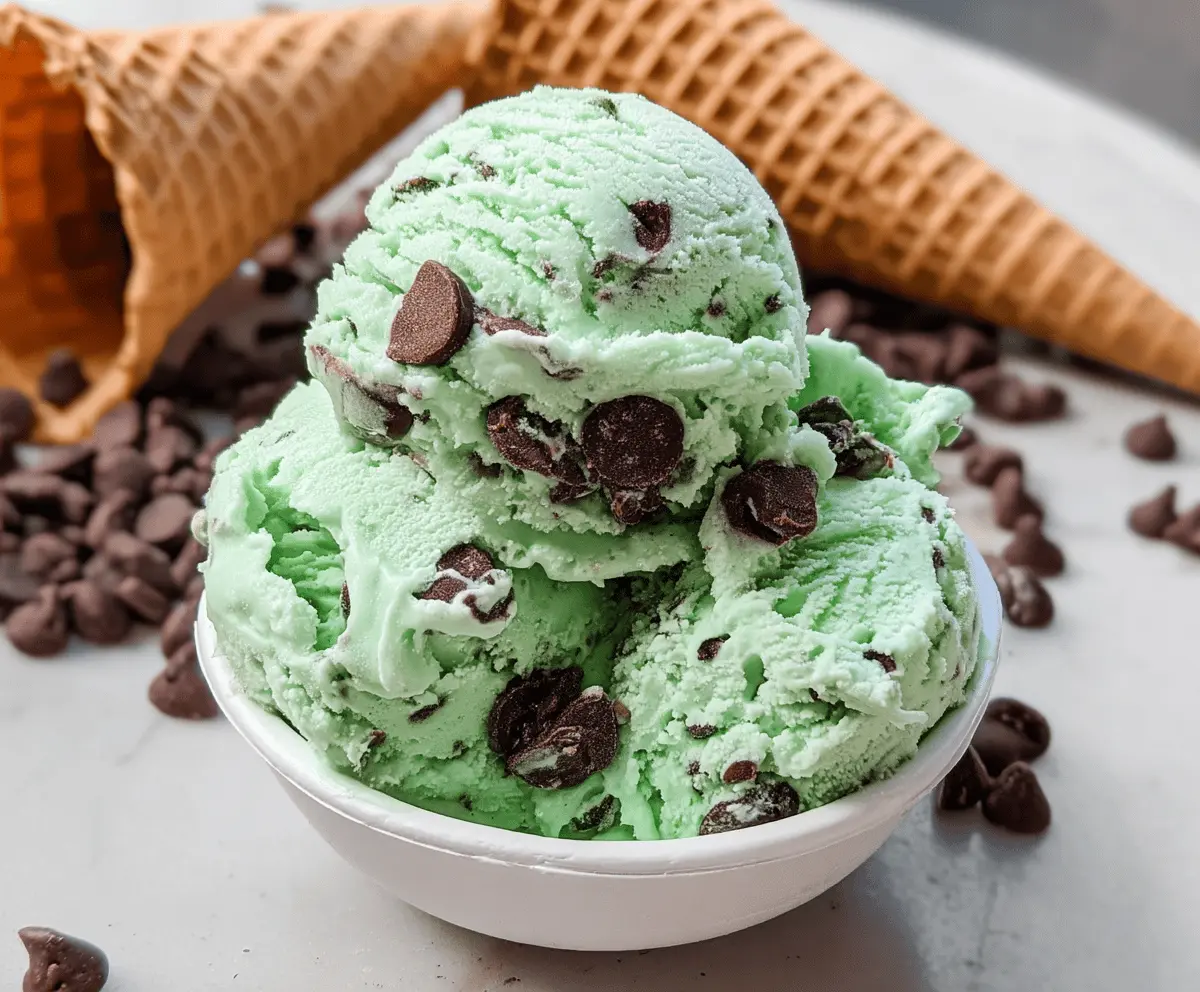
Key Ingredients & Substitutions
Heavy Whipping Cream: This is essential for a rich, creamy texture. If you’re looking for a lighter option, you can substitute it with half-and-half, but the texture may be less creamy.
Whole Milk: Whole milk adds creaminess to the ice cream. You can use 2% milk if that’s what you have, but the ice cream won’t be as rich.
Peppermint Extract: For that refreshing mint flavor, pure peppermint extract is best. If you want a milder taste, you could use mint extract, but check the concentration as it can be stronger.
Green Food Coloring: This is optional, mainly for visual appeal. If you prefer a more natural look, skip it, and the ice cream will still taste great!
Mini Chocolate Chips: I love using mini chocolate chips as they spread out nicely. You can also chop up dark chocolate or use dairy-free chocolate chips for a different flavor or dietary needs.
How Do I Get That Perfect Ice Cream Texture?
Getting the right texture is key for great homemade ice cream. Here are a few tips to help:
- Make sure your ice cream maker is fully frozen before starting. This step is super important for a smooth texture.
- Whisk the mixture until the sugar is completely dissolved. This ensures even sweetness and helps prevent ice crystals.
- Churn the ice cream mixture just enough to achieve a soft-serve consistency—about 20-25 minutes. Over-churning can turn it too icy.
- Once you’ve added the chocolate chips, transfer the ice cream to a container and let it freeze for at least 4 hours. This extra freezing time solidifies it.
With these tips, you’ll have perfectly smooth and tasty mint chocolate chip ice cream every time!

Easy Homemade Mint Chocolate Chip Ice Cream
Ingredients You’ll Need:
- 2 cups heavy whipping cream
- 1 cup whole milk
- 3/4 cup granulated sugar
- 1 tablespoon pure peppermint extract
- 1/2 teaspoon green food coloring (optional, for mint color)
- 1 cup mini chocolate chips
- Pinch of salt
How Much Time Will You Need?
This recipe requires about 10 minutes of prep time to mix everything, followed by 20-25 minutes to churn in the ice cream maker. After that, you’ll need to freeze the mixture for at least 4 hours to achieve the perfect creamy texture. So, in total, plan for about 4 hours and 30 minutes before you can scoop and enjoy!
Step-by-Step Instructions:
1. Mixing the Base:
Start by grabbing a large mixing bowl. In it, whisk together the heavy whipping cream, whole milk, granulated sugar, peppermint extract, pinch of salt, and green food coloring (if you’re using it). Keep whisking until the sugar is completely dissolved; this should take just a couple of minutes. It’ll be silky and smooth!
2. Churning the Ice Cream:
Pour the creamy mixture into your ice cream maker. Follow the manufacturer’s instructions to churn the mixture, which typically takes around 20-25 minutes. Keep an eye out for a soft-serve texture – that’s when you know it’s ready!
3. Adding the Chocolate Chips:
In the last 5 minutes of churning, gradually sprinkle in the mini chocolate chips. This way, they’ll be evenly distributed throughout the ice cream, adding delightful chocolatey bites in every scoop!
4. Freezing the Ice Cream:
Once the ice cream has reached a soft-serve consistency, transfer it to an airtight container. Use a spatula to smooth the top, and then pop it into the freezer. Let it freeze for at least 4 hours, or until it’s firm enough to scoop.
5. Serve and Enjoy:
When you’re ready to enjoy your homemade mint chocolate chip ice cream, scoop it into bowls or cones. Each bite of this delightful treat will bring a refreshing mint flavor perfectly balanced with sweet chocolate chips. Enjoy every scoop!
Frequently Asked Questions (FAQ)
Can I Use Different Types of Milk?
Yes! You can substitute whole milk with 2% or skim milk for a lighter version. However, using whole milk or even half-and-half will give the ice cream a creamier texture.
Can I Make This Ice Cream Without an Ice Cream Maker?
Absolutely! If you don’t have an ice cream maker, you can pour the mixture into a shallow dish and freeze it. Stir every 30 minutes for the first 2-3 hours to break up ice crystals and achieve a smoother texture.
How Should I Store Leftover Ice Cream?
Store any leftovers in an airtight container in the freezer. For the best texture, consume within 1-2 weeks, as homemade ice cream can become icy the longer it’s stored.
Can I Customize the Flavor?
Definitely! Feel free to experiment with different extracts like vanilla or almond instead of peppermint. You could also mix in other add-ins like crushed Oreos, nuts, or fresh fruit for a unique twist!