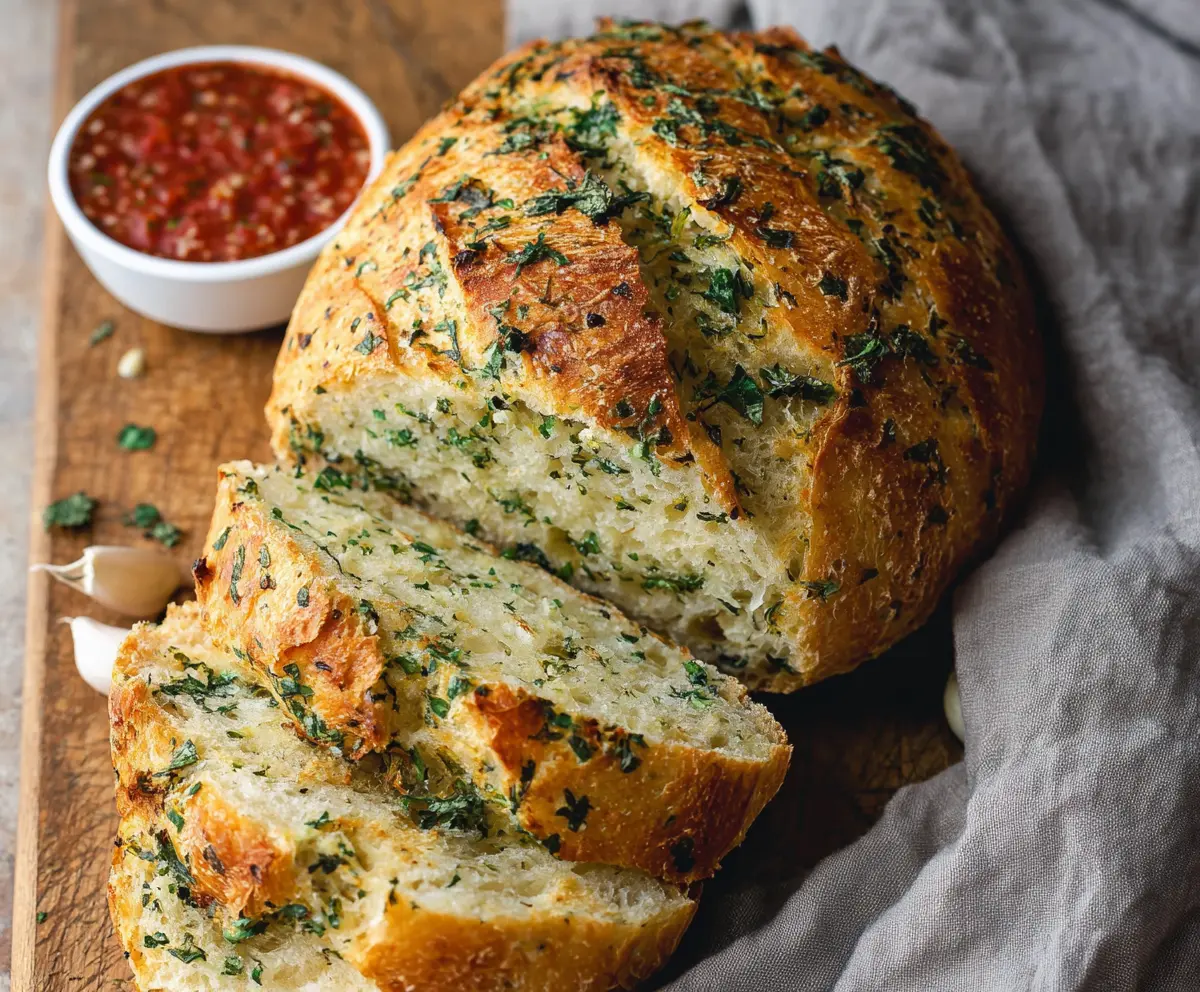
This garlic and herb sourdough bread is bursting with flavor! Made with tangy sourdough starter, fresh garlic, and a mix of herbs, it’s perfect for dipping or enjoying on its own.
Trust me, your kitchen will smell wonderful while it’s baking! I love to slather butter on a warm slice—talk about comfort food! It’s easy to make and impressively tasty.
Key Ingredients & Substitutions
Sourdough Starter: An active starter is crucial for flavor and texture. If you don’t have one, you can create a simple yeast-based bread using instant yeast, but the sourdough flavor will be different.
Flour: All-purpose flour works great, but for a chewier texture, I often use bread flour. You can also mix in whole wheat or spelt flour for added nutrition and flavor, just adjust the water slightly as they absorb more liquid.
Garlic: Fresh garlic gives the best flavor, but if you’re in a pinch, garlic powder can work too—just keep the amount to about 1 teaspoon for a mild taste.
Herbs: Fresh herbs like parsley, rosemary, and thyme pack a punch. If you don’t have fresh herbs, dried herbs can be used—about one-third of the amount since dried herbs are more concentrated. I love using a mix of whichever herbs I have on hand!
How Do I Fold the Dough Correctly?
One essential technique in this recipe is folding the dough during its rise. This step strengthens the gluten structure, leading to a better texture. Here’s how to do it:
- After the initial rise (4-6 hours), turn the dough out onto a floured surface.
- Gently stretch one side of the dough upward and fold it over to the opposite side. Rotate the bowl and repeat this for all four sides.
- This helps distribute the garlic and herbs evenly while building structure. Do this every hour!
Garlic And Herb Sourdough Bread
Ingredients You’ll Need:
- 1 cup (240g) active sourdough starter
- 3 1/2 cups (420g) all-purpose flour or bread flour
- 1 1/4 cups (300ml) water, room temperature
- 2 teaspoons salt
- 4 tablespoons unsalted butter, softened
- 4-5 cloves garlic, minced
- 2 tablespoons fresh parsley, finely chopped
- 1 tablespoon fresh rosemary, finely chopped
- 1 tablespoon fresh thyme, finely chopped
- Optional: 1 teaspoon garlic powder for extra garlic flavor
- Olive oil or melted butter for brushing the crust
How Much Time Will You Need?
This delicious garlic and herb sourdough bread takes about 6 to 8 hours total. You’ll spend around 30 minutes on preparation, with a lengthy 4-6 hour rise time for the dough to develop flavor and texture. Then, it needs an additional 1-2 hours for the final proofing before baking. But don’t worry! Most of this time is just waiting for the dough to do its magic while you relax.
Step-by-Step Instructions:
1. Mixing the Dough:
In a large mixing bowl, combine the sourdough starter, water, and flour. Mix together with a spoon or your hands until the dough looks shaggy. Cover the bowl with a damp towel or plastic wrap and let it rest for about 30 minutes. This step is called “autolyse” and helps develop the gluten in the flour.
2. Adding Flavor and Kneading:
After the dough has rested, add in the salt, softened butter, minced garlic, and chopped herbs—parsley, rosemary, and thyme. Mix everything together, then knead the dough well, either by hand or using a stand mixer with a dough hook, until the dough is smooth and elastic, which should take about 8-10 minutes.
3. The First Rise:
Transfer the kneaded dough to a lightly oiled bowl. Cover it and let it rise at room temperature for about 4 to 6 hours. Every hour, give the dough a few gentle folds to strengthen it and distribute the garlic and herbs evenly. To fold, stretch one side of the dough upward and fold it over itself, rotating the bowl as you go.
4. Shaping the Dough:
After the dough has risen, gently turn it out onto a floured surface. Shape it into a round boule by folding the edges into the center and then tucking it underneath to create tension. Place the shaped dough on a sheet of parchment paper.
5. The Final Proof:
Cover the shaped dough and let it proof for another 1 to 2 hours, until it roughly doubles in size. While it’s proofing, preheat your oven to 450°F (230°C) with a Dutch oven or a heavy-lidded pot inside so that it gets nice and hot.
6. Scoring and Baking:
Once the dough has proofed, score the top with a sharp knife or lame to allow it to expand while baking. Lightly brush the crust with some olive oil or melted butter for that lovely golden finish.
7. Baking the Bread:
Carefully transfer the dough on the parchment paper into the hot Dutch oven. Cover it and bake for 20 minutes. After that, remove the lid and continue baking for an additional 20-25 minutes until the crust is deep golden brown and beautifully crisp.
8. Cooling and Serving:
Once baked, remove the bread from the oven and transfer it to a wire rack to cool completely before slicing. This helps set the crumb nicely. Serve warm or at room temperature, perfect with marinara sauce, butter, or your favorite dip—enjoy the delightful flavor of garlic and herbs in every bite!
Can I Use Instant Yeast Instead of Sourdough Starter?
While you can use instant yeast for a quicker version of this bread, it won’t have the same tangy flavor as sourdough. If using instant yeast, you’ll typically use about 2 teaspoons for this amount of flour and let the dough rise for 1-2 hours without the folding steps.
What Should I Do If My Dough Is Too Sticky?
If your dough feels too sticky, you can lightly flour your work surface and hands when handling it. If it’s excessively sticky even after mixing, you may need to add a bit more flour (a tablespoon at a time) to reach a workable consistency. Be cautious not to add too much, as this might affect the bread’s texture.
How Should I Store Leftover Bread?
To store leftover bread, wrap it tightly in plastic wrap or aluminum foil and keep it at room temperature for up to 2-3 days. For longer storage, slice the bread and freeze it in a resealable bag. It can be frozen for up to 3 months. To enjoy, simply toast the slices straight from the freezer!
Can I Add Other Herbs or Ingredients?
Absolutely! Feel free to customize this recipe with your favorite herbs or even add cheese, sun-dried tomatoes, or olives for different flavor profiles. Just be mindful of the moisture content of any additions, as they can affect the dough consistency.