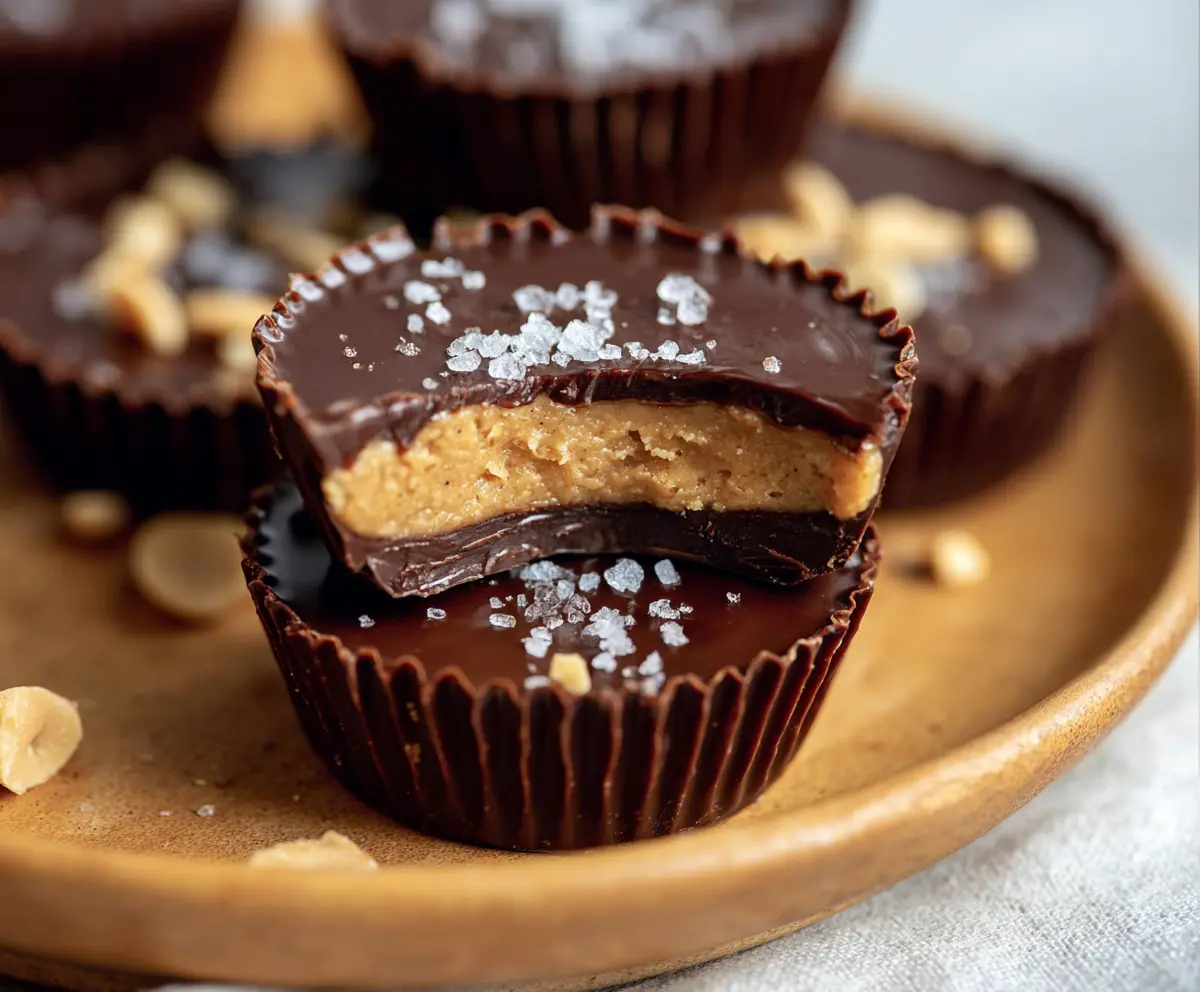
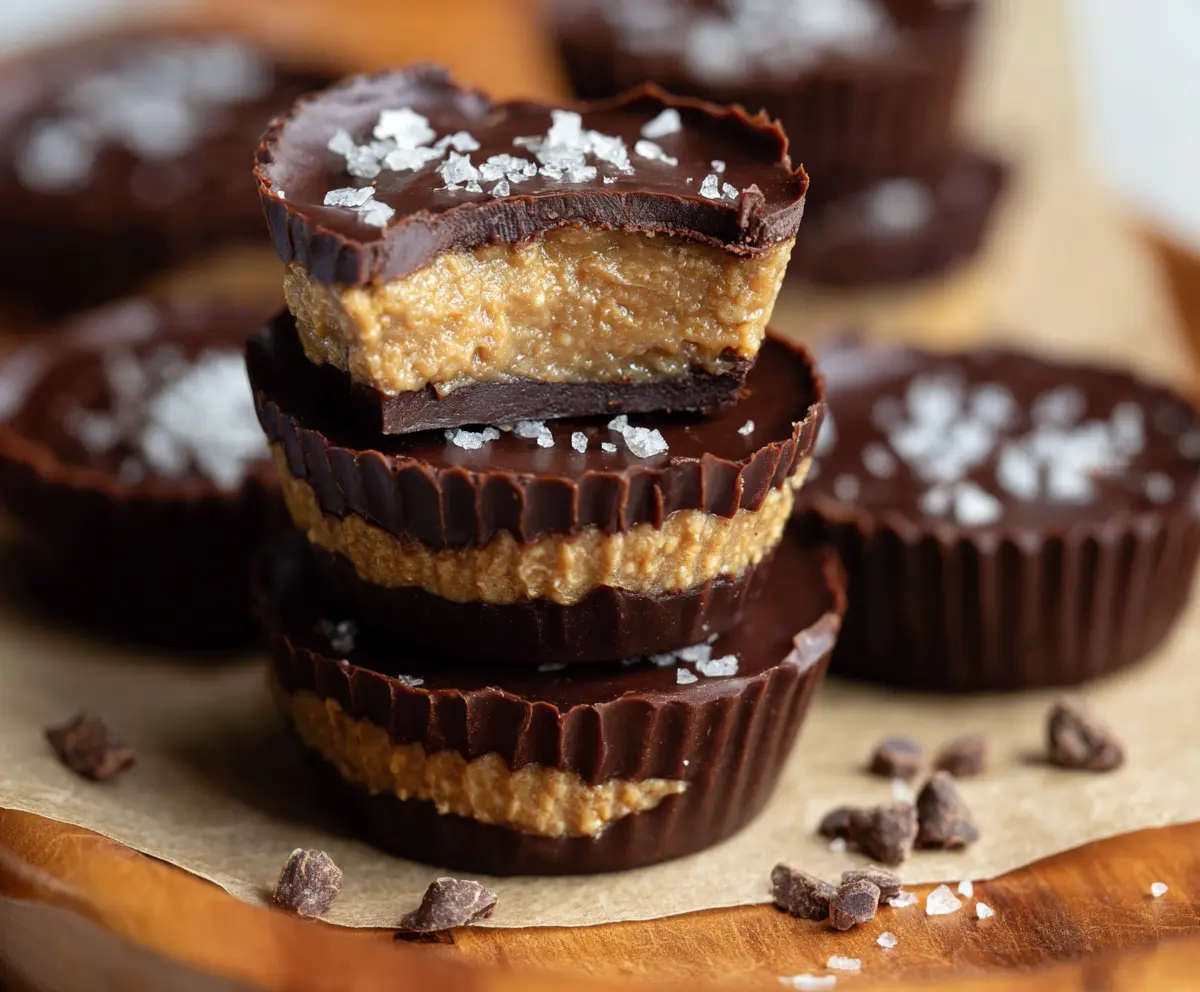
These Peanut Butter Protein Cups are perfect for a snack or a sweet treat! Made with creamy peanut butter and rich chocolate, they pack a healthy punch.
Who knew something so delicious could also be good for you? I love keeping a few of these on hand for when I need a quick energy boost. Yum! 😋
Key Ingredients & Substitutions
Natural Creamy Peanut Butter: Choose an unsweetened, unsalted variety for better control over sweetness and saltiness. If you have nut allergies, almond butter or sunflower seed butter work well too!
Protein Powder: I like using vanilla protein for added flavor. If you want a different taste, try chocolate or keep it unflavored. For a plant-based option, look for pea or hemp protein powders.
Flour Options: Powdered peanut flour adds richness, but if you can’t find it, finely ground oats are a great substitute. They offer a similar texture and mix perfectly!
Sweeteners: Honey enhances flavor, but maple syrup is a perfect vegan alternative. You can experiment with other sweeteners like agave syrup or stevia according to your taste and dietary needs.
Dark Chocolate: Opt for dark chocolate chips with at least 70% cocoa for a rich taste. If you’re dairy-free, go for vegan chocolate chips, which are readily available nowadays.
How Do You Melt Chocolate Without Burning It?
Melted chocolate can easily turn from smooth to burnt, but there’s a simple way to handle this. Follow these steps for perfect melting:
- Use a double boiler: Fill a pot with a small amount of water and place a heat-safe bowl on top with the chocolate. This keeps the chocolate warm and prevents scorching.
- If using a microwave, place chocolate in a microwave-safe bowl. Heat in short bursts of 20-30 seconds, stirring in between. Stop when it’s mostly melted, as residual heat will finish the melting.
By melting carefully, you’ll achieve a smooth consistency perfect for coating your protein cups.
Peanut Butter Protein Cups
Ingredients You’ll Need:
For the Filling:
- 1 cup natural creamy peanut butter (unsweetened, unsalted)
- 1/4 cup vanilla or unflavored protein powder
- 1/4 cup powdered peanut flour or finely ground oats (optional for texture)
- 2 tablespoons honey or maple syrup (adjust sweetness as preferred)
- 1 tablespoon coconut oil (melted)
- 1 teaspoon vanilla extract
For the Chocolate Coating:
- 1 cup dark chocolate chips or chopped dark chocolate (at least 70% cocoa)
- Flaky sea salt, for garnish
How Much Time Will You Need?
This recipe takes about 15 minutes of prep time, plus at least 30 minutes to chill in the freezer for the cups to set. In total, you’re looking at about 45 minutes to make these delicious snacks!
Step-by-Step Instructions:
1. Prepare Your Molds:
Start by lining a standard muffin tin with paper liners or get your silicone molds ready. This makes it easy to pop the protein cups out once they’re set!
2. Mix the Peanut Butter Filling:
In a medium bowl, combine the creamy peanut butter, protein powder, and peanut flour or oats (if using). Then add in the honey or maple syrup, melted coconut oil, and vanilla extract. Mix everything together until it forms a thick, slightly crumbly dough. It should stick together nicely!
3. Melt the Dark Chocolate:
Next, melt the dark chocolate in a double boiler or in a microwave. If microwaving, heat the chocolate in short bursts of 20-30 seconds, stirring in between to prevent burning. Once it’s smooth and silky, you’re ready to assemble.
4. Create the Chocolate Base:
Spoon about 1 teaspoon of melted chocolate into the bottom of each muffin cup. Use the back of a spoon to spread it evenly. Then place the muffin tin in the freezer for about 5-10 minutes to set the chocolate.
5. Add the Peanut Butter Layer:
Once the chocolate has set, take the tin out of the freezer. Add a heaping tablespoon of the peanut butter mixture on top of each chocolate base. Gently press down to flatten the filling.
6. Top with More Chocolate:
Pour the remaining melted chocolate over the peanut butter layer, making sure to cover it completely. This keeps the delicious filling safe and sound!
7. Sprinkle with Sea Salt:
Finish off each cup with a small pinch of flaky sea salt. This adds a nice flavor contrast that’s super tasty!
8. Chill to Set:
Pop the muffin tin back into the freezer and chill for at least 30 minutes until everything is set. You’ll know they’re ready when they’re firm to the touch.
9. Store and Enjoy:
Once set, store your protein cups in an airtight container in the refrigerator or freezer. If you keep them in the freezer, allow them to soften slightly at room temperature before enjoying!
These peanut butter protein cups are perfect for a quick snack or a post-workout treat. Enjoy the sweet, salty goodness packed with protein!
Can I Use Natural Chunky Peanut Butter Instead of Creamy?
Yes, you can! Chunky peanut butter will add texture to your cups, giving them a delightful crunch. Just ensure that the peanut butter is still unsweetened and unsalted to keep flavor balanced.
Can I Substitute the Honey with Something Else?
Absolutely! If you’re looking for a different sweetener, maple syrup is a fantastic alternative. Agave nectar or a sugar-free sweetener can also work well if you prefer a lower-calorie option.
How Do I Store Leftovers?
Store any leftover peanut butter protein cups in an airtight container. They can stay fresh in the refrigerator for about a week or in the freezer for up to three months. If frozen, allow to thaw slightly before enjoying for the best texture.
Can I Make These Without Protein Powder?
Yes! If you want to skip the protein powder, just use a little extra powdered peanut flour or oats to maintain the right consistency. You could also add ground flaxseed or chia seeds for added nutrition!