These Protein Rice Krispie Treats are a fun twist on the classic snack! Made with crispy rice cereal and packed with protein, they’re perfect for a quick treat.
Who doesn’t love a chewy, crunchy bite? I like to whip these up for a post-workout snack. They’re easy to make and oh-so-yummy – a win-win in my book!
Key Ingredients & Substitutions
Crispy Rice Cereal: This is the base of your treats. If you’re looking for a gluten-free option, make sure to pick a certified gluten-free rice cereal. I prefer the original for its classic crunch!
Mini Marshmallows: These add that wonderful sweetness and gooey texture. If you don’t have mini marshmallows, you can use regular marshmallows — just cut them into smaller pieces for easier melting.
Protein Powder: Vanilla protein powder gives a nice flavor boost. If you’re not into protein powders, you could use powdered peanut butter for added nutty flavor, but the texture might change slightly.
Greek Yogurt/Frosting: I like Greek yogurt because it adds creaminess and a bit of tang. If you want something sweeter, go for frosting. You can also use dairy-free yogurt if you’re avoiding dairy.
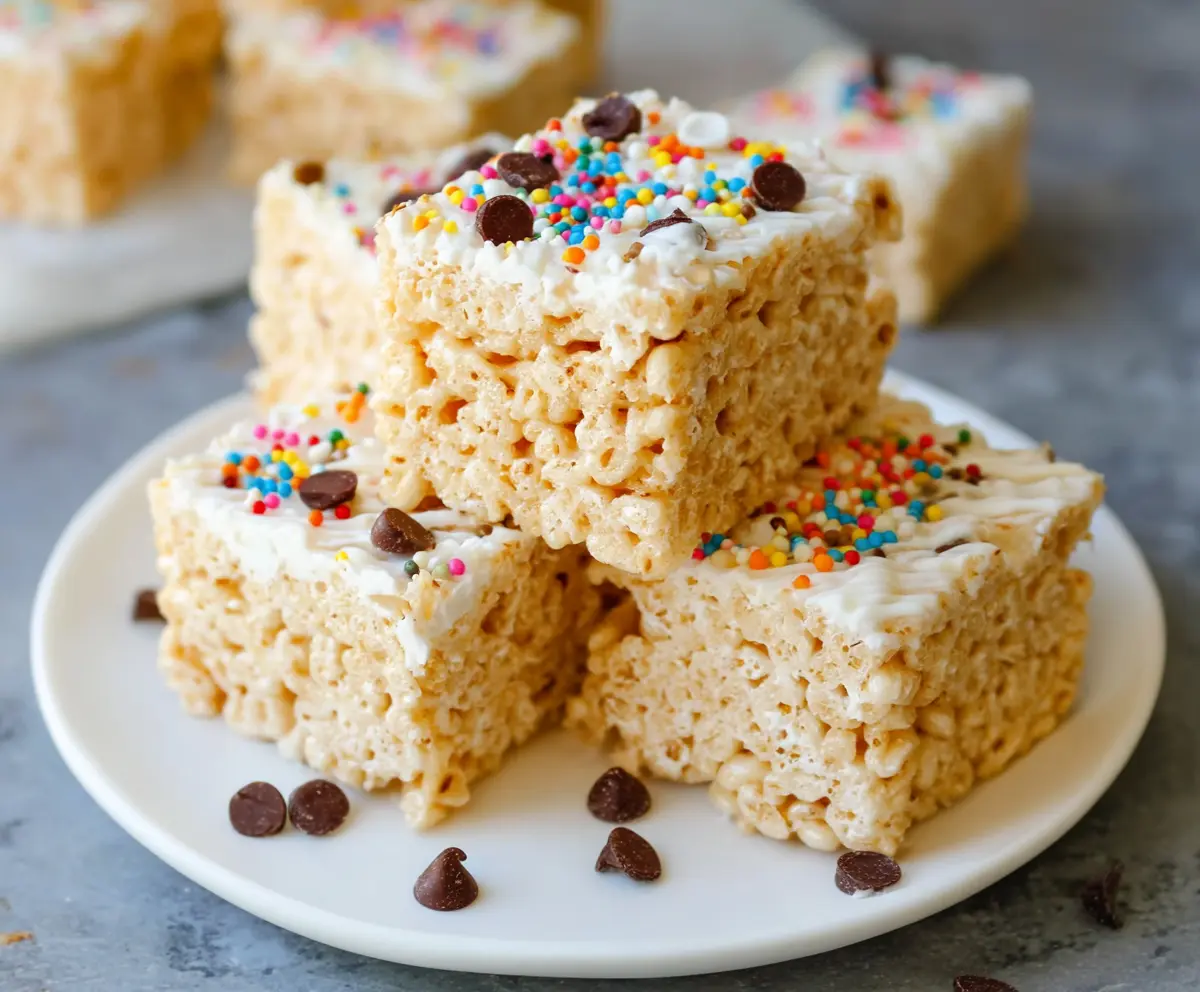
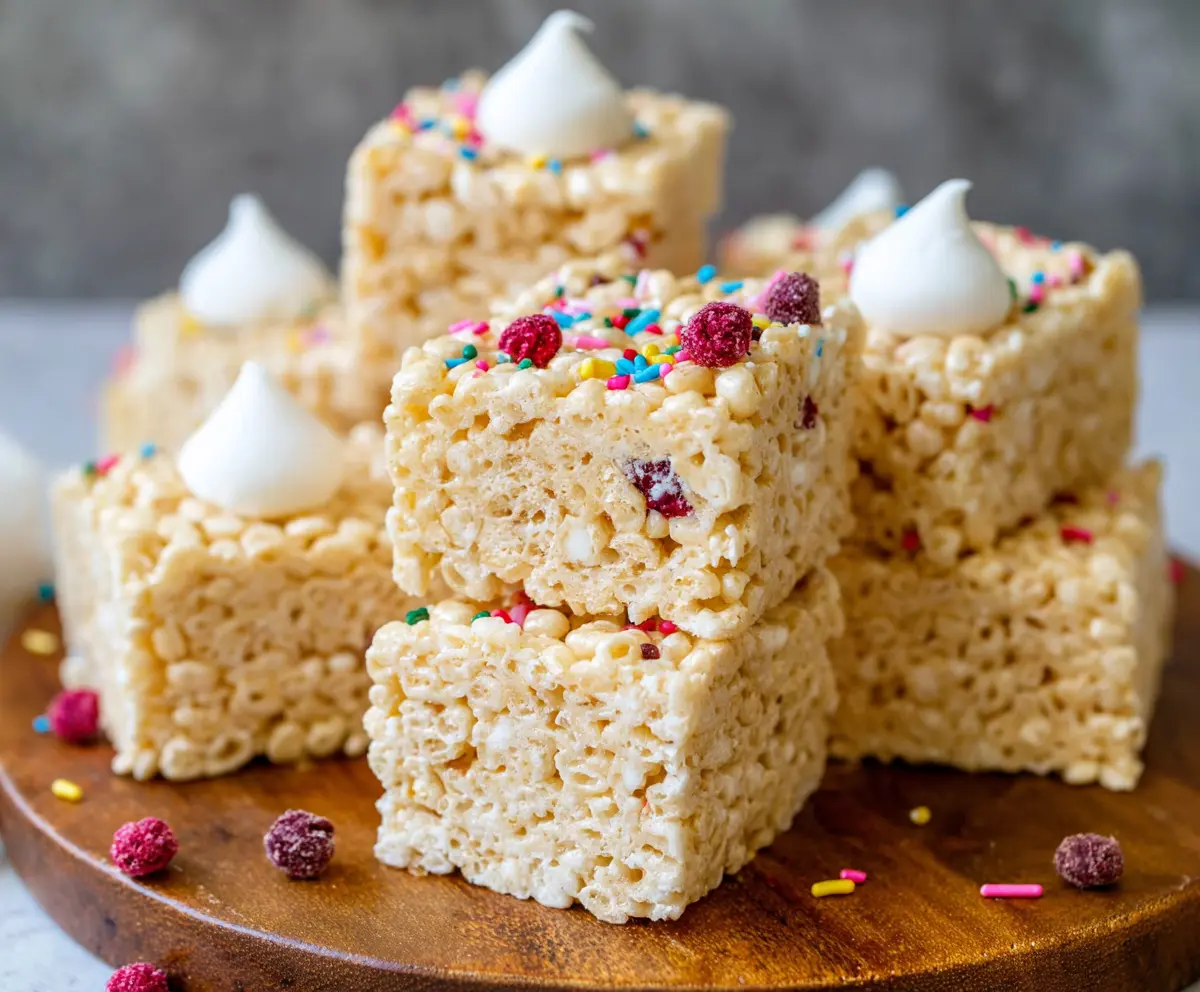
Toppings: Rainbow sprinkles and mini chocolate chips are fun additions! Change it up with different nuts, dried fruits, or even other candies, depending on what you have on hand.
How Can I Get My Rice Krispie Treats to Hold Their Shape?
Pressing the mixture into the pan correctly is crucial for firm treats. Here’s how to do it right:
- Once mixed, quickly transfer it to a greased pan. Time is vital to ensure the mixture doesn’t cool too much before pressing.
- Use a buttered spatula or wax paper to press firmly. This ensures that the mixture sticks together and doesn’t crumble when cut.
- Let them cool at room temperature or in the fridge for about 30 minutes. This helps them set properly.
Following these tips will help you create perfectly shaped Protein Rice Krispie Treats every time!
Protein Rice Krispie Treats
Ingredients You’ll Need:
Base Ingredients:
- 4 cups crispy rice cereal
- 1 1/2 cups mini marshmallows (or 1 bag, 10 oz)
- 3 tablespoons unsalted butter
Protein Boost:
- 1/2 cup vanilla protein powder
- 1/4 teaspoon salt
Toppings:
- 1 cup Greek yogurt or frosting (for topping)
- Rainbow sprinkles (for garnish)
- Mini chocolate chips (for garnish)
How Much Time Will You Need?
This delightful recipe takes about 15 minutes for preparation and an additional 30 to 40 minutes for cooling and setting. In no time, you’ll have a delicious snack ready to enjoy!
Step-by-Step Instructions:
1. Prepare Your Baking Pan:
First, grab a 9×9-inch or 8×8-inch square baking pan. Grease it with a bit of butter or non-stick cooking spray to prevent the treats from sticking. This will make it so much easier when it’s time to serve!
2. Melt the Marshmallows:
In a large microwave-safe bowl, toss in the butter and mini marshmallows. Microwave them together in 30-second intervals, stirring after each interval. Keep going until everything is completely melted and smooth. It should look marshmallowy and glossy!
3. Mix in the Protein:
Once your marshmallow mixture is smooth, stir in the vanilla protein powder and salt. Mix it well until everything is nicely combined. This is what gives your treats that protein boost!
4. Combine with Cereal:
Now, quickly fold in the crispy rice cereal, ensuring that it gets evenly coated with the marshmallow mixture. Do this gently, but swiftly to keep everything nice and mixed without crushing the cereal!
5. Transfer to the Pan:
Carefully pour the mixture into the prepared baking pan. Use a buttered spatula or a piece of wax paper to press the mixture firmly and evenly into the pan. Make sure it’s packed well so the treats hold together!
6. Cool Down:
Allow the mixture to cool at room temperature for about 10 minutes. This helps it firm up a bit before you add the topping.
7. Add Your Topping:
Spread a nice, even layer of Greek yogurt or frosting over the cooled treats. This adds a delicious creamy layer that takes your treats up a notch!
8. Decorate:
Now for the fun part! Sprinkle rainbow sprinkles and mini chocolate chips over the top for some extra flavor and color. It makes it look festive too!
9. Let It Set:
For the best results, let the treats set completely. A quick 30 minutes in the fridge usually works wonders to solidify them.
10. Slice and Enjoy:
Once set, cut into squares and serve right away. They can also be stored in an airtight container for a delicious snack later. Enjoy your protein-packed, delightful treat!
Can I Substitute the Protein Powder?
Absolutely! If you’re not a fan of protein powder, you can use powdered peanut butter for a nutty flavor or even omit it entirely. Just keep in mind that the texture may change slightly without it.
How Do I Store Leftovers?
Store any leftover Protein Rice Krispie Treats in an airtight container at room temperature for up to 3 days. If you want them to last longer, you can refrigerate them for up to a week. Just be aware that refrigeration might make them a bit firmer.
Can I Use Different Toppings?
Definitely! Feel free to personalize your treats with different toppings. You can use nuts, dried fruits, or even other types of candies instead of sprinkles and chocolate chips for a unique twist!
What Should I Do If My Mixture is Too Sticky?
If your mixture is too sticky to work with, try dipping your spatula in a little non-stick spray or butter before spreading it into the pan. This will make it easier to manipulate without sticking to your tools!