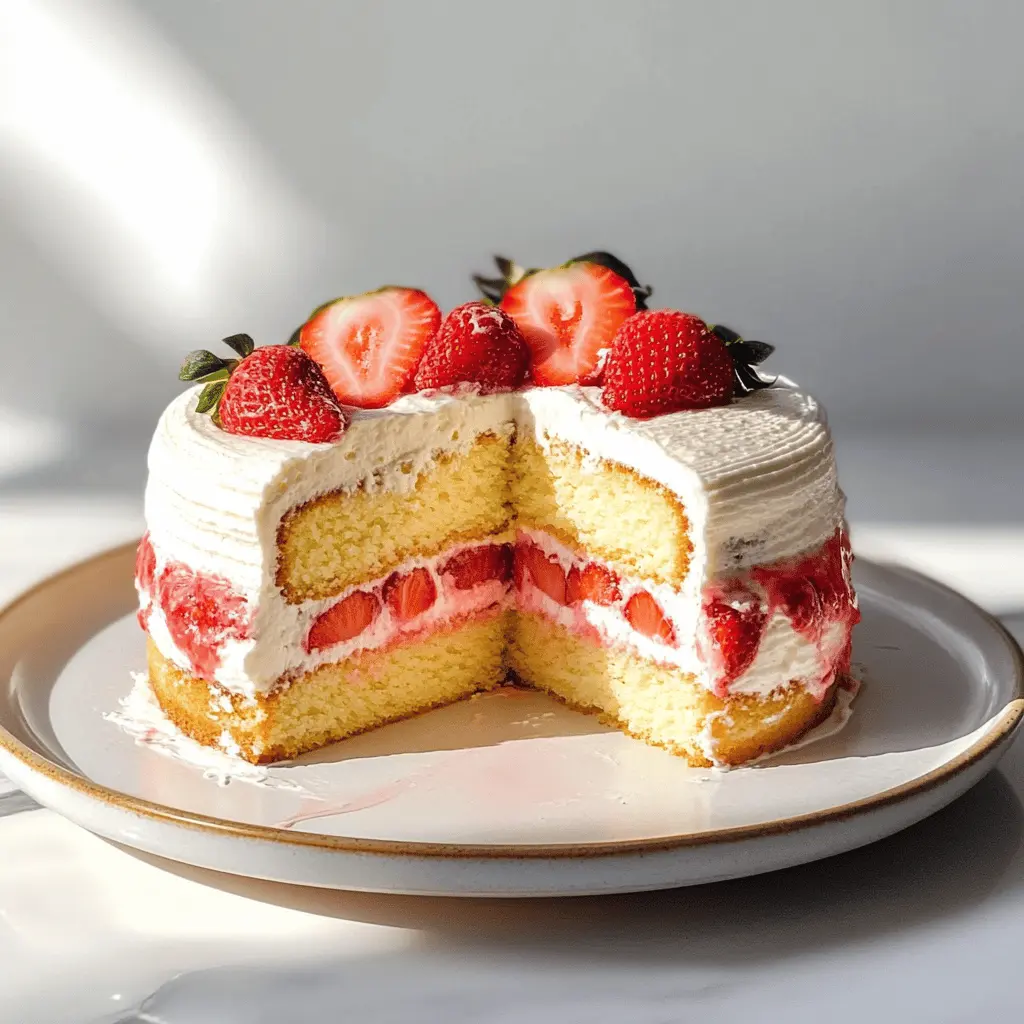
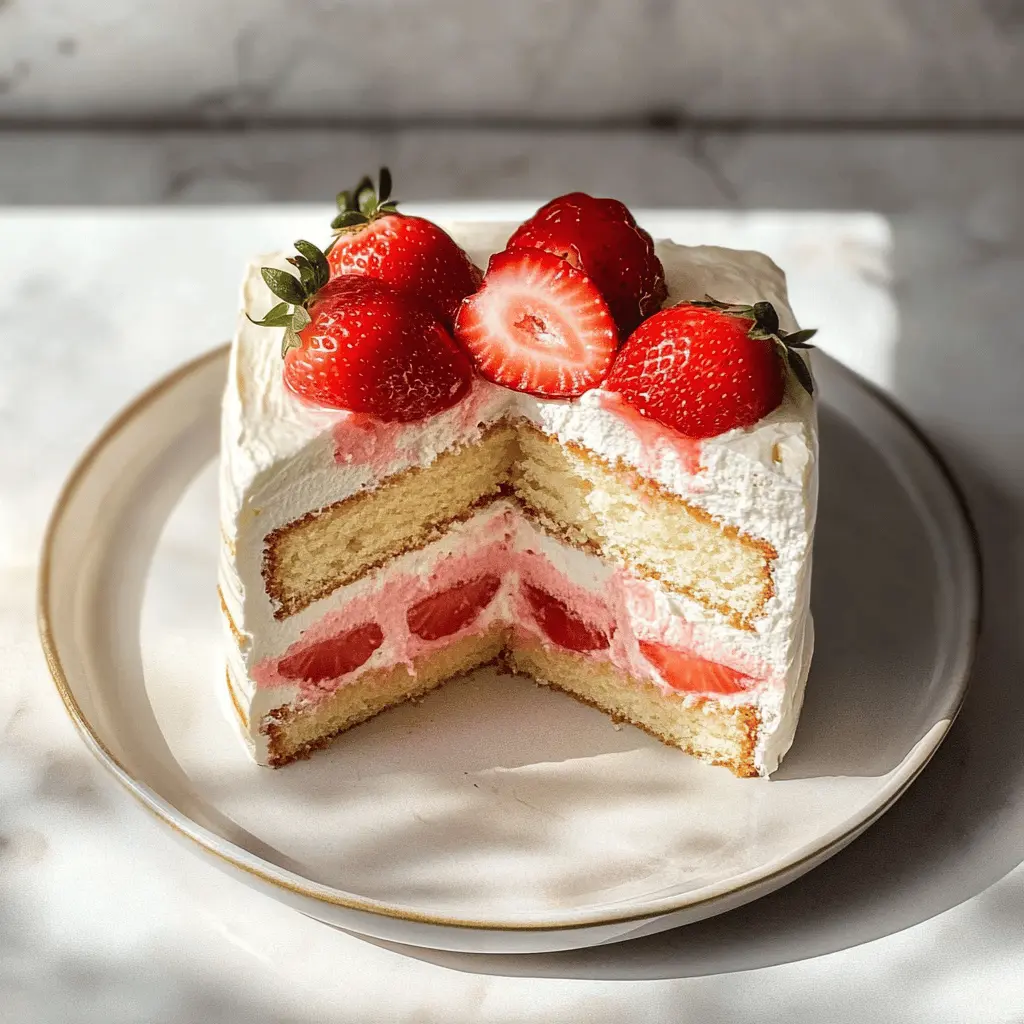
This Strawberry Shortcake Layer Sponge Cake is a sweet dream come true! Soft sponge layers are filled with fresh strawberries and whipped cream to create a light and yummy dessert.
I love how this cake makes every occasion feel special. Plus, who can resist the juicy strawberries peeking out? It’s a total crowd-pleaser, and leftovers (if there are any) are delicious too!
Key Ingredients & Substitutions
All-Purpose Flour: This is essential for structure in your sponge cake. If you’re gluten-free, consider using a gluten-free flour blend instead, but make sure it has a binding agent like xanthan gum.
Granulated Sugar: It sweetens the cake and helps it rise. If you’re looking for a healthier option, coconut sugar or a sugar substitute can work, but the texture might change slightly.
Unsalted Butter: Butter adds richness to the cake. You can substitute it with vegetable oil or melted coconut oil for a dairy-free version, though this might alter the flavor a bit.
Strawberries: Fresh strawberries are the star here! If they’re out of season, you can use thawed frozen strawberries. Just drain them well to avoid excess moisture.
Heavy Whipping Cream: This is used for the whipped frosting. If you want a lighter option, whip some coconut cream instead. It adds a nice flavor and is dairy-free.
How Can I Ensure My Sponge Cake Is Light and Fluffy?
The key to a good sponge cake is the creaming method. Properly beating the butter and sugar incorporates air, which helps the cake rise.
- Start by creaming softened butter with granulated sugar until light and fluffy—about 3-5 minutes.
- Add each egg one at a time, beating well after each addition. This gives structure to the cake.
- When mixing in the dry ingredients and milk, do this gradually. Overmixing can cause a dense cake. Stop as soon as it all comes together.
Delicious Strawberry Shortcake Layer Sponge Cake Recipe
Ingredients You’ll Need:
For the Sponge Cake:
- 2 cups all-purpose flour
- 1 ½ cups granulated sugar
- ½ cup unsalted butter, softened
- 1 cup milk
- 4 large eggs
- 2 tsp baking powder
- 1 tsp vanilla extract
- ½ tsp salt
For the Strawberry Filling:
- 2 cups fresh strawberries, sliced
- ¼ cup granulated sugar
- 1 tbsp lemon juice
For the Whipped Cream Frosting:
- 2 cups heavy whipping cream
- ½ cup powdered sugar
- 1 tsp vanilla extract
- Optional: additional strawberries for garnish
How Much Time Will You Need?
This delightful Strawberry Shortcake Layer Sponge Cake will take about 1 hour and 15 minutes to prepare and bake, plus an additional hour to chill in the refrigerator. So, set aside a little over 2 hours in total for a delicious and beautiful cake!
Step-by-Step Instructions:
1. Prepare the Sponge Cake:
Start by preheating your oven to 350°F (175°C). Grease and flour three 8-inch round cake pans so your cakes won’t stick. In a large bowl, cream the softened butter and granulated sugar together until it’s light and fluffy. Then, add the eggs one at a time, mixing well after each addition. Stir in the vanilla extract for that lovely flavor!
2. Combine Dry Ingredients:
In a separate bowl, whisk together the flour, baking powder, and salt. Gradually mix this dry mixture into your butter and sugar blend, alternating with the milk. Keep mixing until just combined; you don’t want to overmix!
3. Bake the Cakes:
Divide the batter evenly into the three prepared cake pans. Smooth the tops with a spatula. Bake them in your preheated oven for about 25-30 minutes, or until a toothpick inserted into the center comes out clean. Once they’re done, let them cool in the pans for about 10 minutes before carefully transferring them to wire racks to cool completely.
4. Prepare the Strawberry Filling:
While the cakes are cooling, let’s get to the strawberries! In a mixing bowl, combine the sliced strawberries, sugar, and lemon juice. Give them a little stir and set aside for about 15 minutes; this will help draw out the delicious strawberry juices.
5. Make the Whipped Cream Frosting:
Next, in another large mixing bowl, whip the heavy cream until soft peaks begin to form. Slowly add the powdered sugar and vanilla extract, continuing to whip until you get those nice stiff peaks. You want it to hold its shape beautifully!
6. Assemble the Cake:
It’s time for the fun part! Once the cake layers are completely cool, place the first layer on a serving plate. Spread a generous layer of whipped cream frosting on top, followed by a layer of your juicy strawberry mixture. Add the second layer and repeat the process!
7. Frost and Decorate:
Add the final cake layer on top and cover the entire cake with the remaining whipped cream frosting. For extra flair, drizzle some of the strawberry juices over the top and garnish with whole strawberries. It’s going to look gorgeous!
8. Chill and Serve:
Finally, pop the cake into the refrigerator for at least 1 hour to allow the layers to set nicely. Then, slice, serve, and enjoy your delicious Strawberry Shortcake Layer Sponge Cake. It’s perfect for any occasion!
Can I Substitute Whole Wheat Flour for All-Purpose Flour?
Yes, you can substitute whole wheat flour, but it may change the texture slightly, making it denser. To keep it light, consider using a 50/50 mix of whole wheat and all-purpose flour. Also, you might need to increase the liquid slightly, so keep an eye on the batter consistency!
How Can I Make This Cake Gluten-Free?
To make the cake gluten-free, replace the all-purpose flour with a 1:1 gluten-free baking mix. Make sure it contains xanthan gum, which helps mimic the structure of gluten. Check the package instructions for any additional adjustments needed for the best results.
Can I Use Frozen Strawberries Instead of Fresh?
You can use frozen strawberries! Just be sure to thaw them completely and drain excess liquid before mixing with sugar and lemon juice. This will prevent the filling from becoming too watery. Remember, fresh strawberries give the best texture and taste, but frozen ones work in a pinch!
What’s the Best Way to Store Leftover Cake?
Store any leftovers in an airtight container in the refrigerator for up to 3 days. If the cake layers begin to dry out, you can lightly cover them with plastic wrap or a damp paper towel before sealing to retain moisture. For longer storage, consider freezing individual slices!