Chocolate chip cookie dough ice cream cake is the kind of freezer dessert that gets attention the second you bring it out. The cookie base bakes up sturdy and buttery, the ice cream layer stays creamy instead of icy, and the chocolate topping gives every slice that clean finish people expect from a celebration cake. It’s a little nostalgic, a little over-the-top, and exactly the kind of dessert that disappears fast.
The part that makes this version work is the contrast. A fully cooled cookie crust gives the cake structure, while edible cookie dough bites folded into softened ice cream keep the center from tasting flat or one-note. The freezing time matters here. If the base is even a little warm, or if the ice cream goes in too soft, the layers blur together and the slices won’t hold.
Below, I’ve included the steps that keep the cake neat when sliced, plus a few smart swaps if you need to adjust for what’s in your freezer. The texture is the whole point, and once you get the layering right, the rest is easy.
The cookie base stayed crisp enough to slice cleanly, and the edible cookie dough bites stayed chewy even after freezing. I served it after dinner and everyone kept asking for “just a little more” because the layers tasted like a bakery ice cream pie.
Save this chocolate chip cookie dough ice cream cake for birthdays, cookouts, and any night that needs a frozen dessert with a buttery cookie crust and chocolate ganache top.
The Freeze Time Is What Gives You Clean Slices
The biggest mistake with an ice cream cake is treating the freezer like a quick chill instead of a real set. This cake needs time for the cookie base to firm up again after baking, then time for the ice cream layer to freeze solid enough to hold the ganache without melting into streaks. If you rush it, the knife drags through the middle and you end up with a soft slab instead of slices.
The other thing that matters is temperature balance. The cookie base must be completely cool before the ice cream goes on, and the ice cream should be soft enough to spread but not soupy. That middle ground gives you an even layer without tearing up the crust underneath.
- Fully cooled cookie crust — Warm crust melts the ice cream on contact, and once that happens the layers never set as neatly again.
- Softened ice cream — Let it sit just until scoopable and spreadable. If it’s too melted, the cake freezes with air pockets and a grainy texture.
- Edible cookie dough bites — These give the center its signature texture. Regular raw dough isn’t a safe swap here, and it also won’t stay as cleanly chewy after freezing.
- Chocolate ganache or magic shell — Ganache gives you a softer bite, while magic shell hardens into a crackly top. Both work; choose based on whether you want a fudgy finish or a sharper crunch.
What Each Layer Is Doing in the Finished Cake
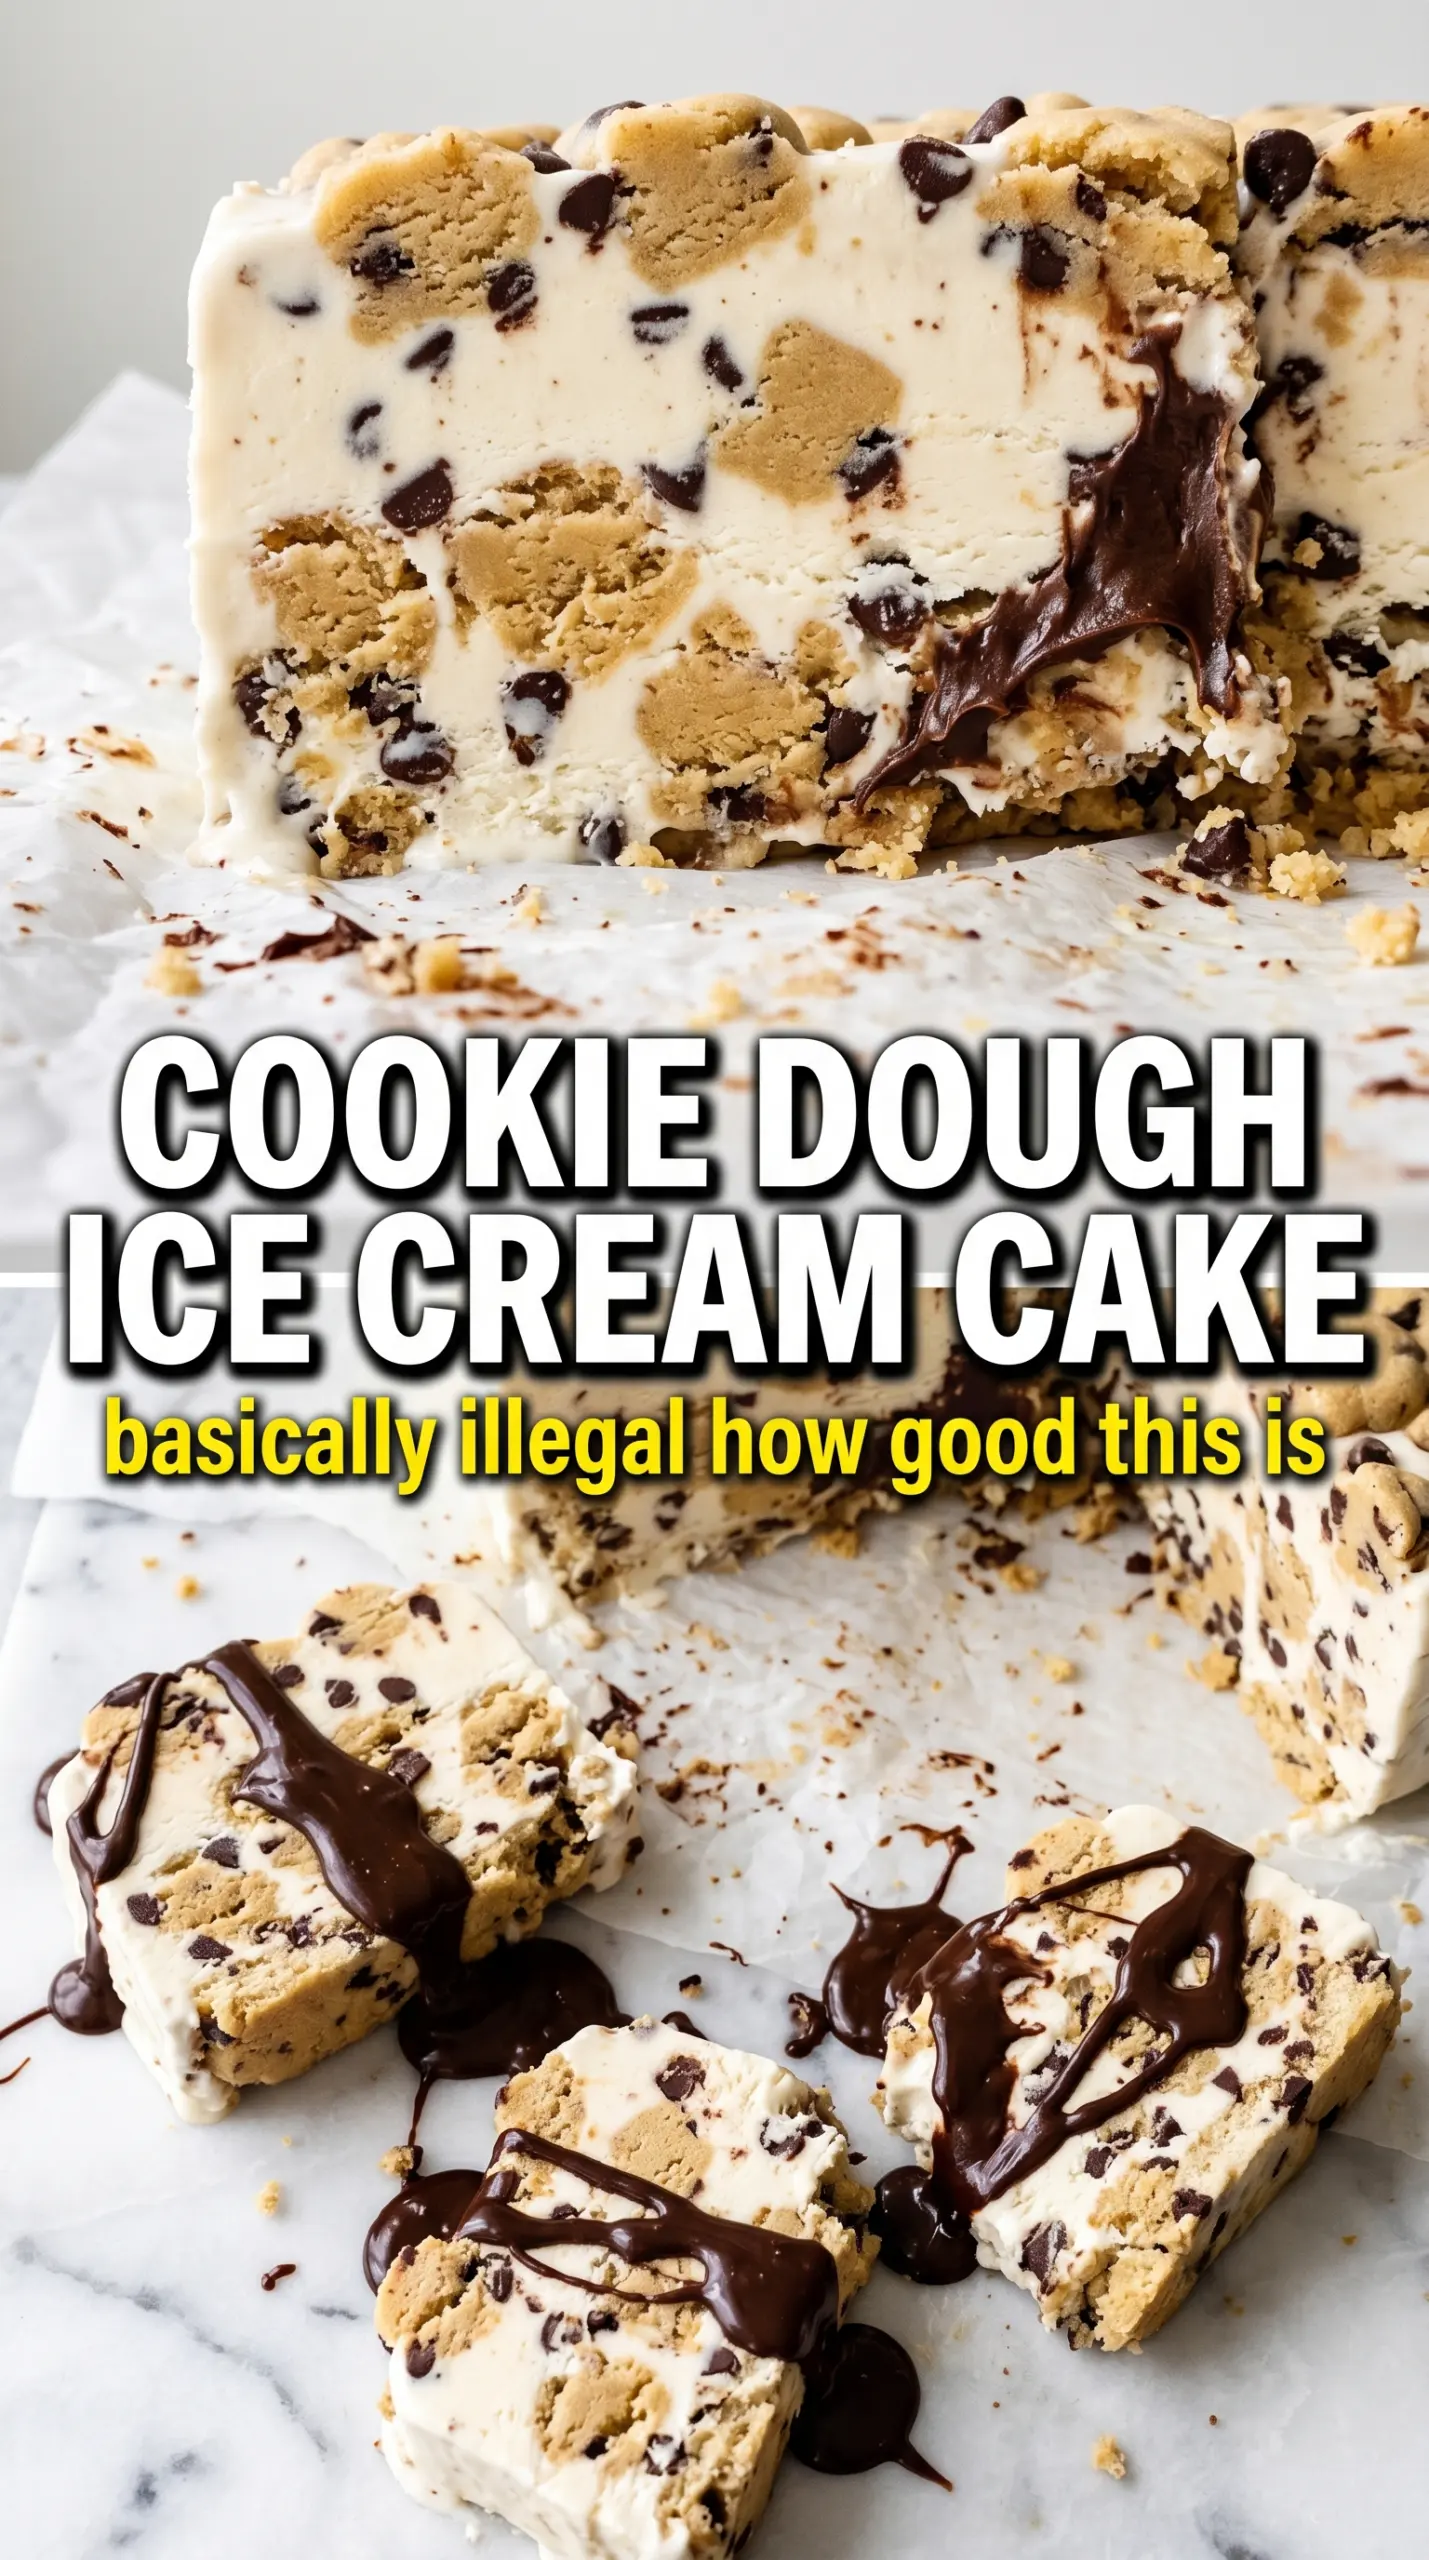
- Refrigerated cookie dough — This bakes into a sturdy base with enough structure to slice cleanly. Homemade dough works too, but a chilled store-bought tube keeps the thickness even and saves time.
- Cookie dough or vanilla ice cream — Cookie dough ice cream gives the strongest flavor echo, while vanilla lets the edible cookie dough bites stand out more. Either way, soften it at room temperature just until it yields under a spatula.
- Edible cookie dough bites — These are what make the middle feel like cookie dough, not just cookies-and-cream. Fold them in gently so they stay in chunks instead of smearing through the ice cream.
- Chocolate ganache or magic shell — Ganache spreads in ribbons and stays a little soft when sliced; magic shell sets fast and gives a firmer top. If you use magic shell, work quickly because it tightens on contact with the frozen surface.
- Whipped topping and mini chocolate chips — These are mostly for the finish, but they also help hide any small imperfections in the ganache layer. Add them after the top layer is in place so they stay visible and don’t sink.
Layering the Cake So It Holds Together
Baking the Cookie Base
Press the cookie dough into the springform pan in an even layer so the crust bakes at the same rate all the way across. You want golden edges and a center that looks set, not wet, at the end of baking. If the base is underbaked, it turns soft in the freezer and the slices slump when you cut them. Cool it completely before you touch the next layer.
Folding the Ice Cream Without Deflating It
Stir the softened ice cream just enough to make it spreadable, then fold in the edible cookie dough bites. Don’t beat it hard or you’ll melt out the air and make the filling dense. Spread it over the cooled crust in an even layer, pushing all the way to the edges so the cake freezes into one clean cylinder. If the ice cream starts to melt as you work, stop and return the bowl to the freezer for a few minutes.
Freezing Before the Topping Goes On
The first freeze is what locks the structure in place. Four hours is the minimum for the center, and longer is better if your freezer runs warm or the pan is deep. When you press the top gently, it should feel firm all the way through. If it still yields like soft ice cream, the ganache will slide instead of sitting on top.
Finishing With Ganache and Toppings
Drizzle the ganache over a frozen surface so it stays in visible ribbons instead of sinking in. Add the whipped topping and mini chocolate chips right after, before the top starts to soften. Then freeze the cake again so everything firms up for clean release. When you unlatch the springform pan, run a warm knife around the edge if needed and slice with a long knife wiped clean between cuts.
How to Adapt the Cake Without Losing the Texture
Make it dairy-free
Use dairy-free cookie dough ice cream, whipped topping made without dairy, and a plant-based chocolate topping. The cake still slices well, but the filling can freeze a touch firmer, so let it sit at room temperature for 8 to 10 minutes before cutting.
Use vanilla ice cream instead of cookie dough ice cream
Vanilla ice cream gives you a cleaner contrast with the cookie dough bites and makes the chocolate chips on top pop more. You lose a little of that doubled-up cookie flavor, but the texture stays just as creamy.
Swap the ganache for magic shell
Magic shell gives the cake a crisp, crackly top that snaps when you cut into it. It’s the better choice if you want a firmer finish, but you’ll need to work faster because it sets almost immediately on frozen ice cream.
Storage and Reheating
- Refrigerator: Don’t store this in the fridge; it will melt and lose the layered texture within minutes.
- Freezer: Wrap leftovers tightly and freeze for up to 1 week. After that, the cookie base starts to dry out and the ice cream can pick up freezer flavor.
- Reheating: This cake doesn’t need reheating. Let slices stand at room temperature for 5 to 10 minutes before serving so the knife glides through the crust instead of shattering it.
Answers to the Questions Worth Asking
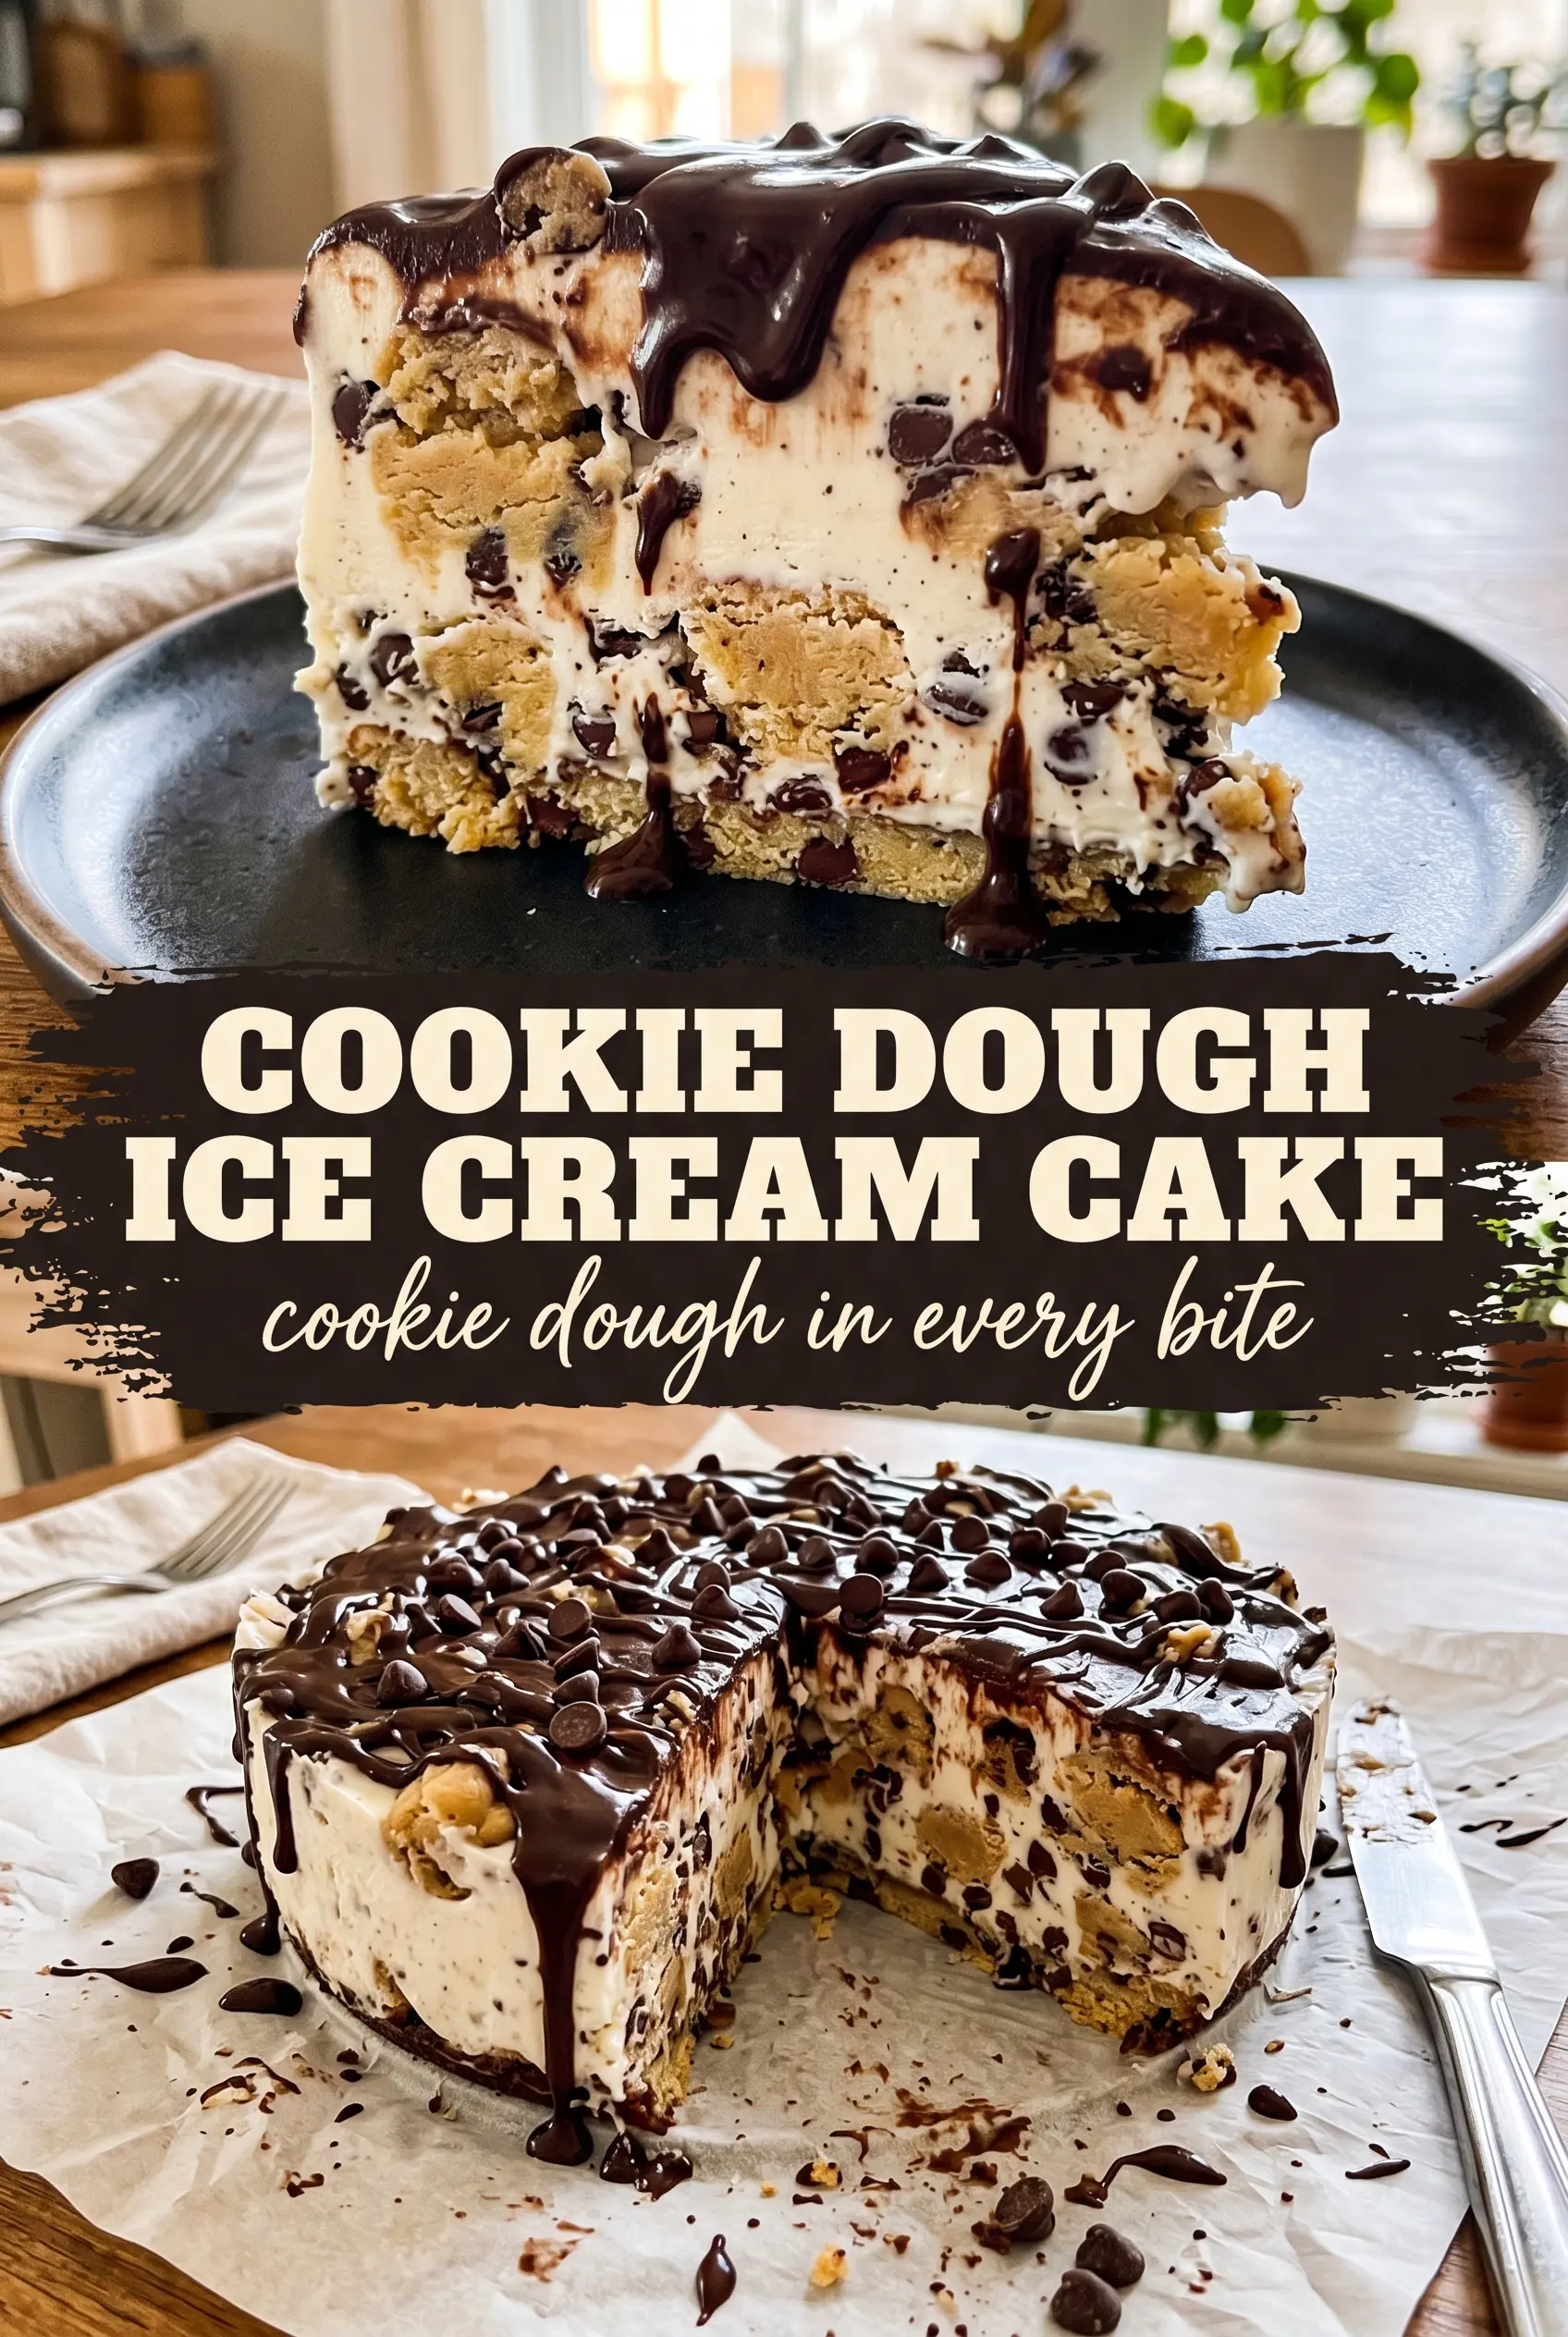
Chocolate Chip Cookie Dough Ice Cream Cake
Ingredients
Equipment
Method
- Press refrigerated cookie dough into a 9-inch springform pan in an even layer, pressing firmly to the edges. Bake at 350F for 12-15 minutes until golden.
- Cool completely, then reattach the springform sides so the pan is ready for freezing.
- Fold edible cookie dough bites into softened cookie dough or vanilla ice cream until evenly distributed. Spread the mixture over the cooled cookie base in a smooth, even layer.
- Freeze for 4 hours until completely firm.
- Drizzle chocolate ganache (or magic shell) over the top in thick ribbons, covering the surface generously.
- Top with whipped topping and decorate with mini chocolate chips, keeping the layer even for clean slices.
- Freeze for 2 more hours before releasing and slicing.


