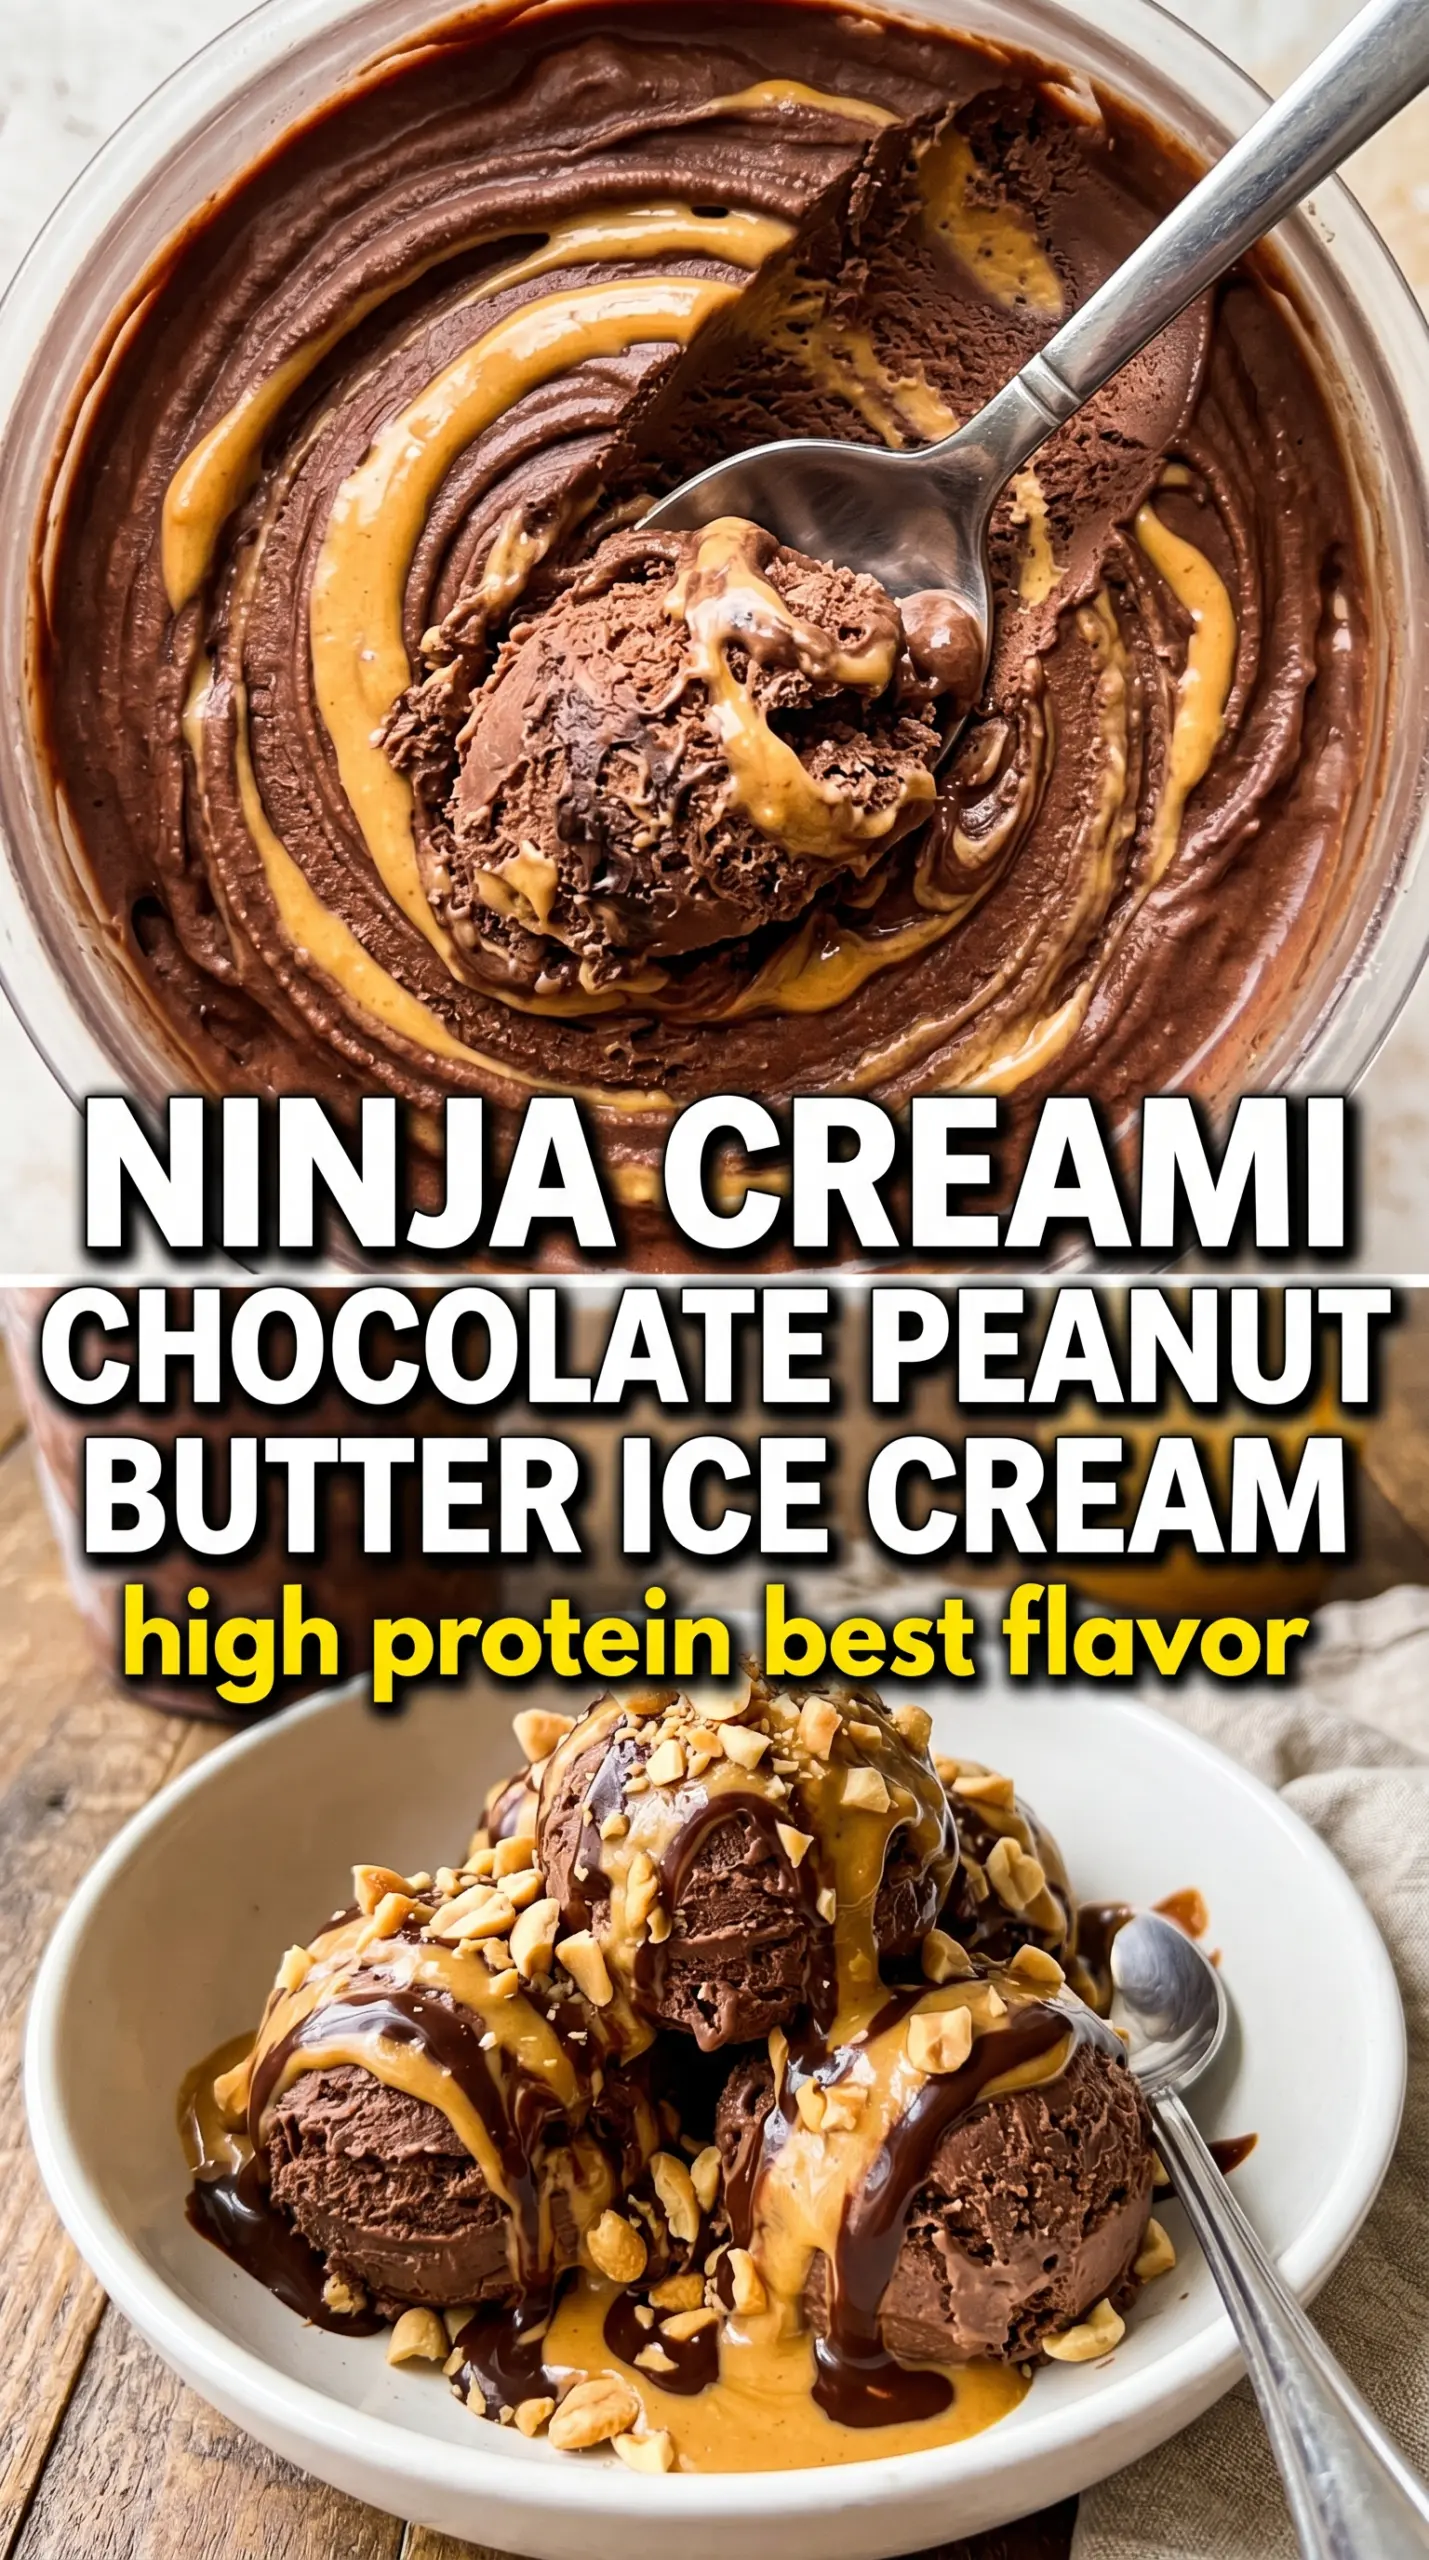
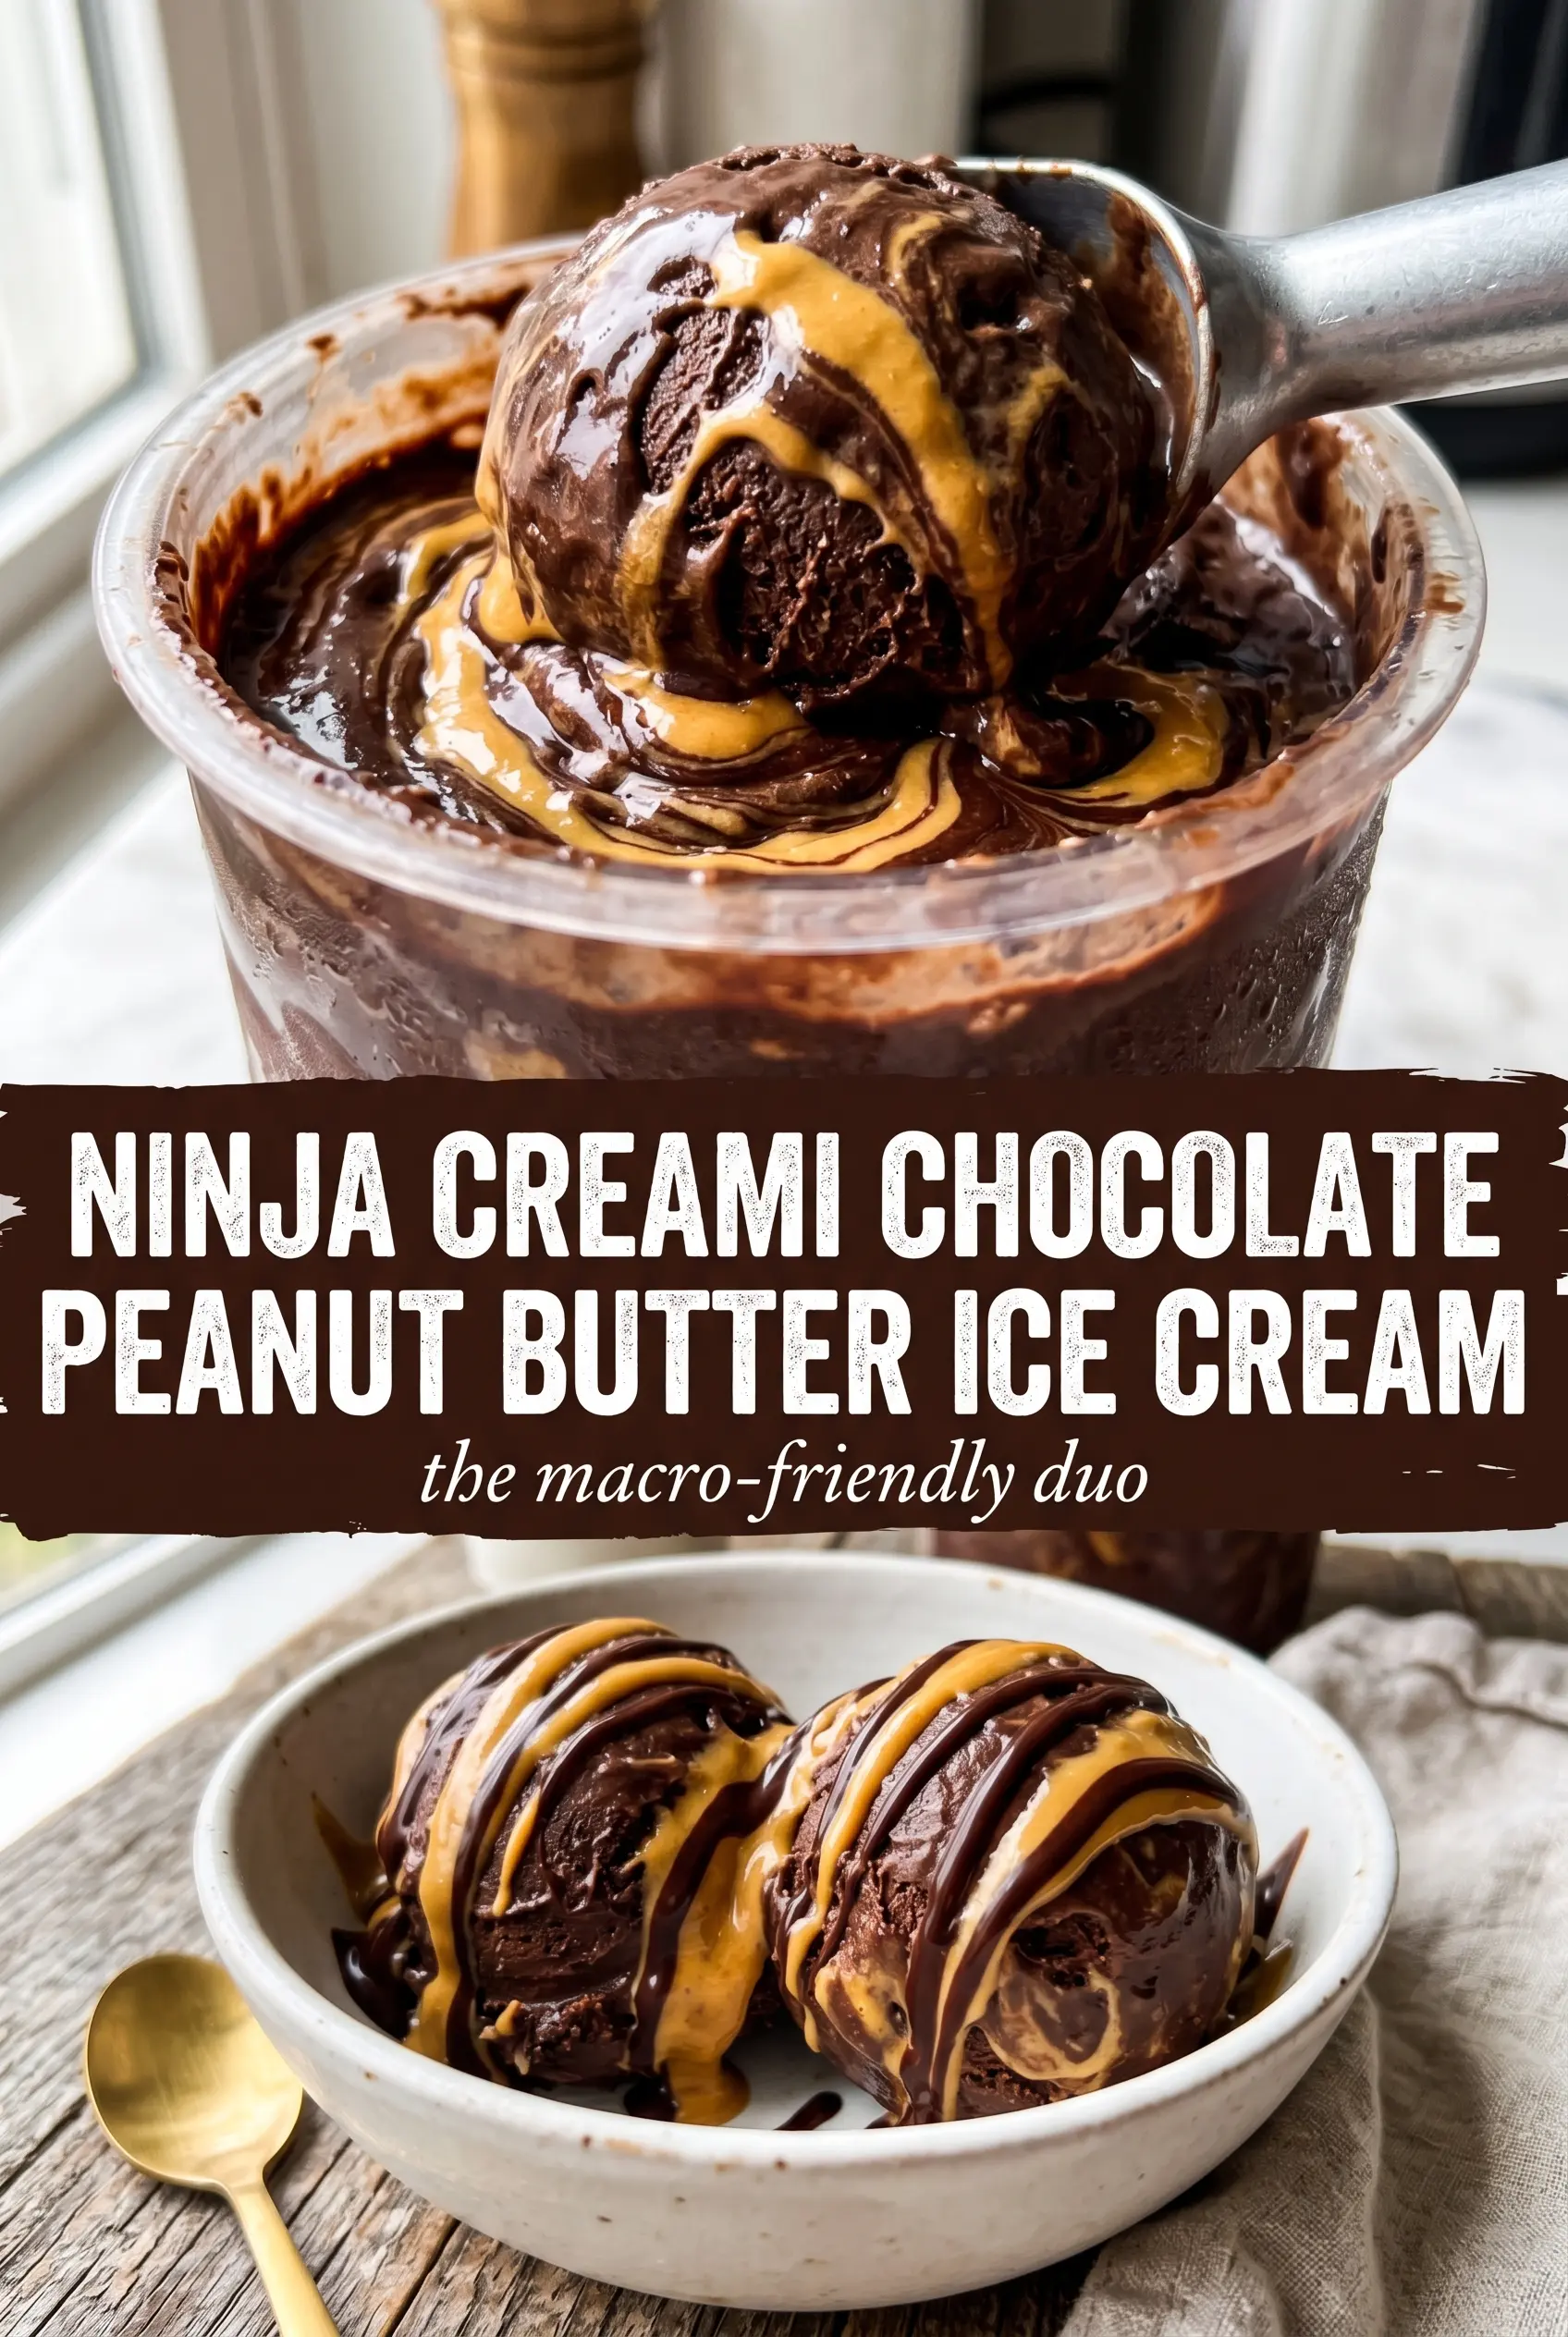
Dense chocolate ice cream with a ribbon of warm peanut butter is exactly the kind of dessert that disappears fast once the pint comes out of the machine. The base freezes up rich and fudgy instead of icy, and the peanut butter gives you those salty, nutty pockets that cut right through the chocolate. It tastes like a peanut butter cup turned into a spoonable treat, but with a cleaner, darker chocolate finish.
The trick is building a base that freezes creamy enough for the Ninja Creami to shave instead of chip. Cream cheese gives the mixture a little body and helps keep the texture smooth after freezing, while the cocoa powder deepens the chocolate without making the pint heavy or chalky. Warming the peanut butter before swirling matters too — cold peanut butter clumps on contact, but a warm drizzle sinks into the top and makes those pretty marbled streaks.
Below, I’ve included the small details that make the difference here: how to avoid a dry first spin, when to add the extra milk, and the best way to swirl the peanut butter so you get contrast in every bite.
The first spin came out a little crumbly, but after one splash of milk it turned into the creamiest chocolate base. The peanut butter swirl on top tasted just like a frozen peanut butter cup.
Like this Ninja Creami chocolate peanut butter ice cream? Save it for the nights when you want a fudgy chocolate base with a warm peanut butter swirl.
The Freezer Base Needs Body Before the First Spin
A lot of Ninja Creami recipes fail before they ever hit the machine. If the base is too thin, too icy, or under-mixed, the pint freezes into a block that shaves up dry and crumbly. This one gets around that by combining chocolate milk, heavy cream, and a little cream cheese, which gives the frozen base enough fat and structure to turn smooth instead of sandy.
- Chocolate milk gives you both the chocolate flavor and part of the liquid base. Whole chocolate milk works better than skim because the extra fat helps the finished ice cream feel less icy.
- Heavy cream keeps the pint rich after freezing. You can swap in half-and-half in a pinch, but the result will be lighter and a little less plush.
- Cream cheese is the quiet ingredient that keeps the texture from turning sharp or brittle. It doesn’t taste tangy once frozen, but it gives the base enough stability to spin cleanly.
- Cocoa powder deepens the chocolate flavor without thinning the mixture. Unsweetened cocoa is the right choice here; sweetened mix makes the base too sugary and flat.
What Each Ingredient Is Actually Doing in This Pint
- Granulated sugar lowers the freezing point a bit, which helps the ice cream stay scoopable after the pint chills overnight. Don’t cut it much lower or the texture gets harder and more icy.
- Vanilla extract rounds out the chocolate and makes the peanut butter taste fuller. It won’t stand out on its own, but you’ll notice when it’s missing.
- Salt matters here because it sharpens both the cocoa and the peanut butter swirl. A tiny amount keeps the dessert from tasting one-note.
- Creamy peanut butter should be warmed before swirling so it stays ribboned instead of clumping on top. Natural peanut butter works, but it needs a good stir first because separated oil can make the swirl oily instead of glossy.
Getting the Creami Texture Right on the First Spin
Blending the Base Until It’s Silky
Blend the chocolate milk, cream, cocoa, sugar, cream cheese, vanilla, and salt until the mixture looks completely uniform. You shouldn’t see any flecks of cocoa or bits of cream cheese clinging to the sides. If the base isn’t smooth now, those lumps freeze hard and show up in the final pint. A blender does the cleanest job, but an immersion blender works too if you scrape the sides well.
Freezing the Pint Without Shortcuts
Pour the mixture into the Ninja Creami pint container and freeze it level for a full 24 hours. That timing matters because the center needs to be fully solid before the blade shaves it. If the pint is even a little slushy in the middle, the texture turns gummy instead of creamy. Keep the lid on tight and freeze it on a flat shelf so the top doesn’t tilt and freeze unevenly.
Spinning, Re-Spin, and the Peanut Butter Finish
Process the pint on the Ice Cream setting. If the top looks powdery or crumbly after the first spin, add 1 tablespoon milk and re-spin once; that’s usually all it needs. Warm the peanut butter until it drizzles easily, then spoon it over the surface and swirl it in lightly for streaks, or use Mix-In if you want more distinct bites. Serve it right away, because the peanut butter softens the top and the texture is best in that first scoop.
How to Make This Pint Fit Your Freezer, Pantry, or Diet
Dairy-Free Version
Use full-fat canned coconut milk in place of the cream and a dairy-free chocolate milk. The texture will still be creamy, but you’ll taste a faint coconut note, and the base may need the extra milk re-spin more often because coconut fat freezes a little firmer than dairy fat.
Lower-Sugar Swaps
You can reduce the sugar slightly, but don’t remove it completely. Sugar isn’t just sweetness here; it helps keep the pint scoopable after freezing. If you use a sugar substitute, expect a firmer texture and add the peanut butter swirl just before serving so the contrast still feels rich.
Extra Peanut Butter, No Mix-In Mess
If you want a stronger peanut butter presence, add a tablespoon to the base and keep the swirl on top. That gives the chocolate a subtle nutty backbone without making the whole pint taste like peanut butter ice cream. Too much in the base can dull the chocolate and make the texture heavier.
Storage and Re-Spinning Leftovers
- Refrigerator: This isn’t a fridge dessert; it melts fast and turns soft within minutes.
- Freezer: You can refreeze the leftover pint, but the texture will get firmer and a little less smooth after the first spin.
- Reheating: Let the pint sit on the counter for 5 to 10 minutes, then re-spin with a small splash of milk. Don’t microwave it; that melts the edges before the center softens and gives you a slushy top with a frozen middle.
Answers to the Questions Worth Asking
Ninja Creami Chocolate Peanut Butter Ice Cream
Ingredients
Equipment
Method
- Blend chocolate milk, heavy cream, cocoa powder, granulated sugar, cream cheese, vanilla extract, and salt until completely smooth and no lumps remain. Scrape down the sides as needed so the mixture is uniform.
- Pour the mixture into the Ninja Creami pint container and freeze for 24 hours. Freeze until fully solid for best scoopable texture.
- Process on the Ice Cream setting. If the texture seems too soft or icy, re-spin with 1 tablespoon milk.
- Drizzle warm peanut butter over the top and swirl in with a spoon, or use the Mix-In function. Work quickly so the swirl stays thick and visible.
- Serve immediately for a dense, fudgy bite. Avoid re-freezing after processing for best consistency.


