Glossy apple pie filling is one of those kitchen basics that pays you back every time you make it. The apples stay tender without turning mushy, and the syrup thickens into that familiar cinnamon-spiced filling that holds its shape in a pie instead of leaking into a puddle. It tastes brighter and cleaner than canned filling, with enough body to spoon neatly into crusts, crisps, or turnovers.
The difference here is in the order. The cornstarch goes into the liquid first, which keeps the sauce smooth before the apples ever hit the pan. A mix of Granny Smith and Honeycrisp gives you the right balance of tartness and sweetness, and a little lemon juice keeps the apples from tasting flat while they cook. The butter and vanilla go in at the end so their flavor stays round and fresh instead of disappearing under heat.
Below, I’ll show you the texture cues that matter most, the swaps that still give you a reliable filling, and the best way to store it if you want to get ahead on pie day.
The filling thickened up into a perfect glossy syrup, and the apples held their shape even after baking. I used it in a pie and then spooned the leftovers over vanilla ice cream the next night.
Save this homemade apple pie filling for pies, crisps, and spooning over ice cream when you want glossy cinnamon apples fast.
The Part That Keeps Apple Pie Filling From Turning Watery
The biggest mistake with homemade filling is waiting until the apples release a flood of juice and then trying to fix it at the end. By whisking the cornstarch into the liquid first, you give it a chance to disperse evenly before the apples soften. That keeps the syrup smooth instead of clumpy and helps the filling thicken to a glossy, spoonable texture instead of a thin, broken sauce.
The apples also matter more than people think. Granny Smith gives structure and tang, while Honeycrisp softens a little faster and brings sweetness, so the filling tastes layered instead of one-note. If you use only sweet apples, the filling can taste flat. If you use only tart apples, it can feel sharp once baked.
Cook just until the apple slices are tender but still hold their shape. If you let them go too far in the pan, they’ll collapse in the oven and leave you with pie filling that looks cooked down before it ever reaches the crust.
What Each Ingredient Is Actually Doing In This Filling
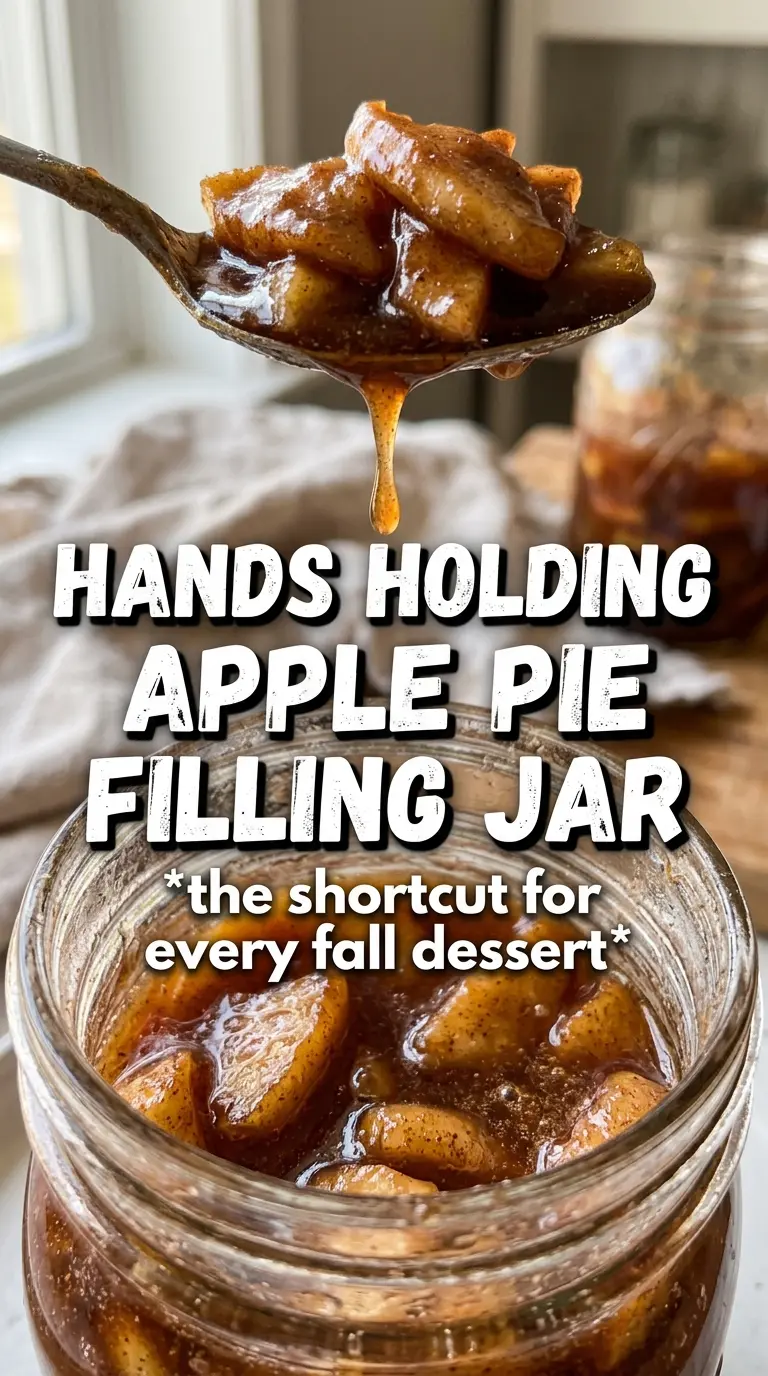
- Granny Smith apples — These bring the tart backbone and hold their shape well. They’re the main reason the filling doesn’t turn into applesauce.
- Honeycrisp apples — These soften a little faster and add sweetness, which rounds out the tart apples. If you can’t find them, use another crisp baking apple like Braeburn or Pink Lady.
- Cornstarch — This is what turns the juices into a pie-friendly syrup. Arrowroot works in a pinch, but it can set a little differently, so keep the heat gentle.
- Apple juice or water — Apple juice gives the filling a deeper apple flavor, while water keeps it cleaner and less sweet. If your apples are very sweet already, water is the better choice.
- Lemon juice — This keeps the flavor bright and stops the filling from tasting heavy. It also helps the apples stay lively in color.
- Butter and vanilla — Add both at the end so they stay fragrant. Butter gives the sauce a silkier finish, and vanilla softens the spice notes without making the filling taste perfumed.
Building the Syrup Before the Apples Break Down
Whisking the base first
Start the sugar, cornstarch, apple juice, cinnamon, nutmeg, and allspice in a large saucepan over medium heat and whisk until the sugar dissolves. The mixture should look cloudy at first, then smooth and slightly thicker before the apples go in. If you dump the apples into dry starch or under-mixed liquid, you’ll get little pockets of white paste in the finished filling.
Coating the apples evenly
Add the sliced apples and lemon juice and stir until every slice is coated. At this point the pan should look full but manageable, and the apples should start to glisten as they pick up the spiced liquid. Don’t crank the heat higher to speed things up; that’s how the syrup catches on the bottom before the apples are tender.
Cooking to the right texture
Let the filling cook for 10 to 12 minutes, stirring occasionally, until the apples are tender and the sauce has turned glossy. You want slices that bend when stirred but still hold their edges. If the apples are soft all the way through in the pan, they’ll usually be too far gone by the time the pie finishes baking.
Finishing with butter and vanilla
Take the pan off the heat before stirring in the butter and vanilla. That keeps the vanilla bright and helps the butter melt into the syrup without separating. The filling should look shiny, lightly thickened, and deeply amber, not dull or gluey.
Three Practical Ways To Work With This Filling
Make it gluten-free by keeping the filling as written
This filling is naturally gluten-free as long as your cornstarch is certified gluten-free. The texture stays the same, so this is an easy win if you’re pairing it with a gluten-free crust.
Use it for crisps and cobblers
For a crumble topping or cobbler, stop cooking the apples when they’re just barely tender. The oven will finish the job, and that keeps the fruit from going soft under the topping.
Turn it into a pie filling that bakes cleanly
Cool the filling completely before adding it to pie crust. Hot filling starts melting butter in the crust, and that’s how you lose flakiness before the pie even goes in the oven.
Storage and Reheating
- Refrigerator: Store in sterilized jars or an airtight container for up to 2 weeks. It will thicken a little more as it chills.
- Freezer: It freezes well for up to 3 months. Cool completely, portion into freezer-safe containers, and leave a little headspace for expansion.
- Reheating: Warm gently on the stove over low heat or in short bursts in the microwave. Stir often so the syrup loosens evenly instead of scorching at the edges.
Answers to the Questions Worth Asking
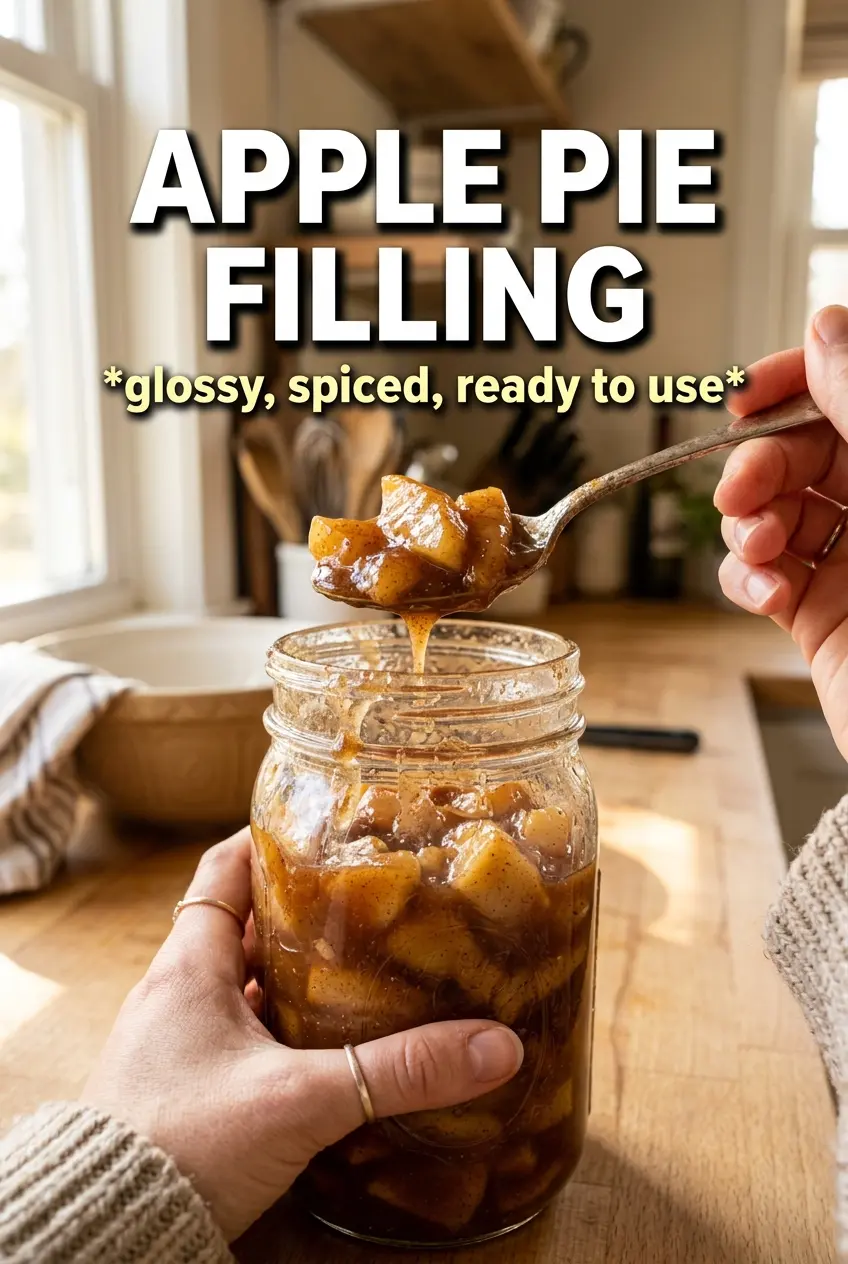
Apple Pie Filling
Ingredients
Equipment
Method
- Whisk granulated sugar, brown sugar, cornstarch, apple juice or water, cinnamon, nutmeg, and allspice in a large saucepan over medium heat until the sugar dissolves. Keep whisking until the mixture looks smooth, no dry streaks remaining.
- Add sliced apples and lemon juice, then stir to coat each apple slice. You should see the fruit evenly covered with the spiced mixture.
- Cook over medium heat, stirring occasionally, for 10-12 minutes until the apples are tender and the sauce has thickened to a glossy syrup. Look for a syrupy sheen that clings to the apple slices.
- Remove the pan from heat and stir in unsalted butter and vanilla extract until fully melted and incorporated. The filling should look glossy and evenly flavored.
- Cool completely before using in a pie, or pour into sterilized jars and refrigerate up to 2 weeks. Let it cool to room temperature so the sauce sets properly.
- Spoon the filling into pies, crisps, cobblers, crepes, or use as an ice cream topping. Serve once cooled for best texture.


