Rainbow Ice Cream Cake brings the kind of slice that makes everyone pause for a second before they dig in. The Oreo crust gives each bite a dark, chocolatey crunch, and the sherbet layers stay bright and clean instead of blending into one pale frozen block. What you get is cold, creamy, tangy, and a little playful all at once, with a finish that looks like it took far more effort than it did.
The trick is in the freezing. Each sherbet layer needs to firm up before the next one goes in, or the colors smear and the cake loses those sharp stripes. Working in thin layers also helps the cake slice neatly later, because thick layers take longer to set and tend to slump when the knife goes through them. The whipped topping outside does more than decorate; it hides any rough edges and gives the whole cake that classic birthday-cake look.
Below, you’ll find the timing that keeps the layers distinct, plus the small handling tips that make this cake easier to assemble than it looks. Once you’ve done it once, the process makes perfect sense.
I followed the freezing times exactly, and every stripe stayed separate when I sliced it. The Oreo crust held together too, which made serving much easier than I expected.
Like this rainbow sherbet cake? Save it to Pinterest for the birthday when you want bright layers, clean slices, and a frozen dessert that looks as good as it tastes.
The Freezing Schedule That Keeps the Layers Crisp
The whole cake depends on patience between layers. If you rush the build, the sherbets melt into each other and the rainbow effect turns muddy. Thin layers freeze faster and set more evenly, which is why this cake slices cleanly instead of collapsing into a soft mess on the plate.
The other thing that matters is temperature control. Keep the pan in the freezer between each layer, and work with one flavor at a time so the one you’re spreading doesn’t soften while you reach for the next container. If a layer starts to look slushy around the edges, stop and freeze it before moving on.
What Each Part Is Doing in the Cake
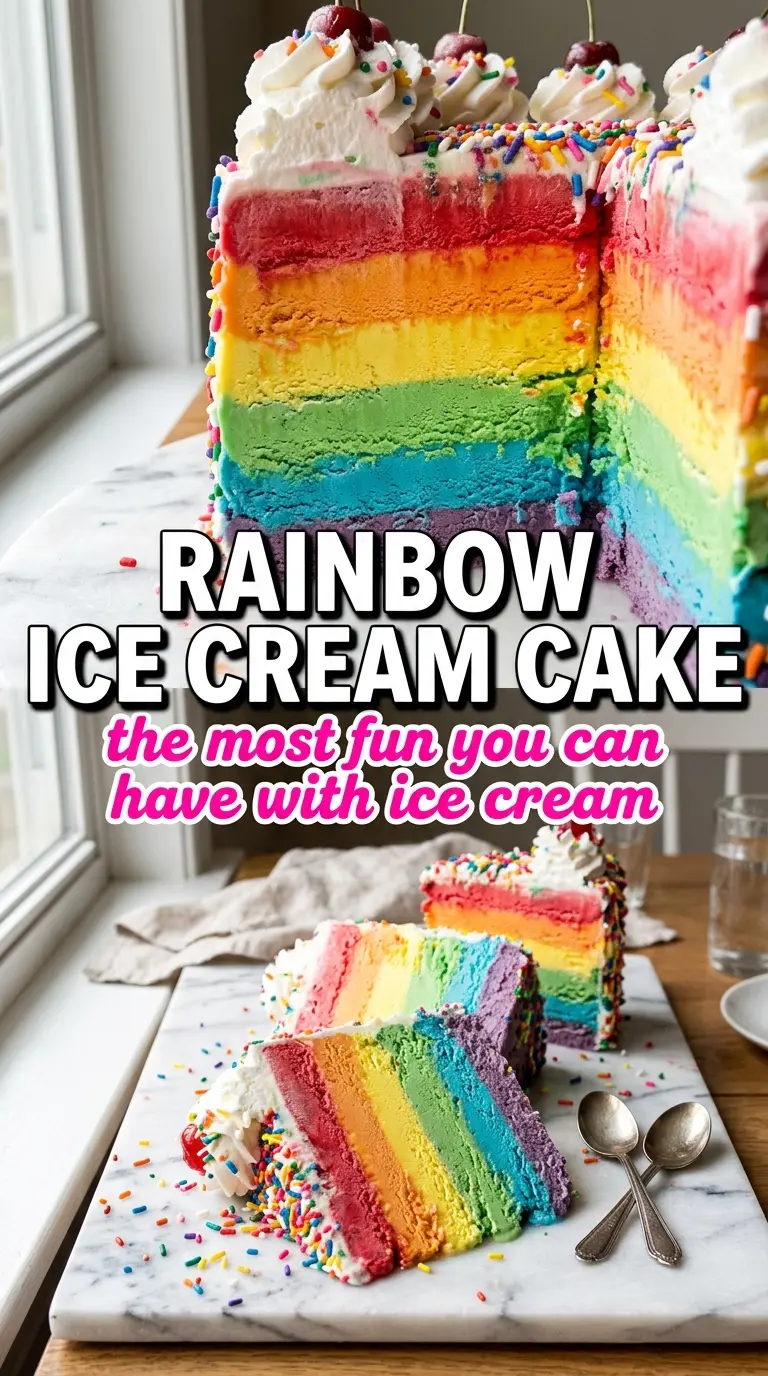
- Oreo cookies and butter — This crust gives the cake structure and a little crunch against the soft sherbet. You can use any chocolate sandwich cookie in place of Oreos, but the dark cookie flavor works especially well with the fruit layers.
- Raspberry sorbet, orange sherbet, lemon sorbet, and lime sherbet — These are the whole point of the cake. Sherbet and sorbet both freeze smoothly and keep their color, but don’t swap in ice cream here unless you want a heavier, creamier texture and less vivid stripes.
- Whipped topping — This is the frosting-like coat that hides the seams and insulates the cake a bit while you decorate. Homemade whipped cream can work, but it softens faster and won’t hold the sides as neatly once the cake starts to sit out.
- Rainbow sprinkles — They add color on the outside and make the cake feel finished. Add them after the whipped topping is smooth, before the final freeze, so they stick without sliding off.
How to Build the Cake Without Smearing the Colors
Pressing the Crust
Mix the crushed Oreos with melted butter until every crumb looks evenly moistened, then press the mixture firmly into the bottom of a 9-inch springform pan. A flat-bottomed measuring cup helps pack it down into an even layer, which keeps the base from crumbling when you slice the cake. Freeze it for 15 minutes so the crust firms before the first sherbet layer goes in.
Layering the Sherbet
Scoop the raspberry sherbet and spread it into a thin, even layer. Work fast and keep the spatula moving, because softened sherbet melts at the edges faster than you expect. Freeze each layer for about 30 minutes until firm to the touch before adding the next one. If the surface is still soft when you add the next flavor, the layers will blur instead of stacking cleanly.
Finishing and Decorating
Once all the layers are in and the cake has frozen solid, spread the whipped topping over the top and sides in a smooth coat. Don’t worry about making it bakery-perfect; the sprinkles hide small ridges, and a rustic finish still looks great once it’s frozen. Add the sprinkles right after frosting, then freeze the cake again for at least 2 hours so the outside sets before slicing.
Three Ways to Adapt the Cake for Different Needs
Dairy-Free Rainbow Ice Cream Cake
Use dairy-free whipped topping and choose sorbets that don’t contain dairy. The cake keeps the same bright layered look, but the texture will be a little lighter and less creamy on the finish.
Gluten-Free Version
Swap in certified gluten-free chocolate sandwich cookies for the crust. The rest of the recipe is naturally gluten-free as long as the sherbets and whipped topping you buy are labeled accordingly.
Make-Ahead Birthday Cake
Build the cake a day ahead and leave the final whipped topping and sprinkles for the last few hours before serving. That keeps the outside looking fresh and gives the layers time to freeze into sharp, neat stripes.
Use Different Rainbow Flavors
If you can’t find the exact sherbet lineup, swap in other bright frozen flavors with similar freezing behavior, like strawberry, mango, or blue raspberry sorbet. Just keep the layers evenly softened before spreading so one flavor doesn’t tear through the next.
Storage and Freezing
- Refrigerator: Don’t store this in the fridge; it melts too quickly and the layers lose their shape.
- Freezer: Wrap the fully decorated cake tightly and freeze for up to 1 week. The crust may soften slightly over time, but the layers stay intact if the cake is well covered.
- Serving: Let the cake sit at room temperature for 5 to 10 minutes before slicing. If you cut it straight from the freezer, the knife can crack the crust and drag the layers.
Answers to the Questions Worth Asking
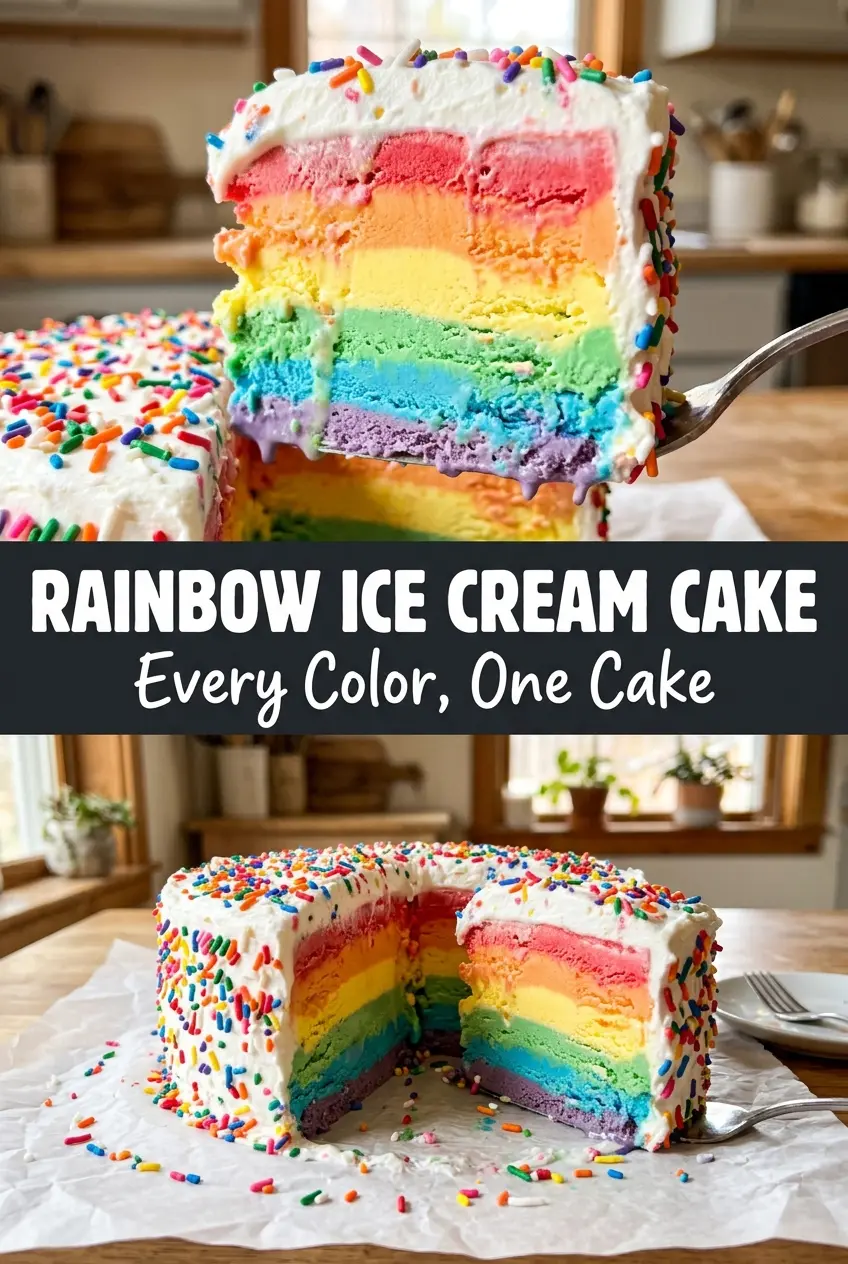
Rainbow Ice Cream Cake
Ingredients
Equipment
Method
- Press the crushed Oreo cookies and melted butter firmly into a 9-inch springform pan to form an even crust layer, then place it on a sheet pan. Freeze for 15 minutes until set.
- Work quickly and spread the raspberry sorbet in a thin, even layer over the chilled crust, keeping the top smooth. Freeze for 30 minutes until firm, then repeat with the orange sherbet, freezing for 30 minutes until firm again.
- Repeat again with the lemon sorbet, spreading in a thin, even layer and freezing for 30 minutes until firm. Repeat with the lime sherbet, then freeze the layered cake until solid (4 hours total).
- Once completely solid, cover the top and sides with the whipped topping to create a smooth white exterior. Decorate generously with rainbow sprinkles and return to the freezer for 2 more hours to set the topping.
- Slice the cake with clean cuts to reveal the rainbow sherbet layers. Serve immediately for the most vivid stripes.


