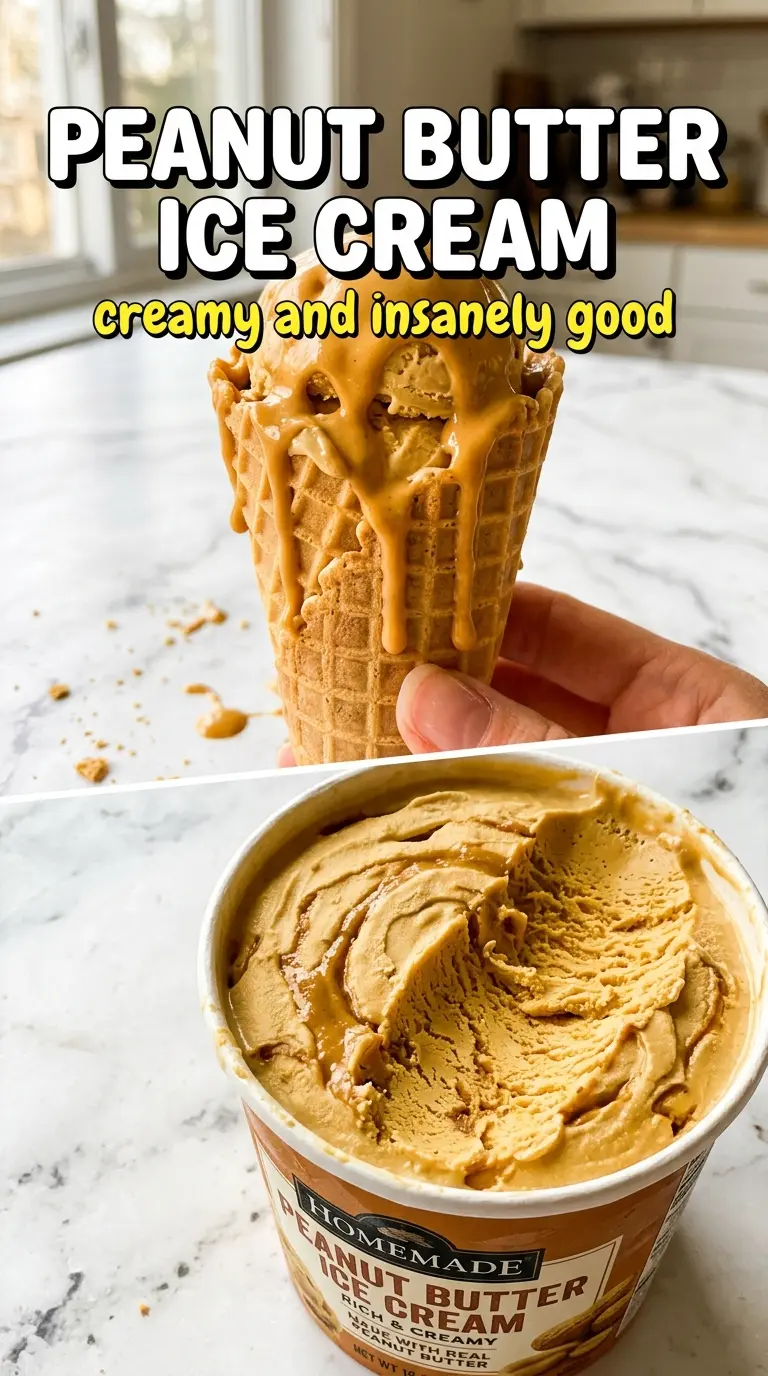
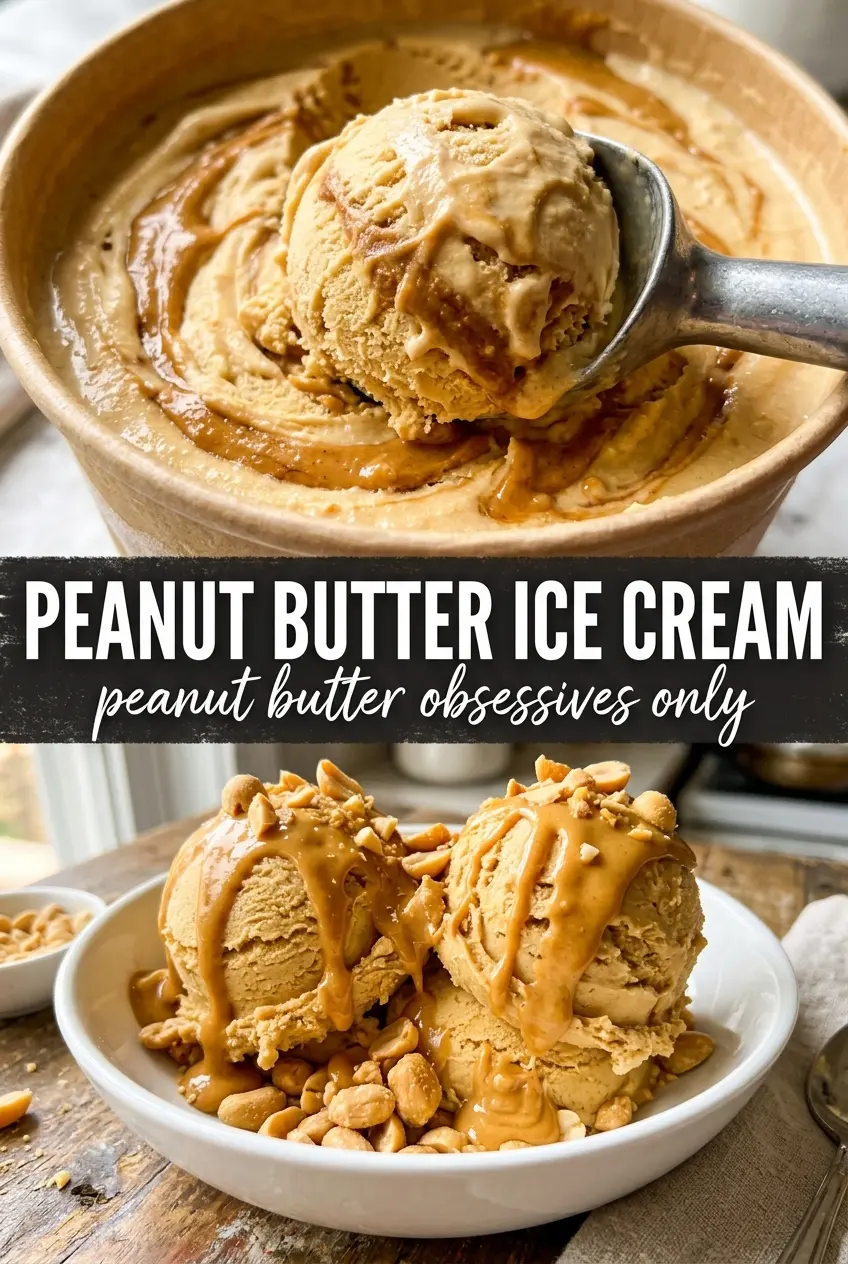
Pale, plush peanut butter ice cream has a way of disappearing fast because the flavor lands in a single spoonful: creamy, roasted, lightly salty, and rich without turning heavy. The custard base gives it that dense scoop you want from homemade ice cream, while the peanut butter carries the flavor all the way through instead of leaving you with a bland dairy base and a swirl on top.
The trick here is treating the peanut butter like part of the custard, not an afterthought. Warm dairy goes into the yolks slowly so the custard stays smooth, then the peanut butter gets whisked in while the mixture is still hot enough to melt it completely. That gives you a clean, even texture instead of gritty streaks or oily pockets. Straining the base before chilling catches any tiny bits of cooked egg and keeps the finished ice cream satin-smooth.
Below, I’ll walk through the step that keeps the custard from scrambling, the ingredient details that matter most, and the small finishing choices that make this taste like the kind of ice cream you’d happily keep in the freezer all week.
The peanut butter flavor came through in every bite, and the custard churned up unbelievably smooth. I chilled it overnight and it scooped like a dream the next day.
Save this peanut butter ice cream for the nights when you want a thick, custard-style scoop with deep roasted peanut flavor.
The Custard Step That Keeps Peanut Butter Ice Cream Creamy Instead of Grainy
Peanut butter ice cream can go from luxurious to muddy if the custard gets too hot or the peanut butter is added too late. Egg yolks thicken at a narrow range, and once they cross it, you get little bits of scrambled egg that no amount of churning can hide. Cooking the base to 175°F gives you enough structure for a scoopable finish without pushing the yolks into curdled territory.
The other mistake is trying to stir peanut butter into a cool custard. It needs heat to melt smoothly into the dairy base. When the peanut butter goes in while the mixture is still hot, it disperses evenly and builds that full, roasted flavor throughout the ice cream instead of leaving streaks or clumps behind.
What the Ingredients Are Doing in This Peanut Butter Custard
- Heavy cream — This is where the lush texture comes from. The high fat content keeps the ice cream from freezing into a hard brick and gives the finished scoop that dense, creamy body.
- Whole milk — Milk lightens the base just enough so the peanut butter flavor doesn’t turn heavy or greasy. Swapping in lower-fat milk will make the texture icier.
- Egg yolks — Yolks thicken the custard and give it that rich, velvety mouthfeel. There isn’t a real substitute if you want true custard ice cream; without them, the base won’t have the same body.
- Creamy peanut butter — Use a smooth, conventional peanut butter here, not a natural jar with a separated oil layer. The stabilized version melts into the custard more cleanly and freezes with a smoother finish.
- Vanilla extract — Vanilla rounds out the peanut flavor and keeps the ice cream from tasting flat. It matters more than it seems in a recipe with only a handful of ingredients.
- Salt — A small amount sharpens the peanut flavor and keeps the custard from tasting one-note. It doesn’t make the ice cream salty; it just makes the peanut taste fuller.
Building the Peanut Butter Custard Without Scrambling the Yolks
Warming the Dairy
Heat the cream and milk until they’re steaming and just starting to give off movement at the edges, not boiling. That temperature is hot enough to temper the yolks, but not so hot that it shocks them into curds. If you see bubbling across the surface, pull the pan back; you’ve gone too far for a smooth custard.
Tempering the Yolks
Whisk the sugar into the yolks until they look thick and pale, then add the hot dairy in a slow stream while whisking constantly. The first few additions should disappear into the yolks without turning them grainy. If you dump the dairy in all at once, the eggs can seize into ribbons before they’ve had a chance to warm up evenly.
Cooking to 175°F
Return the mixture to the pan and stir over medium-low heat, scraping the bottom and corners the whole time. You’re looking for a custard that coats the spoon and reaches 175°F, which is hot enough to thicken but still silky. If it starts steaming hard or bubbles start breaking through, lower the heat immediately; that’s the point where scrambled yolk becomes a real risk.
Melting in the Peanut Butter
Take the pan off the heat and whisk in the peanut butter until the custard looks completely uniform. It should turn a smooth pale tan color with no streaks of oil or darker patches. If the peanut butter resists, the base has cooled too much; warm it gently just until it loosens and blends cleanly.
Chilling Before Churning
Strain the custard through a fine mesh sieve, then add the vanilla and salt and cool it over an ice bath before refrigerating. The sieve catches any tiny cooked egg bits and gives you that polished texture you notice in good homemade ice cream. Don’t rush the chill time; a cold base churns faster and freezes with a smoother, smaller ice crystal.
How to Adapt This Peanut Butter Ice Cream for Different Freezers and Diets
Dairy-Free Version with Coconut Cream
Use full-fat canned coconut milk in place of the cream and milk, then keep the custard method the same. The result will be a little more tropical and less neutral than the original, but the peanut butter still comes through clearly. The texture won’t be quite as rich, yet it still churns into a smooth scoop if you chill it thoroughly.
Using Natural Peanut Butter
Natural peanut butter works, but it needs to be stirred until completely emulsified before it goes into the custard. Expect a slightly looser texture and a less sweet peanut flavor. If the jar is oily or dry in spots, the finished ice cream can freeze with tiny greasy pockets, so mix the jar thoroughly first.
Extra-Roasted Peanut Flavor
Stir in a handful of finely chopped roasted peanuts after churning if you want a little crunch and a stronger peanut finish. That keeps the base smooth while adding texture in the last minute. Don’t add them too early or they’ll sink and freeze into hard little bits instead of staying evenly suspended.
Storage and Reheating
- Refrigerator: The custard base can be held up to 2 days before churning. Keep it covered so it doesn’t pick up fridge odors.
- Freezer: Finished ice cream keeps well for about 2 weeks in an airtight container. Press parchment directly against the surface to limit ice crystals.
- Reheating: Let it sit at room temperature for 5 to 10 minutes before scooping. If you try to force a scoop straight from a deeply frozen container, the surface will chip and the texture will seem harder than it really is.
Answers to the Questions Worth Asking
Peanut Butter Ice Cream
Ingredients
Equipment
Method
- Heat the heavy cream and whole milk in a saucepan until steaming, not boiling, then lower the heat as needed to keep it at a gentle simmer.
- In a bowl, whisk egg yolks with granulated sugar until smooth, then slowly whisk the hot cream mixture into the yolks to temper.
- Return the mixture to the saucepan and cook over medium-low heat, stirring constantly, until the custard reaches 175F with a thickened, spoon-coating consistency.
- Remove the custard from the heat and whisk in the creamy peanut butter until completely smooth and glossy.
- Strain through a fine mesh sieve, then whisk in vanilla extract and salt to fully incorporate.
- Cool the custard over an ice bath, stirring occasionally until it is noticeably cooler and thickens slightly.
- Refrigerate at least 4 hours or overnight, covering the surface to prevent a film from forming.
- Churn the chilled custard in an ice cream maker according to the manufacturer’s instructions until it reaches a soft, thick churned texture.
- Transfer to a freezer-safe container and freeze until firm for scooping.


