Ice cream sundae cake lands somewhere between a birthday cake and the best parts of a diner dessert. You get a firm, sliceable frozen base, a thick layer of vanilla ice cream, and those familiar sundae toppings that stay distinct instead of melting into one sugary blur. The first slice is the payoff: clean layers, cold creaminess, and a ribbon of fudge and caramel running through the middle.
The trick is temperature control. The ice cream needs to be softened enough to spread without tearing up the base, but not so loose that it collapses into the pan. Hot fudge and caramel should be thick and spoonable, not hot and runny, or they’ll sink instead of staying in a marbled layer. A springform pan helps with a clean release, and the final freeze gives the whole cake the structure it needs for neat slices.
Below, I’ll walk through the parts that matter most, including how to keep the layers defined, when to add the toppings, and what to do if you want to swap the crust or make it ahead for a party.
The ice cream spread like a dream and the fudge stayed in a perfect ribbon instead of disappearing into the cake. I made it the night before, and it sliced cleanly after about 10 minutes on the counter.
Save this ice cream sundae cake for birthdays when you want a frozen dessert with clean layers, fudge ribboning, and a cherry-on-top finish.
Why the Layers Stay Distinct Instead of Turning Into a Melted Mess
The biggest mistake with a frozen sundae cake is rushing the fillings. If the ice cream is too soft, the base gets soggy and the swirls disappear. If the fudge and caramel are warm, they tunnel downward instead of sitting in the middle where you can actually taste them in each slice.
That’s why this cake works best in stages. The crust gets a short freeze first, which keeps the ice cream from sliding around. Then the sauces go on in thin ribbons, not giant puddles, so you get little pockets of fudge and caramel instead of one heavy layer. The final freeze is what turns the whole thing into a clean-cut dessert rather than a scoopable pile.
- Oreos or brownie base — Either one gives you a sturdy, chocolatey foundation. Oreos are faster and firmer; brownies bring a denser, more cake-like bite. If you use brownies, let them cool completely before layering anything frozen on top.
- Vanilla ice cream — This is the center of the dessert, so buy a brand you actually like eating plain. Let it soften on the counter just until it’s spreadable. If it gets soupy, the layers won’t hold.
- Hot fudge sauce — Thick fudge stays visible inside the cake. Warm it just enough to loosen it, then let it cool for a few minutes before drizzling. Too hot and it melts straight through the ice cream.
- Caramel sauce — Use a pourable sauce, not a stiff caramel candy topping. That little bit of saltiness helps balance the sweetness and gives you the classic sundae flavor.
- Whipped topping — This is what gives the top and sides that classic frosted cake look without making the dessert overly heavy. Homemade whipped cream works, but it won’t hold as long in the freezer.
What Each Topping Is Actually Doing in This Cake
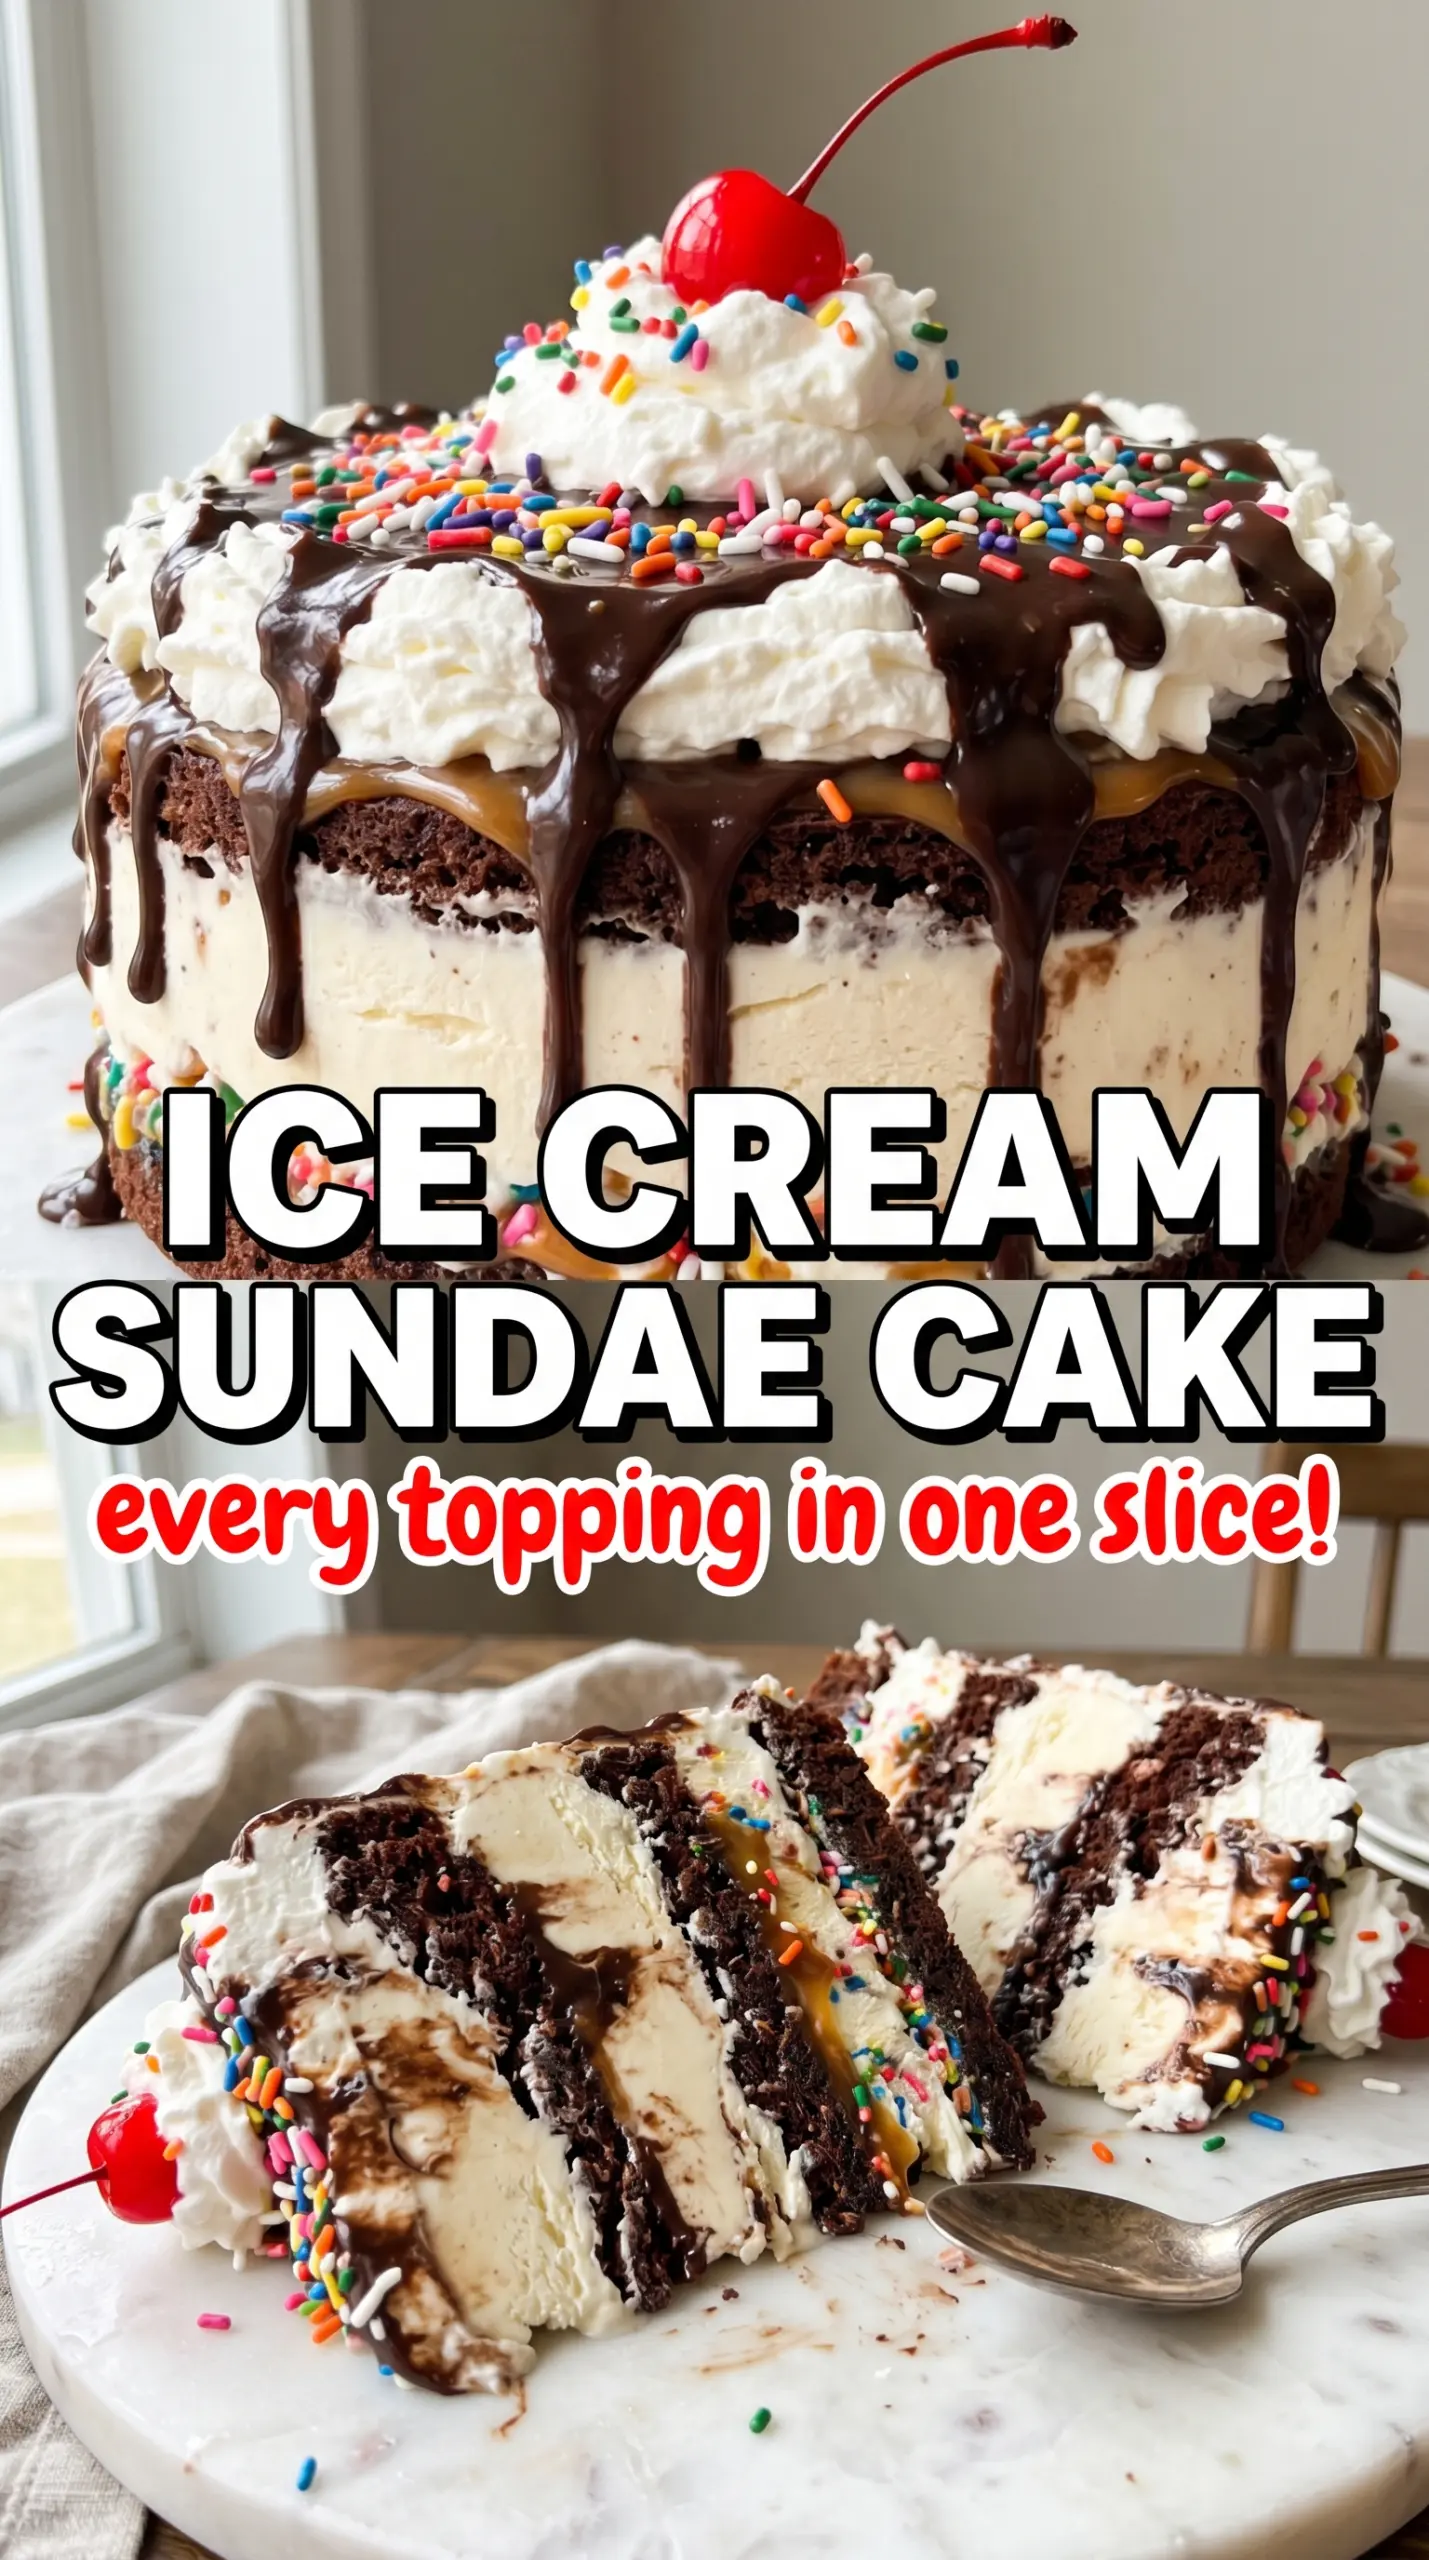
- Brownie layer or crushed Oreo base — The base needs enough structure to support frozen slices. Oreos press into a quick no-bake crust, while brownies add a richer, more substantial bite. If you want the cleanest release, line the bottom of the springform pan with parchment.
- Softened vanilla ice cream — Softening matters more than almost anything else here. You want it pliable, not melted, so it spreads without dragging the base upward. If your ice cream is too hard, let it sit 10 to 15 minutes and stir it once to even out the texture.
- Hot fudge and caramel — These are the sundae flavors that make the cake feel like a real sundae instead of just ice cream in a pan. Use sauces that drizzle smoothly and hold their shape long enough to layer. If they’re thick from the jar, warm them briefly and let them cool before using.
- Whipped topping — This gives the cake its frosted finish and helps lock in the decorations. It’s sturdier than fresh whipped cream in the freezer, which matters if you’re making the cake ahead.
- Sprinkles, cherries, and peanuts — These are the visual finish and the texture contrast. Add them after the whipped layer goes on so they sit on top instead of sinking into the ice cream.
Building the Cake So It Slices Cleanly After Freezing
Pressing in the Base
Start with the crust or brownie layer pressed evenly into the bottom of a 9-inch springform pan. You want a flat, compact layer with no loose crumbs at the edges, because gaps turn into crumbling when you slice the cake later. A quick 15-minute freeze firms the base enough to hold the ice cream without shifting.
Spreading the Ice Cream Layer
Let the vanilla ice cream soften until it gives easily when you stir it, then spread it over the chilled base in an even layer. Work from the center outward so the crust doesn’t pull up in clumps. If the ice cream starts melting around the sides, pause and pop the pan back in the freezer for a few minutes before continuing.
Ribbing in the Fudge and Caramel
Drizzle the hot fudge and caramel over the ice cream in thin lines, then drag a spoon through them once or twice for a gentle swirl. Don’t overmix or the sauces disappear into the ice cream and lose the whole sundae effect. The goal is to leave streaks and pockets, not one uniformly flavored layer.
Finishing the Top and Freezing Hard
Spread the whipped topping all the way to the edges, then decorate with sprinkles, cherries, and peanuts if you’re using them. Freeze the cake for at least 2 more hours after topping it, and longer if you want the cleanest slices. If you try to cut it too soon, the layers will drag and the whipped topping will smear instead of holding its shape.
How to Adapt This for Different Occasions and Freezer Space
Gluten-Free Version With a Cracker or Cookie Base
Swap in gluten-free chocolate sandwich cookies or a gluten-free brownie base. The texture stays close to the original, but the crust may crumble a little more at the edges, so press it firmly and freeze it before adding the ice cream.
Dairy-Free Sundae Cake
Use dairy-free vanilla ice cream, coconut-based whipped topping, and dairy-free chocolate and caramel sauces. The cake still freezes well, but the flavor will be a little lighter and less rich than the original, so choose a vanilla ice cream with good body.
Extra-Chocolate Version
Use a brownie base instead of Oreos and add a few chocolate curls or mini chips on top with the sprinkles. This version tastes closer to a hot fudge sundae at a restaurant and gives you a denser, richer bite.
Storage and Reheating
- Refrigerator: Don’t store this one in the fridge. It softens fast and loses its shape within minutes.
- Freezer: Wrap tightly and keep frozen for up to 1 week for the best texture. After that, the ice cream can pick up freezer flavor and the toppings start to dull.
- Reheating: No reheating needed. Let slices sit at room temperature for 8 to 10 minutes before serving so the knife can glide through the layers without cracking the crust.
Answers to the Questions Worth Asking
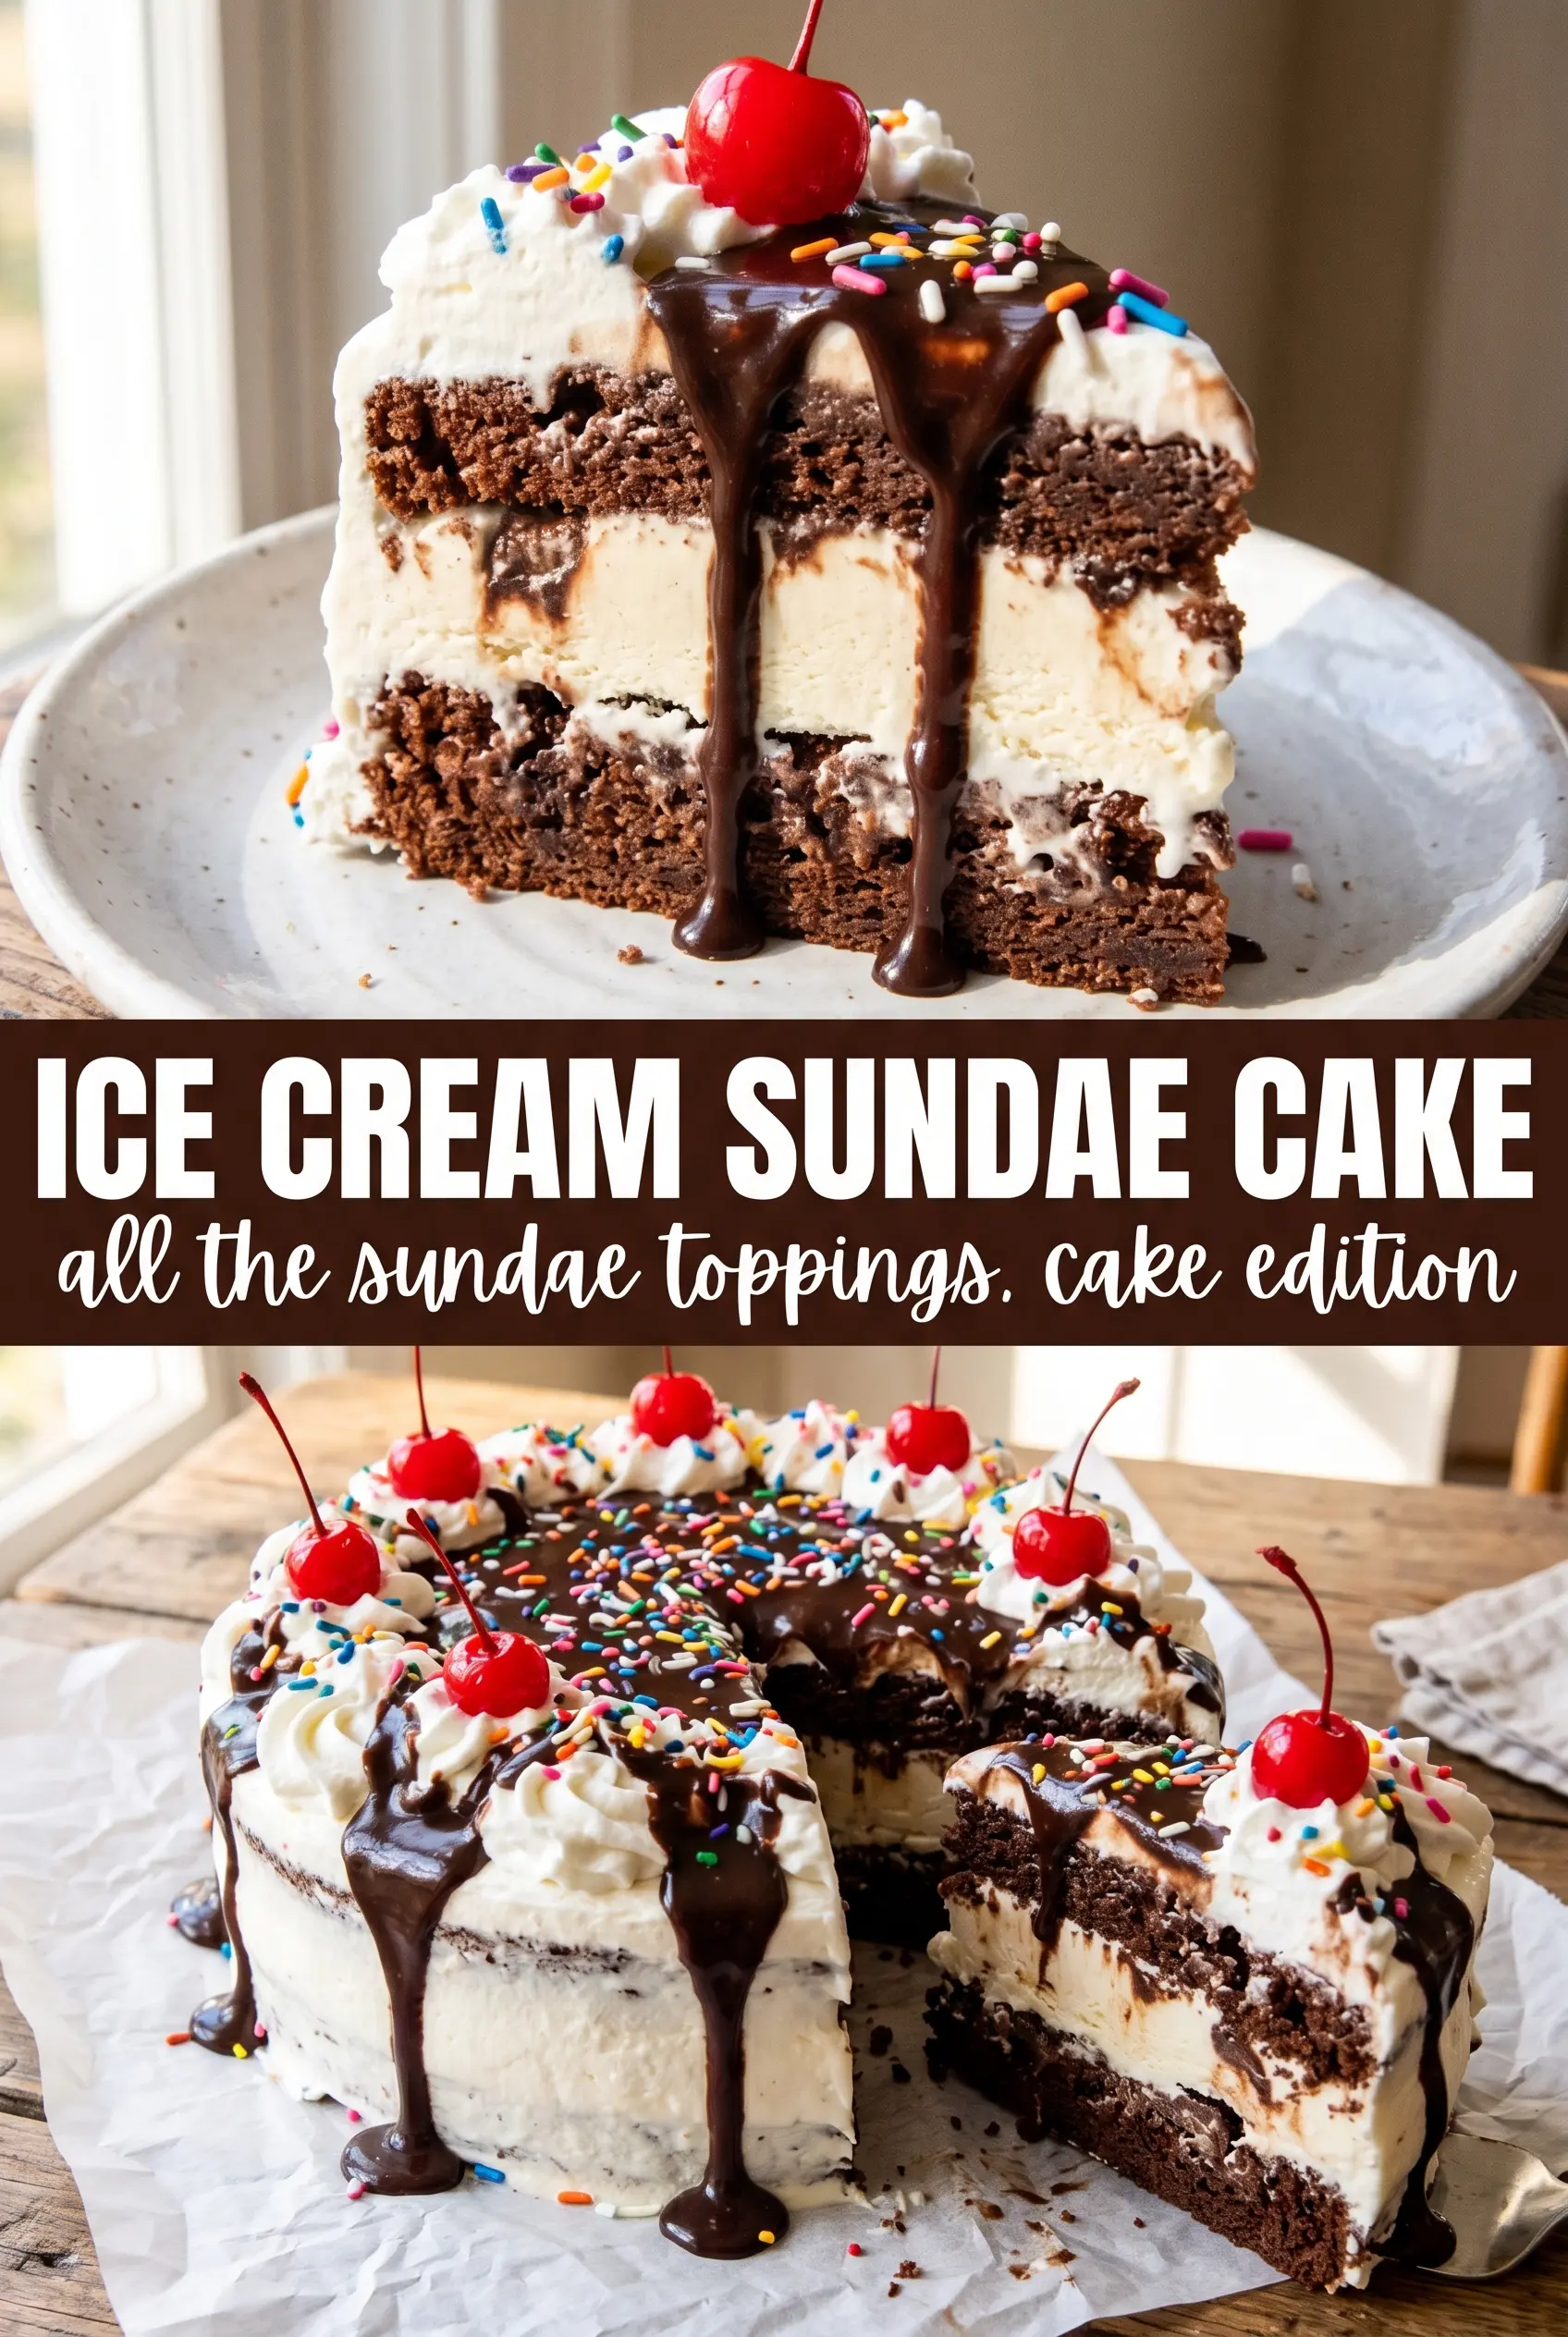
Ice Cream Sundae Cake
Ingredients
Equipment
Method
- Press the crushed Oreos or cooled baked brownies into a 9-inch springform pan to form an even layer. Freeze for 15 minutes so it firms up.
- Spread the softened vanilla ice cream over the frozen base in an even coat. Drizzle the hot fudge sauce and caramel sauce over the ice cream and swirl gently.
- Freeze for 4 hours until completely firm, so the layers slice cleanly. Keep the pan level in the freezer.
- Top with the whipped topping and spread it smoothly over the top and sides. Use gentle pressure to avoid disturbing the frozen layers.
- Decorate with rainbow sprinkles, drizzled fudge and caramel, and chopped peanuts if using. Add maraschino cherries on top before the final freeze.
- Freeze 2 more hours before slicing. Let it sit briefly at room temperature only if needed for clean cutting.


