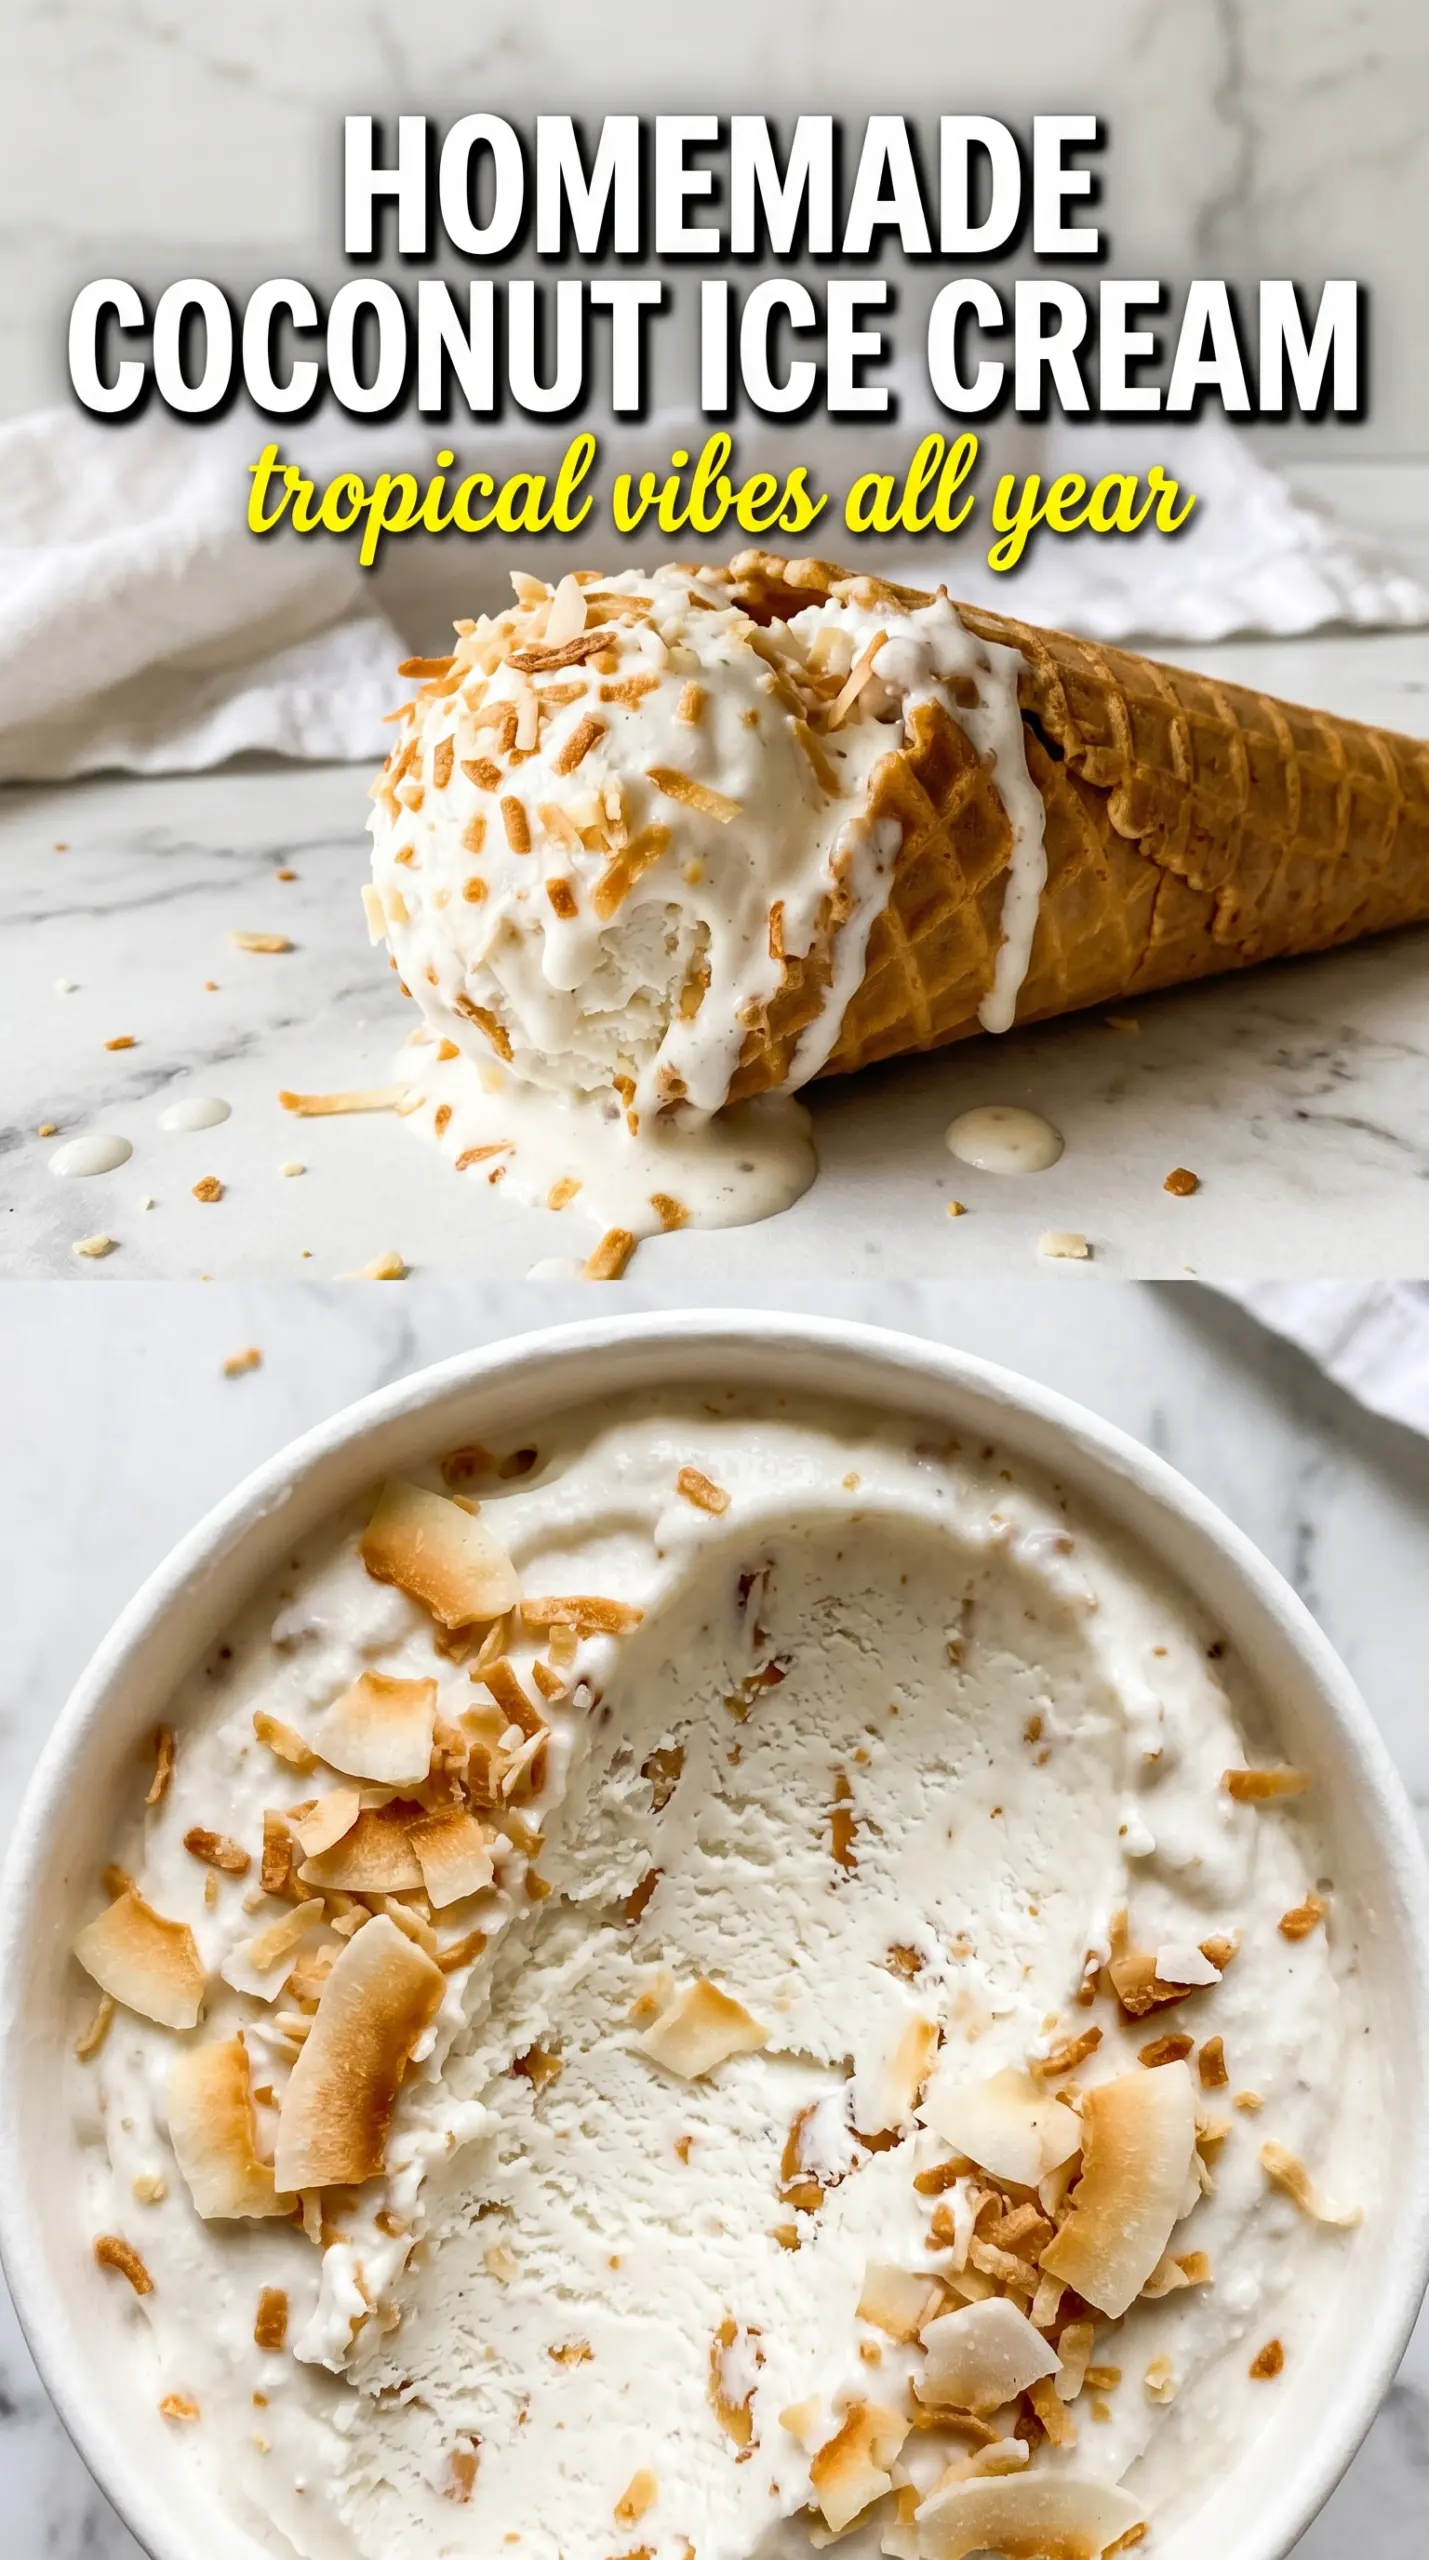
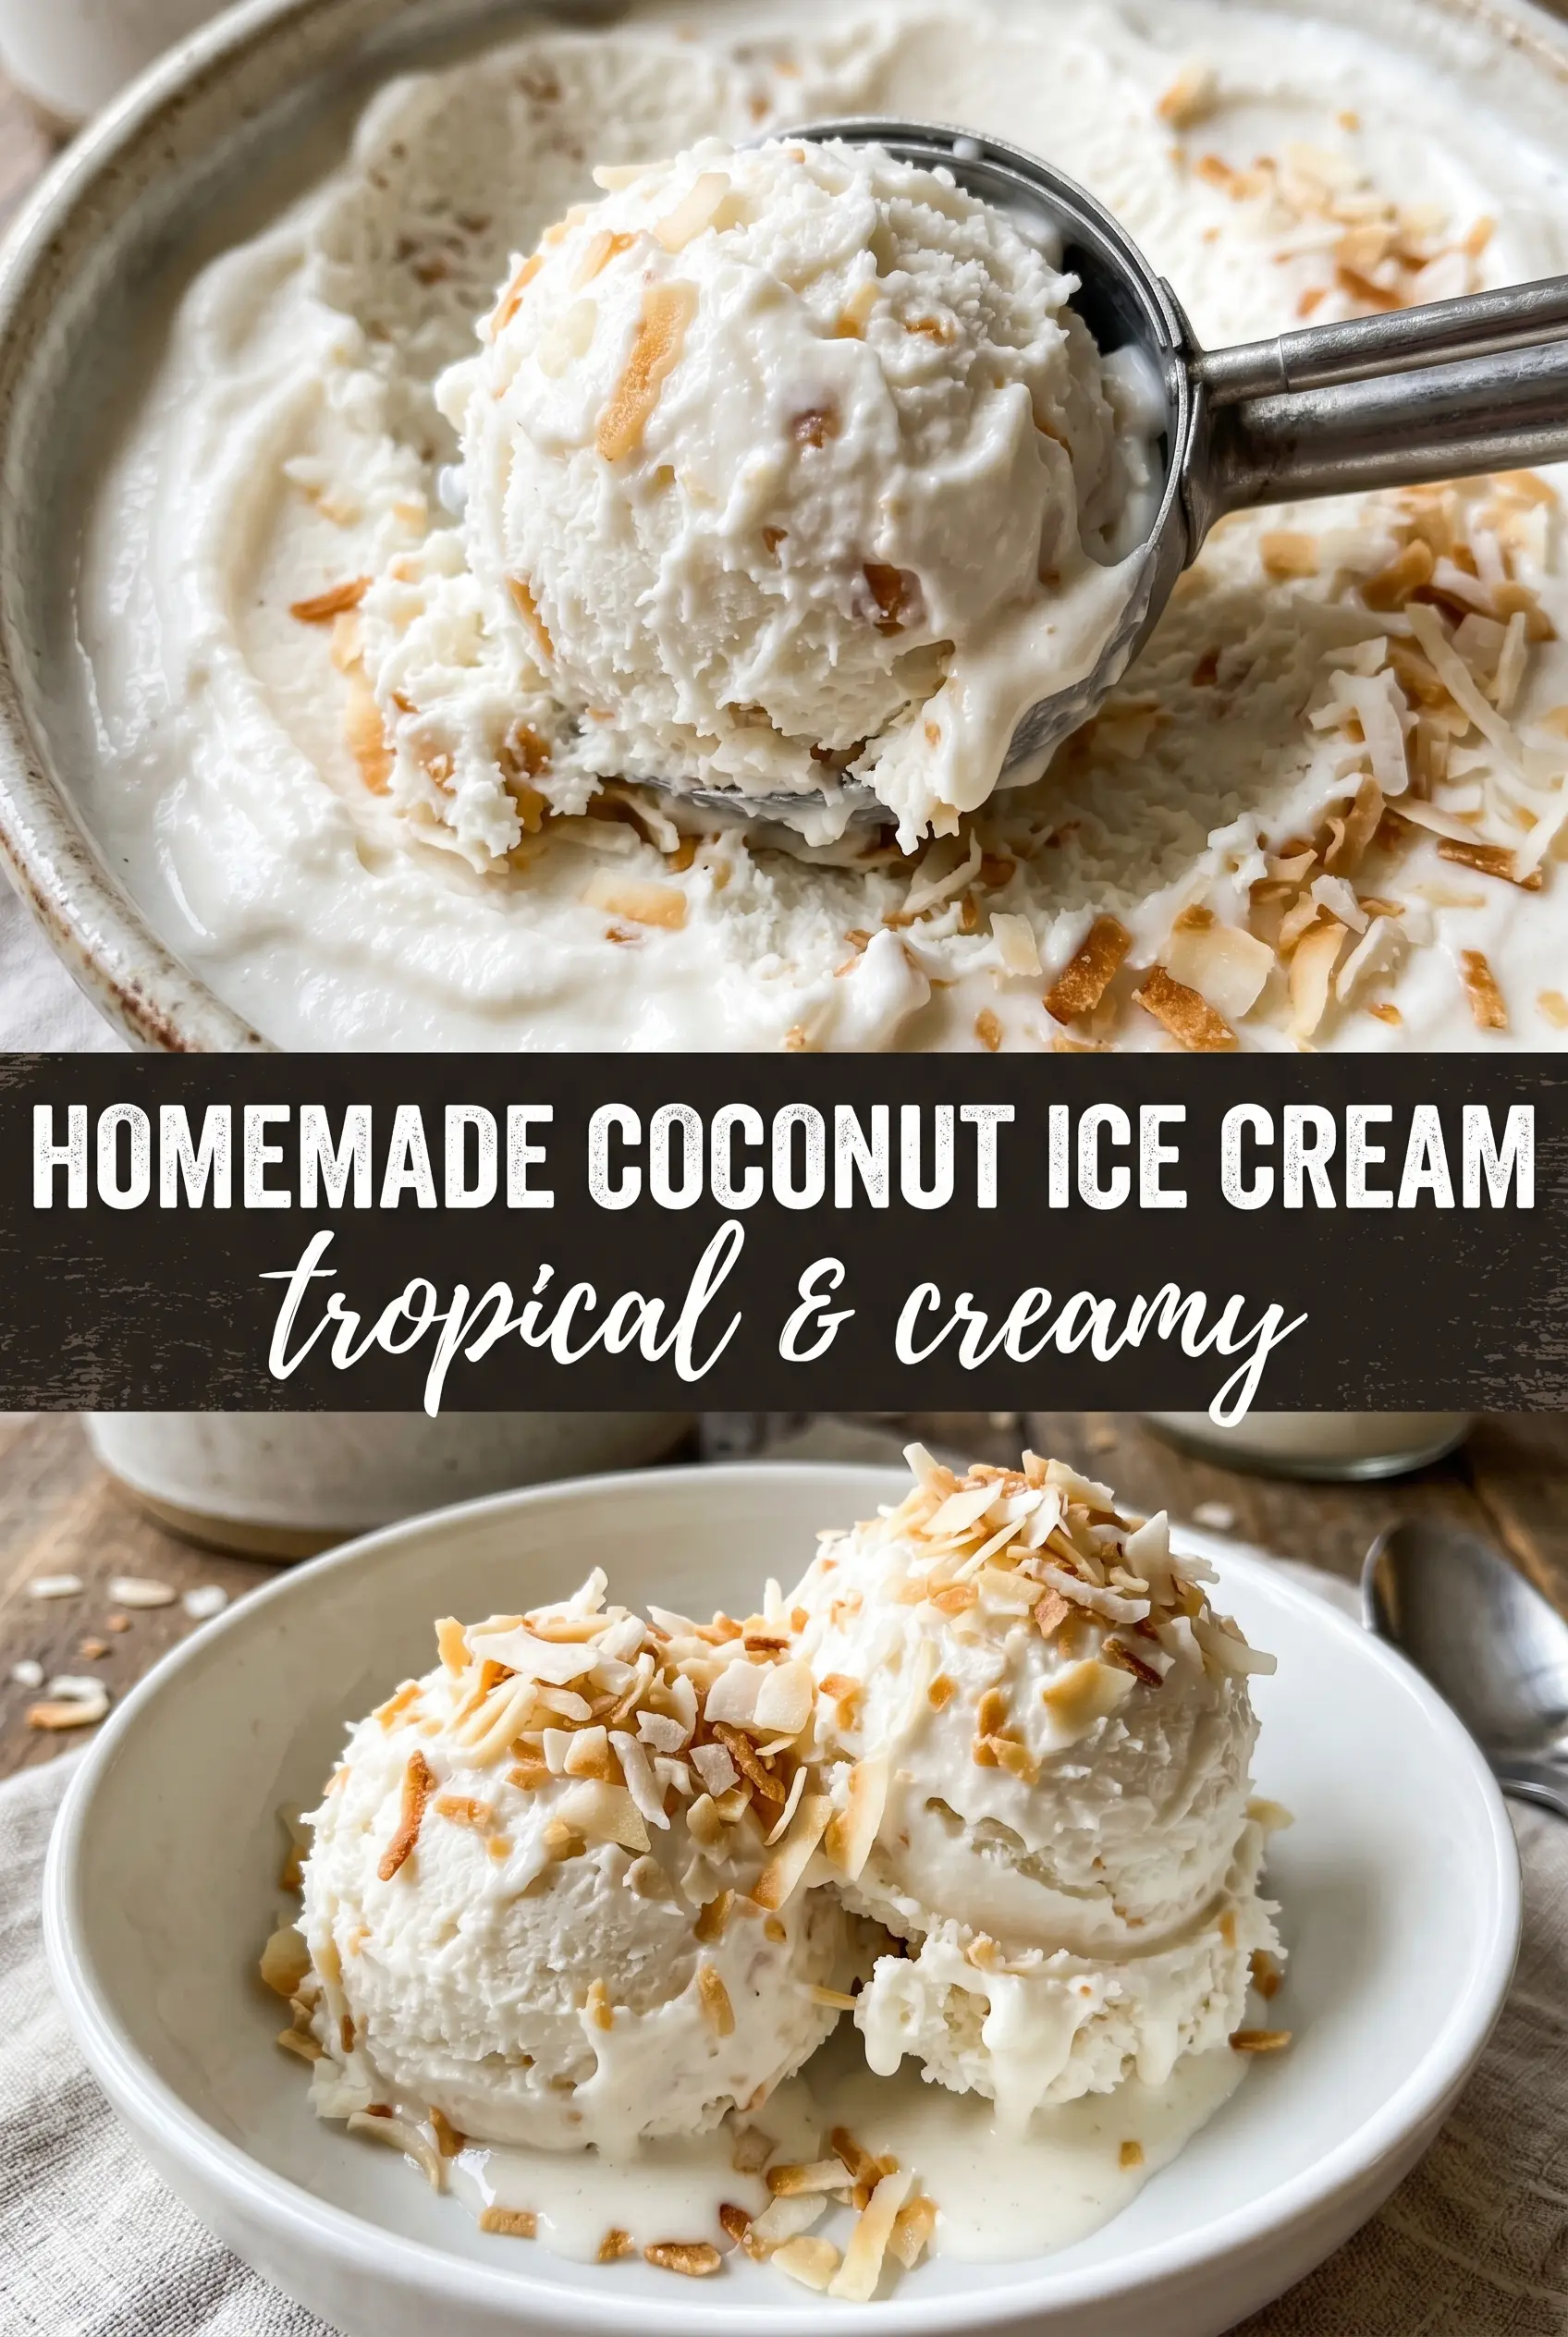
Silky coconut ice cream has a way of tasting richer than you expect and cleaner than store-bought versions, with a dense scoop that melts into a cool, fragrant finish. The toasted coconut folded through at the end gives every bite a little crunch and a deeper coconut note, so it doesn’t taste flat or one-dimensional.
The trick is treating the base like a real custard, even though coconut milk is doing the heavy lifting instead of dairy. Full-fat coconut milk gives you body, egg yolks give you that custardy texture, and the temperature matters more than speed here. Pull it off the heat when it coats a spoon and hits 175°F, not when it looks thick enough in the pan, because coconut custard goes from perfect to grainy faster than most people expect.
Below you’ll find the little details that keep the base smooth, plus the best way to fold in the toasted coconut so it stays scattered throughout instead of sinking into one heavy layer. If you’ve ever had homemade ice cream turn icy after a day in the freezer, the chilling and churn timing here will help with that too.
The custard turned out unbelievably smooth, and the toasted coconut stayed perfectly distributed instead of clumping. I chilled it overnight, churned it the next day, and it froze into the creamiest homemade coconut ice cream I’ve made.
Save this homemade coconut ice cream for the nights when you want a creamy custard-style scoop with toasted coconut in every bite.
The Custard Temperature That Keeps Coconut Ice Cream Smooth
Coconut milk behaves a little differently from dairy, and that is where most homemade coconut ice cream goes sideways. If you rush the custard or let it get too hot, the egg yolks tighten and the base turns slightly curdled instead of silky. The sweet spot is 175°F, just enough to thicken the custard without pushing it into scrambled-egg territory.
Straining the base is worth the extra minute. It catches any stray bits of yolk or toasted coconut dust and gives you a cleaner churn, which matters because coconut milk has a naturally lush texture and any roughness stands out more. Chill the base fully before churning; warm custard never freezes into the same fine, creamy texture.
What Each Ingredient Is Doing In This Coconut Base
- Full-fat coconut milk — This is the backbone of the ice cream, so don’t swap in the light version. You need the fat for body and that rich, scoopable texture. If the cans have separated, shake them first, then pour both the thick cream and liquid into the saucepan.
- Egg yolks — They give the base its custard texture and help prevent iciness after freezing. There isn’t a true one-for-one substitute here if you want the same result. Temper them slowly with the hot coconut milk so they don’t seize.
- Granulated sugar — Sugar does more than sweeten; it helps keep the ice cream softer straight from the freezer. Reducing it too much makes the finished ice cream harder and icier. Stick close to the measured amount unless you’re adjusting with a tested lower-sugar base.
- Vanilla and coconut extract — Vanilla rounds out the custard, while coconut extract pushes the coconut flavor beyond what the milk alone can do. Coconut extract can be strong, so measure it carefully. Too much starts tasting artificial instead of fragrant.
- Toasted shredded coconut — Toasting is what turns it from chewy add-in to a real flavor layer. Let it cool before folding it in or it can soften the churned ice cream too much. Sweetened shredded coconut gives the best contrast here because it stays tender and keeps the texture interesting.
How To Build The Custard And Churn It Without Losing That Creamy Texture
Heating The Coconut Milk Base
Warm the coconut milk and sugar together until the sugar fully dissolves and the mixture just begins to steam. You’re not boiling it; you’re dissolving the sugar and loosening the fat so the custard starts evenly. If you see simmering around the edges, pull it back a little. Too much heat here makes the tempering step harder and can make the yolks react too fast.
Tempering The Yolks
Whisk the yolks in a separate bowl until they look smooth and slightly lighter in color, then drizzle in the hot coconut milk slowly while whisking constantly. That gradual addition keeps the yolks from cooking into little ribbons. Once the eggs are warmed through, pour everything back into the saucepan. If you dump the hot liquid in all at once, you’ll get scrambled bits you can’t fix later.
Cooking To The Right Thickness
Cook over medium-low heat, stirring the whole time, until the custard reaches 175°F and coats the back of a spoon. The custard should look slightly thickened and glossy, not pudding-thick. If it starts to steam heavily or bubble, the heat is too high. Pull it off the burner as soon as it reaches temperature, because the residual heat in the pan keeps it cooking.
Straining, Chilling, And Churning
Strain the custard into a clean bowl, then stir in the vanilla, coconut extract, and salt while it is still warm. Chill it completely before it goes into the ice cream maker; four hours is the minimum, but overnight is even better for a tighter churn. Add the toasted coconut during the last two minutes so it stays suspended through the batch instead of sinking to the bottom. If the base goes into the machine warm, the texture turns soft and slushy instead of dense.
How To Adapt This Coconut Ice Cream For Different Needs
Dairy-Free Version
This recipe is already naturally dairy-free as written, which is part of why the coconut flavor comes through so cleanly. Keep the coconut milk full-fat and avoid swapping in coconut beverage from the carton, which is too thin for a custard base. The texture depends on that fat content.
No Ice Cream Maker
You can freeze the base in a shallow container and stir it every 30 minutes for the first 2 to 3 hours, but the texture won’t be quite as smooth as churned ice cream. The stirring breaks up ice crystals, which helps, though it still lands a little firmer and less airy. Let it sit at room temperature for a few minutes before scooping.
Extra Coconut Flavor
For a stronger coconut finish, toast an extra tablespoon or two of shredded coconut and sprinkle it over the scoops at serving time. You can also add a little more coconut extract, but keep it modest. Too much extract can take over and taste sharp instead of rounded.
Storage and Reheating
- Refrigerator: Store the churned base before freezing for up to 1 day if needed, covered tightly. After freezing, the ice cream keeps best for about 2 weeks before the texture starts to turn a little icy.
- Freezer: Freeze in an airtight container with parchment pressed on the surface if you want the smoothest texture. It does freeze hard, so a few minutes on the counter before scooping helps a lot.
- Reheating: Ice cream doesn’t reheat; the useful move is tempering. Let the container sit at room temperature briefly until the edges soften, then scoop with a warm spoon or scoop. Microwaving turns the edges melty while the center stays frozen.
Questions I Get Asked About This Recipe
Homemade Coconut Ice Cream
Ingredients
Equipment
Method
- Heat the full-fat coconut milk and granulated sugar in a saucepan over medium heat until the sugar dissolves and the mixture steams.
- In a bowl, whisk the egg yolks until smooth, then slowly whisk the hot coconut milk mixture into the yolks to temper them.
- Return the mixture to the saucepan and cook over medium-low heat, stirring constantly, until it reaches 175F and coats the back of a spoon.
- Strain the custard, then stir in the vanilla extract, coconut extract, and salt and cool completely.
- Refrigerate the cooled custard at least 4 hours, until thoroughly chilled.
- Churn in an ice cream maker according to the manufacturer’s instructions, then fold in the toasted shredded sweetened coconut during the last 2 minutes.
- Freeze the churned ice cream until firm.


