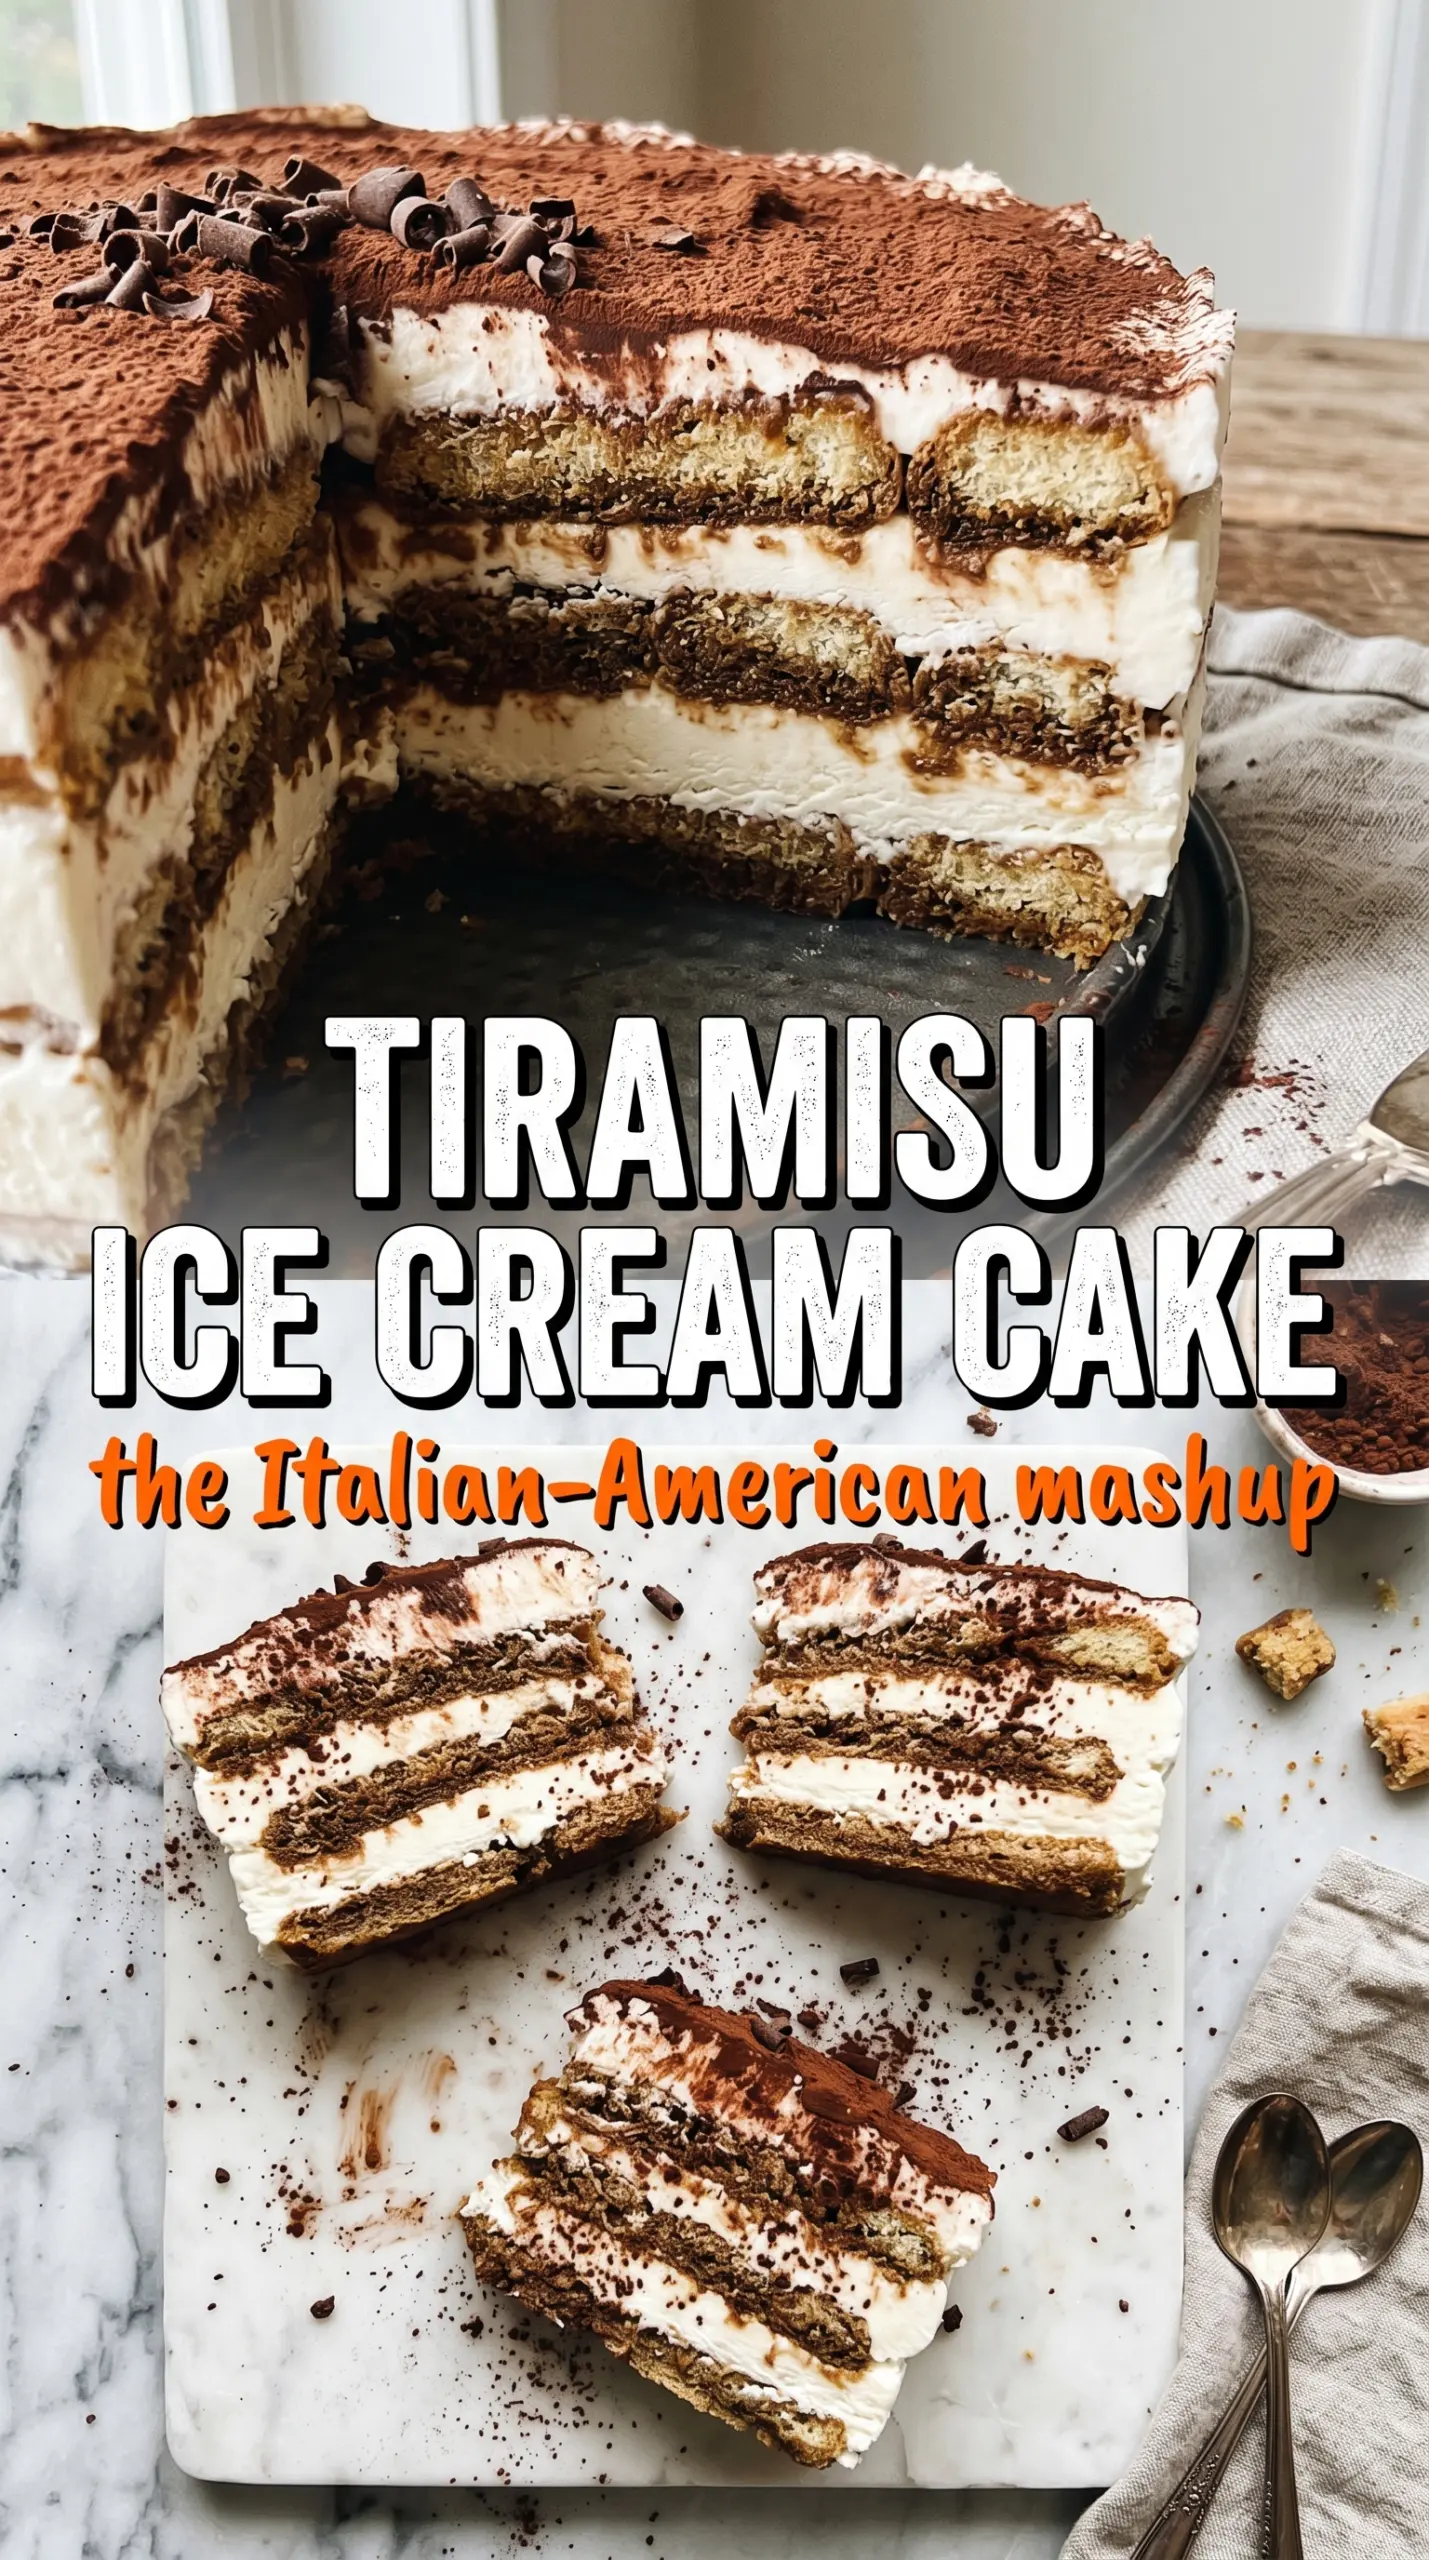
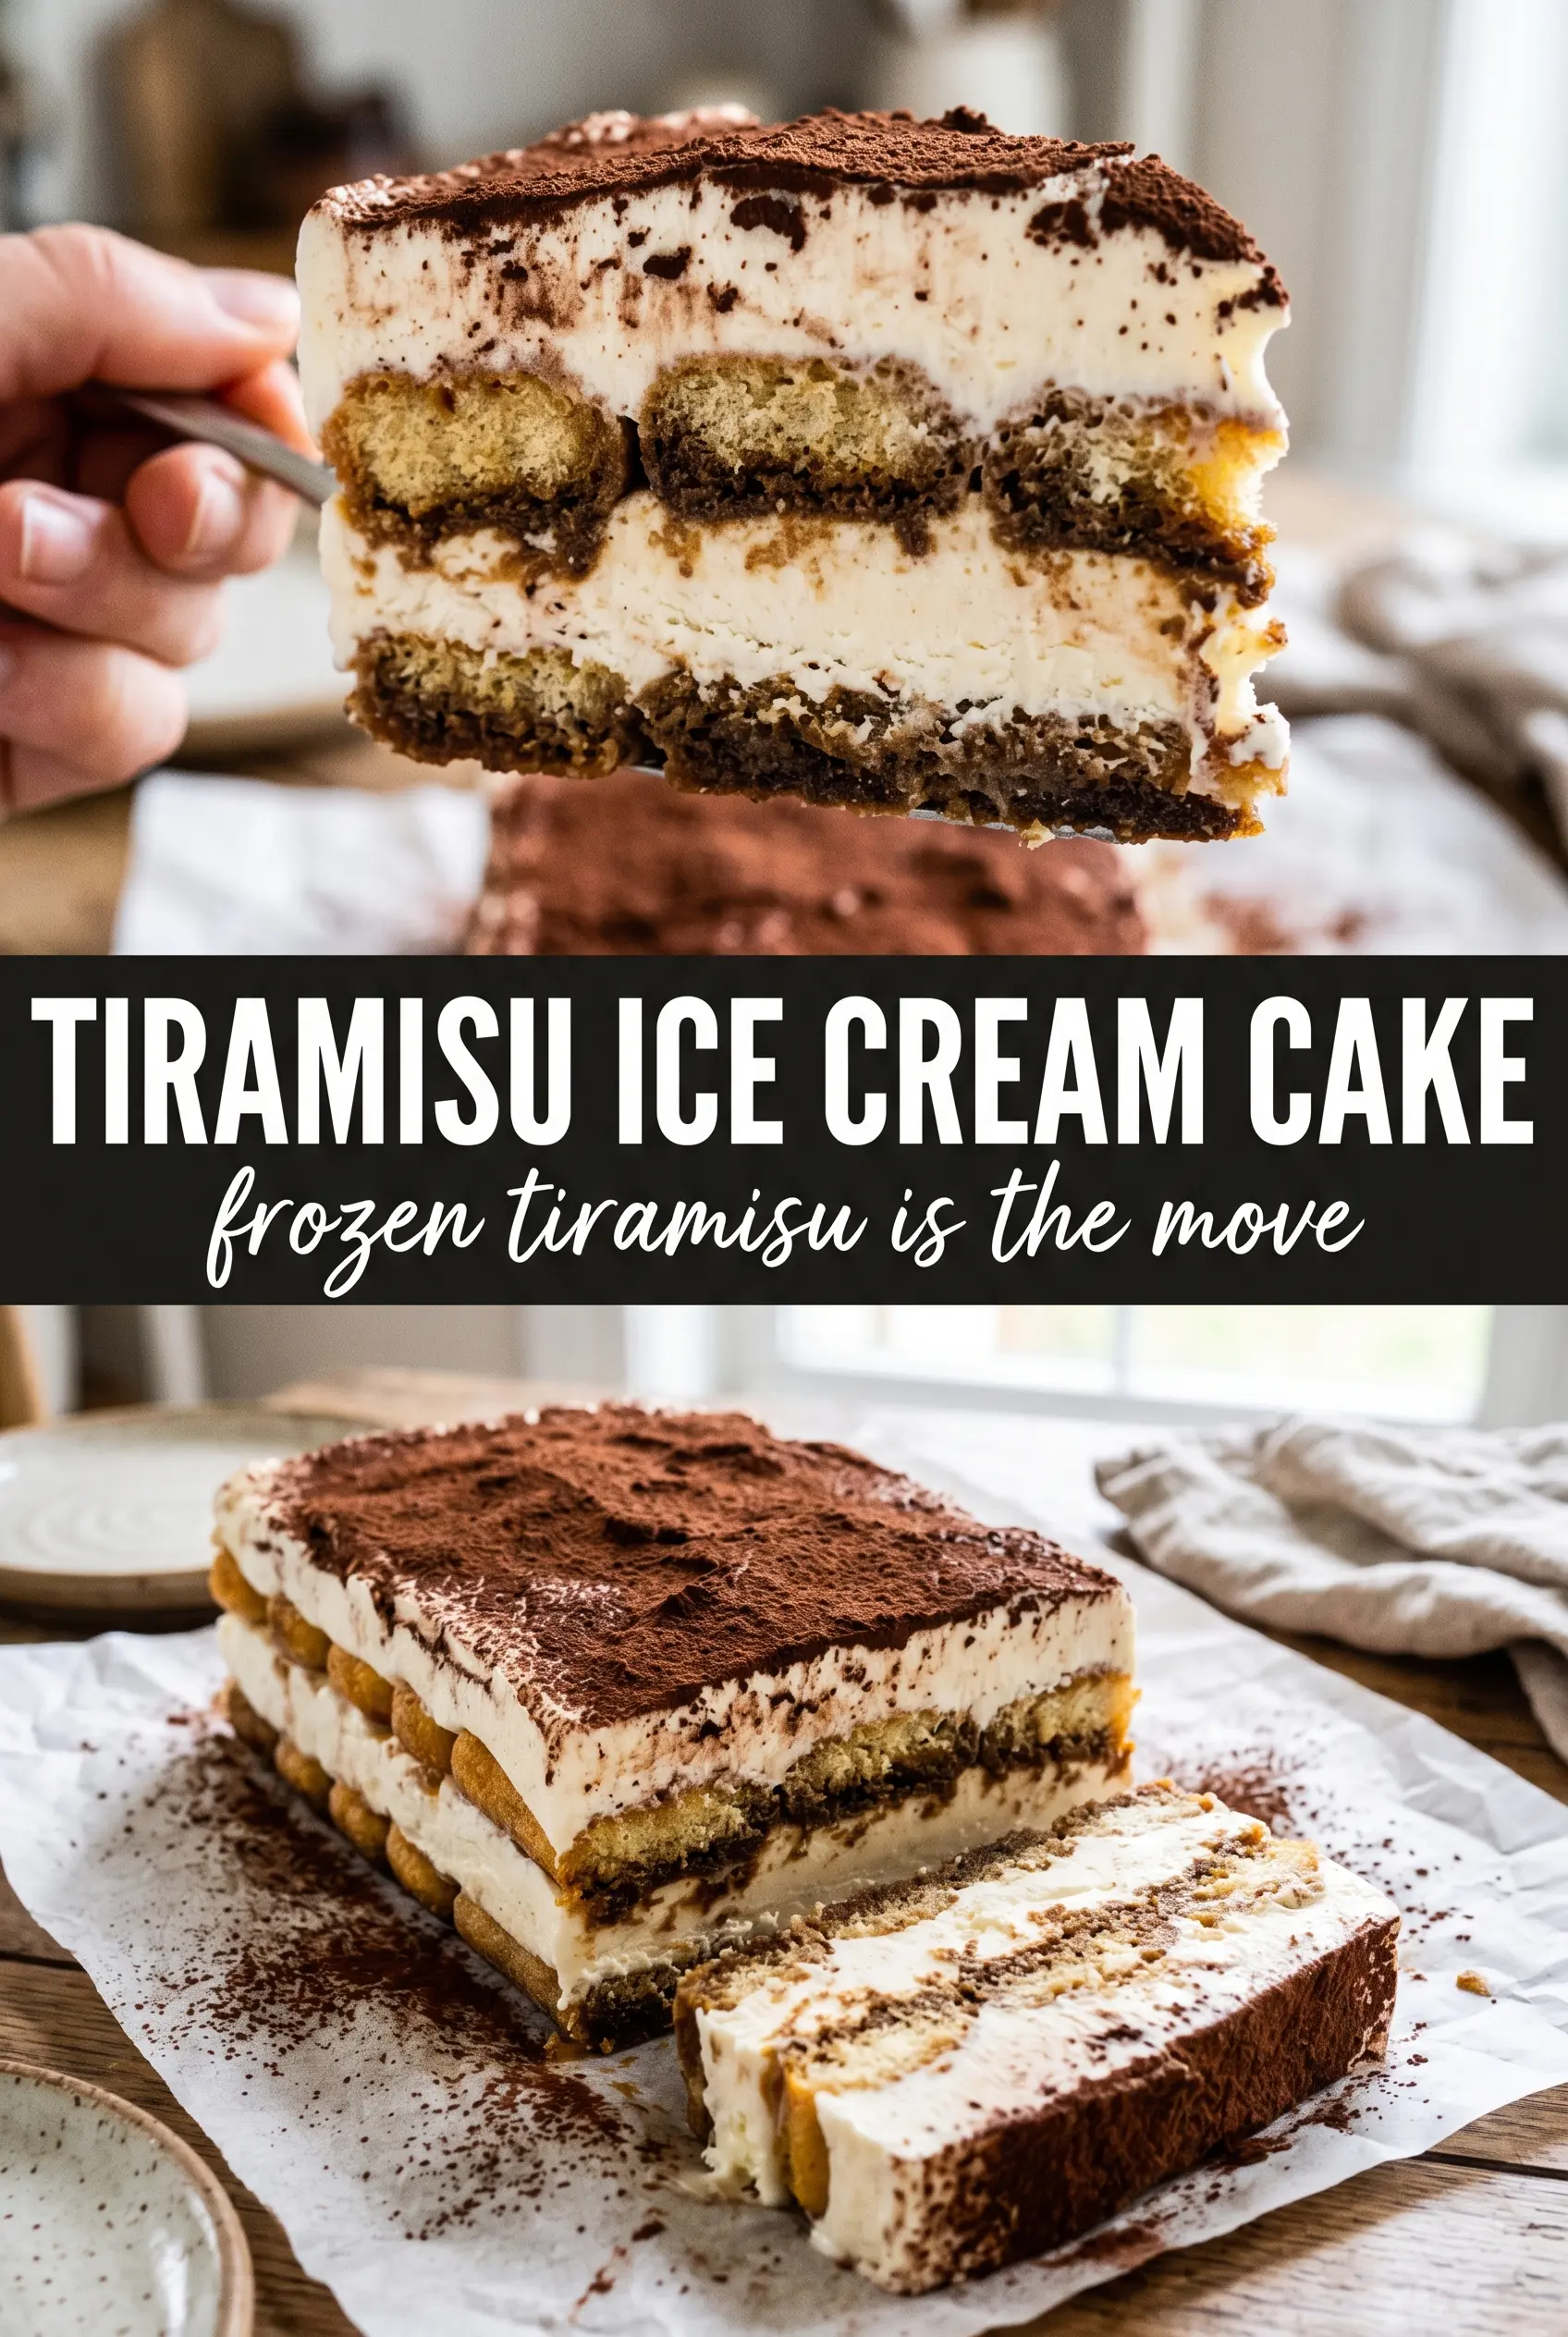
Espresso-soaked ladyfingers, coffee ice cream, and a mascarpone whipped topping turn this tiramisu ice cream layer cake into a frozen dessert that slices cleanly and eats like a cross between classic tiramisu and an ice cream cake. The texture is the whole point here: soft enough to give at the fork, but firm enough to hold those tidy layers when you cut into it.
What makes this version work is control. The ladyfingers get a fast dip, not a soak, so they keep structure instead of dissolving into paste. The coffee ice cream needs to be softened just enough to spread without melting, and the mascarpone topping is beaten to stiff peaks so it freezes into a stable, creamy cap instead of sliding around on top.
Below, I’ve broken down the small timing details that matter most, along with the swaps that still keep the dessert balanced. If you’ve ever had a frozen layer cake turn slushy or collapse on the plate, this one is built to avoid that.
The layers held their shape beautifully, and the coffee flavor came through without getting icy. I dipped the ladyfingers fast like you said, and the whole cake sliced like a dream after overnight freezing.
Save this tiramisu ice cream layer cake for the kind of dessert that needs overnight freezing, clean slices, and a deep coffee-cocoa finish.
The Trick to Keeping Frozen Tiramisu Layers Distinct
The biggest failure point in any frozen layer cake is letting one layer get too soft before the next one goes in. Here, the espresso-dipped ladyfingers and softened ice cream need a little restraint. The cookies should taste bold and coffee-soaked, but they should still look like cookies when you press them into the pan. If they sit in the espresso too long, they turn mushy and the whole base loses definition.
The other key is freezing the ice cream layer before you add the second set of ladyfingers. That pause gives the cake a backbone. Skip it, and the top cookies sink into the ice cream instead of sitting in a clean line above it. The final mascarpone topping also benefits from stiffness, because a loose whipped cream layer can slide when you serve the cake later.
- Savoiardi ladyfingers — Dry Italian ladyfingers are the right choice because they absorb espresso quickly without collapsing. Soft, cake-like ladyfingers can work in a pinch, but they need an even faster dip or they’ll turn soggy.
- Coffee ice cream — This brings both the flavor and the structure of the middle layer. Let it soften at room temperature until spreadable, not melted; if it gets soupy, it won’t freeze back into a clean layer.
- Mascarpone — This is the ingredient that gives the topping its tiramisu character. Cream cheese can substitute, but it tastes tangier and firmer, so the dessert loses some of that mellow, custardy finish.
- Espresso — Use strong, cooled espresso or very strong coffee. Weak coffee makes the cake taste flat after freezing, and hot coffee will soften the cookies too fast.
What Each Ingredient Is Actually Doing in This Ice Cream Cake
- Base layer (cookies, cake, or graham cracker) — This provides structure and stability. Crushed and mixed with butter creates a firm foundation.
- Ice cream (the main star) — Use quality ice cream or make homemade. Softness matters for layering.
- Sauce or topping between layers (fudge, caramel, or fruit) — This adds moisture, flavor, and prevents dryness. Don’t skip this layer.
- Frosting or whipped cream (optional outer layer) — This prevents freezer burn and adds creaminess. Stabilized whipped cream works best.
- Freezing time (at least 4-6 hours) — This sets the layers so cake slices cleanly. Longer freezing prevents melting during serving.
- Room temperature before serving (5-10 minutes) — This softens the cake slightly for better texture. Serve immediately after thawing.
- Toppings (chocolate, nuts, cookies, or sprinkles) — These add visual appeal and texture. Add right before serving.
- Storage (in freezer at 0°F or below) — This prevents ice crystal formation and maintains quality. Cover with plastic wrap.
Building the Cake Before the Clock Runs Out
Dip the Ladyfingers Fast
Stir the cooled espresso and coffee liqueur together, then dip each ladyfinger for just a second or two per side. You want the outside to darken and soften, but not so much that the cookie loses its shape in your fingers. Lay them in a single layer in the pan as you go. If they look wet enough to drip, they’ve already taken on too much liquid.
Spread the Ice Cream While It’s Still Moldable
Let the coffee ice cream sit out until it’s soft enough to spread with an offset spatula or the back of a spoon. It should move like thick frosting, not pour like melted cream. Spread it over the first cookie layer in an even blanket, then freeze the pan for about 2 hours. That first freeze keeps the middle from blending into the top layers.
Whip the Mascarpone Topping to Stiff Peaks
Beat the mascarpone, heavy cream, powdered sugar, and vanilla until the mixture holds firm peaks and the whisk leaves clear trails. Stop as soon as it gets there. Overbeating turns mascarpone grainy, and once that happens you can’t smooth it out again. Spread it over the second layer of ladyfingers, then freeze the whole cake for at least 6 hours, though overnight gives the best slice.
Finish With Cocoa Right Before Serving
Dust the top generously with cocoa powder through a fine sieve after the cake has fully set and just before serving. Cocoa that sits too long on whipped cream can darken and dampen, which dulls the clean tiramisu look. Use a sharp knife dipped in warm water and wiped dry between cuts if you want tidy squares with distinct layers.
How to Adapt This Frozen Tiramisu for Different Needs
Skip the Liqueur for a Family-Friendly Version
Leave out the coffee liqueur and use plain espresso. You’ll still get a deep coffee flavor, just with a cleaner finish and no boozy note. If you want a little more complexity, add an extra half teaspoon of vanilla to the topping.
Use Cream Cheese Instead of Mascarpone
Cream cheese gives you a tangier, sturdier topping if mascarpone isn’t available. Beat it with the heavy cream and sugar until smooth before adding the vanilla, since cold blocks of cream cheese won’t whip evenly. The result is a little less luxurious, but still holds up well in the freezer.
Make It Gluten-Free With Crisp Ladyfinger-Style Cookies
Use gluten-free ladyfinger-style cookies that stay dry and crisp. Soft gluten-free cake cookies tend to collapse when dipped, so the drier the better. You may need to shorten the espresso dip by a second because some gluten-free versions absorb liquid faster than standard savoiardi.
Swap in Vanilla or Chocolate Ice Cream
If coffee ice cream isn’t available, vanilla gives the cleanest tiramisu-style result and lets the espresso layer stand out. Chocolate ice cream makes the dessert richer and deeper, but it pulls the cake away from classic tiramisu and into mocha territory. Either way, keep the ice cream softened only enough to spread smoothly.
Storage and Reheating
- Refrigerator: Not ideal for storing. This cake should stay frozen, since the ice cream layer softens quickly and the structure collapses in the fridge.
- Freezer: Keeps well for up to 1 week when tightly wrapped. Press plastic wrap directly on the surface, then cover the pan so the cocoa and whipped topping don’t pick up freezer odors.
- Reheating: No reheating needed. For the best slice, let the cake sit at room temperature for 8 to 12 minutes before cutting; any longer and the ice cream layer starts to smear instead of slice cleanly.
Answers to the Questions Worth Asking
Tiramisu Ice Cream Layer Cake
Ingredients
Equipment
Method
- Mix the cooled espresso with the coffee liqueur, if using, in a wide container.
- Quickly dip each ladyfinger into the espresso mixture, then arrange them in a single layer in a 9x13 pan.
- Spread the softened coffee ice cream evenly over the ladyfinger layer.
- Freeze for 2 hours until the ice cream layer firms up.
- Arrange a second layer of dipped ladyfingers over the frozen ice cream.
- Beat the mascarpone, heavy cream, powdered sugar, and vanilla until you reach stiff peaks.
- Spread the mascarpone mixture over the second ladyfinger layer.
- Freeze at least 6 hours or overnight until fully firm.
- Dust generously with cocoa powder through a fine sieve just before serving, using a thick, even layer.


