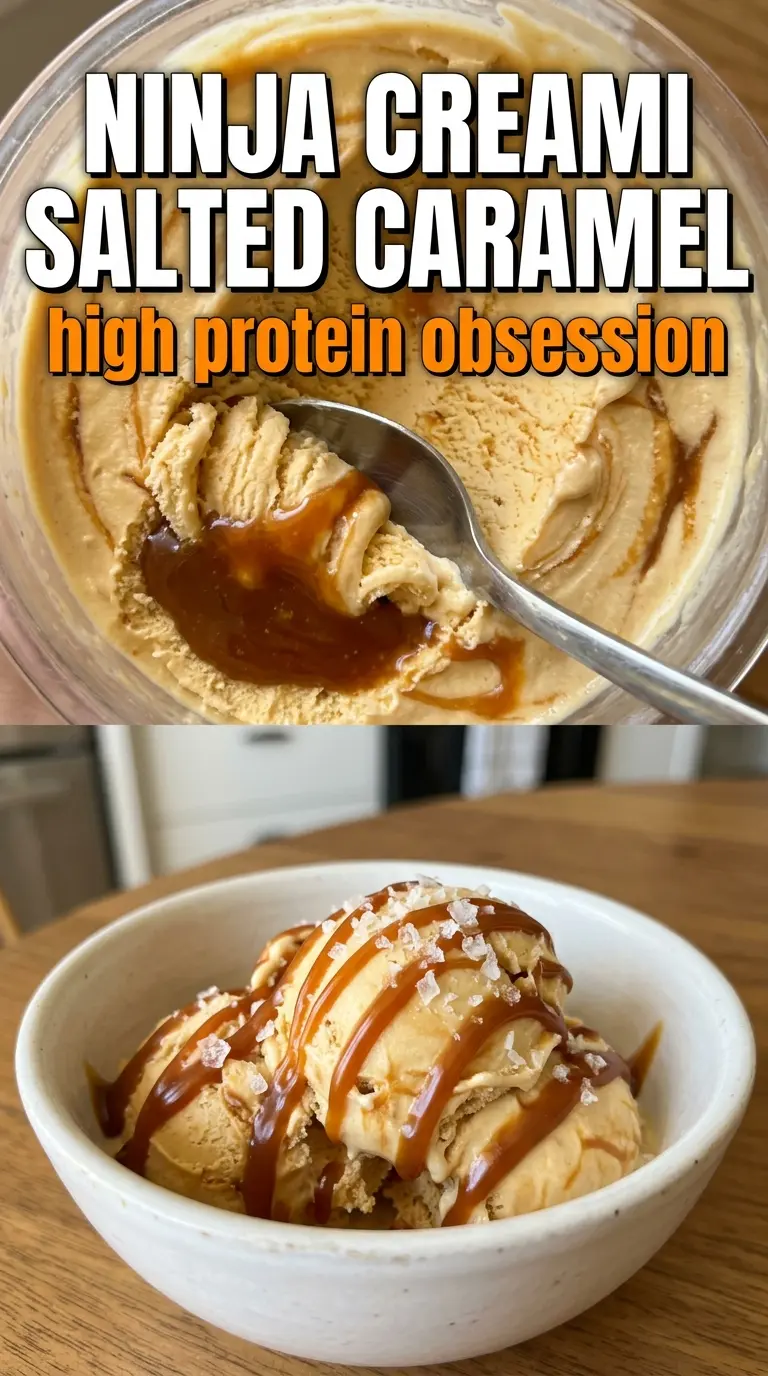
Silky, spoonable salted caramel ice cream is exactly what the Ninja Creami does best when the base is built with enough fat, sugar, and a little dairy tang to keep it from freezing into a brick. The caramel comes through as deep and buttery instead of one-note sweet, and the pinch of sea salt keeps each bite sharp at the edges in the best way.
The trick is in the balance. Whole milk and heavy cream give the pint body, while a spoonful of cream cheese helps the mix stay smooth after freezing and keeps the final texture from tasting icy. Brown sugar reinforces the caramel sauce instead of competing with it, and blending everything until the cream cheese disappears is what keeps the finished pint from having little dense bits in the middle.
Below, I’ll walk through the detail that matters most with Creami bases, plus a few swaps that still give you a rich caramel finish without losing that soft, scoopable texture.
The caramel flavor came through right away, and after one re-spin with a splash of milk it turned into the smoothest pint I’ve made yet. The flaky salt on top made it taste like a real ice cream shop dessert.
Save this Ninja Creami salted caramel ice cream for the nights when you want a deep caramel flavor and that soft, just-spun texture.
The Step That Keeps This Caramel Base Smooth After Freezing
The most common mistake with a caramel Creami base is under-mixing the cream cheese or skimping on sugar because the caramel sauce already tastes sweet. That’s how you end up with tiny tangy bits, an icy pint, or a base that tastes flat once it’s frozen. The cream cheese isn’t there to make this taste like cheesecake; it’s there to help the mixture emulsify and hold a creamier texture after the machine does its work.
Caramel sauce brings flavor, but it doesn’t always bring enough body on its own. Brown sugar adds depth and helps the base freeze a little softer, while the salt keeps the whole thing from reading cloying. If your base tastes balanced before freezing, it usually tastes balanced after spinning, just colder.
What Each Ingredient Is Actually Doing in This Ice Cream
- Base ingredient (cream, milk, or custard) — This provides the foundation and richness. Quality matters.
- Sweetener (sugar, honey, or condensed milk) — This sweetens and prevents ice crystals. The ratio is critical.
- Flavor element (vanilla, fruit, chocolate, coffee, or other) — This defines the ice cream personality. Use quality ingredients.
- Egg yolks (if making custard base) — These create richness and silky texture. Optional but elevates ice cream.
- Churning (if using ice cream maker) — This incorporates air and prevents ice crystals. Critical for smooth texture.
- Freezing temperature and time — Proper freezing prevents rock-hard texture. Store at 0°F or below.
- Mix-ins (chocolate, cookies, fruit, or swirls) — These add texture and prevent one-dimensional flavor. Add near end of churning.
- Serving temperature (slightly soft, not rock hard) — This provides creamy mouthfeel. Remove from freezer 5 minutes before serving.
What Each Ingredient Is Doing in This Pint
- Whole milk — Gives the base enough water content to spin cleanly, but still carries the caramel flavor. Lower-fat milk can work, but the final texture tends to come out leaner and less plush.
- Heavy cream — This is what makes the pint taste rich instead of just sweet. You can swap in half-and-half in a pinch, but you’ll lose some of that creamy finish.
- Caramel sauce — This is the main flavor, so use one you’d actually eat from a spoon. A thicker sauce usually gives better flavor payoff, while a thin ice cream topping can make the base taste watered down.
- Brown sugar — Boosts the caramel note and helps the frozen base stay scoopable. Don’t cut it too aggressively or the ice cream can freeze harder than you want.
- Cream cheese — The small amount here keeps the texture smoother after freezing and helps the mix stay emulsified. Softening it first matters; cold cream cheese leaves little lumps that won’t disappear later.
- Sea salt — Sharpens the caramel and keeps the sweetness in check. If your caramel sauce is already salted, reduce the added salt slightly and taste the blended base before freezing.
- Vanilla extract — Rounds out the caramel and makes the flavor taste more complete. It won’t stand out on its own, but you’ll notice if it’s missing.
Freezing It Hard, Spinning It Right, and Fixing the Texture
Blending the Base Until It Looks Velvety
Add everything to a blender and run it until the mixture looks completely uniform and glossy. Pause and check for cream cheese specks, because those are the spots that turn into dense little bits after freezing. The base should look smooth enough to pour without streaks or curdled patches. If it looks grainy before it goes into the pint, keep blending.
Freezing the Pint Without Shortchanging the Headspace
Pour the mixture into the Ninja Creami pint and stop about 1 inch from the top. That space matters because the base expands as it freezes, and filling too high can create a domed top that the machine has to fight through. Set the pint on a level shelf and freeze it solid for a full 24 hours. A half-frozen center will spin unevenly and give you a crumbly result.
Spinning and Re-Spinning for the Right Finish
Process on the Ice Cream setting first and look for the texture to go from powdery to silky. If it comes out sandy or stiff, add a splash of milk and re-spin. Don’t pour in too much at once; the goal is to loosen the edges just enough for the blade to fold the base into a smooth scoop. Finish with extra caramel sauce and flaky salt right before serving so the top stays glossy and sharp.
How to Adjust the Sweetness, Salt, or Dairy Without Losing the Creami Texture
Make it dairy-free with full-fat coconut milk
Use full-fat coconut milk in place of the milk and cream, and keep the caramel sauce dairy-free if needed. The texture will still spin well because the fat content stays high, but you’ll pick up a mild coconut note that changes the flavor from classic caramel to caramel-coconut.
Use homemade caramel for a deeper, less sweet finish
A homemade caramel sauce gives you more control over the salt level and makes the flavor taste less candy-sweet. If the sauce is very thick, warm it slightly before blending so it disperses evenly through the base.
Cut the sugar a little, not a lot
You can reduce the brown sugar by a tablespoon if your caramel sauce is already very sweet, but don’t remove it entirely. Sugar helps this base freeze softer, and taking too much out usually means a firmer, icier pint after spinning.
Storage and Re-Spinning
- Refrigerator: The base can sit in the fridge for up to 24 hours before freezing, but it’s best spun from a freshly blended mix.
- Freezer: Once frozen and spun, the ice cream is best eaten right away. You can refreeze leftovers in the pint, but the texture gets harder and usually needs another splash of milk and a re-spin.
- Reheating: Not applicable here. For the best texture, let the pint sit at room temperature for 3 to 5 minutes before re-spinning instead of trying to warm it aggressively.
Answers to the Questions Worth Asking

Ninja Creami Salted Caramel Ice Cream
Ingredients
Equipment
Method
- Blend whole milk, heavy cream, caramel sauce, brown sugar, cream cheese, vanilla extract, and sea salt until completely smooth and no cream cheese lumps remain. Stop and scrape the container as needed so the base is fully uniform.
- Pour the mixture into the Ninja Creami pint container, leaving 1 inch of headspace. Freeze for 24 hours until solid.
- Process on the Ice Cream setting. Re-spin with a splash of milk if too firm, until the texture looks evenly creamy.
- Drizzle extra caramel sauce and flaky sea salt on top before serving. Serve immediately for the smoothest scoopable texture.


