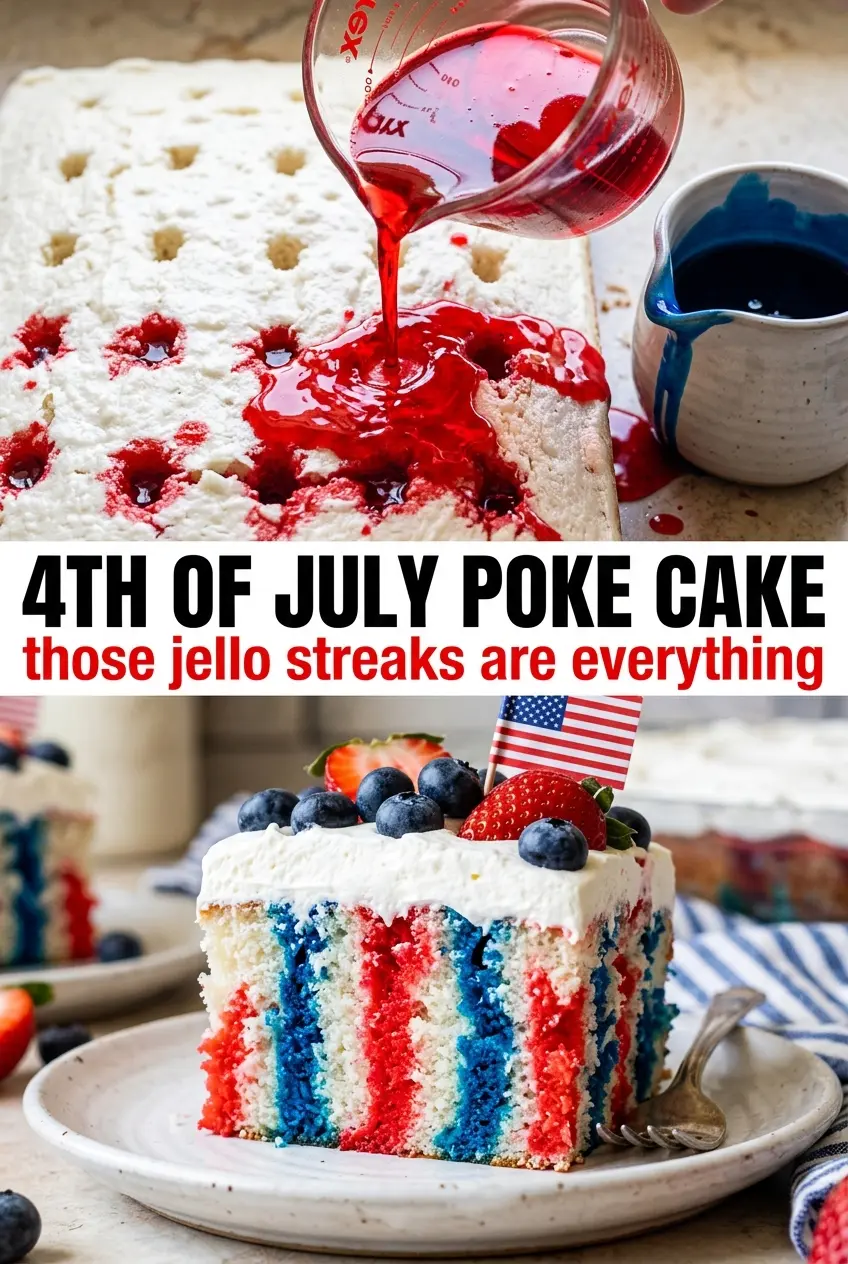
Red, white, and blue poke cake is the kind of dessert that disappears fast because every slice looks festive before anyone even tastes it. The cake stays soft and cool, the Jell-O soaks into the crumb instead of pooling on top, and the whipped topping keeps the whole thing light enough for a cookout table full of heavy food. When it’s cut cleanly, the stripes show through in a way that makes people stop and grab a plate.
The trick here is timing and spacing. The cake needs a short rest after baking so it’s still warm enough to absorb the Jell-O, but not so hot that the liquid runs straight to the pan. Poking the holes about an inch apart gives you those neat ribbons of color without turning the whole cake into mush. Pouring the strawberry and berry blue mixtures over separate sides keeps the colors sharp and gives each bite a little contrast.
Below, I’ll show you how to keep the cake from getting soggy, how to pour the Jell-O for the cleanest stripes, and what to change if you want to use a homemade whipped topping instead of Cool Whip.
The Jell-O soaked all the way through without making the cake mushy, and the red and blue stripes looked perfect when I sliced it. My kids thought it was the coolest dessert on the table.
Like this red, white, and blue poke cake? Save it to Pinterest for the next cookout when you want a sheet cake with bold stripes and an easy make-ahead finish.
Why the Jell-O Needs a Warm Cake, Not a Hot One
The biggest mistake with poke cake is pouring the gelatin over a cake that’s straight from the oven. Too hot, and the liquid runs down the sides instead of settling into the holes. Too cool, and the cake tightens up and won’t drink in the Jell-O the way you want. That 15-minute rest gives you the sweet spot: the crumb is still open, but the cake has enough structure to hold its shape.
The second thing that matters is how you poke it. Wide, evenly spaced holes give the Jell-O room to spread without turning the cake into a saturated mess. I use the handle of a wooden spoon because it makes the right size well for this style of cake. A thin skewer leaves tiny channels that don’t show off the stripes nearly as well.
What the Cake Mix and Whipped Topping Are Actually Doing Here
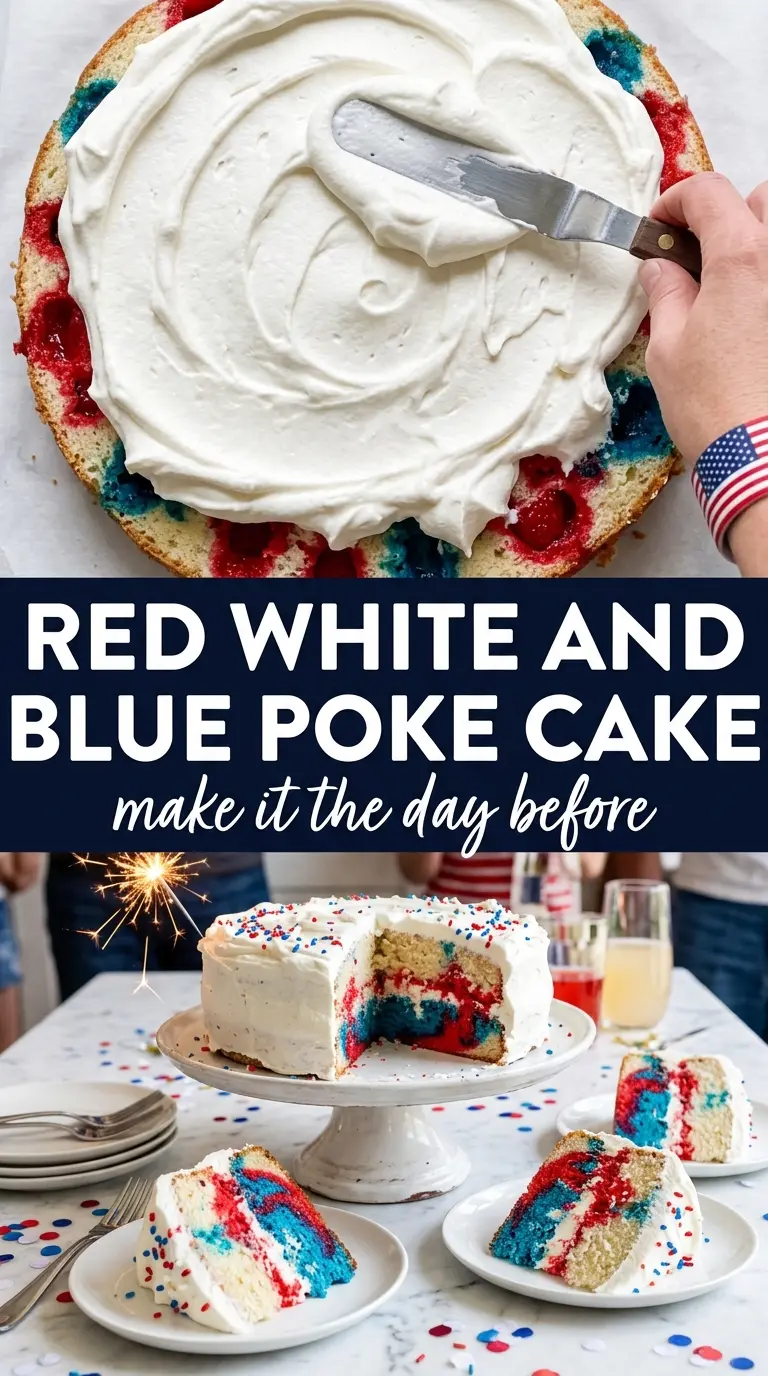
- White cake mix — This gives you a pale, neutral crumb that shows off the red and blue Jell-O. A yellow cake will work in a pinch, but the colors won’t pop the same way and the cake will taste a little richer. If you use a homemade white cake, keep it simple and sturdy enough to hold the gelatin.
- Strawberry and berry blue Jell-O — These are doing the color work and most of the flavor work. You need the boxed gelatin here because it soaks evenly and sets inside the cake. Sugar-free versions can work, but they can taste a little flatter and sometimes set with a different texture.
- Cool Whip — The whipped topping spreads smoothly and stays stable after chilling. Fresh whipped cream tastes great, but it softens faster and doesn’t hold the same clean finish on top of a poke cake. If you want to swap it, whip the cream to medium peaks and frost the cake right before serving.
- Fresh strawberries and blueberries — These are mostly for the finish, but they matter because they signal what’s inside. Dry the berries well before garnishing so they don’t bleed onto the topping.
Pouring the Gelatin So the Stripes Stay Sharp
Baking and Resting the Cake
Bake the cake in a 9×13 pan and let it cool for about 15 minutes before you poke it. The surface should still feel warm, but not fragile or wet-looking. If you start too early, the holes collapse; if you wait too long, the cake gets dense and the Jell-O sits on top instead of moving through the crumb. A clean, even surface after baking is your first sign that the cake is ready.
Poking the Holes
Use the handle of a wooden spoon and press straight down about one inch apart across the whole cake. Go all the way to the bottom of the pan, but don’t drag the spoon around or you’ll tear the crumb. The pattern doesn’t need to be perfect, but even spacing helps the gelatin distribute in a neat grid instead of bunching in one corner.
Mixing and Pouring the Jell-O
Dissolve each flavor in boiling water first, then add the cold water. That full dissolve matters because undissolved granules can leave grainy spots in the cake. Pour the strawberry mixture slowly over one half of the cake, then do the same with the berry blue on the other side. A spoon or measuring cup with a lip gives you better control than dumping it all at once, which is how the colors blend where you want them to stay separate.
Chilling and Finishing the Top
Refrigerate the cake for at least 2 hours so the gelatin sets inside the crumb. If you frost it too early, the topping can slide around and the cake can feel loose when sliced. Spread the whipped topping over the cold cake in an even layer, then finish with sprinkles and berries right before serving. The garnish looks best when it stays crisp and bright instead of sitting in the fridge for hours.
Three Ways to Adapt This Cake Without Losing the Patriotic Look
Use Homemade Whipped Cream Instead of Cool Whip
Whip cold heavy cream with a little powdered sugar until medium peaks form, then frost the chilled cake right before serving. It tastes fresher and lighter, but it won’t hold up as long in the fridge as Cool Whip, so it’s best for the day you serve it.
Make It Gluten-Free
Use a gluten-free white cake mix and follow the same baking time on the package, checking for doneness with a toothpick. The Jell-O and topping are already naturally gluten-free, so the swap is straightforward and doesn’t change the look or the layering.
Turn It Into a Strawberry-Berry Sheet Cake
If you want a less overtly patriotic version, use strawberry Jell-O in both halves and add extra berries on top. You lose the bold red-and-blue stripes, but you get a more unified berry flavor that still works beautifully for summer gatherings.
Storage and Reheating
- Refrigerator: Store covered for up to 4 days. The cake stays moist, but the topping softens a little by day two.
- Freezer: I don’t recommend freezing the finished cake because the gelatin layer can turn watery when thawed. You can freeze the baked, unpoked cake base if you want to get ahead.
- Reheating: This cake is served cold, so don’t reheat it. If it’s been in the fridge too long, let it sit out for 10 to 15 minutes so the crumb loses that firm, straight-from-the-fridge texture.
Questions I Get Asked About This Recipe
Red, White and Blue Poke Cake
Ingredients
Equipment
Method
- Preheat the oven and bake the white cake in a 9x13 pan according to package directions. Bake until done and let it cool for 15 minutes.
- Using the handle of a wooden spoon, poke holes all over the cake about 1 inch apart. Keep the holes evenly spaced so the Jell-O soaks through the whole cake.
- Dissolve the strawberry Jell-O in 1 cup boiling water, then stir in 1/2 cup cold water until smooth. Slowly pour over the left half of the cake so it soaks into the holes.
- Dissolve the berry blue Jell-O in 1 cup boiling water, then stir in 1/2 cup cold water until smooth. Slowly pour over the right half of the cake so the blue Jell-O fills the holes.
- Refrigerate the cake for at least 2 hours until the Jell-O is fully set inside. The surface should feel firm and the stripes should look vivid when cut.
- Spread the whipped topping evenly over the top of the chilled cake. Garnish with red and blue star sprinkles and fresh strawberries and blueberries before serving.


