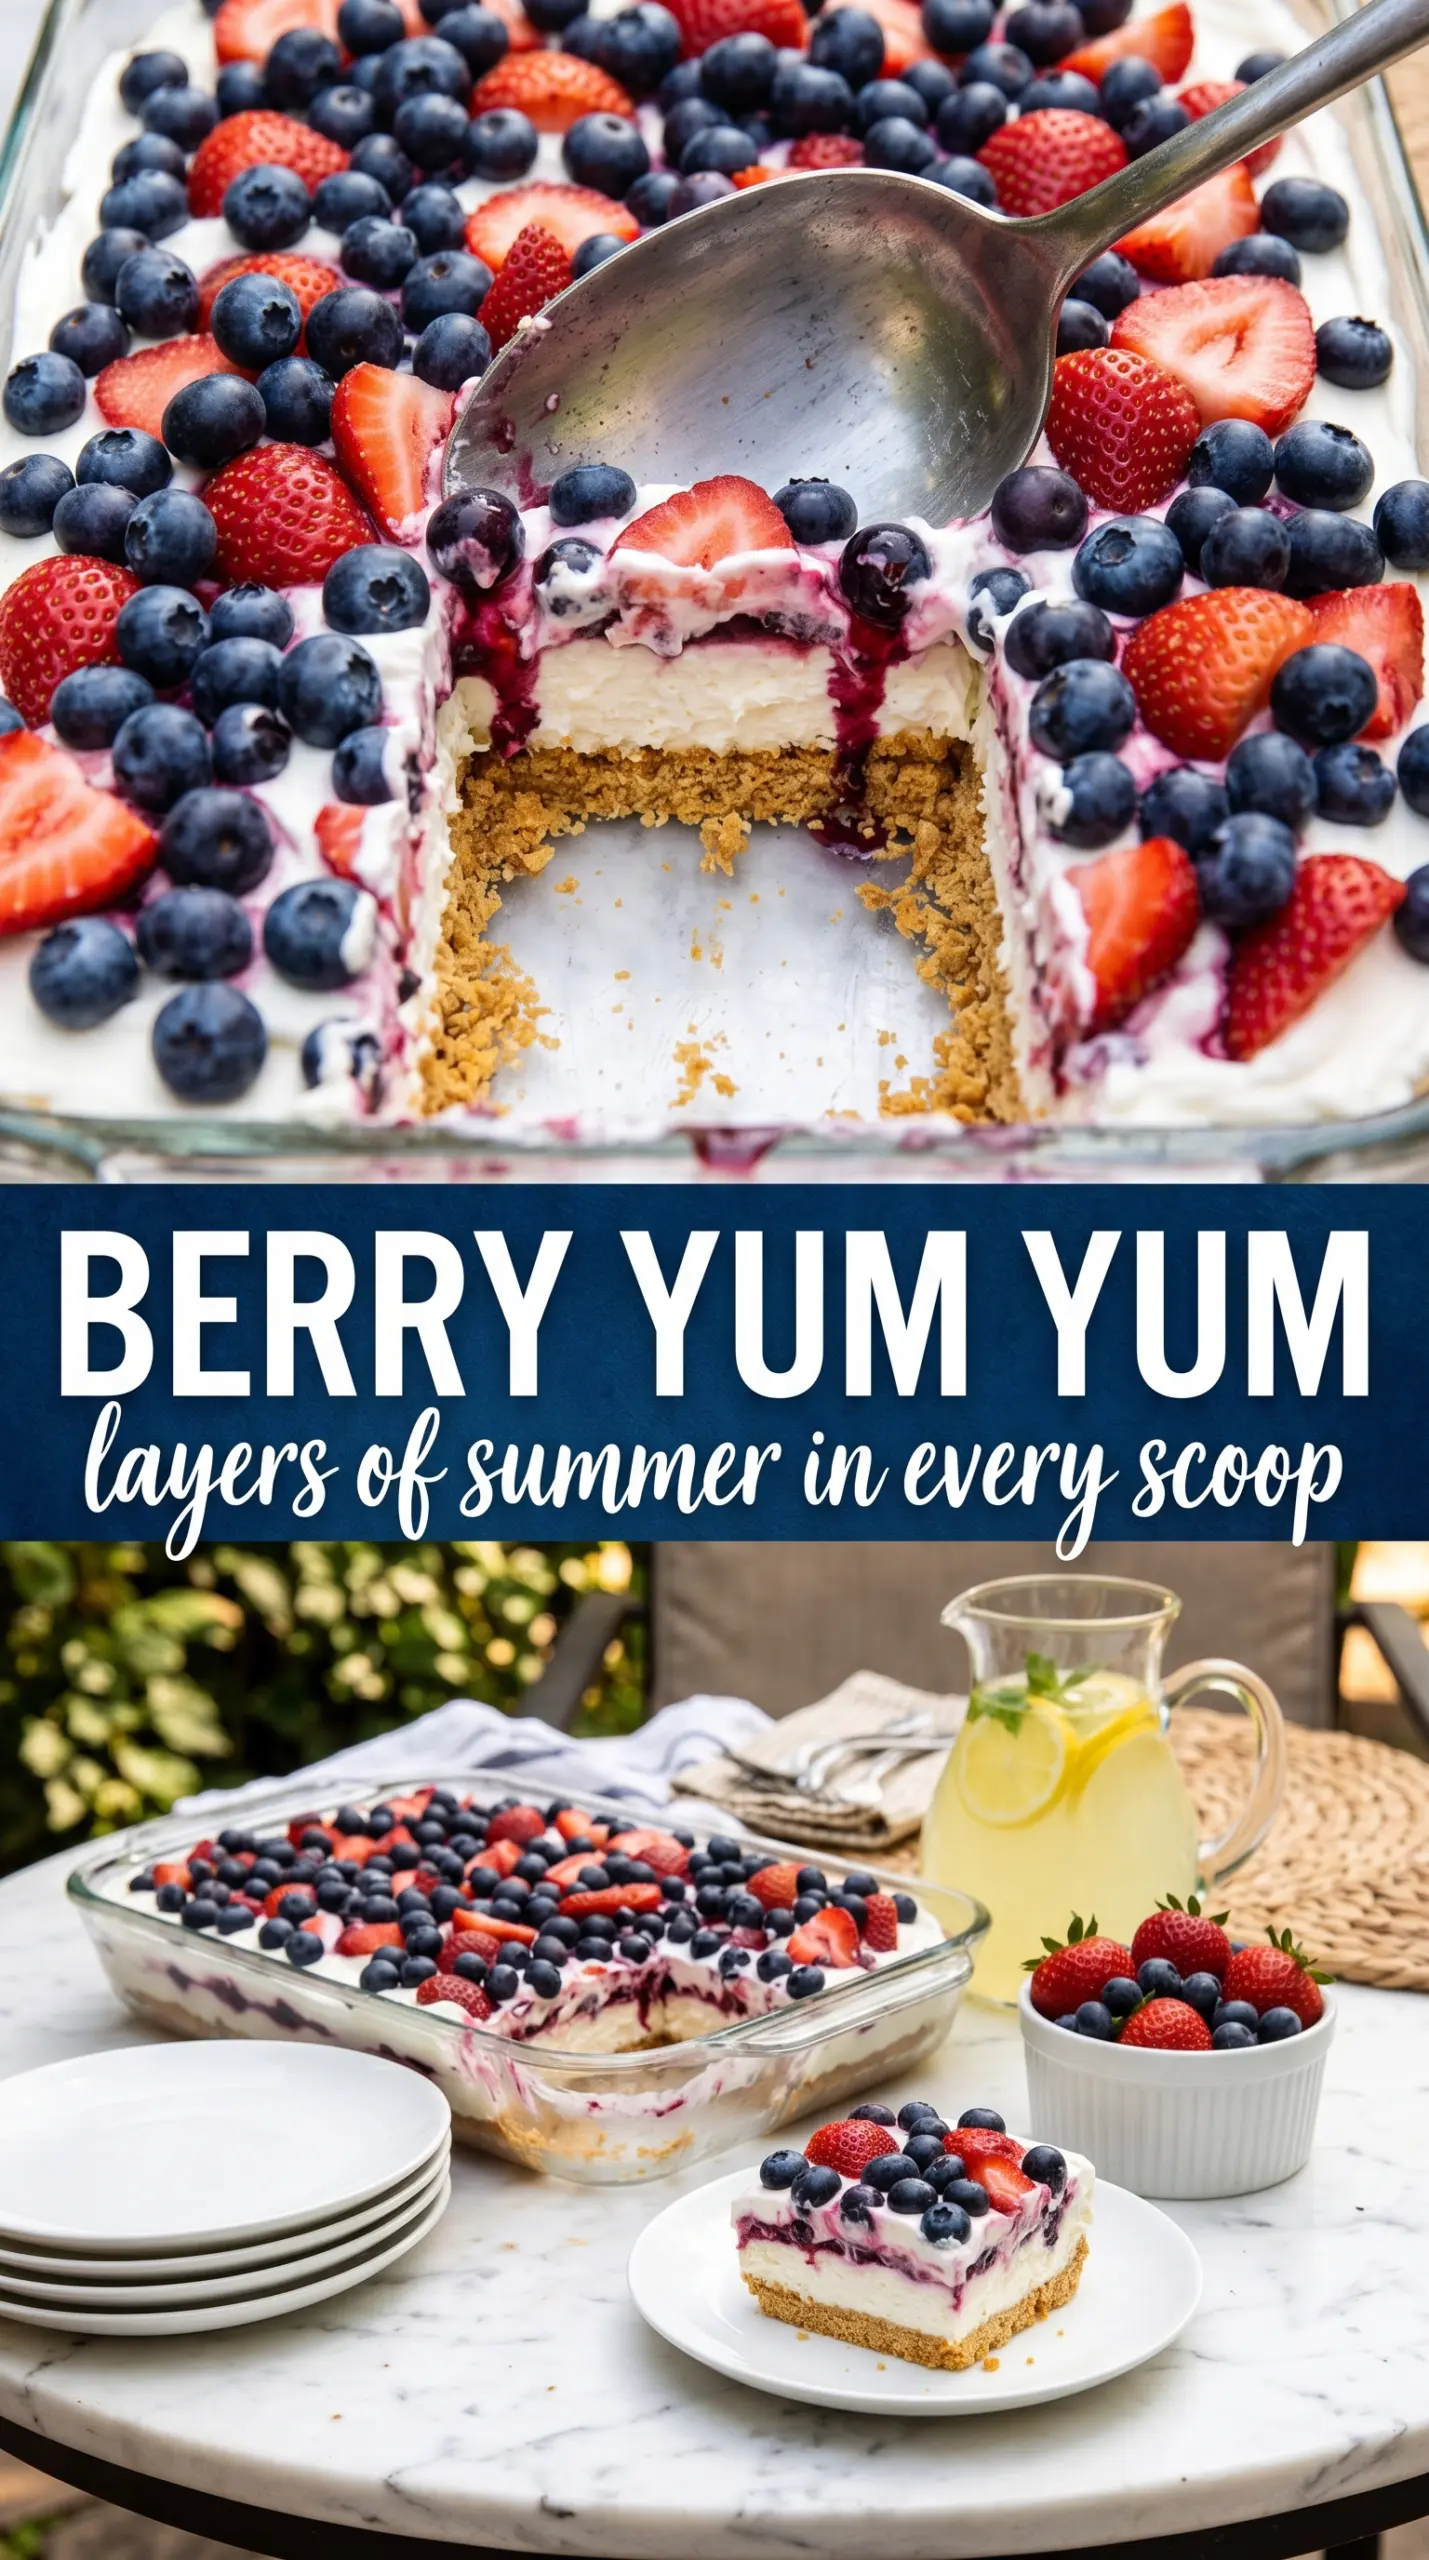
Red, white, and blue mixed berry yum yum lands on the plate with the kind of cold, creamy layers people remember after the last bite. The pecan crust stays firm enough to slice cleanly, the cream cheese layer brings just enough tang to keep the dessert from tasting one-note, and the berries on top give every forkful a bright, juicy finish. It’s the kind of no-bake dessert that disappears fast because it eats like something you spent all afternoon on, even though the work is mostly mixing and chilling.
What makes this version hold together is the balance between fat, sugar, and time. The crust needs to be pressed firmly and chilled before the filling goes in, or it turns sandy when you cut it. The cream cheese layer should be beaten until completely smooth before the whipped topping is folded in, because any lumps will still be there when you serve it. A full chill isn’t optional here; that rest is what turns soft layers into neat squares.
Below, I’m walking through the small details that keep the layers distinct, plus a few smart swaps if you need to adapt it for a different crowd or a different pan.
The crust set up beautifully after chilling, and the cream cheese layer stayed fluffy instead of sliding around. I cut clean squares after four hours and the berries looked gorgeous on top.
Love the clean layers and berry topping in this Red, White and Blue Mixed Berry Yum Yum? Save it to Pinterest for the next patriotic potluck or no-bake dessert table.
The Layer That Keeps This Dessert from Turning Soft and Messy
The crust is the part that separates a neat slice from a scoopable pile. Press it into the pan with real pressure, especially into the corners, because a loose crust crumbles the second a knife hits it. Chilling it before the filling goes on gives the butter time to firm up, which is what helps the base hold the cream layer instead of sinking under it.
The other common failure is rushing the chill time after assembly. The top may look set after an hour or two, but the middle still needs time to firm up all the way through. If you slice too soon, the layers smear together and the berries slide off the top instead of sitting in place.
What Each Ingredient Is Actually Doing in These Layers
- All-purpose flour — This gives the crust structure so it can be pressed into a clean, sliceable base. Almond flour won’t behave the same way here, so if you swap it, expect a looser crust.
- Pecans — They add the nutty flavor and the little bit of crunch that makes the bottom layer interesting. Finely chop them so the crust packs tightly instead of falling apart when cut.
- Unsalted butter — Melted butter binds the crust and helps it set in the fridge. Salted butter works in a pinch, but unsalted gives you more control over the final taste.
- Cream cheese — This is what gives the filling its tang and body. It has to be softened all the way through or you’ll chase stubborn lumps the whole time you mix.
- Whipped topping — It lightens the cream cheese layer and gives the top its airy finish. Homemade whipped cream can work, but it won’t hold the same stability for long chilling or clean slices.
- Strawberries and blueberries — The fruit is doing more than decorating; it cuts through the sweetness and gives the dessert its bright finish. Slice the strawberries evenly so the top lies flat instead of becoming bumpy.
Building the Layers So They Slice Cleanly
Pressing the Crust
Mix the flour, pecans, melted butter, and powdered sugar until every dry bit is coated, then press it firmly into the bottom of a 9×13 dish. A flat-bottomed measuring cup helps you pack it evenly without leaving soft spots. Chill it for 30 minutes, and don’t rush that part, because a cold crust is what keeps the first layer from breaking apart when you spread the filling.
Whipping the Cream Cheese Filling Smooth
Beat the cream cheese, powdered sugar, and vanilla until the mixture turns completely smooth and satiny. If the cream cheese is even a little cold in the center, tiny lumps will stay behind and show up in the finished squares. Fold in the whipped topping gently so you keep the filling light instead of deflating it into a dense layer.
Spreading the Topping Without Dragging the Filling
Use an offset spatula or the back of a spoon to spread the remaining whipped topping across the cream cheese layer in one even pass. If you go back and forth too much, you’ll pull the filling up into the top layer and blur the lines between them. The goal is a smooth white blanket that gives the berries a clean surface to sit on.
Arranging the Berries and Letting It Set
Place the sliced strawberries and blueberries across the top in neat rows or a loose patriotic pattern, depending on how structured you want the finish to look. A little spacing helps the top stay pretty after slicing, because a thick pile of fruit can slide when the knife comes through. Cover the dish and chill it for at least 4 hours so the layers firm up enough to cut into tidy squares.
How to Adapt This Dessert for Different Crowds and Pan Sizes
Gluten-Free Crust Swap
Swap the all-purpose flour for a 1:1 gluten-free baking blend that includes xanthan gum. The crust will still set, but it may be a little more delicate at the edges, so chill it well before adding the filling and use a sharp knife for slicing.
Dairy-Free Version
Use dairy-free cream cheese and a stable non-dairy whipped topping in both filling layers. The texture will be a touch softer than the original, so give it the full chill time and don’t cut it early if you want neat squares.
Mixed Berry Filling Instead of a Patriotic Pattern
If you’re not serving this for a holiday, scatter the strawberries and blueberries together across the top instead of arranging them in stripes. The flavor stays the same, but the dessert looks more relaxed and less ceremonial.
Storage and Reheating
- Refrigerator: Keep covered for up to 3 days. The berries will soften a little, but the dessert still slices nicely if it stays cold.
- Freezer: It doesn’t freeze well once assembled because the whipped layers lose their texture and the fruit turns watery when thawed.
- Reheating: No reheating needed. Serve it straight from the refrigerator, and use a sharp knife wiped clean between cuts for the neatest squares.
Questions I Get Asked About This Recipe

Red, White and Blue Mixed Berry Yum Yum
Ingredients
Equipment
Method
- Mix all-purpose flour, finely chopped pecans, melted unsalted butter, and powdered sugar until evenly combined, then press into the bottom of a 9x13 dish. Chill for 30 minutes to set, until the crust feels firm when you press lightly.
- Beat softened cream cheese, powdered sugar, and vanilla extract until smooth, then fold in 1 cup whipped topping. Spread this mixture evenly over the chilled crust to form a thick, level layer.
- Spread the remaining 1 cup whipped topping in an even layer over the cream cheese layer. Smooth the surface so it’s flat before topping with berries.
- Arrange sliced strawberries and blueberries across the top in a patriotic pattern or scatter evenly. Make sure berries sit snugly on the whipped topping for a clean, bright finish.
- Cover and refrigerate for at least 4 hours until fully set, then slice into squares and serve cold. The layers should hold together cleanly when you lift a slice with a spatula.


