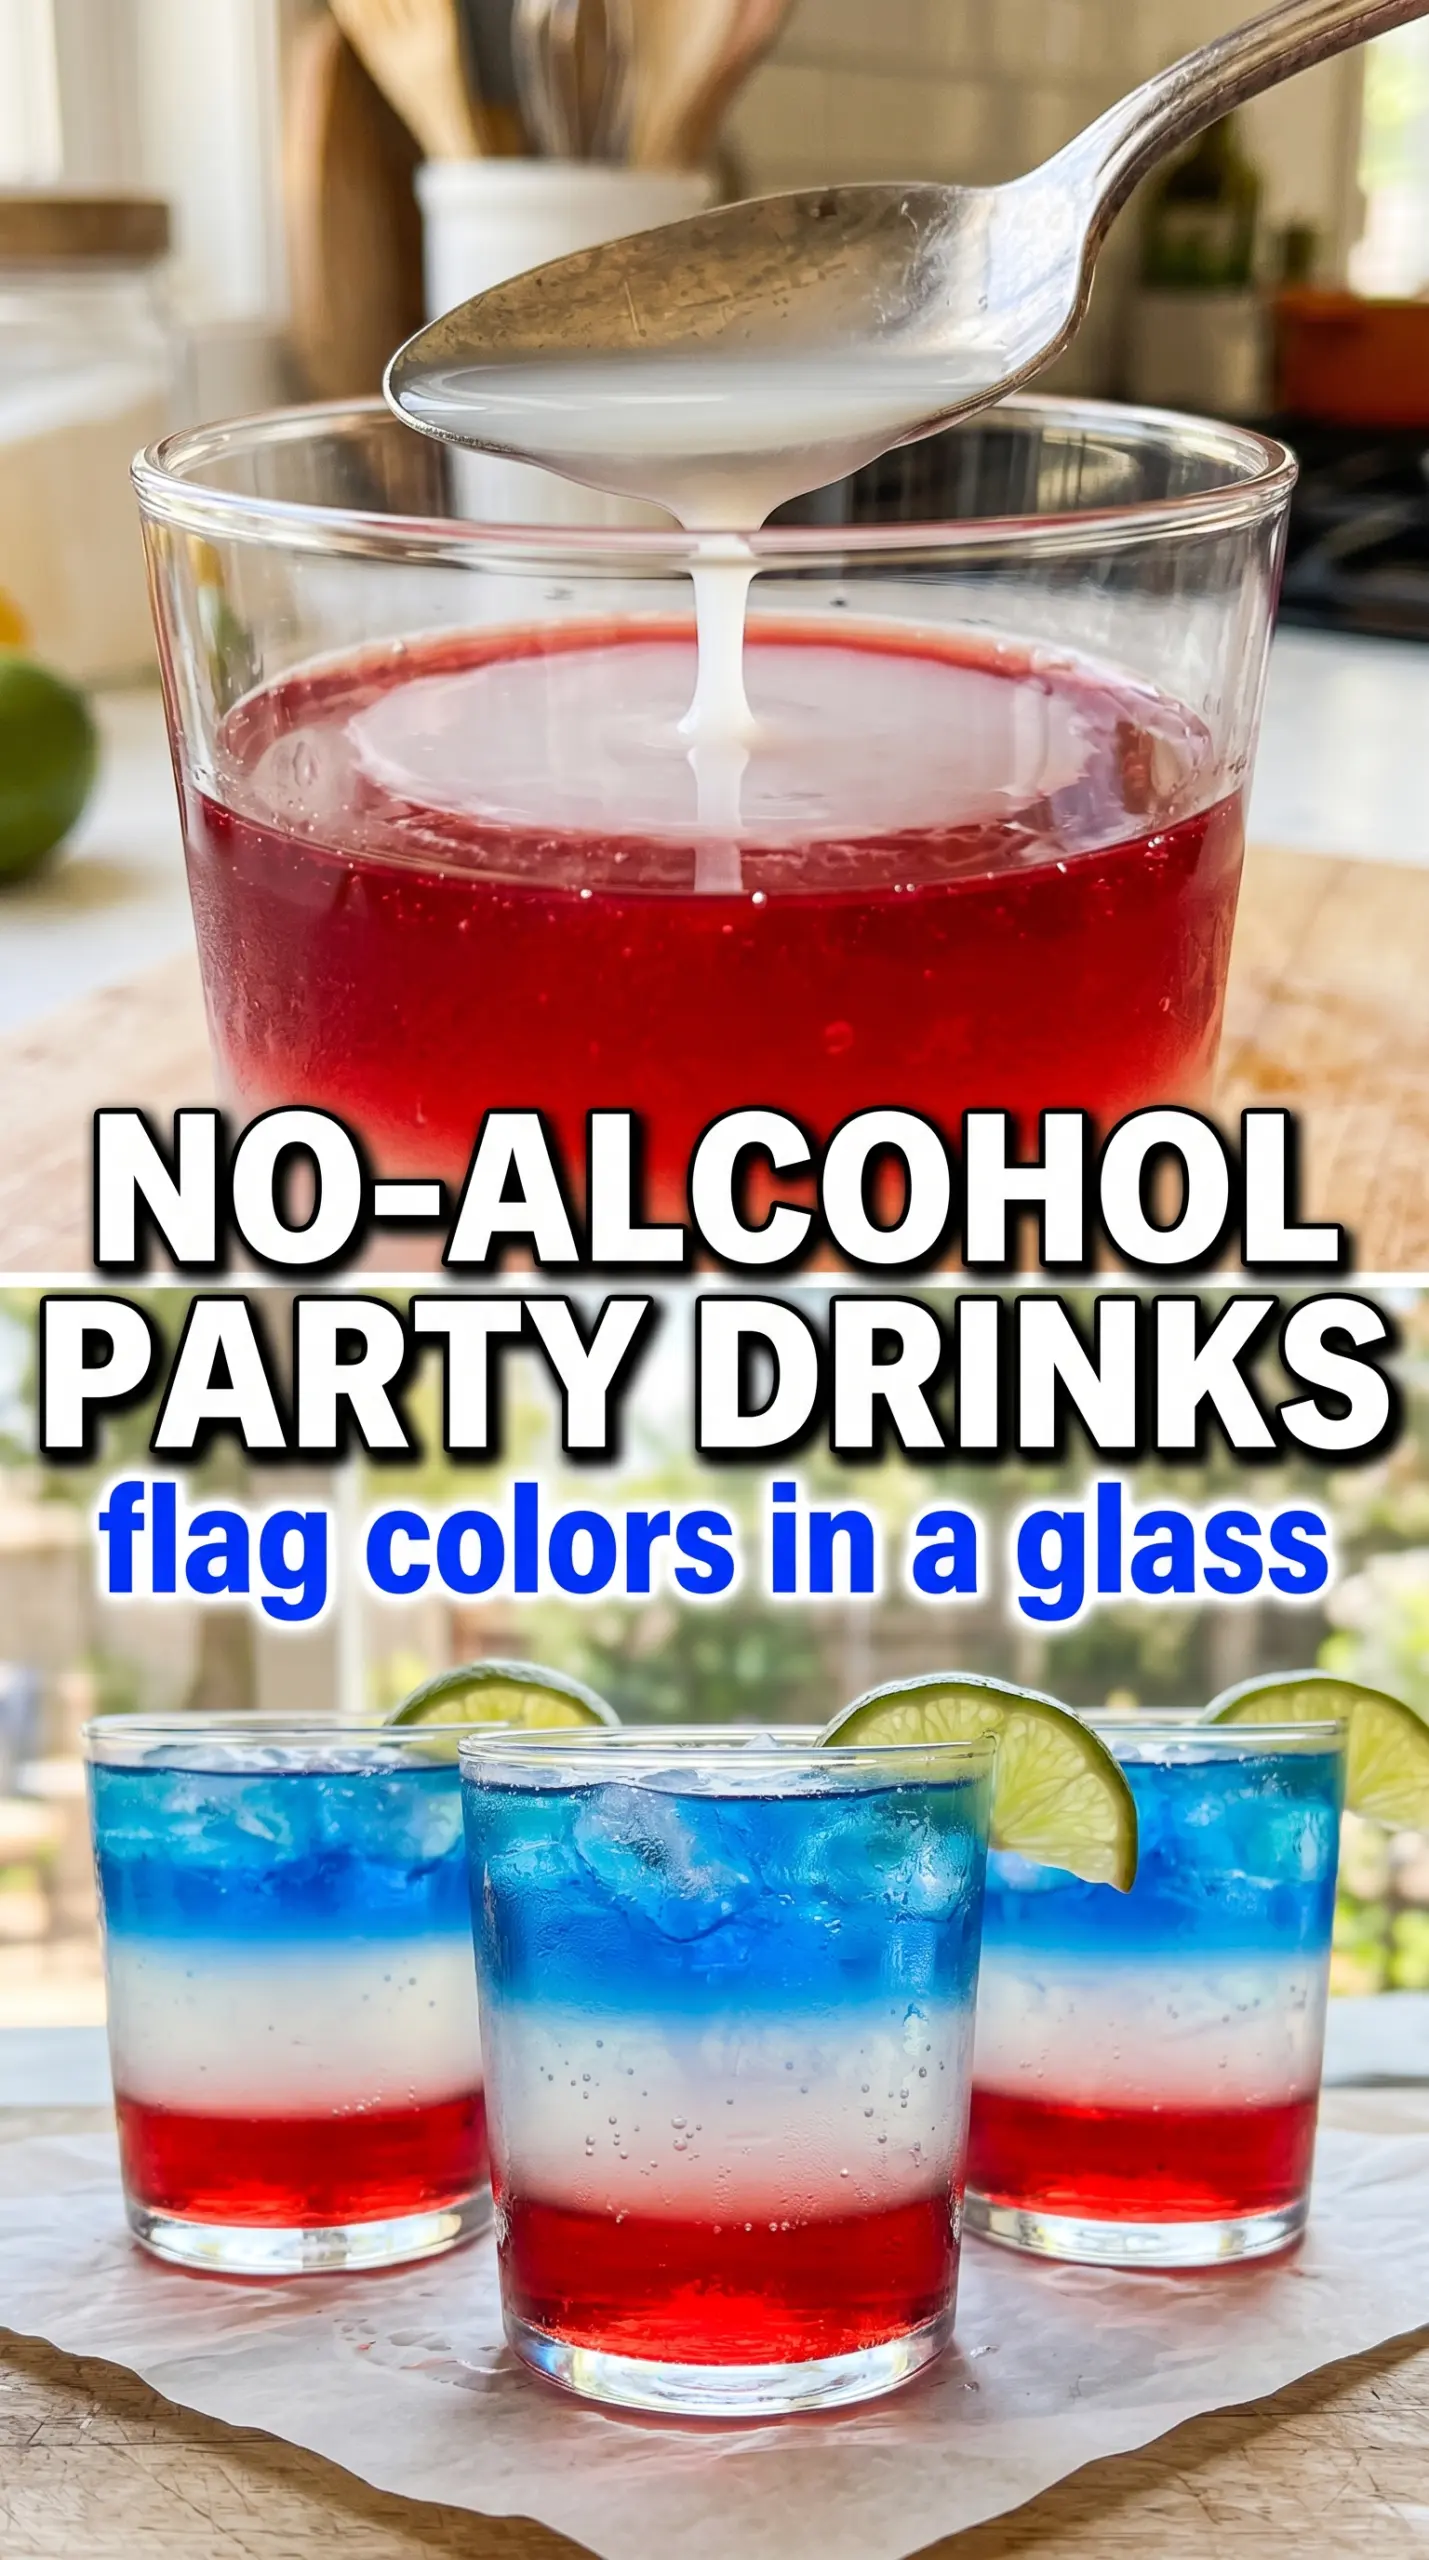
Three-layer mocktails are the kind of drink that get a reaction the second they hit the table. The colors stay crisp, the glass looks party-ready without any extra fuss, and every sip changes as the layers mingle at the edges. That first look matters, but the best part is that this drink is just as easy to make as it is pretty to serve.
The trick is using ingredients with different densities and keeping everything cold. Grenadine settles to the bottom on purpose, lemonade sits in the middle when it’s poured slowly, and the blue raspberry drink floats on top if you don’t rush it. Ice helps separate the layers, but the real difference comes from pouring over a spoon and working gently enough to avoid mixing. Warm ingredients will blur together fast, so chilling everything first is non-negotiable.
Below, you’ll find the small details that keep the layers distinct, plus a few useful swaps if you want to change the colors or make a bigger batch for guests.
The layers stayed separate long enough for everyone to admire them, and the lemonade middle didn’t cloud up when I poured it over the spoon. My kids thought it was magic.
Like these non-alcoholic layered drinks? Save them to Pinterest for the next party when you want a bright, eye-catching mocktail with clean, distinct layers.
The Secret to Keeping the Colors Separate in Layered Mocktails
Most layered drinks fail for one simple reason: the liquids are poured too fast, or they’re close enough in density that they crash into each other. This version works because each layer has a little help from either sweetness, chill, or pouring technique. Grenadine is heavy enough to settle through the ice. Lemonade sits in the middle when it’s added slowly. The blue raspberry drink floats best when it lands softly over the back of a spoon.
Ice does more than keep the drink cold. It slows the pour and gives each layer something to slide over instead of plunging straight to the bottom. If your layers are muddy, the fix is almost always slower pouring, colder ingredients, or both.
- Grenadine — This is the foundation layer, and its density is what makes the whole drink possible. Cheap grenadine works fine here because it’s being used for color and sweetness, not as a standalone flavor.
- Lemonade — Chill it well before assembling. Room-temperature lemonade blends too quickly and can blur the border between red and blue.
- Blue raspberry sports drink or blue raspberry lemonade — The top layer should be cold and poured gently. A sports drink usually floats a little more cleanly than a thinner juice-style drink, but either works if you pour over a spoon.
- Ice cubes — Use enough ice to nearly reach the rim. Too little ice gives the liquids too much room to mix before they settle.
- Maraschino cherries and striped straws — These don’t affect the layers, but they finish the drink with the kind of look that makes it worth serving in a clear glass.
What Each Ingredient Is Actually Doing in This Recipe
- Primary ingredient (the star) — Quality matters most. Choose the best you can find.
- Cooking medium (oil, butter, or broth) — This carries flavors and prevents dryness.
- Seasonings (salt, pepper, spices, herbs) — Layer flavors so nothing overpowers. Build depth gradually.
- Aromatics (garlic, onion, herbs) — Cook with fat to bloom flavors. Become the foundation.
- Supporting ingredients — Complement the main ingredient without overpowering it.
- Sauce or liquid (if applicable) — Brings flavors together. Balance richness with acid.
- Acid (lemon, vinegar, wine, or other) — Brightens and prevents flat-tasting results.
- Final finish (garnish, glaze, or sauce) — Prevents one-dimensional taste and adds visual appeal.
How to Pour Each Layer Without Muddying the Glass
Building the Bottom Red Layer
Fill the glass with ice almost to the top, then pour the grenadine slowly over the cubes. It should sink straight down and collect at the bottom without rushing upward through the drink. If it starts streaking through the ice, your pour is too fast. A narrow glass helps here because it keeps the layers stacked instead of spread too thin.
Settling the Middle Lemonade Layer
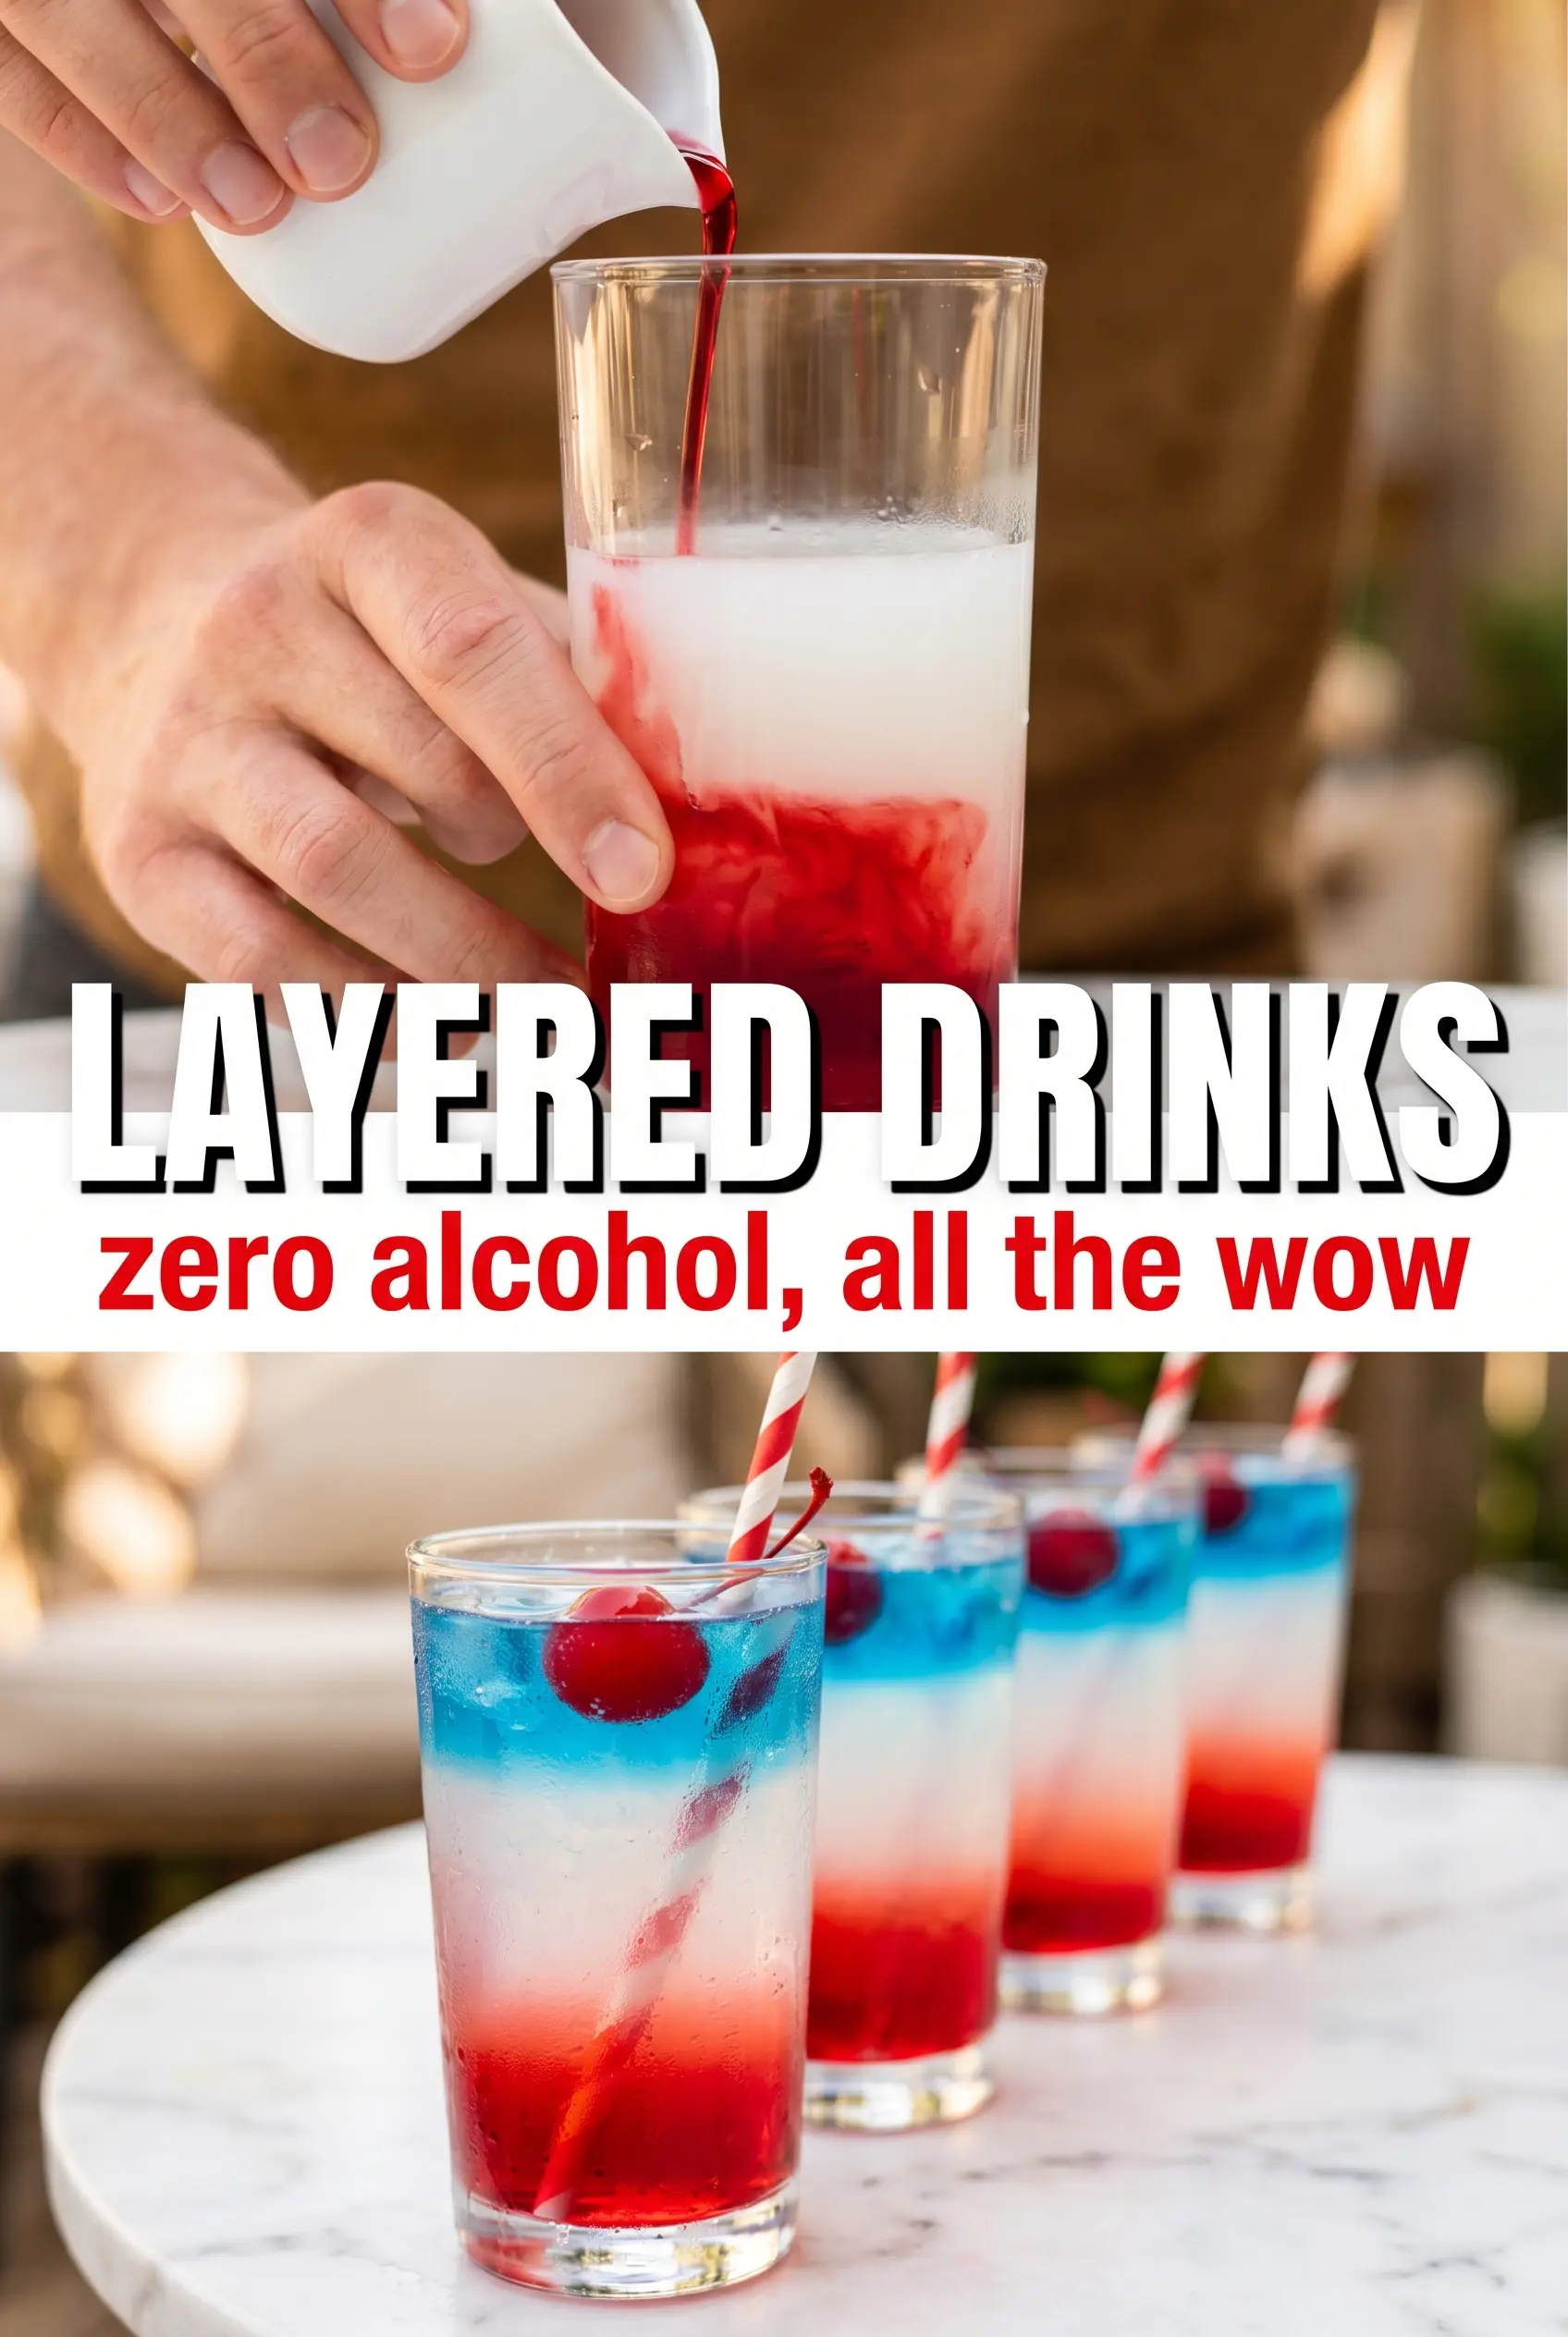
Hold a spoon just above the ice and pour the chilled lemonade over the back of it. That softens the stream and keeps the liquid from punching holes through the grenadine below. Pour in a slow, steady line until you’ve added the full middle layer. If the lemonade looks cloudy or sloshes hard, pause and let it settle before adding the top layer.
Floating the Blue Layer on Top
Use the spoon again for the blue raspberry drink and pour gently so it lands above the lemonade instead of mixing into it. The drink should look like a stacked stripe of red, yellow, and blue when you’re done. Serve it right away, because the layers stay sharpest in the first few minutes. Stirring defeats the whole point, so leave the straw on top until the glass reaches the person drinking it.
How to Change the Colors Without Losing the Layer Effect
Make it dairy-free and vegan-friendly
This recipe already fits both of those needs as written, as long as your grenadine and drinks are labeled accordingly. The only thing to watch is garnish candy or specialty straws if you’re serving to a strict vegan crowd.
Swap in different colors for a themed party
Any set of liquids with clearly different densities can work, so you can change the look without changing the technique. Stick with red, yellow, and blue for the cleanest patriotic effect, or swap in cranberry, pineapple, and sports drink for a softer color palette.
Make a bigger batch for a crowd
These drinks are best assembled one glass at a time, because batch-pouring destroys the layers. If you need to serve a group, pre-chill all the liquids and line up the glasses with ice already in them so you can build them quickly without stopping.
Use lower-sugar ingredients
You can use diet or low-sugar versions of the lemonade and blue drink, but the layers may separate a little less cleanly because sweetness helps create that density difference. The drink will still look festive, just with softer borders between colors.
Storage and Serving Timing
- Refrigerator: The finished drink doesn’t hold well once assembled; the layers start to blur as soon as it sits.
- Freezer: Don’t freeze it. The texture and layering both fall apart after thawing.
- Serving: Assemble just before serving, then hand it over right away. The biggest mistake is making it too early and expecting the stripes to stay sharp for long.
Questions I Get Asked About This Recipe
Non-Alcoholic Layered Drinks
Ingredients
Method
- Fill a tall clear glass with ice cubes almost to the top.
- Pour grenadine syrup slowly over the ice; it will sink to the bottom as the first layer.
- Hold a spoon just above the ice and gently pour chilled lemonade over the back of the spoon to create a clean middle layer.
- In the same way, pour the chilled blue raspberry drink over the spoon to float it as the top layer.
- Garnish with a maraschino cherry and a striped straw, then serve immediately without stirring.


