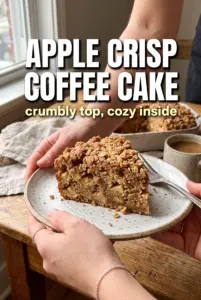
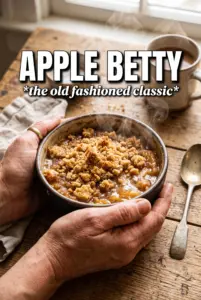
Apple crisp earns its place on the table because it gives you everything people want from a baked apple dessert without the fuss of pie crust. The apples turn soft and jammy underneath, the top bakes into a thick oat crumble with deep caramelized edges, and every spoonful gets a little of both textures. It smells like cinnamon and browned butter long before it comes out of the oven.
This version leans on two kinds of apples for a better balance of flavor and texture. Granny Smith keeps the filling bright and tart, while Honeycrisp softens into sweet, tender slices that hold some shape. Cornstarch does the quiet work here, thickening the juices so the filling turns glossy instead of watery. Cold butter is what gives the topping those clumpy, craggy bits that bake up crisp instead of sandy.
Below, I’m breaking down the little details that keep the topping crisp and the filling bubbling in the right way. There’s also a note on apple swaps, plus the one mistake that makes most crisps turn soggy.
The filling thickened up beautifully and the topping stayed crisp even after sitting for a bit. I loved that the apples were soft but not mushy, and the cinnamon was just right.
Love the bubbling cinnamon apples and crisp oat crumble? Save this apple crisp for the next time you want an easy dessert with a golden topping and ice cream on top.
The Part That Keeps Apple Crisp from Turning Soupy
The biggest failure in apple crisp is a filling that looks perfect going into the oven and then breaks into a thin puddle after baking. That usually happens when the apples release more liquid than the topping and thickeners can handle, or when the crisp gets sliced too soon. Cornstarch solves the first part, but only if it’s tossed evenly with the fruit before baking so every slice gets coated.
The other detail that matters is the rest time. The bubbling juices need a few minutes outside the oven to settle and tighten up. If you serve it straight away, the filling will still be loose and the spoonfuls won’t hold together. Ten minutes is enough to let the starch finish its job without losing that warm, just-baked feel.
What the Apples and Oats Are Doing in This Pan
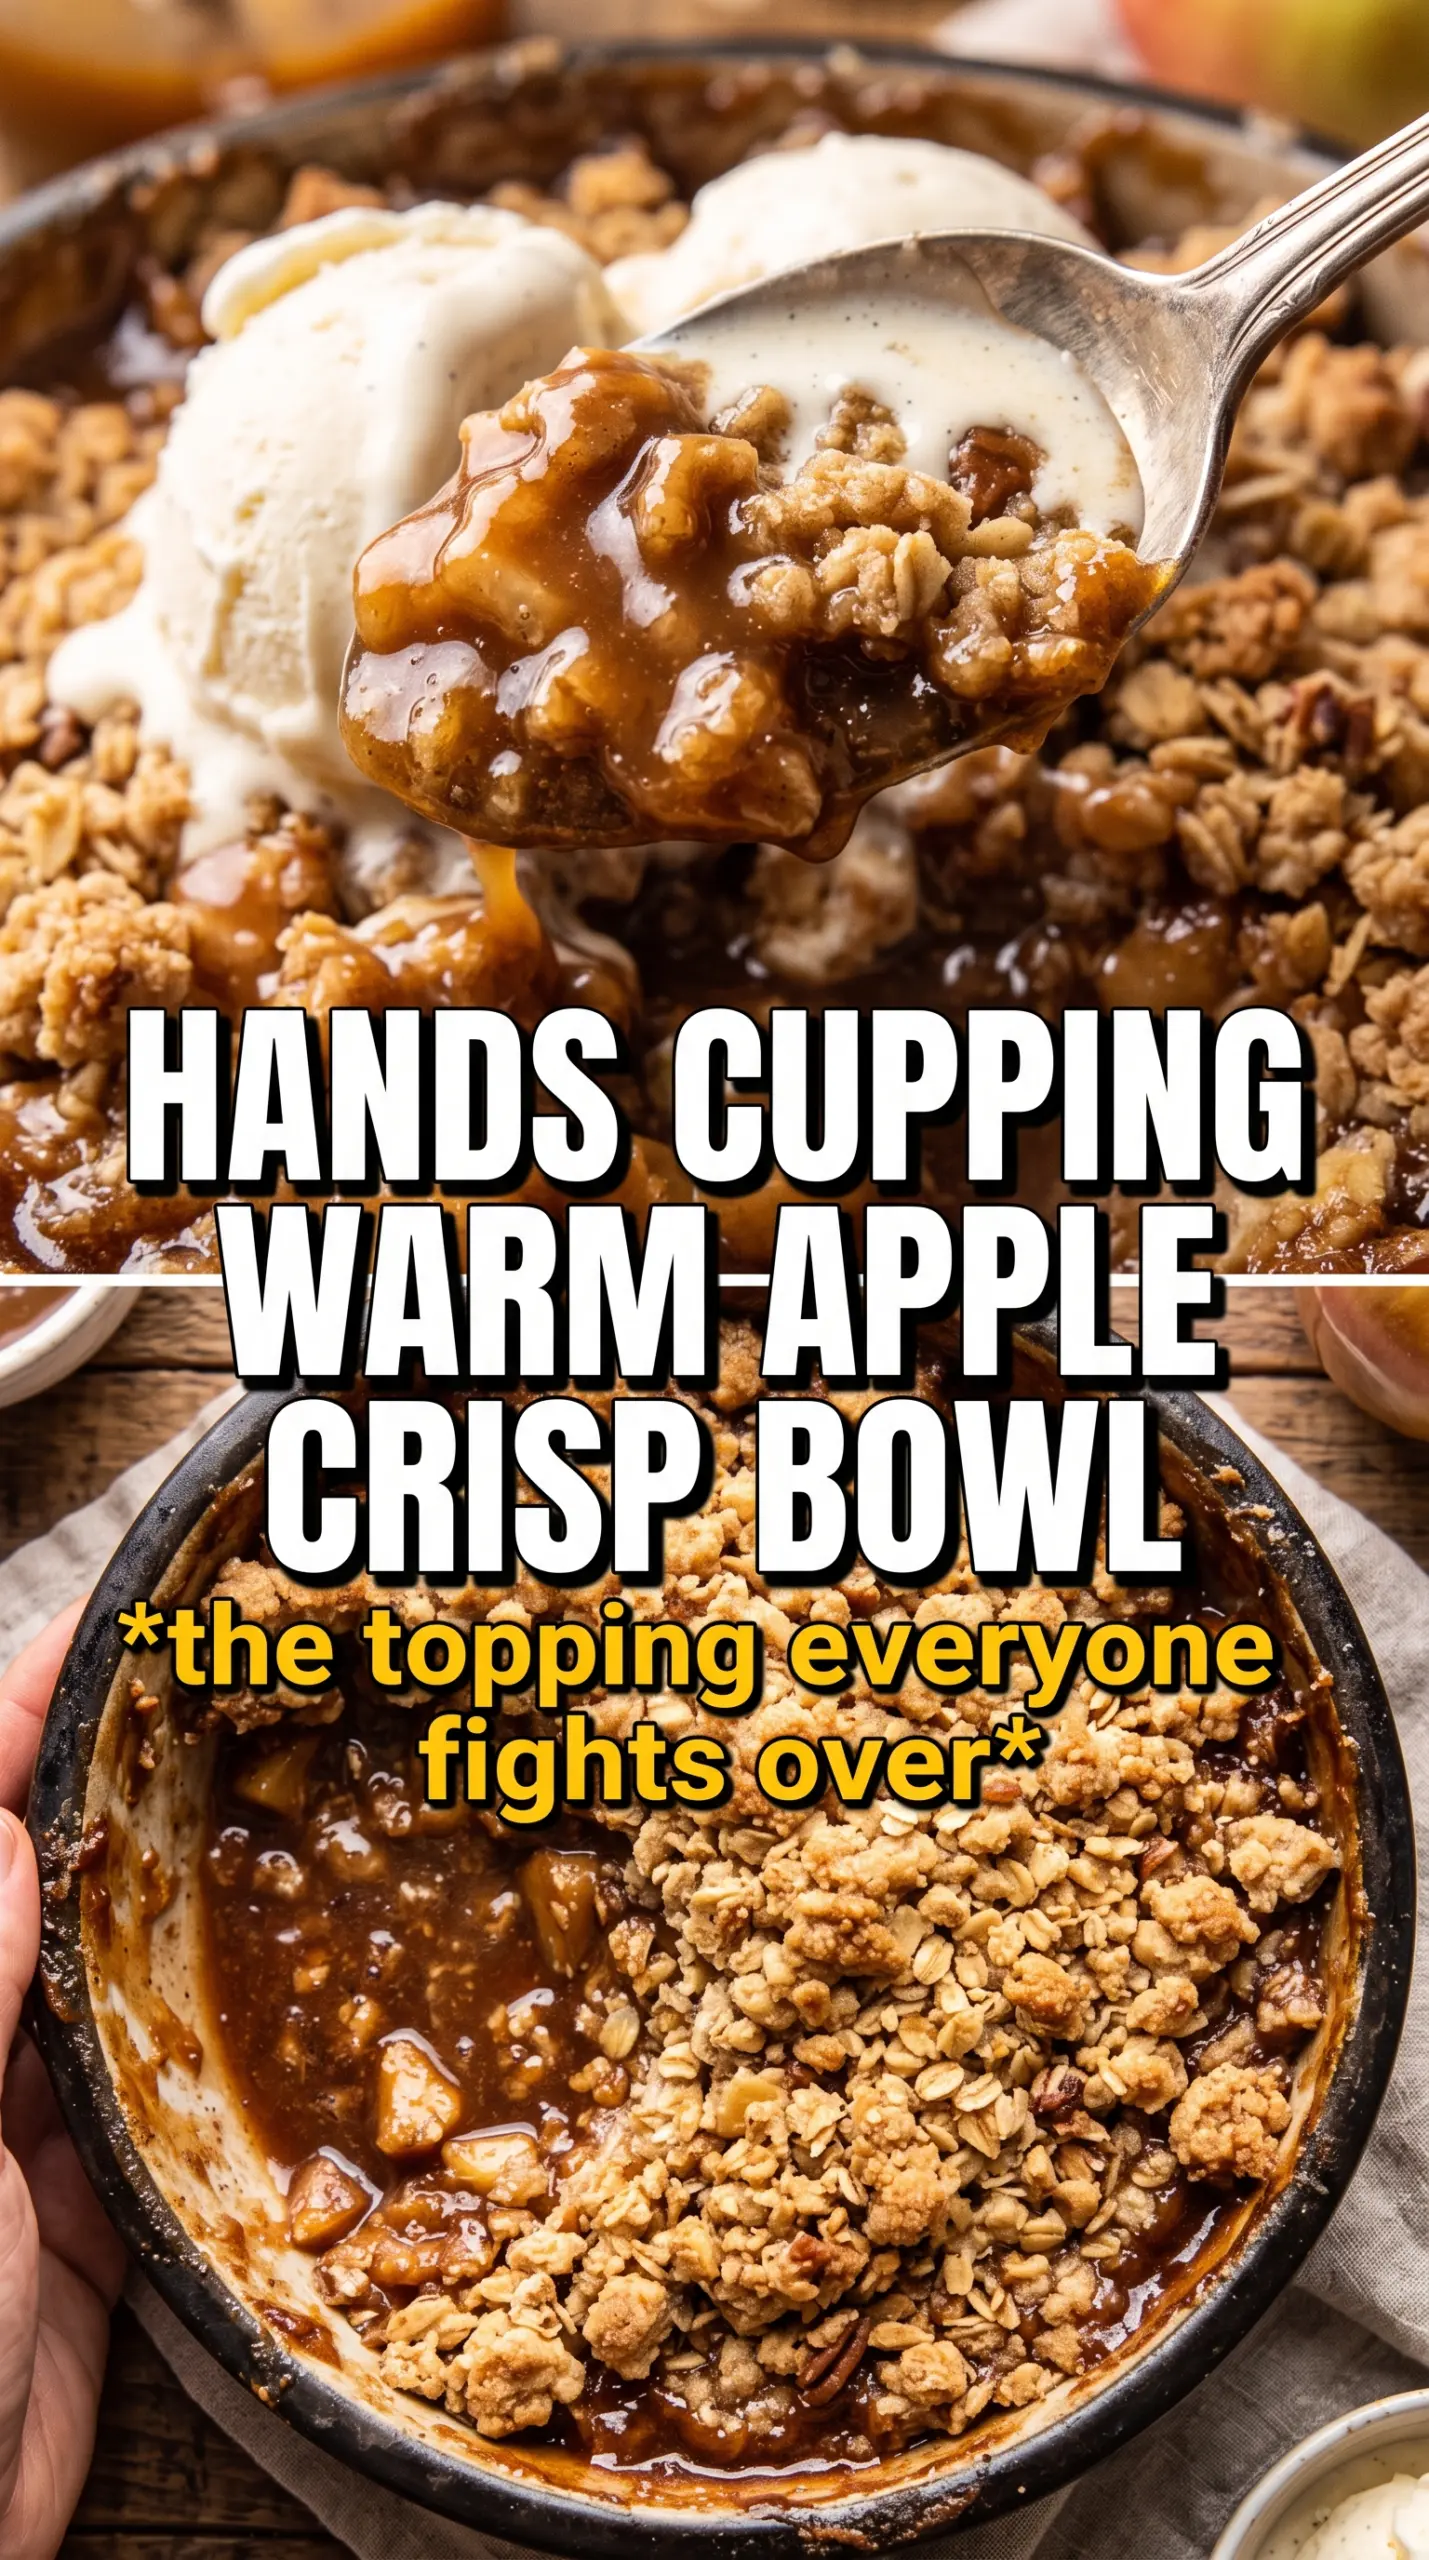
- Granny Smith apples — These stay tart and hold their shape, which keeps the filling from becoming mushy. They bring the structure the sweeter apple needs.
- Honeycrisp apples — These add natural sweetness and a softer bite. If you use all Granny Smith, the crisp tastes sharper and less rounded.
- Cornstarch — This thickens the apple juices into a glossy filling. Flour can work in a pinch, but it tastes heavier and doesn’t set as cleanly.
- Rolled oats — Old-fashioned oats give the topping its craggy, crisp texture. Quick oats turn the crumble denser and less nubby.
- Cold butter — Cold cubes are what create those chunky crumbs in the topping. Warm butter melts into the flour too fast and makes the topping sandy instead of crisp.
Building the Crisp So the Top Stays Crunchy
Coating the Apples Evenly
Toss the sliced apples with the sugars, cinnamon, nutmeg, cornstarch, and lemon juice until every slice looks lightly coated. You want the cornstarch to disappear into the fruit, not sit in dusty clumps at the bottom of the bowl. Spread the apples in the dish in an even layer so they bake at the same rate. If the pieces are piled too high in the center, the middle stays undercooked while the edges soften too much.
Cutting the Butter into Big Crumbs
Work the cold butter into the oat mixture until you have rough, uneven clumps, not fine sand. Those larger bits are what bake into the golden, crunchy topping people remember. If the butter starts to soften and smear, stop and chill the bowl for a few minutes. A topping that looks too uniform before baking usually turns out dry and dusty instead of crisp.
Baking Until the Edges Bubble
Scatter the topping over the apples and leave it loose. Pressing it down seals out air and makes the crumble compact. Bake until the topping is deeply golden and the juices are bubbling around the edges of the pan, because that bubbling is the sign the filling has thickened enough. If the top browns before the filling bubbles, tent it loosely with foil and keep baking until you see those active edges.
Letting It Set Before Serving
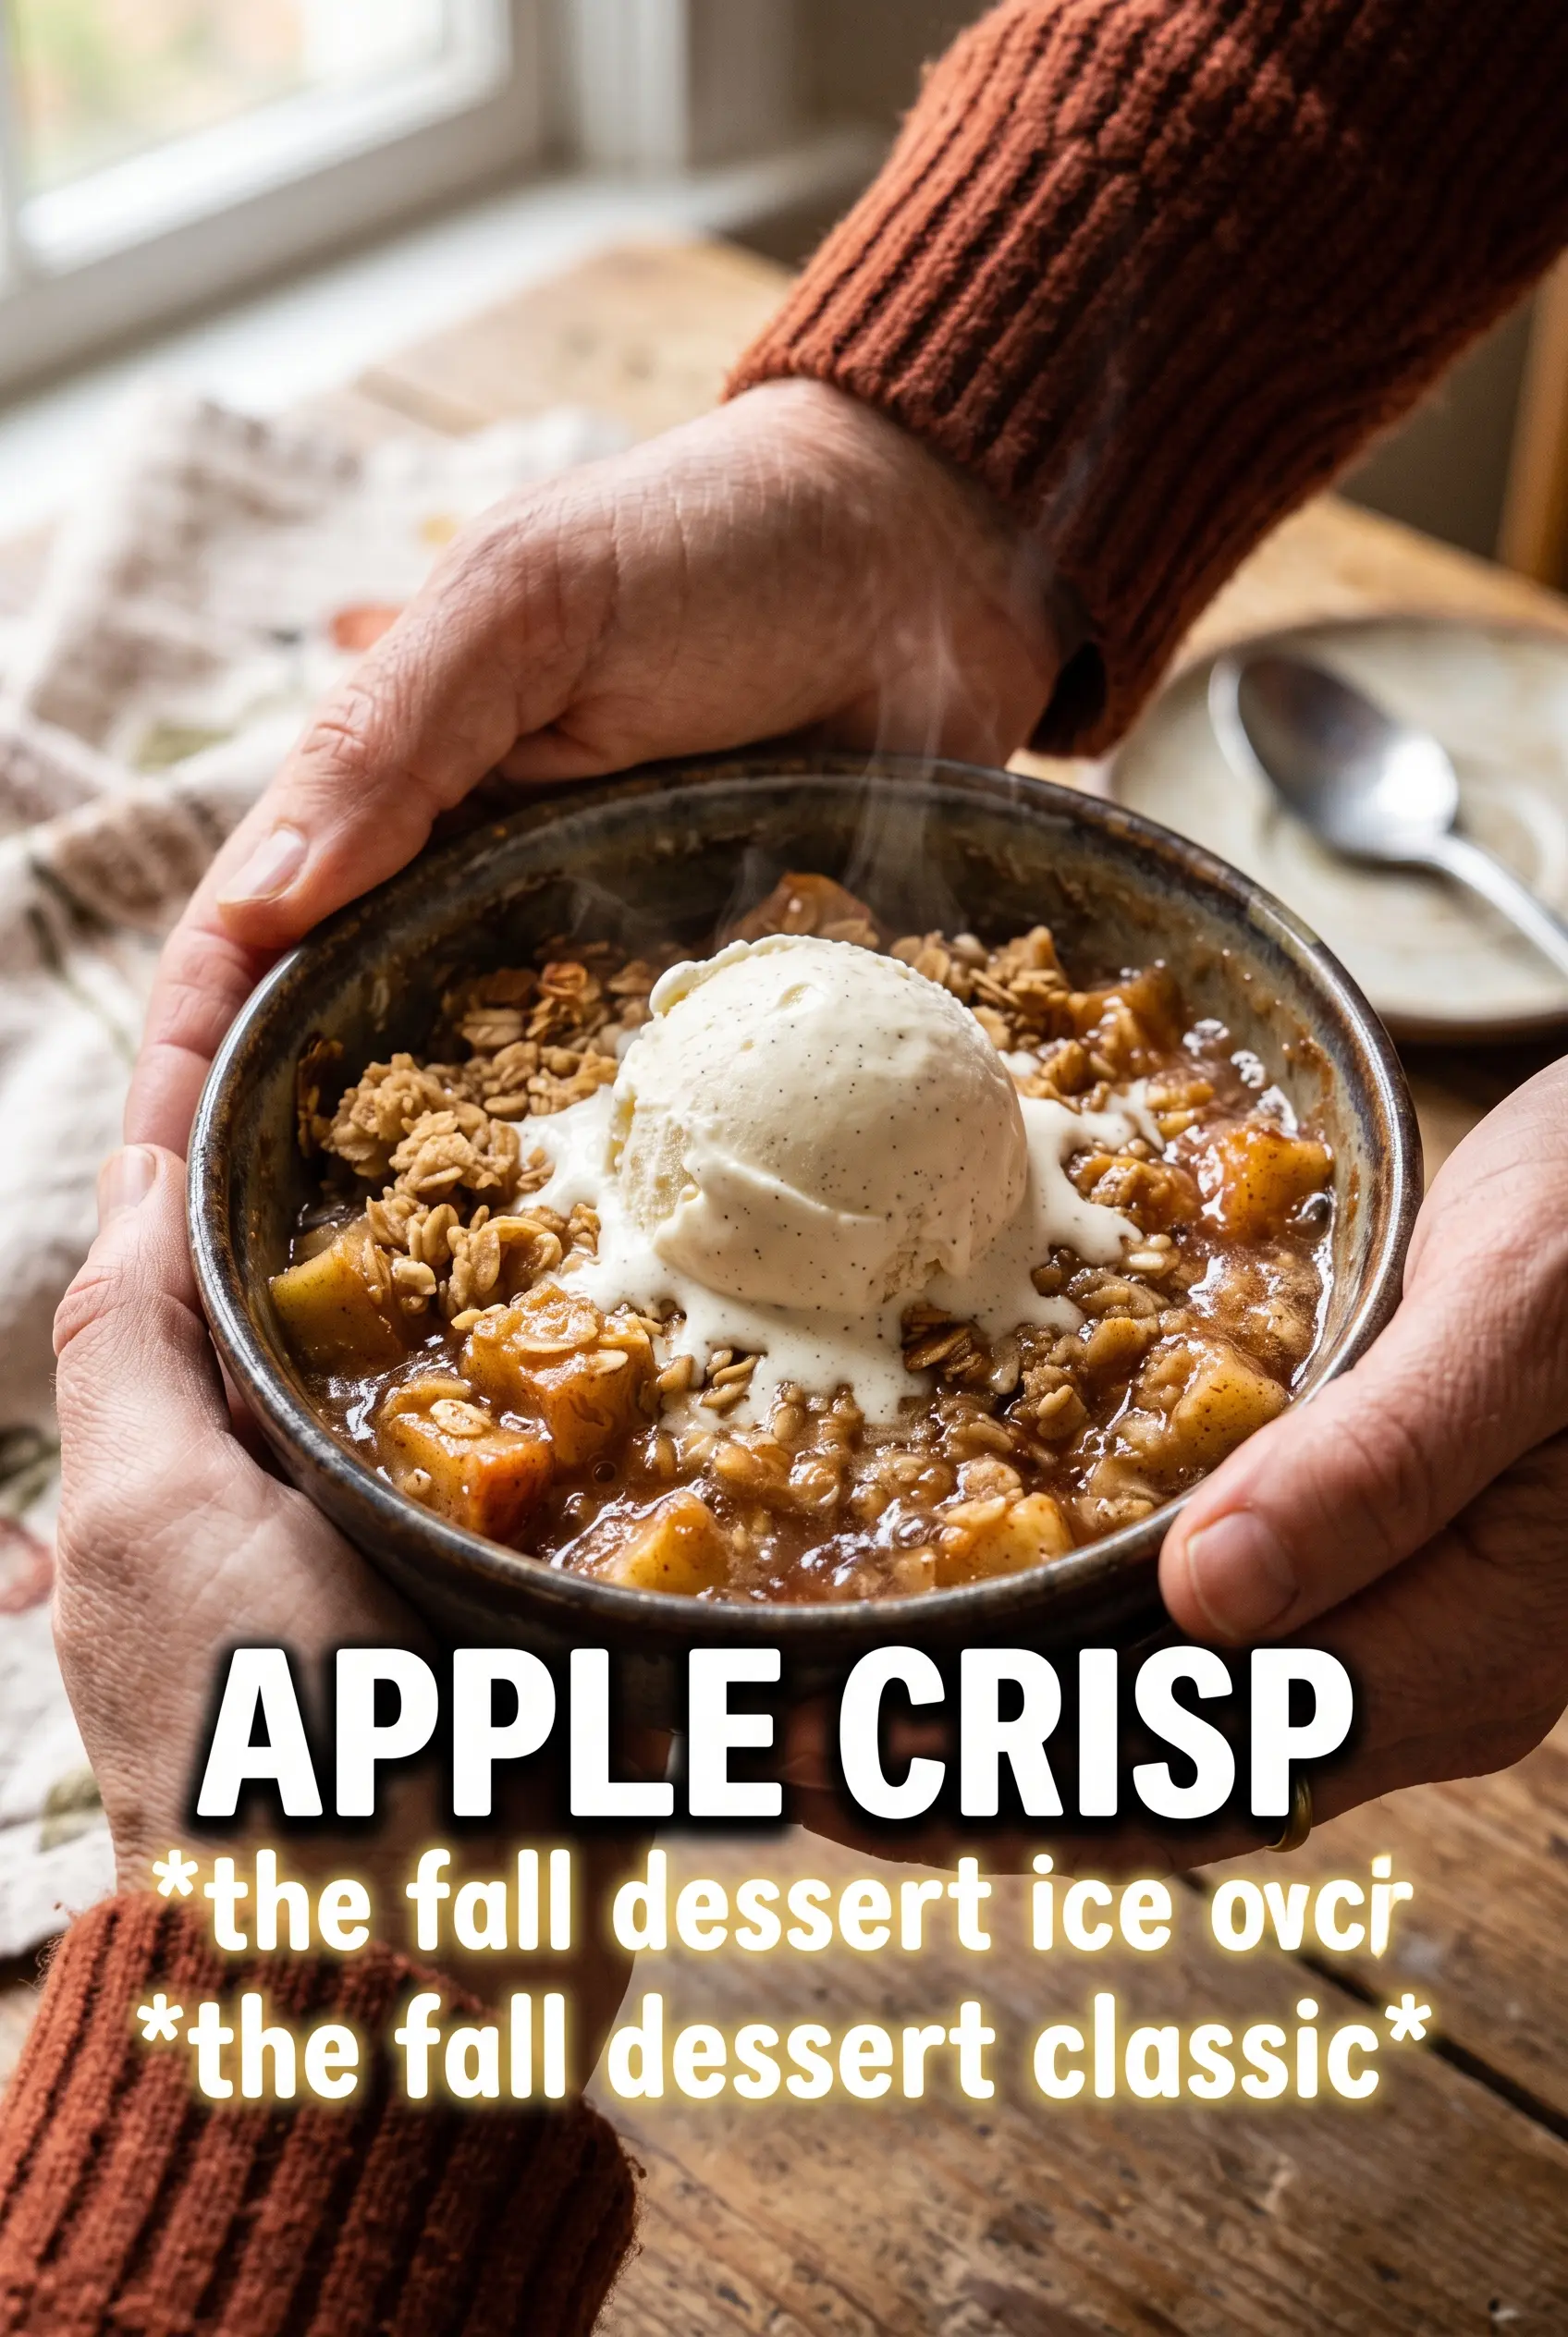
Rest the pan for at least 10 minutes after it comes out of the oven. That short pause lets the filling settle so it scoops instead of runs. The topping also firms up during this time, which keeps the first serving from collapsing into the dish. Serve it warm with vanilla ice cream so the contrast between hot crisp and cold cream is still there.
How to Adapt This Apple Crisp Without Losing the Texture
Make It Gluten-Free
Swap the all-purpose flour for a good 1:1 gluten-free baking blend. The topping still bakes up crisp, though it may be a touch more delicate when you scoop it. Keep the oats certified gluten-free if that matters for your kitchen.
Use All One Kind of Apple
If you only have one apple variety, use a firmer baking apple such as Granny Smith, Pink Lady, or Braeburn. The crisp will still work, but you lose the contrast between tart and sweet, so the flavor will be a little flatter. Avoid soft apples that collapse into applesauce.
Make It Dairy-Free
Use a plant-based butter block instead of tub-style spread. You still want it cold and cubed so the topping forms the same crumbly texture. Coconut oil works, but it adds its own flavor and the topping can brown faster.
Storage and Reheating
- Refrigerator: Store covered for up to 4 days. The topping softens a little in the fridge, but the flavor holds up well.
- Freezer: Freeze baked crisp in an airtight container for up to 2 months. Thaw overnight in the fridge before reheating.
- Reheating: Warm in a 325F oven until heated through and the top crisps back up, about 15 to 20 minutes. The microwave makes the topping limp, so skip it if you want any crunch left.
Answers to the Questions Worth Asking
Apple Crisp
Ingredients
Equipment
Method
- Preheat oven to 375F and grease a 9x13 baking dish, so it’s ready for even baking and easy release. Move the dish to the counter while you assemble the fruit.
- Toss sliced apples with granulated sugar, brown sugar, cinnamon, nutmeg, cornstarch, and lemon juice, then spread into the prepared dish. Make an even layer for consistent bubbling.
- Combine rolled oats, all-purpose flour, brown sugar, cinnamon, and salt, then cut in cold unsalted butter until large, chunky clumps form. Stop when the butter is incorporated but the topping still looks rough and thick.
- Scatter the crumble topping evenly over the apples without pressing down, so it stays crisp. Ensure the topping covers the fruit but leaves some apple edges visible.
- Bake 40-45 minutes at 375F until the topping is deeply golden and the apple filling is bubbling around the edges. Look for active bubbling at the perimeter, not just syrupy spots in the center.
- Rest 10 minutes before serving warm, letting the filling thicken slightly as it cools. Serve with vanilla ice cream while the crumble is still crisp.