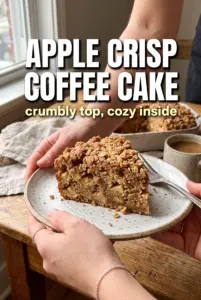
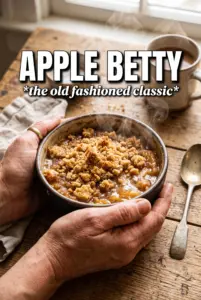
Apple Betty bakes up with a crisp, buttery top and soft spiced apples underneath, and that contrast is exactly why it earns a place on repeat. The breadcrumb layers turn deeply golden in the oven, soaking up just enough apple juice to stay tender where they touch the fruit while still keeping a crackly edge on top. Scoop into it warm and you get spoonfuls that hold together without turning soggy.
What makes this version work is the balance between moisture and crunch. Fresh breadcrumbs are the right choice here because they drink in the melted butter and bake into a crisp topping instead of staying dry and dusty. The lemon juice and zest keep the apples bright, while cinnamon, nutmeg, and allspice give the filling enough warmth to taste like more than just baked fruit.
Below, I’ll walk through the one part that matters most: how to layer the crumbs and apples so the topping stays crisp and the fruit cooks evenly. I’ve also included a few smart swaps and the storage details people usually ask about after the first pan disappears.
The top stayed crisp even after we served it, and the apple layers were soft but not mushy. I used tart apples and the lemon kept everything tasting bright instead of heavy.
Save this buttery Apple Betty for the nights when you want a crisp breadcrumb crust and tender cinnamon apples in one pan.
The Part That Keeps Apple Betty Crisp Instead of Soggy
The whole dish depends on how the breadcrumbs meet the fruit. If the crumbs go in dry, they won’t brown evenly and they’ll stay sandy on top. If the apples are too wet, the layers collapse into a soft pudding. The trick is the buttered crumb mixture: every bit of bread gets coated before it hits the pan, so the top bakes into a thin, crisp shell while the lower layers catch the apple juices without turning mushy.
Layering matters here too. The apples sit between breadcrumb layers instead of being buried under one thick blanket, which gives the dessert structure and helps the heat move through the pan more evenly. You’re looking for a topping that’s deeply golden and a filling that still has distinct apple slices when you scoop it.
What the Breadcrumbs and Apples Are Each Doing Here
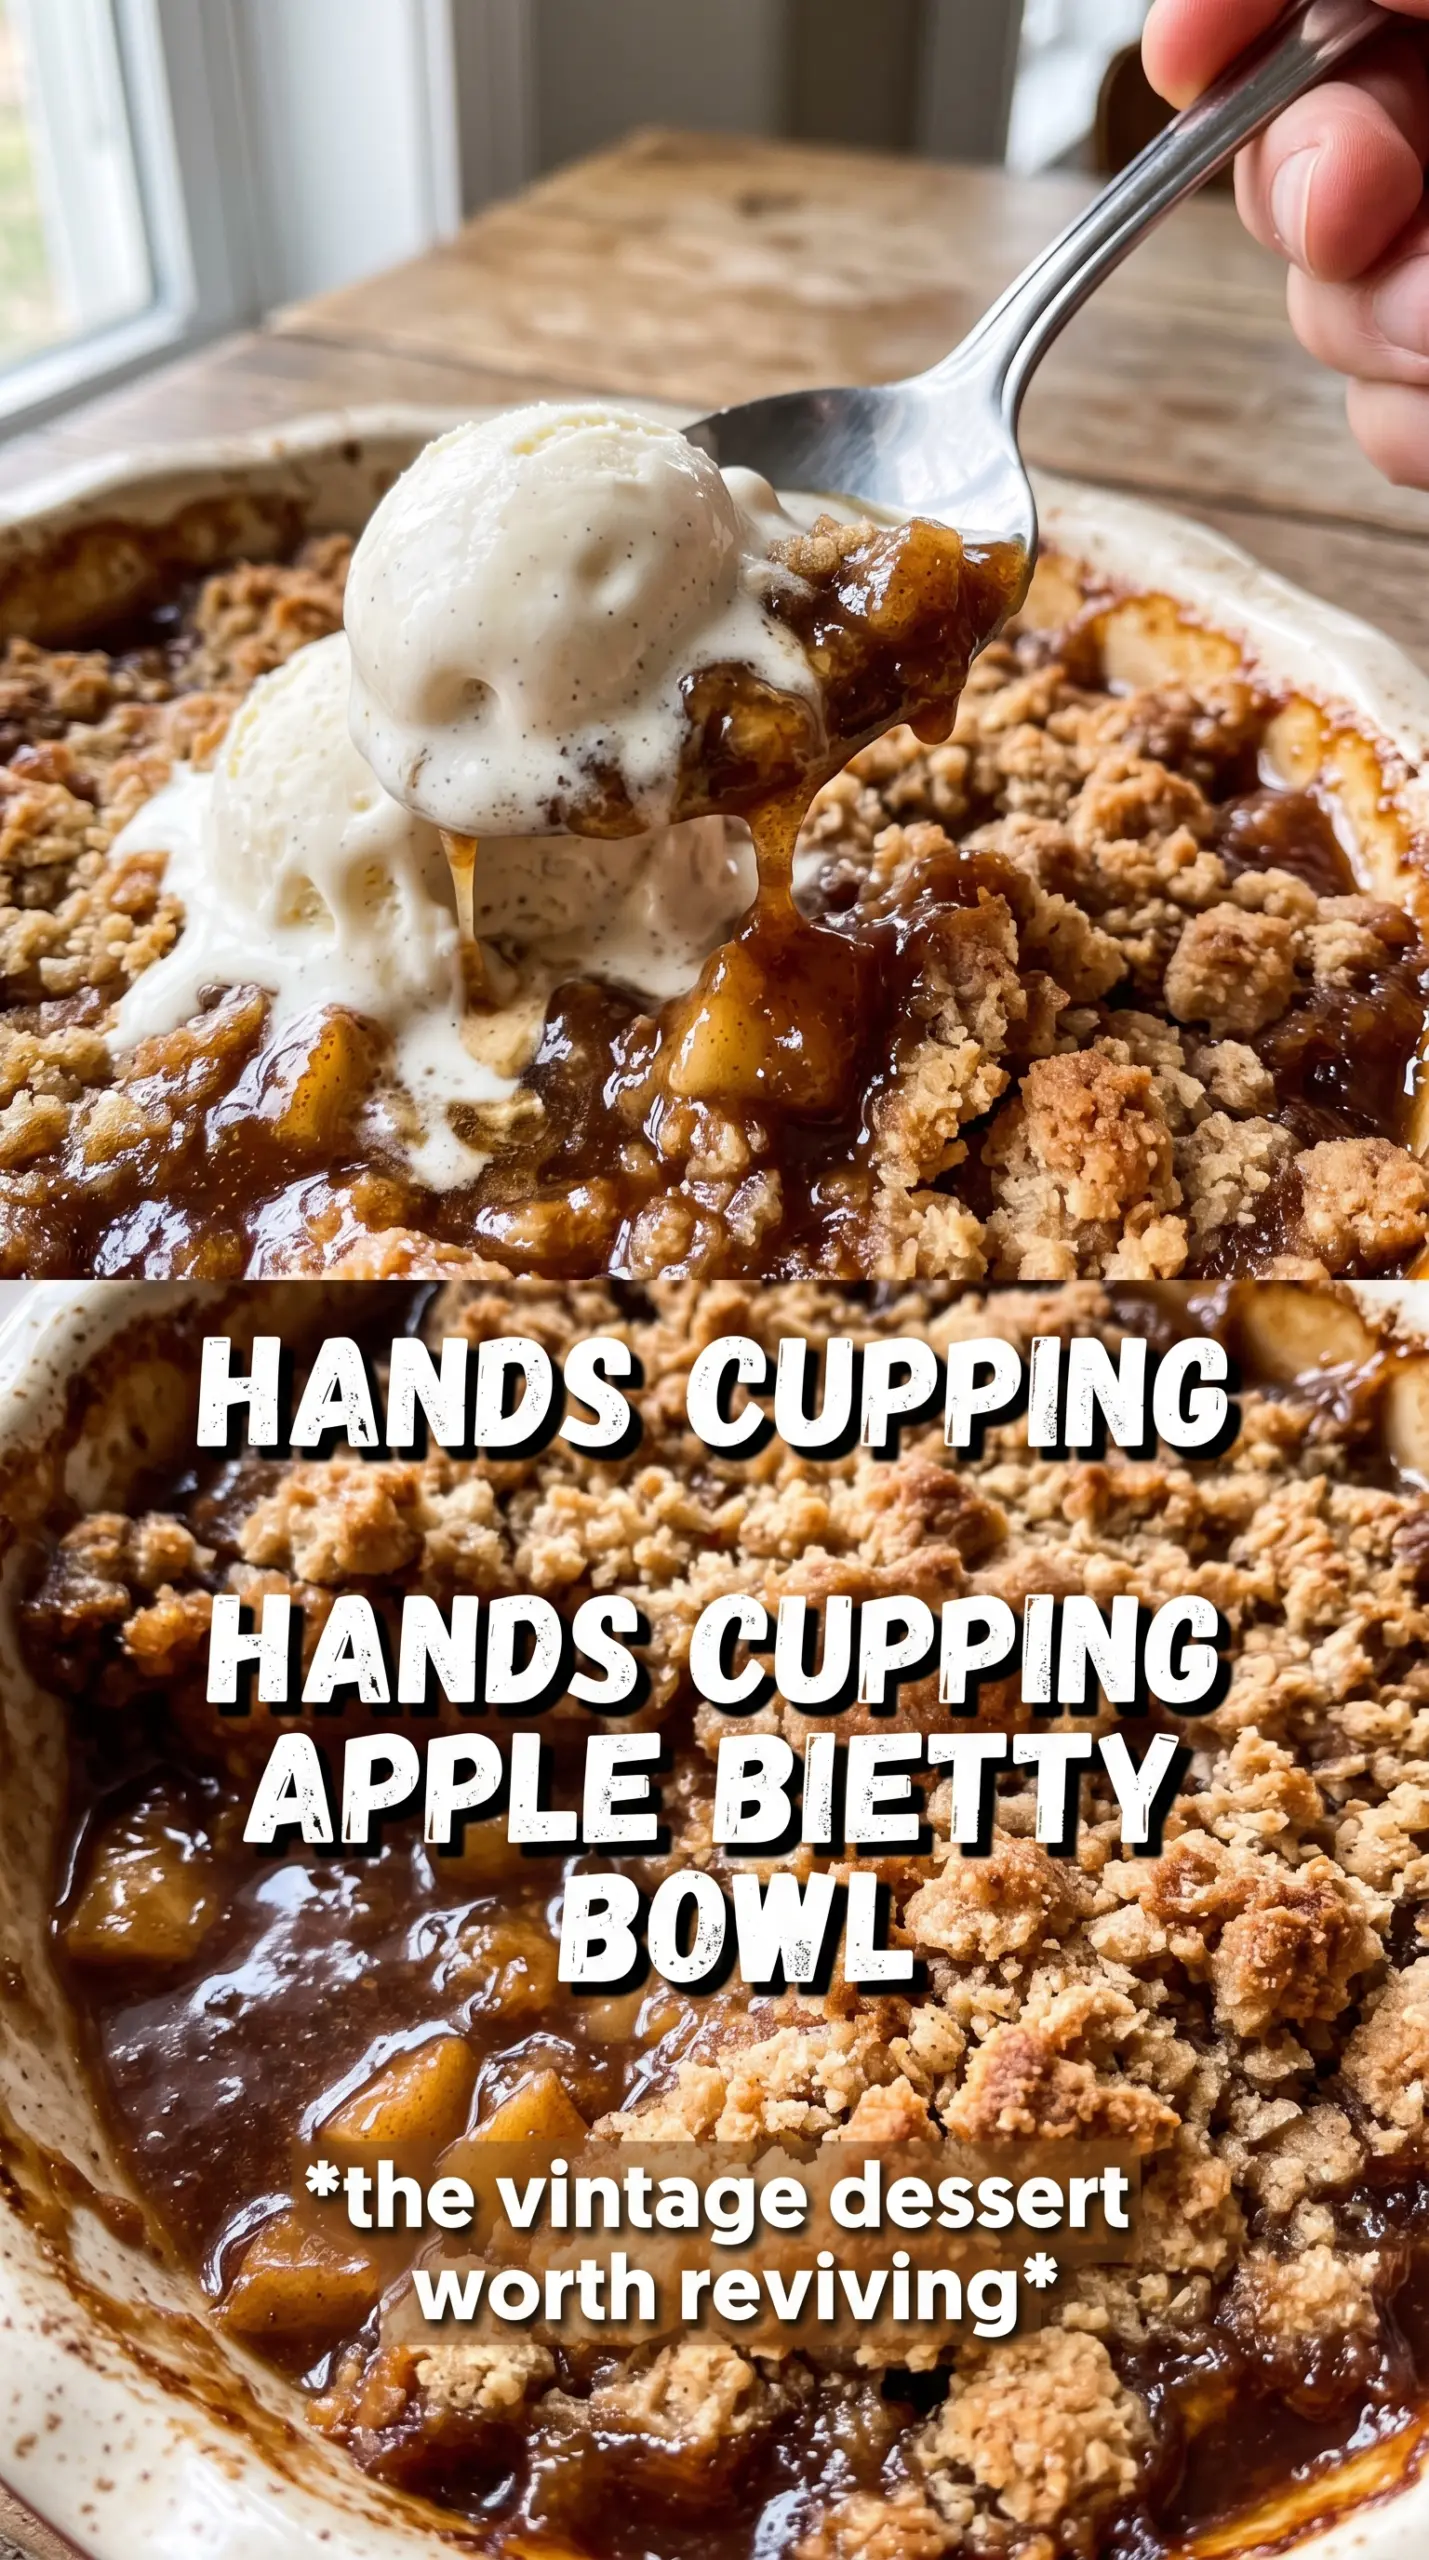
- Fresh breadcrumbs — Use day-old bread pulsed into coarse crumbs. They absorb the melted butter and bake into the signature crisp topping. Store-bought fine crumbs work in a pinch, but they tend to pack down and lose that rustic texture.
- Unsalted butter — This is what turns plain bread into a rich, toasted crust. Melted butter coats every crumb more evenly than softened butter, which matters because uneven coating leaves dry pockets.
- Apples — Choose firm baking apples if you want slices that hold their shape. Softer apples break down faster and give you a looser, saucier filling. If you only have sweeter apples, keep the lemon juice in the mix so the dessert doesn’t taste flat.
- Brown sugar and spices — Brown sugar adds depth and helps the apple juices turn lightly syrupy. Cinnamon carries the main flavor, while nutmeg and allspice should stay in the background; too much of either can make the filling taste heavy.
- Lemon juice and zest — Don’t skip both. The juice keeps the apples from tasting dull, and the zest adds a cleaner citrus note that cuts through the butter.
Building the Layers So the Top Stays Crisp
Coating the Breadcrumbs
Stir the melted butter through the breadcrumbs until every bit looks moistened, not greasy. The crumbs should clump slightly when pressed but still fall apart when you stir them. If you see dry patches in the bowl, those pieces won’t brown well in the oven and can taste stale against the tender apples.
Seasoning the Apples
Toss the sliced apples with the sugar, spices, lemon juice, and zest until the fruit looks evenly glossed. The sugar will draw out a little moisture, which is exactly what you want, but don’t let the apples sit around long enough to puddle heavily before layering. Thin slices cook evenly; thick chunks leave you with firm spots in the center.
Layering and Baking
Start with crumbs, then apples, then more crumbs, repeating until the pan is full and finishing with the last layer of crumbs on top. Drizzle the cider or water over the apple layers as you go so the bottom doesn’t dry out before the fruit softens. Bake until the top is deeply golden and you can smell toasted butter before you even open the oven door. If the top browns too fast, tent loosely with foil for the last few minutes and keep going until the apples are tender.
How to Adapt Apple Betty When You Need To
Use gluten-free crumbs
Swap in gluten-free bread crumbs made from sturdy GF bread. The texture stays close to the original, but the topping may brown a little faster, so keep an eye on it during the last 10 minutes.
Make it dairy-free
Use a plant-based butter that melts cleanly and has a neutral flavor. You’ll still get a crisp top, though the finished dessert will taste a little less rich than the butter version.
Choose tart apples for a brighter filling
If you want a more pronounced apple flavor, use a mix of tart and sweet apples. The tart fruit keeps the filling from tasting one-note and helps balance the brown sugar.
Storage and Reheating
- Refrigerator: Store covered for up to 4 days. The topping softens a bit in the fridge, but the flavor holds well.
- Freezer: Freeze in a tightly wrapped baking dish or airtight container for up to 2 months. Thaw overnight in the refrigerator before reheating.
- Reheating: Warm in a 325°F oven until heated through and the top firms back up. The microwave will soften the crumb topping, which is the one thing you don’t want to lose here.
Answers to the Questions Worth Asking
Apple Betty Recipe
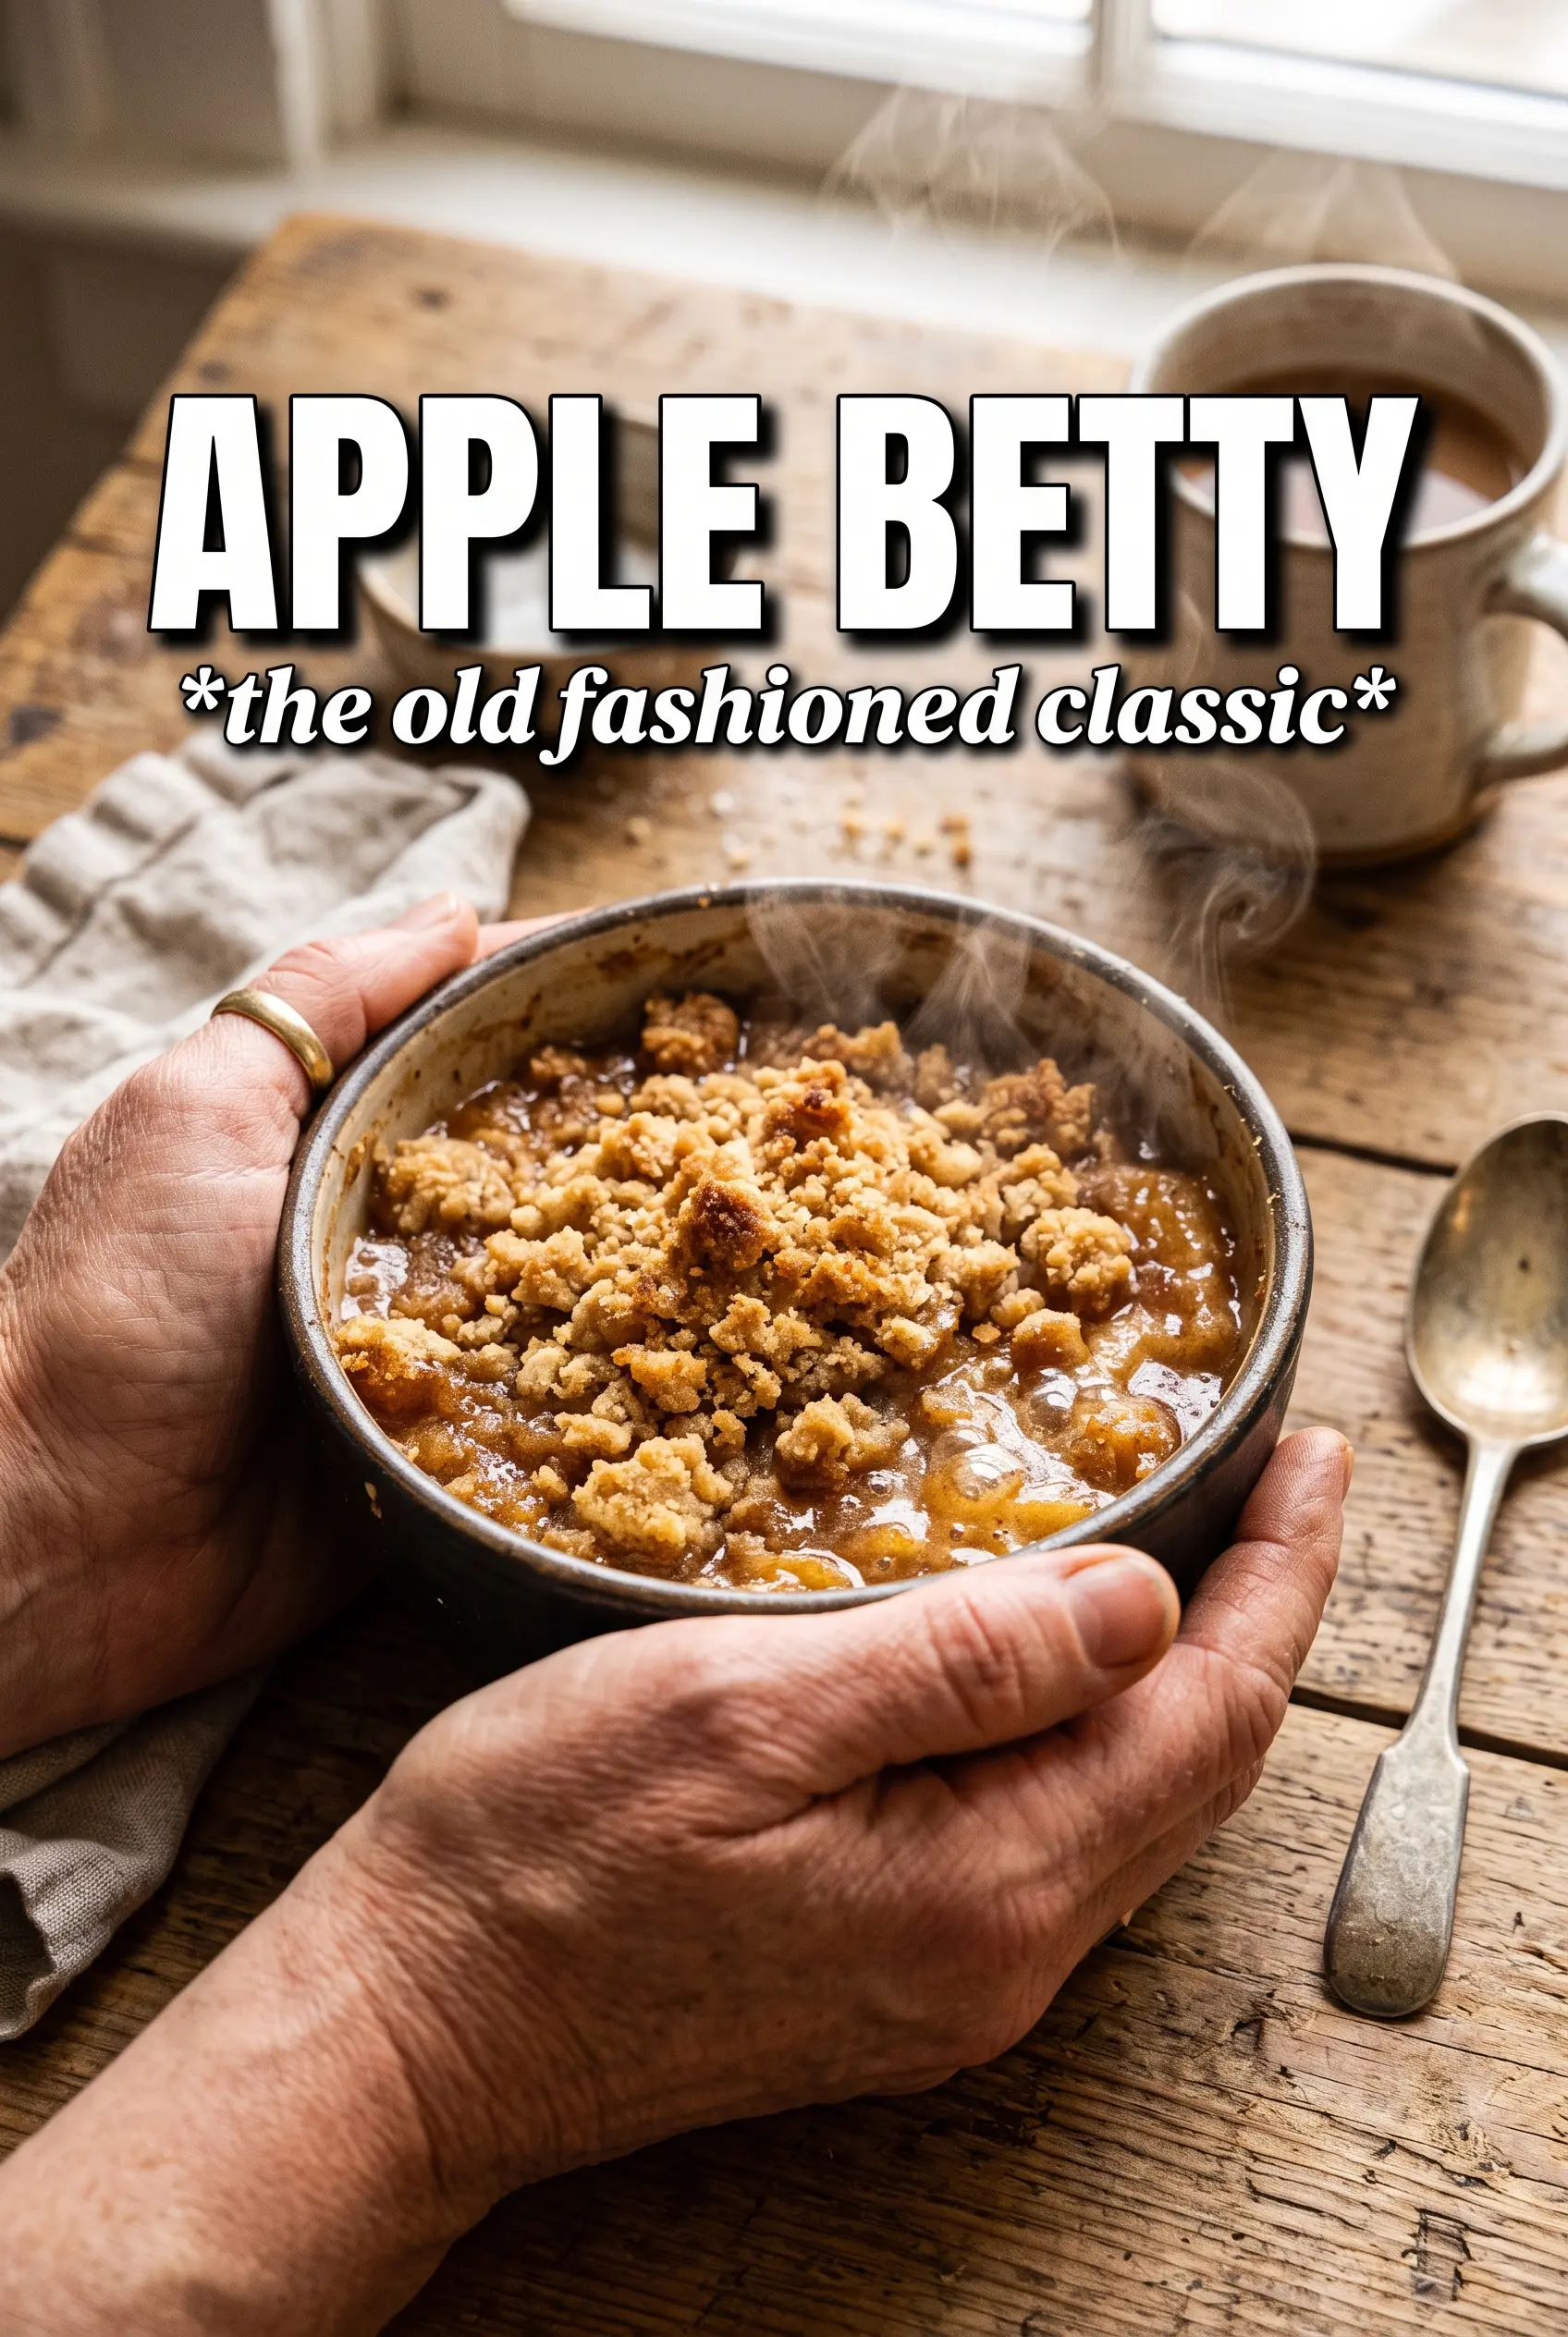
Apple Betty
Ingredients
Equipment
Method
- Preheat the oven to 375°F and grease a 9x13 baking dish.
- Toss the fresh breadcrumbs with the melted unsalted butter until the crumbs look evenly coated.
- Mix the apple slices with the brown sugar, cinnamon, nutmeg, allspice, lemon juice, and lemon zest until the apples are well coated.
- Spread 1/3 of the buttered breadcrumbs in the bottom of the prepared dish.
- Layer half of the apple mixture over the breadcrumbs and drizzle with 1/2 of the apple cider or water.
- Repeat with another layer of breadcrumbs, then the remaining apples, then drizzle with the remaining apple cider or water.
- Finish by adding the final layer of breadcrumbs on top, covering the apples as evenly as possible.
- Bake for 40-45 minutes at 375°F, until the top is deeply golden and crispy and the apples are tender, then let it rest briefly in the dish before serving.
- Serve warm with vanilla ice cream or heavy cream.