Fudgy brownie ice cream cake hits that sweet spot between rich and cold, chewy and creamy, with a chocolate top that cracks softly when you slice through it. The brownie layer stays dense enough to hold the ice cream without turning soggy, and the ganache finishes the whole thing with a glossy, sliceable shell.
What makes this version work is the order. The brownies cool completely before the ice cream goes on, which keeps the layers clean instead of muddy. The ice cream gets a little soft for spreading, but not melted, so it settles into an even layer and freezes back into something that cuts neatly. The ganache is poured on only after the ice cream is fully firm, which keeps it from sinking into the cake.
Below, I’ll walk you through the small details that keep this dessert looking sharp when you serve it, plus a few swaps that make it easier to fit what’s already in your freezer.
The brownie stayed chewy even after freezing, and the ganache set up just enough that the slices held their shape instead of sliding apart.
Save this brownie ice cream cake for birthdays, cookouts, and the kind of night that calls for a thick chocolate ganache top.
The Freezer Timeline That Keeps the Layers Clean
The biggest mistake with brownie ice cream cake is rushing the freeze between layers. If the brownie is even a little warm, the ice cream starts to melt at the edges and you lose that crisp line when you slice it. If the ice cream layer goes on too soft, it smears into the brownie instead of sitting on top of it.
Let the brownie cool all the way down before you spread on the ice cream. Then give the cake a full freeze until the surface is firm enough that a finger pressed lightly on top leaves no mark. That extra patience is what keeps the ganache from disappearing into the ice cream layer instead of sitting neatly on top.
- Cool brownies completely — residual heat is what turns the bottom layer gummy.
- Soften the ice cream, don’t melt it — it should spread like thick frosting, not run.
- Freeze before the ganache — a firm surface gives you a clean chocolate cap.
Why These Ingredients Give You a Real Slice, Not a Soft Mess
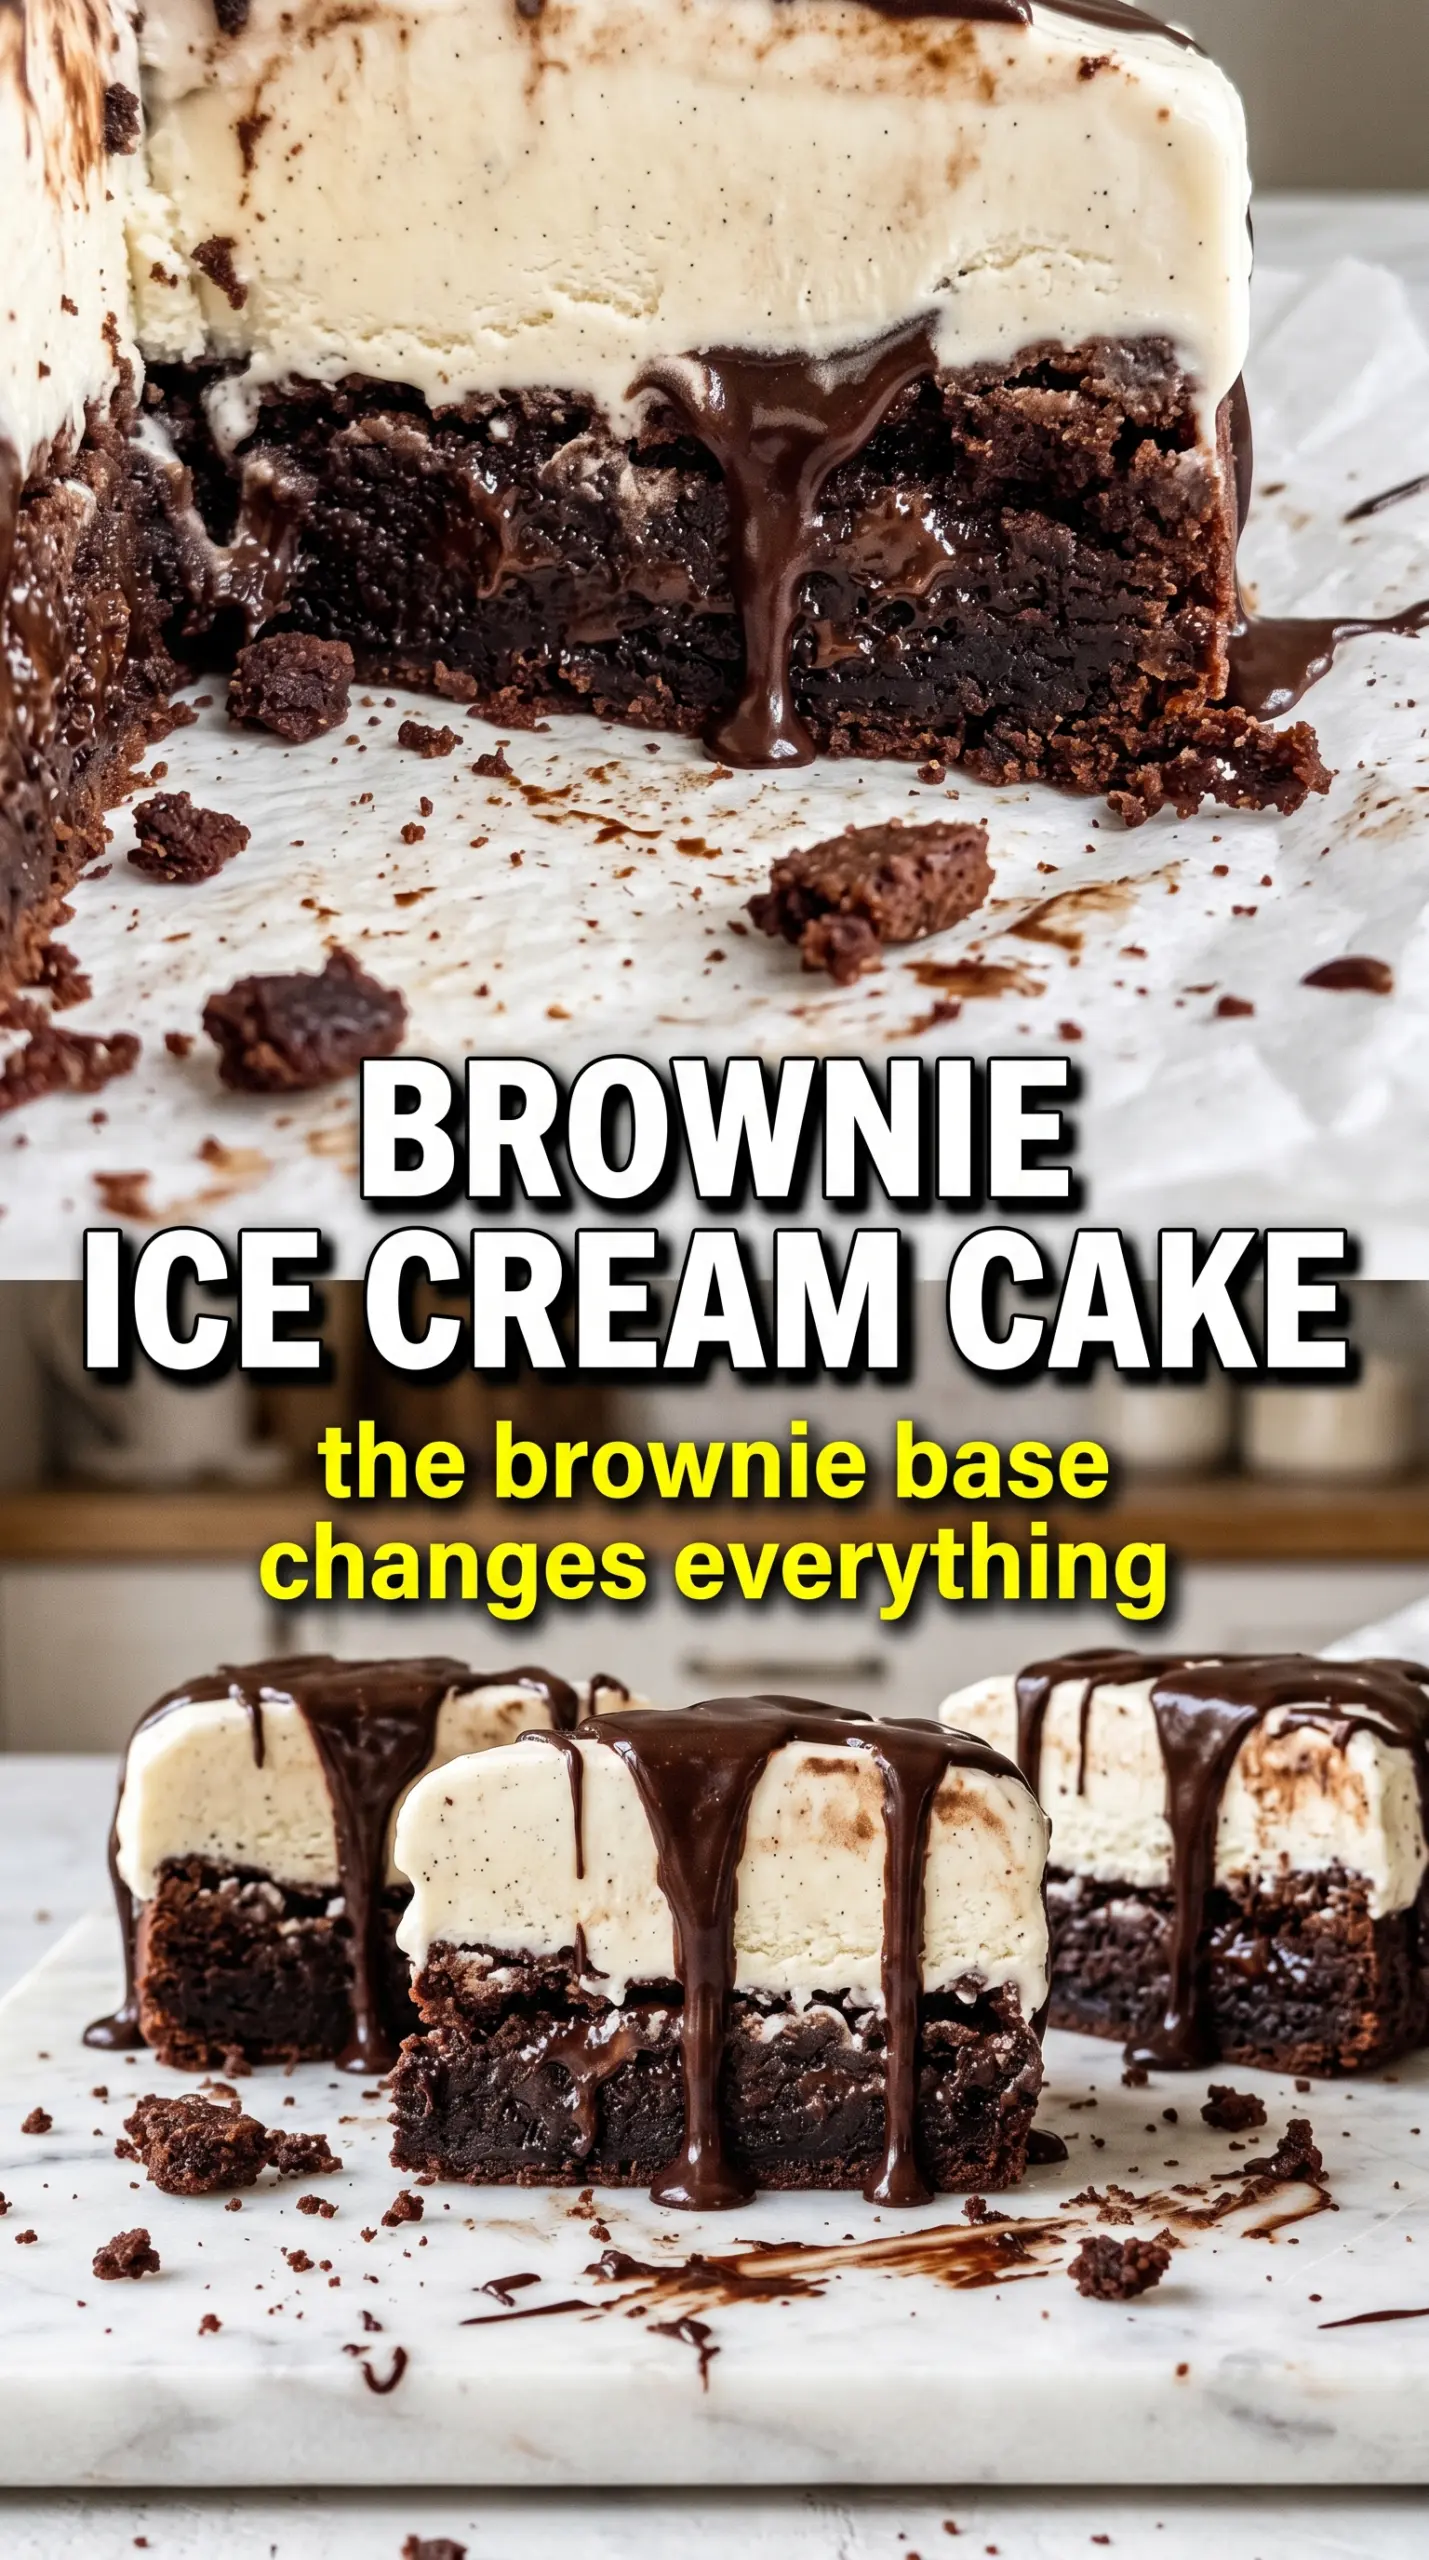
- Brownie mix or homemade brownies — either works, but you want a fudgy style, not a cakey one. A denser brownie holds up better once frozen and gives you that chewy base under the ice cream.
- Vanilla or chocolate ice cream — choose a flavor that tastes good on its own, because freezing mutes sweetness a little. Premium ice cream spreads and refreezes with a smoother texture than bargain tubs.
- Heavy cream — this is what makes the ganache glossy and pourable. Don’t swap in milk; it won’t give you the same silky finish or setting power.
- Dark chocolate — a darker chocolate keeps the cake from tasting cloying against the sweet ice cream. Chop it small so the hot cream melts it evenly.
- Butter — just a tablespoon softens the ganache and gives it a little shine. Leave it out if you have to, but the topping won’t be quite as smooth.
Building the Layers So the Cake Slices Cleanly
Baking the Brownie Base
Bake the brownies in a 9×13 pan and stop when the center is set but still tender; overbaking makes the frozen cake crumbly instead of chewy. Let the pan cool completely on the counter before you touch the ice cream. If you rush this part, the bottom layer softens and the whole dessert loses structure.
Spreading the Ice Cream Layer
Let the ice cream sit out just long enough to become spreadable. You want it soft enough to move across the pan in an even layer, but still cold and thick. An offset spatula helps here, and if the ice cream starts to puddle, it’s gone too far and will freeze with icy streaks.
Freezing Before the Ganache
Freeze the cake until the ice cream is completely firm, at least 4 hours. This is the checkpoint that protects the layers when you pour on the chocolate. If the top still gives when you press it lightly, wait longer; warm ganache on a soft surface will sink instead of sitting on top.
Finishing With the Chocolate Top
Heat the cream until it’s steaming, then pour it over the chopped chocolate and butter without stirring right away. Let it sit for a minute so the chocolate softens, then stir until smooth and glossy. Cool it just until pourable, not thick, then pour over the frozen cake and tilt the pan so it reaches the corners; if it’s too hot, it melts the ice cream, and if it’s too cool, it drags instead of flowing.
Use Chocolate Ice Cream for a Double-Chocolate Version
Swap the vanilla for chocolate ice cream if you want a deeper cocoa flavor and a more dramatic slice. The cake gets richer and less creamy-sweet, so it works best when you’re serving people who want dessert to taste boldly chocolatey.
Make It Gluten-Free With the Right Brownie Mix
Use a gluten-free brownie mix and follow the package instructions as written. The frozen dessert itself doesn’t need any other adjustment, and the dense brownie base still gives you the same layered effect if the mix bakes up fudgy.
Dairy-Free Version
Use dairy-free ice cream, a plant-based cream alternative that’s made for ganache, and a dairy-free brownie base. The texture can be a little softer when frozen, so slice it straight from the freezer and keep the pieces small and neat.
Storage and Reheating
- Refrigerator: Not recommended. This cake softens too quickly and loses its layered shape.
- Freezer: Keep tightly wrapped for up to 1 week for the best texture. After that, the ice cream can pick up freezer flavor and the brownie dries out a bit.
- Reheating: Don’t reheat it. Let slices sit at room temperature for 5 to 10 minutes before serving so the knife can cut through the ganache without cracking the cake.
Questions I Get Asked About This Recipe
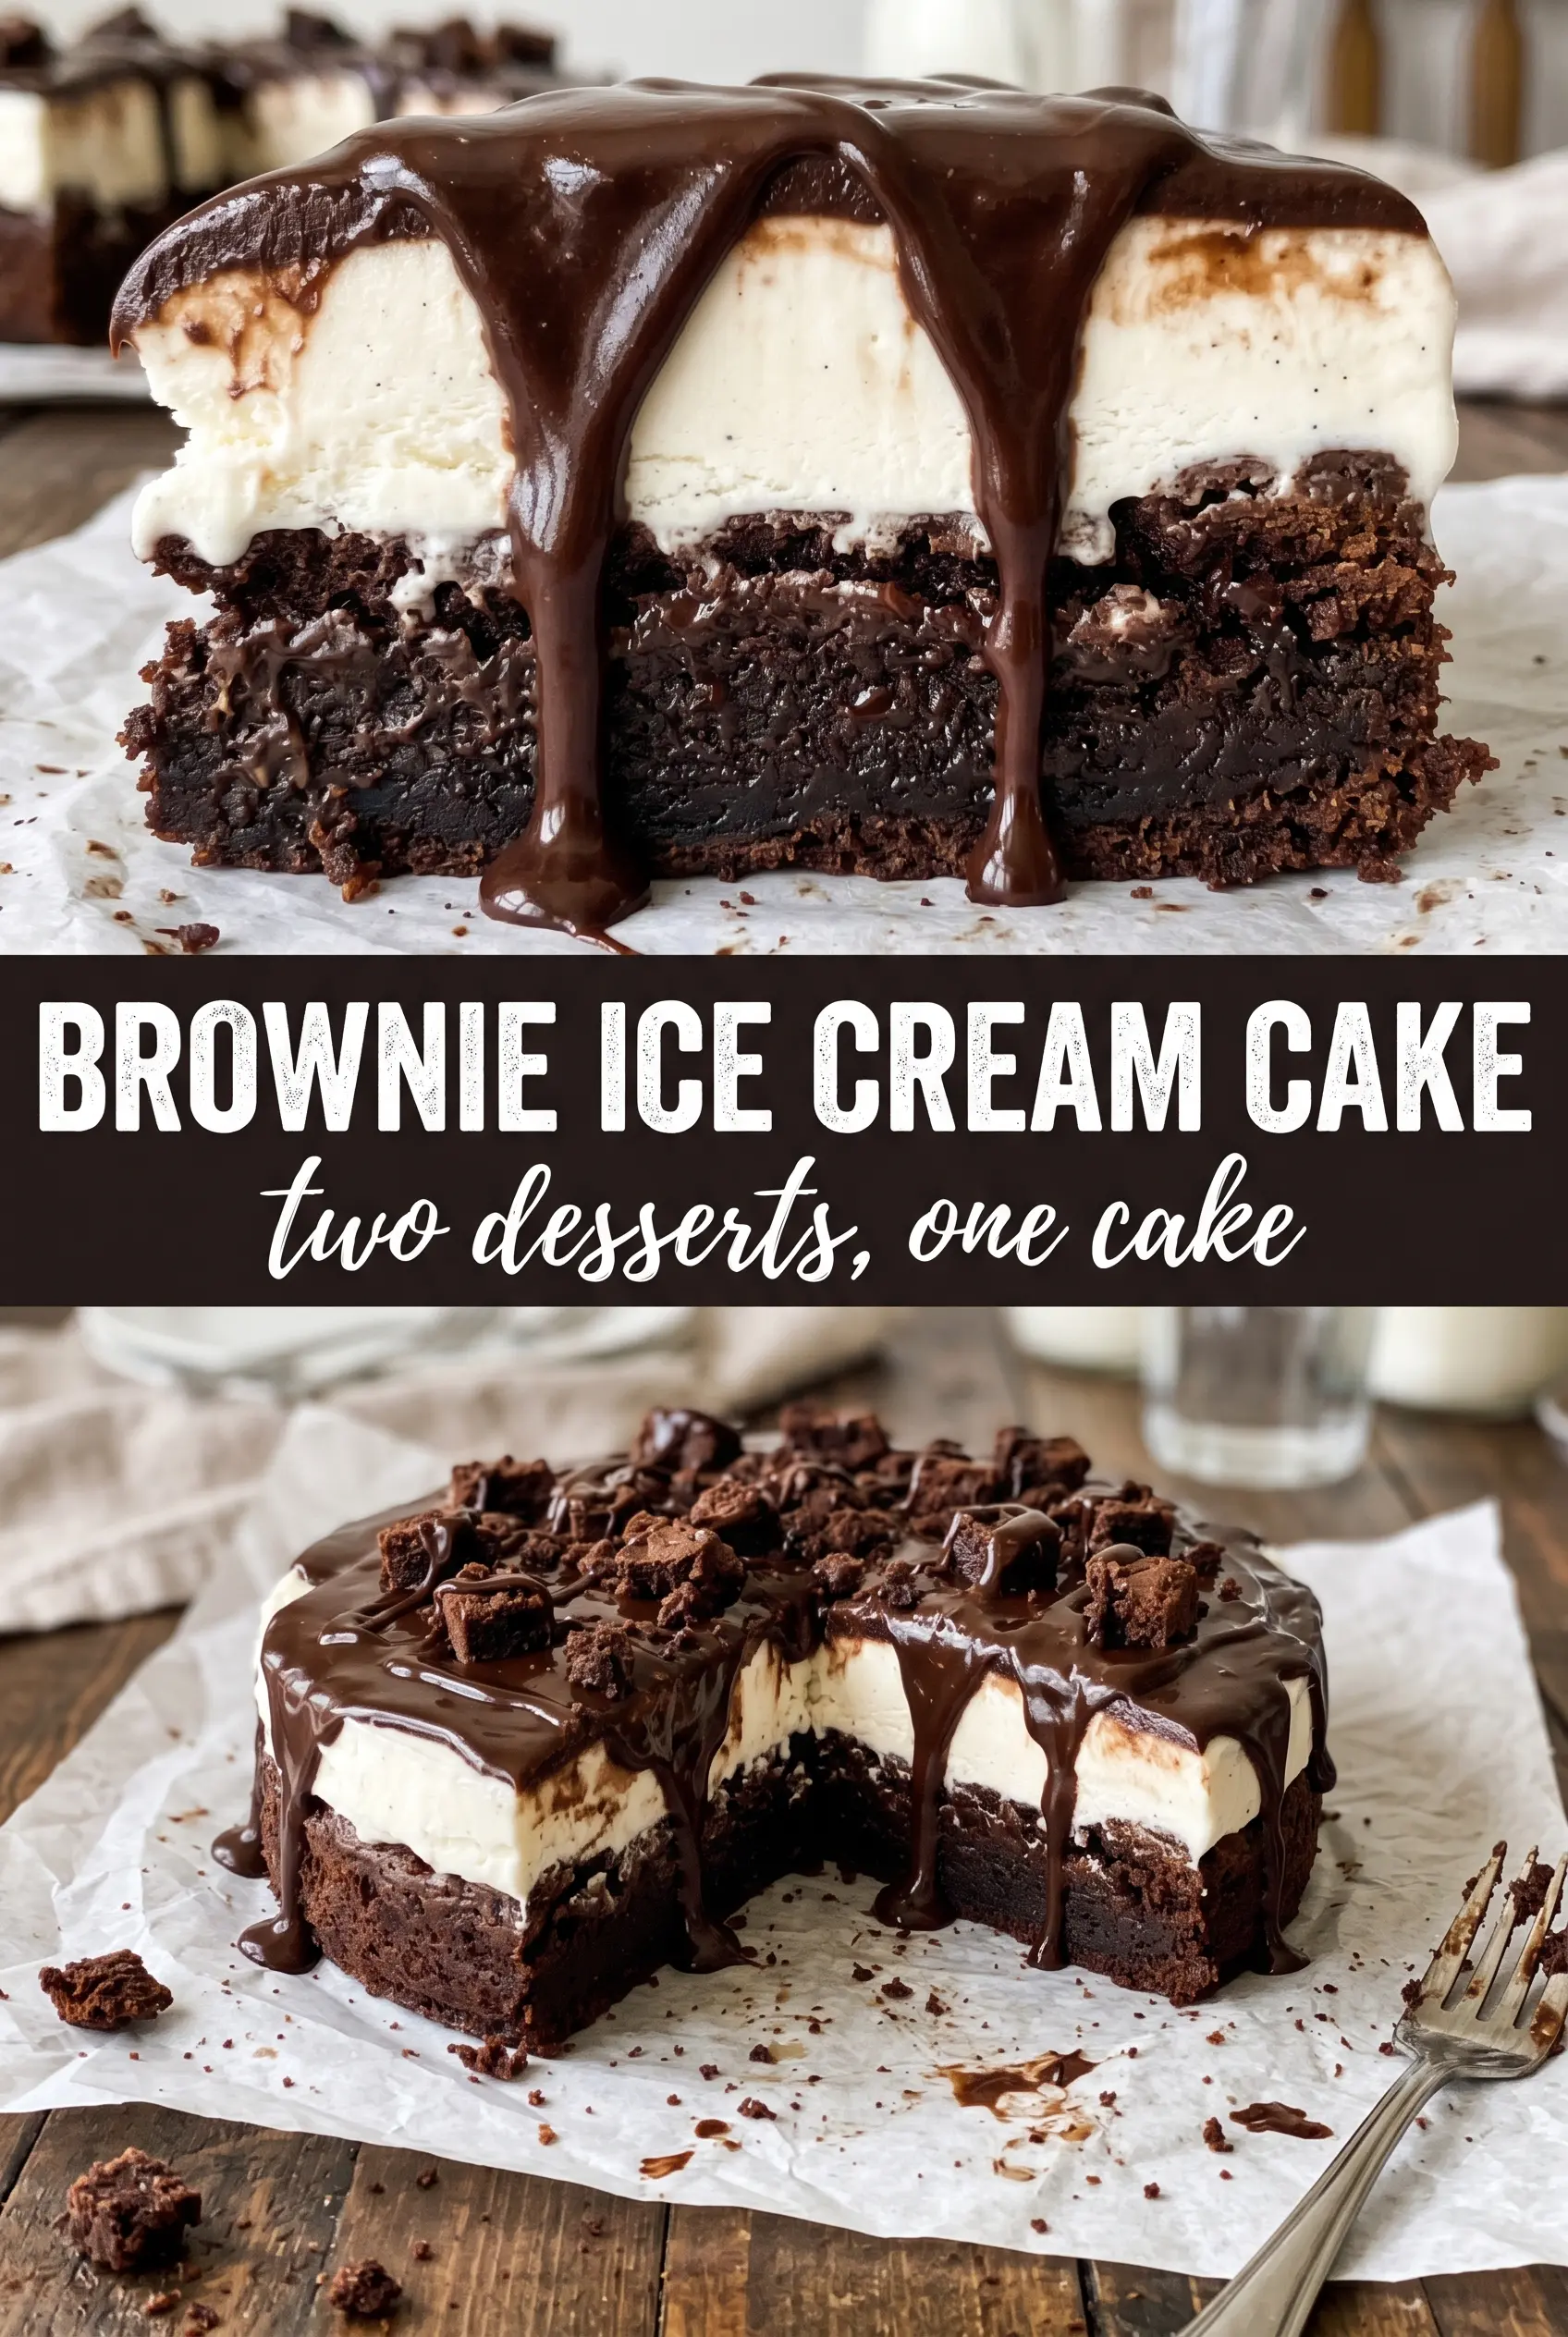
Brownie Ice Cream Cake
Ingredients
Equipment
Method
- Bake brownies in a 9x13 pan according to package instructions (or your homemade brownie recipe) until a toothpick comes out with moist crumbs. Cool completely at room temperature so the ice cream layer won’t melt.
- Spread softened ice cream in an even, thick layer over the cooled brownies, smoothing the top with a flat spatula. Press very lightly so the ice cream adheres to the brownie base.
- Freeze the cake for 4 hours, until completely firm to the touch. This step prevents the ganache from sliding when poured.
- Heat heavy cream to steaming (around 180°F/82°C), then pour it over chopped dark chocolate and butter. Let it sit for 1 minute before stirring to help the chocolate melt.
- Stir until smooth, glossy, and pourable, then cool briefly as needed (about 5–10 minutes) to stop it from running too fast. The ganache should be thick enough to coat but still pour.
- Pour ganache over the frozen ice cream layer and tilt the pan to cover evenly, letting it flow to the edges. Work quickly so the top stays even before the ganache begins to set.
- Freeze for at least 2 more hours until the ganache is set and the cake slices cleanly. Keep covered to prevent freezer odors.
- Top with whipped cream and chocolate shavings right before serving for best texture. Slice and serve while fully chilled.


