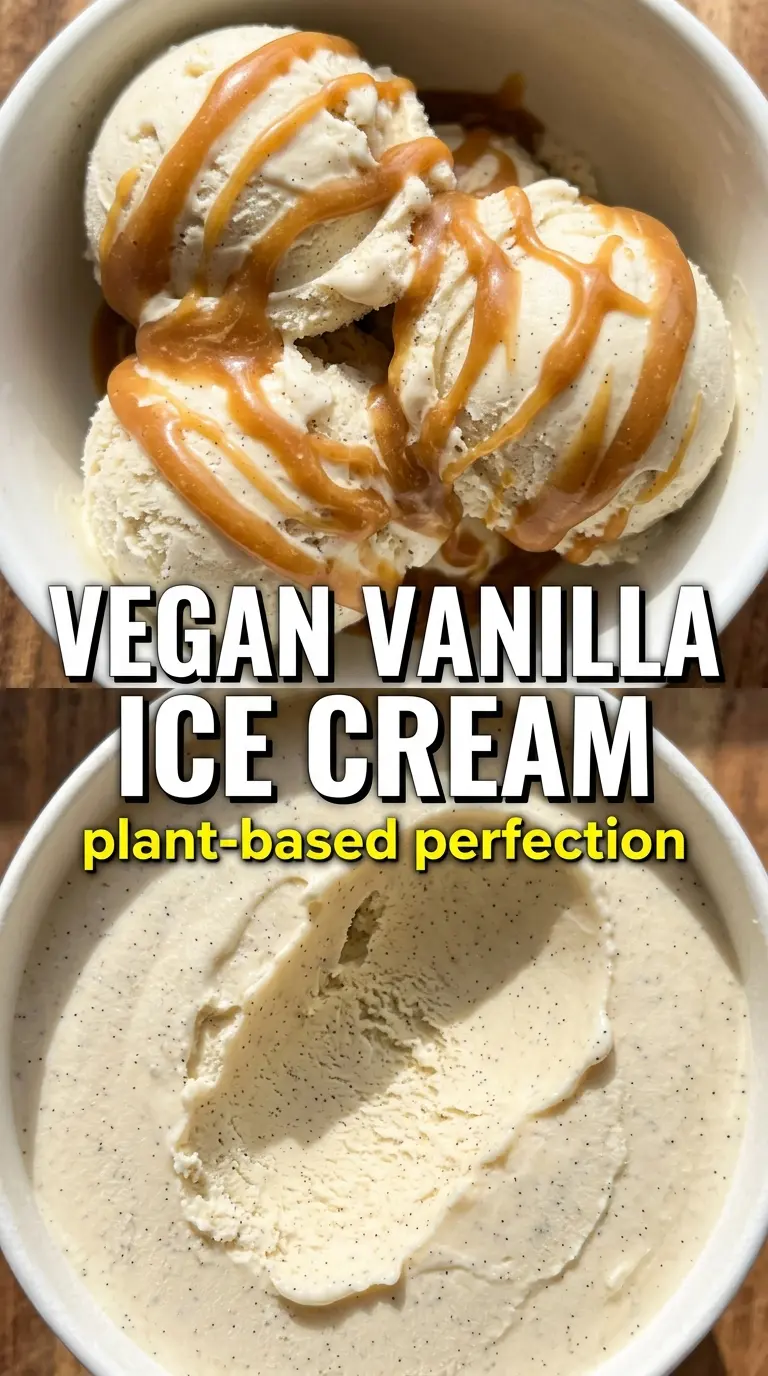
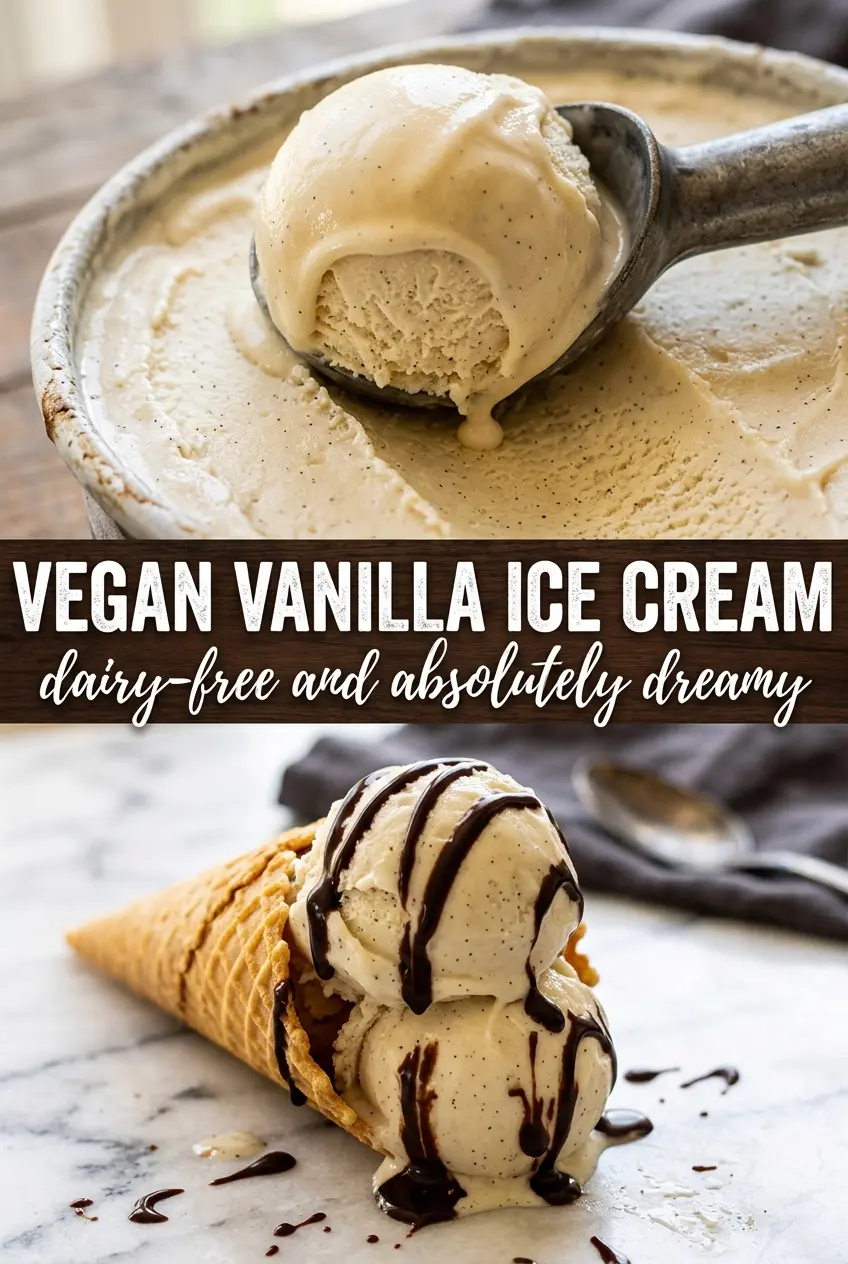
Silky vegan vanilla ice cream has a way of disappearing faster than anything else in the freezer. The texture lands between classic custard ice cream and a softer scoop from a good shop: creamy, ivory, and smooth enough that nobody’s asking what’s missing. The vanilla stays clean and present, and the coconut milk gives it body without turning the finish heavy.
What makes this version work is the balance. Full-fat coconut cream brings the richness you need for a proper scoop, while a little starch thickens the base just enough so it churns up plush instead of icy. Maple syrup or agave keeps the sweetness soft and lets the vanilla stay in front, and the coconut oil helps the base freeze with a less brittle texture. The trick is not rushing the chilling step. A cold base churns better, freezes more evenly, and gives you a smoother scoop.
Below you’ll find the exact heat level to use, the point where the base has thickened enough, and the small storage detail that keeps leftovers from turning into a hard block.
The base thickened just enough on the stove, and after chilling it churned into the creamiest vegan ice cream I’ve made. No icy bits, and the vanilla flavor was spot on.
Save this coconut milk vanilla ice cream for the nights when you want a dairy-free scoop that still tastes rich and custardy.
The Part That Keeps Vegan Ice Cream Creamy Instead of Icy
The difference between smooth vegan ice cream and a freezer brick usually comes down to the base before it ever hits the machine. Coconut milk has the fat you need, but it still benefits from a little starch and a short stovetop cook so the mixture tightens slightly. That small bit of thickening helps the churned ice cream hold onto air and freeze with a softer bite.
There’s another reason this method matters: cold fat emulsifies better. If you skip the cooling time, the mixture goes into the ice cream maker too warm, and the finished texture can turn loose at first and gritty later. A fully chilled base churns faster, freezes smoother, and keeps the vanilla flavor cleaner.
- Full-fat coconut milk — This is the backbone of the recipe. Light coconut milk won’t give you enough fat, and the ice cream will freeze harder and icier.
- Arrowroot or cornstarch — Either one works as the thickener. Arrowroot gives a slightly silkier finish, while cornstarch is the easier pantry swap. Whisk it into the cold base first so it doesn’t clump when the heat comes on.
- Maple syrup or agave — Liquid sweeteners help keep the texture scoopable. Granulated sugar works, but this base is smoother with syrup because it blends in without leaving tiny crystals behind.
- Coconut oil — This adds a little extra richness and helps the finished ice cream stay softer straight from the freezer. Skip it if you must, but the texture won’t be quite as plush.
What Each Ingredient Is Actually Doing in This Ice Cream
- Base ingredient (cream, milk, or custard) — This provides the foundation and richness. Quality matters.
- Sweetener (sugar, honey, or condensed milk) — This sweetens and prevents ice crystals. The ratio is critical.
- Flavor element (vanilla, fruit, chocolate, coffee, or other) — This defines the ice cream personality. Use quality ingredients.
- Egg yolks (if making custard base) — These create richness and silky texture. Optional but elevates ice cream.
- Churning (if using ice cream maker) — This incorporates air and prevents ice crystals. Critical for smooth texture.
- Freezing temperature and time — Proper freezing prevents rock-hard texture. Store at 0°F or below.
- Mix-ins (chocolate, cookies, fruit, or swirls) — These add texture and prevent one-dimensional flavor. Add near end of churning.
- Serving temperature (slightly soft, not rock hard) — This provides creamy mouthfeel. Remove from freezer 5 minutes before serving.
How to Build the Base So It Churns Smoothly
Combining the Cold Ingredients First
Scoop the solid coconut cream from the refrigerated cans and leave the watery part behind for another use. It should look thick and spoonable, not thin or sloshy. Whisk the coconut cream with the maple syrup, vanilla, starch, salt, and coconut oil until the mixture looks mostly uniform before it ever hits the burner. If the starch goes in unevenly, you’ll get little soft lumps that don’t fully disappear later.
Cooking Until It Just Starts to Thicken
Set the pan over medium heat and whisk constantly, scraping the bottom and corners where the starch wants to catch. After a few minutes, the base should go from loose and glossy to slightly thicker, almost like a thin custard that coats the whisk. Don’t cook it until it becomes pudding-thick or the texture will churn heavy and dense. The target is a small amount of body, not a full set.
Cooling Before the Machine Does the Work
Move the base to a clean container and let it cool completely before refrigerating it for at least 4 hours. Warm ice cream base in a machine churns unevenly and never gets the same fine texture. If you’re in a hurry, set the container in an ice bath for the first part of cooling, but still give it the full chill time in the fridge. The colder the base, the smoother the churn.
Churning and Freezing to Scoopable Stage
Churn according to your machine’s directions until the mixture looks thick, pale, and soft-serve in texture. At that point it should hold shape on a spoon but still look loose enough to spread. Transfer it to a freezer-safe container, press parchment onto the surface if you want to limit ice crystals, and freeze until scoopable. If you freeze it too long uncovered, the surface dries out first and the texture gets chalky.
What to Change When You Need a Different Version
Gluten-Free and Naturally Dairy-Free Already
This recipe is already gluten-free and dairy-free as written, so there’s nothing to replace. The important part is checking your vanilla extract and starch label if you’re cooking for someone with a serious allergy, since the ice cream itself relies on just a few ingredients.
Using Another Sweetener
Honey works only if you don’t need the recipe to stay vegan, and it brings a deeper flavor that leans less neutral than maple or agave. If you use granulated sugar instead, dissolve it fully in the warm base so the finished ice cream doesn’t turn sandy.
Adding Vanilla Bean for a More Classic Look
Scrape in the seeds from one vanilla bean along with the extract if you want those specks and a deeper vanilla aroma. The flavor will be a little more layered, but the extract still does the heavy lifting, so don’t skip it. This is the version I use when I want the ice cream to look as good as it tastes.
Storage and Reheating
- Refrigerator: Ice cream doesn’t store in the fridge; it melts. If you need to soften it, leave it at room temperature for 5 to 10 minutes instead of trying to warm it.
- Freezer: Store in a tight, freezer-safe container for up to 2 weeks for the best texture. After that, it still eats fine, but the edges can pick up ice crystals.
- Reheating: Not applicable. For the best scoop, let the container sit on the counter until the edges give slightly, then use a warm scoop or spoon to serve cleanly.
Answers to the Questions Worth Asking
Vegan Vanilla Ice Cream
Ingredients
Equipment
Method
- Scoop the solid coconut cream from the top of the refrigerated coconut milk cans, reserving the coconut water for another use.
- Combine the coconut cream, maple syrup, vanilla extract, arrowroot or cornstarch, salt, and coconut oil in a saucepan.
- Heat over medium heat and whisk constantly until the mixture thickens slightly, about 5 minutes.
- Stop heating and let the vanilla base cool completely.
- Refrigerate the cooled mixture for at least 4 hours to chill thoroughly.
- Churn in an ice cream maker until the mixture thickens into soft-serve texture.
- Transfer to a freezer container and freeze until scoopable.


