Cold, creamy coffee ice cream set against a dark Oreo crust makes this cake feel like the frozen dessert version of a great café mocha. The ganache on top brings a clean snap when you cut into it, and the whipped cream keeps each slice from tasting too heavy. It’s the kind of dessert that lands on the table looking polished, but it doesn’t ask for much more than good layering and enough freezer time.
The trick is in the order. The crust gets fully chilled before the ice cream goes in, which keeps the cookie base from turning greasy or crumbly. The ice cream also needs to be softened just enough to spread without tearing the crust underneath. Once the ganache goes on, the cake has to freeze again until it’s firm, or the clean layers blur together when you slice it.
Below you’ll find the easiest way to keep the layers neat, plus a few smart swaps if you want to change the chocolate level, the garnish, or the size of the cake for a crowd.
The Oreo crust stayed crisp even after freezing, and the coffee ice cream sliced cleanly once I let it sit for 8 minutes. The ganache layer made it taste like a coffeehouse dessert instead of just another ice cream cake.
Save this coffee ice cream cake for the nights when you want a frozen dessert with a bold espresso kick and a clean chocolate ganache finish.
The Part That Keeps the Crust Crisp Under Soft Ice Cream
The biggest mistake with ice cream cakes is rushing the base. If the crust isn’t pressed tightly and chilled before the filling goes in, the ice cream starts working into the crumbs and you lose that clean slice later. Butter helps the cookies hold together, but the freezer is what sets the structure.
Oreos bring their own fat and flavor, so there’s no need to overcomplicate the crust with extra sugar or salt. Crush them fine enough that the mixture packs like wet sand. If you leave larger bits, the base can fracture when you cut through it. A springform pan matters here because it lets the cake release without prying at the edges.
What Each Layer Is Actually Doing in This Cake
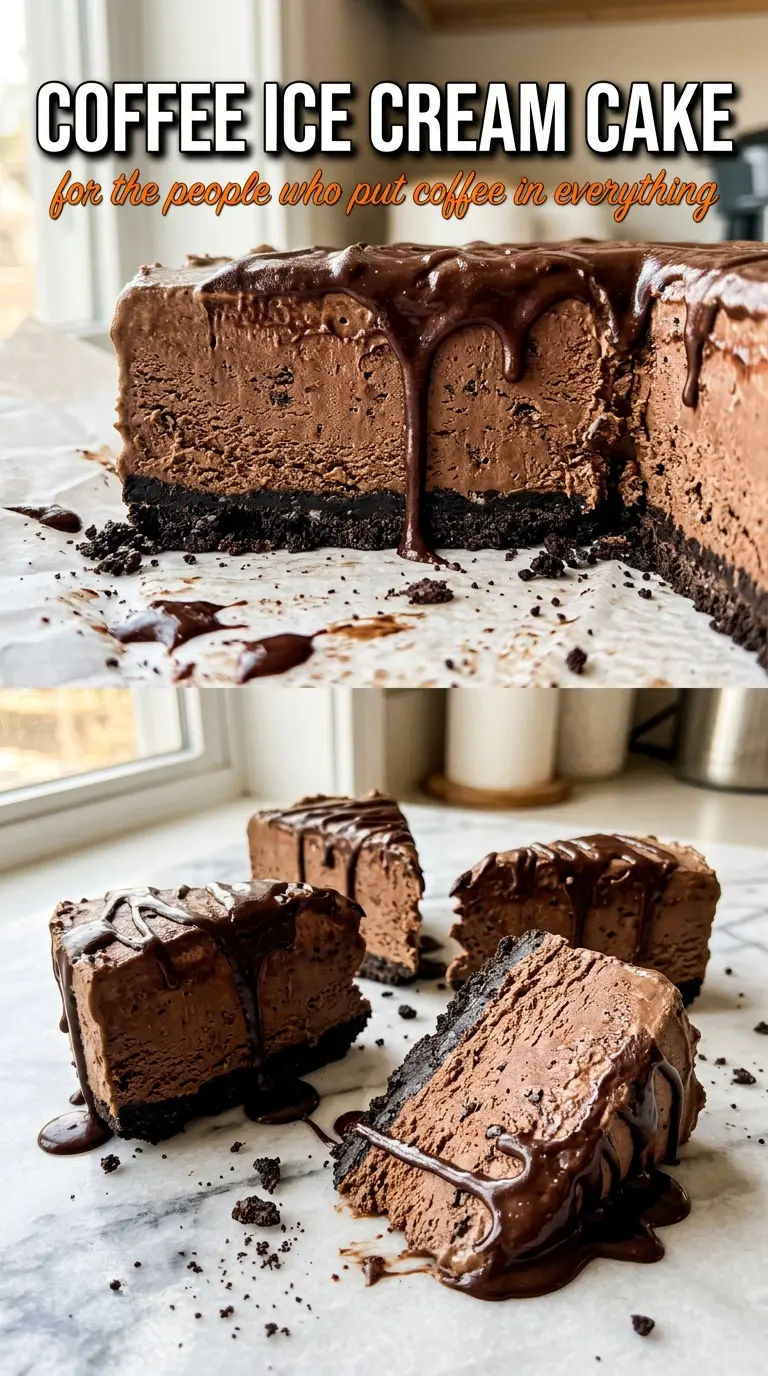
- Oreo cookies — These form the crust and bring the chocolate backbone that coffee ice cream needs. You don’t need to scrape out the filling; it helps bind the crumbs and adds just enough sweetness.
- Butter — This is what turns the cookie crumbs into a sliceable base instead of a loose layer. Melt it fully, then mix until every crumb looks evenly coated.
- Coffee ice cream — Use a brand with a real coffee flavor, not just a whisper of caffeine. Softer ice cream spreads smoothly; if it’s rock hard, it drags the crust and leaves gaps.
- Dark chocolate ganache — This gives the cake a firm top and a more grown-up coffeehouse finish. It should be pourable, not hot, or it can melt the ice cream underneath.
- Whipped cream — Pipe it after the ganache firms up so the swirls stay defined. Store-bought works fine if it holds shape, but homemade gives a fresher finish.
- Chocolate-covered espresso beans — These are for crunch and a little extra coffee punch. Add them last so they stay crisp and don’t sink into the cream.
How to Layer It So the Slices Come Out Clean
Pressing the Crust
Mix the crushed Oreos with the melted butter until the mixture looks evenly damp, then press it firmly into the springform pan. Use the bottom of a measuring cup to pack it tight all the way to the edges. Freeze it for 15 minutes before adding anything else. If the crust feels loose now, it will crumble later when you cut the first slice.
Spreading the Coffee Ice Cream
Let the ice cream soften on the counter just until it gives easily when stirred. It should be spreadable, not soupy. Spoon it over the chilled crust and smooth it into an even layer with an offset spatula. If it starts melting around the edges, stop and put the pan back in the freezer for a few minutes before finishing.
Adding the Ganache and Freezing Again
Pour the ganache over the frozen ice cream layer and tilt the pan so it covers the top in a thin, even sheet. The ice cream needs to be firm before this step, or the ganache will sink and leave muddy streaks instead of a clean crown. Freeze again until the top is set, then pipe on the whipped cream and finish with espresso beans and cocoa. Give the whole cake one last freeze so the decoration holds when you move it.
How to Change the Cake Without Losing the Structure
Mocha Version
Swap in chocolate ice cream for half of the coffee ice cream if you want a softer mocha note. The result is less sharp and more dessert-like, but you’ll still keep the coffee edge from the crust and garnish.
Dairy-Free Version
Use dairy-free coffee ice cream, plant-based butter for the crust, and a coconut-based whipped topping. The texture will be a little softer once sliced, so give it extra freeze time before serving.
Less-Sweet Finish
Use a darker ganache and keep the whipped cream layer thin. That shifts the balance toward coffee and cocoa instead of leaning on sweetness, which works especially well if your ice cream is already rich.
Storage and Reheating
- Refrigerator: Don’t store this in the refrigerator; it will melt and collapse.
- Freezer: Keep it covered in the pan or well wrapped for up to 1 week. The crust stays best in the first few days, before the ice cream starts picking up freezer odor.
- Reheating: No reheating needed. Let the cake sit at room temperature for 8 to 12 minutes before slicing so the knife glides through the ganache instead of cracking it.
Answers to the Questions Worth Asking
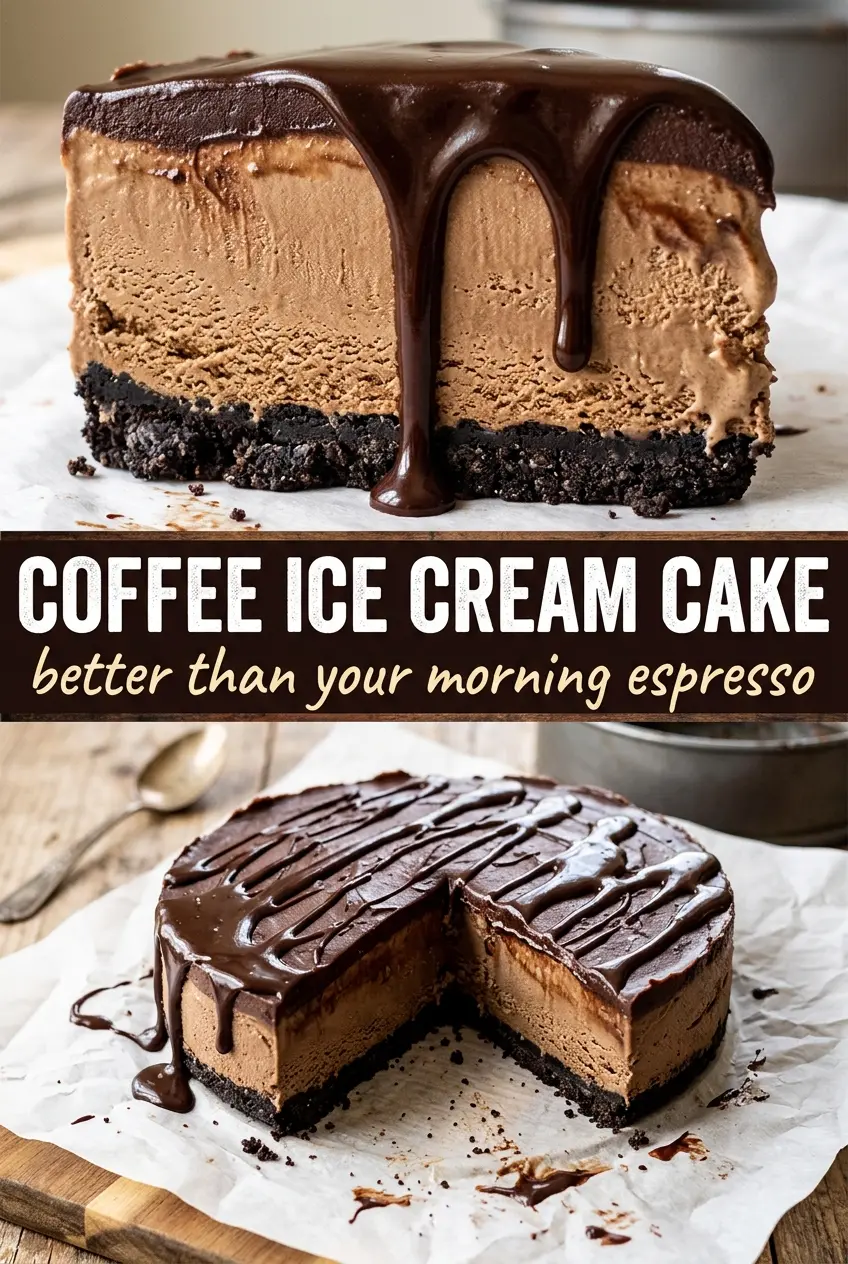
Coffee Ice Cream Cake
Ingredients
Equipment
Method
- Combine crushed Oreos and melted butter, then press firmly into a 9-inch springform pan. Freeze 15 minutes until set and dry to the touch.
- Spread the softened coffee ice cream over the frozen crust in an even layer, smoothing the top. Freeze 4 hours until fully firm.
- Pour dark chocolate ganache over the top and tilt the pan to cover evenly. Freeze 1 hour until the ganache is firm and no longer wobbly.
- Pipe whipped cream decoratively on top of the firm ganache. Scatter chocolate-covered espresso beans over the whipped cream, then dust lightly with cocoa powder.
- Freeze 1 more hour before serving to ensure clean slices.


