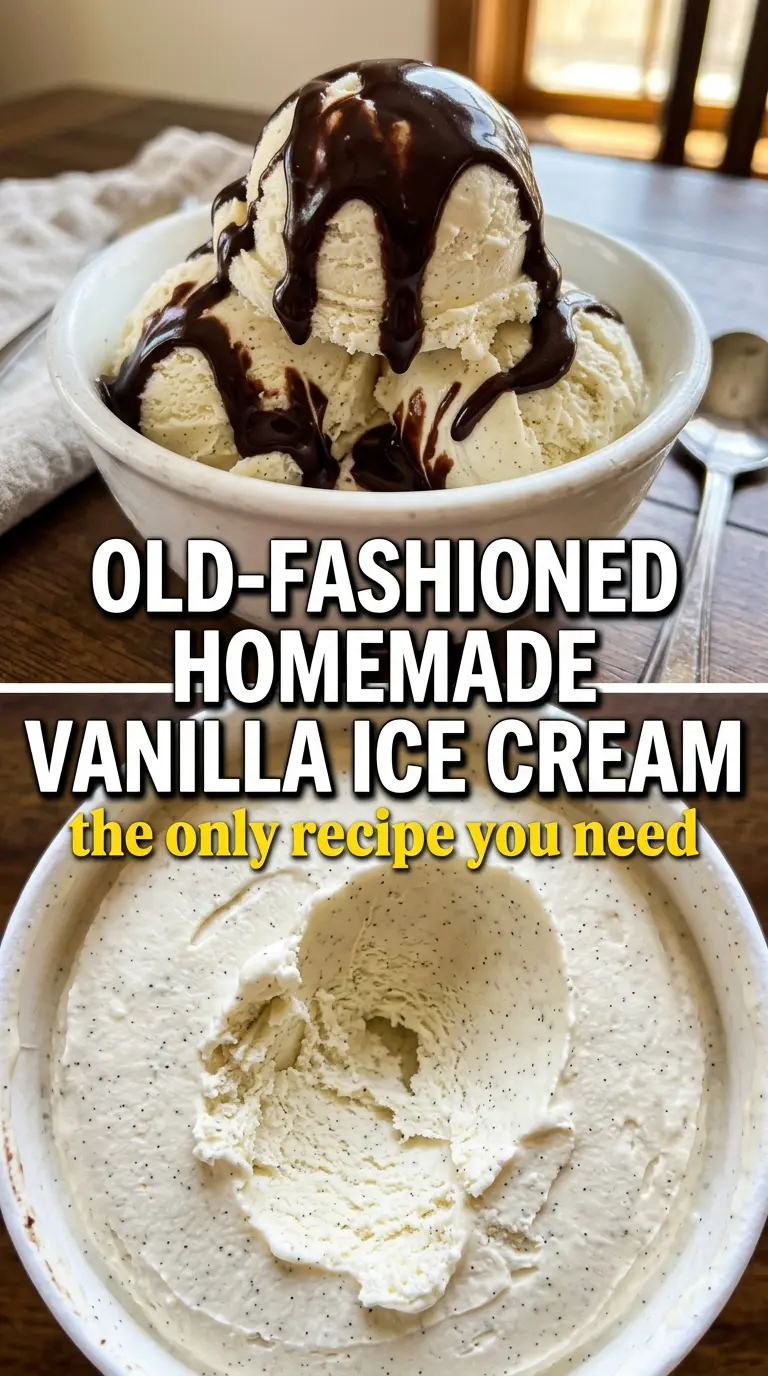
Pale, custardy vanilla ice cream has a way of making store-bought pints feel thin and one-note. This version turns out dense and smooth with that classic old-fashioned richness you only get from egg yolks, real cream, and a proper custard base. The vanilla bean gives it that warm, floral depth, and the churned texture stays scoopable instead of icy.
The difference here is in the custard. Egg yolks are what give the ice cream body, but they also need gentle heat and steady stirring so they thicken without turning grainy. I also like steeping the vanilla in the dairy before the yolks go in; that extra step pulls more flavor into the base and makes the finished ice cream taste fuller, not just sweeter.
Below, I’ve included the little details that matter most: how to keep the custard from scrambling, when the base is cold enough to churn, and what to change if you’re using extract instead of a vanilla bean.
The custard thickened exactly when you said it would, and the vanilla bean specks made it taste like something from a little ice cream shop. It scooped beautifully after freezing overnight.
Save this old-fashioned vanilla ice cream for the nights when you want a custard-rich scoop with real vanilla bean flavor.
The Part That Keeps Custard Ice Cream Smooth Instead of Grainy
Old-fashioned ice cream lives or dies by temperature control. If the cream mixture is too hot when it hits the yolks, you get little egg bits instead of a silky custard. If you cook it too fast on the stove, the base will thicken unevenly and taste cooked instead of clean and creamy.
The fix is simple: warm the dairy, temper the yolks slowly, then return everything to low heat and keep stirring until the custard lightly coats the spoon. That 175F target matters because it’s hot enough to thicken the base but still gentle enough to keep the eggs smooth. Straining at the end catches any tiny bits before they ever make it into the churn.
What the Ingredients Are Doing in This Vanilla Custard
- Heavy cream — This gives the ice cream its rich body and helps keep the final texture plush. You can’t fully replace it with lower-fat dairy and expect the same scoopable, custardy result.
- Whole milk — Milk balances the cream so the base doesn’t turn greasy or overly heavy. I wouldn’t swap in skim milk here; the ice cream will freeze harder and taste flatter.
- Egg yolks — Yolks are what make this an old-fashioned custard ice cream instead of a simple churned base. They thicken the mixture and add that deep, silky mouthfeel that stays on the spoon.
- Vanilla bean or pure vanilla extract — A split bean gives the best flavor and those visible specks people notice right away. If you use extract, stir it in after the custard comes off the heat so the flavor doesn’t cook off.
- Sugar — Sugar does more than sweeten; it keeps the ice cream from freezing into a brick. Don’t reduce it much or the texture gets harder and icier.
- Salt — The salt keeps the vanilla from tasting hollow and makes the custard taste more complete. You only need a little, but you’d miss it if it were gone.
How to Build the Base So It Churns Creamy, Not Icy
Steeping the Vanilla in the Dairy
Split the vanilla bean, scrape out the seeds, and add both the seeds and pod to the cream and milk before heating. Bring the mixture to steaming, just barely at the edge of a simmer, then take it off the heat and let it steep for 15 minutes. That pause matters because it pulls more vanilla flavor into the dairy without boiling away the aromatics. If you’re using extract instead, skip the steep and add it after the custard is cooked.
Tempering the Yolks
Whisk the yolks and sugar until the mixture looks pale and thick, then stream in the warm dairy while whisking constantly. Don’t pour it all in at once or the eggs can scramble on contact. This step warms the yolks gradually, which protects the custard texture and keeps the base smooth.
Cooking the Custard
Return everything to the saucepan and cook over medium-low heat, stirring constantly with a spatula or wooden spoon. You’re looking for the point where the custard coats the back of the spoon and leaves a clear line when you run your finger through it. If it starts to steam heavily or bubble, the heat’s too high and the eggs are in danger. Pull it off the burner as soon as it reaches 175F.
Straining, Chilling, and Churning
Pour the custard through a fine-mesh sieve, stir in the salt, then cool it over an ice bath before refrigerating. The base needs to be fully cold before it hits the ice cream maker or it won’t churn up thick and smooth. Four hours is the minimum, but overnight gives the best texture and the cleanest vanilla flavor. After churning, freeze it until firm enough to scoop.
How to Adapt This Ice Cream for a Different Pantry or a Bigger Batch
Use vanilla extract instead of a vanilla bean
Stir in 2 teaspoons of pure vanilla extract after the custard comes off the heat. You’ll lose the tiny specks and some of the layered depth from the bean, but the flavor will still be clean and classic.
Make it dairy-free with full-fat coconut milk
You can swap in canned coconut milk for the cream and milk, but the result will taste like coconut as well as vanilla. It will still freeze well, though the texture will be a little less rich and more scoop-firm than the original custard.
For a softer, faster-scooping finish
Let the finished ice cream sit at room temperature for 5 to 10 minutes before scooping. That short rest softens the edges without melting the center, which is especially helpful if your freezer runs cold.
Storage and Reheating
- Refrigerator: The churned base should be used within 1 day once frozen in the churn bowl, but the uncooked custard base can be kept refrigerated for up to 2 days before churning.
- Freezer: Store tightly covered for up to 2 weeks for the best texture. It stays safe longer, but the flavor and scoopability start to fade as ice crystals build.
- Reheating: There’s no reheating here; let it stand at room temperature for a few minutes before scooping. If it’s rock hard, the problem is usually overfreezing or too little sugar in the base.
Answers to the Questions Worth Asking

Old-Fashioned Homemade Vanilla Ice Cream
Ingredients
Equipment
Method
- Split the vanilla bean and scrape the seeds; add the pod and seeds to the heavy cream and whole milk in a saucepan.
- Heat over medium heat until steaming and just beginning to simmer, then remove from heat and steep for 15 minutes.
- Remove the vanilla pod from the cream mixture and discard it.
- Whisk the egg yolks and granulated sugar together until pale and thick.
- Slowly pour the warm cream into the yolks while whisking constantly.
- Return the custard to the saucepan and cook over medium-low heat, stirring constantly, until thickened to coat the back of a spoon (175F).
- Strain the custard through a fine mesh sieve, then stir in the salt.
- Cool the custard over an ice bath until no longer hot.
- Refrigerate at least 4 hours or overnight, then churn in an ice cream maker and freeze until firm.


