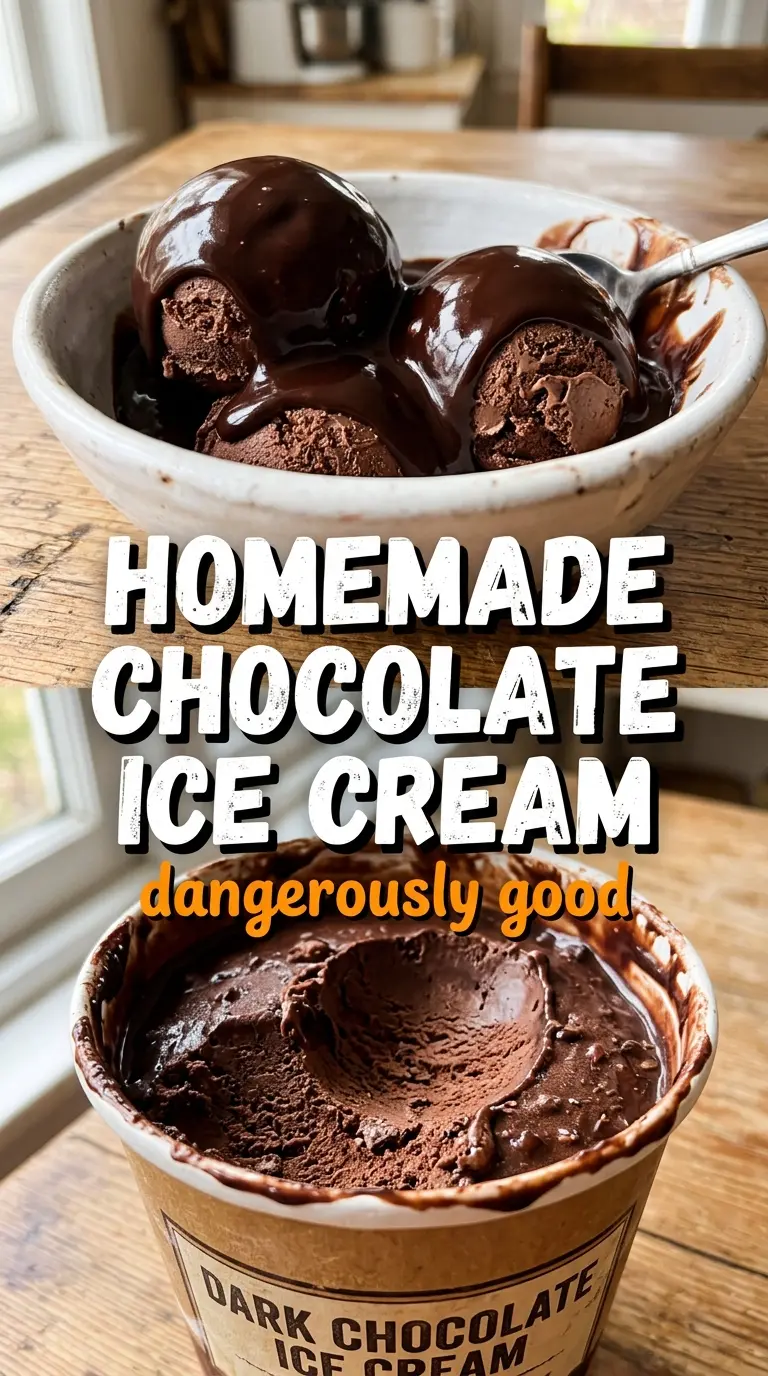
Deep, fudgy chocolate ice cream earns its place because it tastes like the center of a rich truffle and scoops with a velvety body that store-bought pints rarely manage. The cocoa gives it that dark, almost grown-up intensity, while the chopped chocolate pushes the flavor past plain chocolate custard into something fuller and more satisfying. It’s the kind of ice cream that disappears from the freezer one spoonful at a time.
The texture comes from handling the custard with care. Blooming the cocoa in the warm dairy wakes up the flavor before the eggs go in, and the chopped dark chocolate melts into the base for extra depth without making it overly sweet. The custard also needs to reach the right point on the stove — thick enough to coat a spoon, but not so hot that the yolks scramble. That balance is what gives you a smooth churn and a dense finish after freezing.
Below you’ll find the exact cues I watch for when the custard is ready, plus a few useful swaps if you need to work around what’s in your kitchen.
The custard thickened exactly when the recipe said it would, and after overnight chilling the ice cream churned into the darkest, smoothest chocolate I’ve made at home. My husband kept sneaking spoonfuls straight from the freezer.
Save this homemade chocolate ice cream for the nights when you want a dense, dark scoop with real custard body and a deep cocoa finish.
The Part That Keeps Chocolate Ice Cream From Tasting Flat
Chocolate ice cream can look dramatic and still taste thin if the cocoa isn’t handled with enough care. The mistake is treating cocoa like it will dissolve and bloom on its own in cold dairy. It won’t. Whisking it with part of the sugar before it hits the warm cream helps break up stubborn clumps, and heating it until the mixture steams gives the cocoa enough time to open up fully. That’s where the dark, rounded flavor starts.
The other thing people miss is that this base needs both cocoa and chopped chocolate. Cocoa brings intensity; melted chocolate brings body and a deeper finish. If you skip the chocolate and lean only on cocoa, the ice cream can taste one-note after freezing because cold mutes flavor. The yolks also matter here. They give the custard enough richness to stay scoopable instead of icy.
What Each Ingredient Is Actually Doing In This Custard
- Heavy cream — This is where the lush texture comes from. You need the fat for that dense, slow-melting scoop, and there isn’t a true substitute that gives the same result.
- Whole milk — It keeps the base from becoming too heavy. Lower-fat milk will work in a pinch, but the ice cream will freeze firmer and lose some of the plush texture.
- Unsweetened cocoa powder — This is the backbone of the chocolate flavor. Use a good-quality cocoa if you can, because it’s the ingredient that gives the ice cream its dark color and deep base note.
- Dark chocolate — Finely chopped chocolate melts into the custard and adds body that cocoa alone can’t provide. A bar with around 60 to 72 percent cacao is the sweet spot; much darker can turn bitter, much sweeter flattens the result.
- Egg yolks — They thicken the custard and make the finished ice cream feel creamy instead of icy. Temper them slowly and cook gently, or you’ll get scrambled bits instead of a smooth base.
- Vanilla and salt — Neither makes this taste like vanilla ice cream. They round out the chocolate and keep it from tasting dull.
Building the Custard Without Scrambling the Yolks
Bloom the Cocoa in the Warm Dairy
Start by whisking the cocoa powder with part of the sugar, then add it to the cream and milk in a saucepan. Heat it over medium while whisking until it steams and the cocoa disappears into the dairy. If you rush this part, you’ll taste dusty cocoa later instead of full chocolate. The mixture should smell rich and a little toasted, not just sweet.
Melt in the Dark Chocolate
Once the base is hot, add the chopped chocolate and whisk until it melts completely. The surface should go glossy and smooth, with no little dark flecks left behind. If the chocolate won’t melt, the heat is too low; if the mixture looks grainy or starts to separate, the pan got too hot and needs a minute off the burner while you whisk it back together.
Temper the Yolks Slowly
Whisk the yolks with the remaining sugar until they look pale and slightly thickened. Then drizzle the hot chocolate base in slowly while whisking constantly. That gradual addition raises the yolks’ temperature without cooking them into lumps. If you dump the hot liquid in all at once, you’ll curdle the eggs before the custard ever hits the stove again.
Cook Until It Coats a Spoon
Return everything to the saucepan and cook over medium-low, stirring constantly, until the custard reaches 175°F and coats the back of a spoon. Draw a finger through the coating; the line should hold. Pull it early and the ice cream can freeze with a weak, thin body. Push it too far and the eggs thicken too much, which can give you a grainy texture after churning.
Strain, Chill, and Churn
Strain the custard through a fine mesh sieve, then stir in the vanilla and salt. Chill it over an ice bath before refrigerating, because hot custard sitting around too long can develop a cooked egg taste. The base needs to be fully cold before it goes into the ice cream maker, or it won’t churn into a fine, creamy texture. After churning, freeze it until firm enough to scoop cleanly.
Ways to Change the Base Without Ruining the Texture
Dairy-Free Version With Coconut Cream
Swap the heavy cream and whole milk for full-fat canned coconut milk and coconut cream. The ice cream will still be rich and scoopable, but it will carry a light coconut note, especially while it’s cold. Use a neutral dark chocolate so the coconut doesn’t get buried under extra sweetness.
Egg-Free Chocolate Ice Cream
For a lighter, less custard-like base, skip the yolks and make a Philadelphia-style version by heating the dairy with cocoa and chocolate, then chilling and churning it. The result is less dense and a little icier, but the chocolate flavor comes through cleanly. This works best if you plan to serve it within a day or two of freezing.
Lower-Sugar Chocolate Ice Cream
You can reduce the sugar a little, but don’t cut it aggressively or the texture will freeze hard and the chocolate will taste sharper. Sugar helps keep the base scoopable. If you want it less sweet, use a darker chocolate rather than slashing the sugar all the way back.
Extra-Bittersweet Finish
Add a tablespoon of espresso powder with the cocoa if you want a deeper chocolate edge without turning it into coffee ice cream. It doesn’t make the dessert taste like espresso; it just sharpens the chocolate and makes the color even darker.
Storage and Reheating
- Refrigerator: The churned base isn’t meant for the fridge once frozen, but the uncultured custard can be chilled for up to 24 hours before churning. Keep it covered so it doesn’t pick up any fridge odors.
- Freezer: Store the finished ice cream in an airtight container for up to 2 weeks for the best texture. Press a piece of parchment or plastic wrap directly against the surface if you want to prevent ice crystals.
- Reheating: Ice cream doesn’t reheat, but it does need a short rest before scooping. Let it sit at room temperature for 5 to 10 minutes so the edges soften; if you try to force a scoop straight from a rock-hard freezer, the texture will seem icy even when the ice cream itself is fine.
Questions I Get Asked About This Recipe
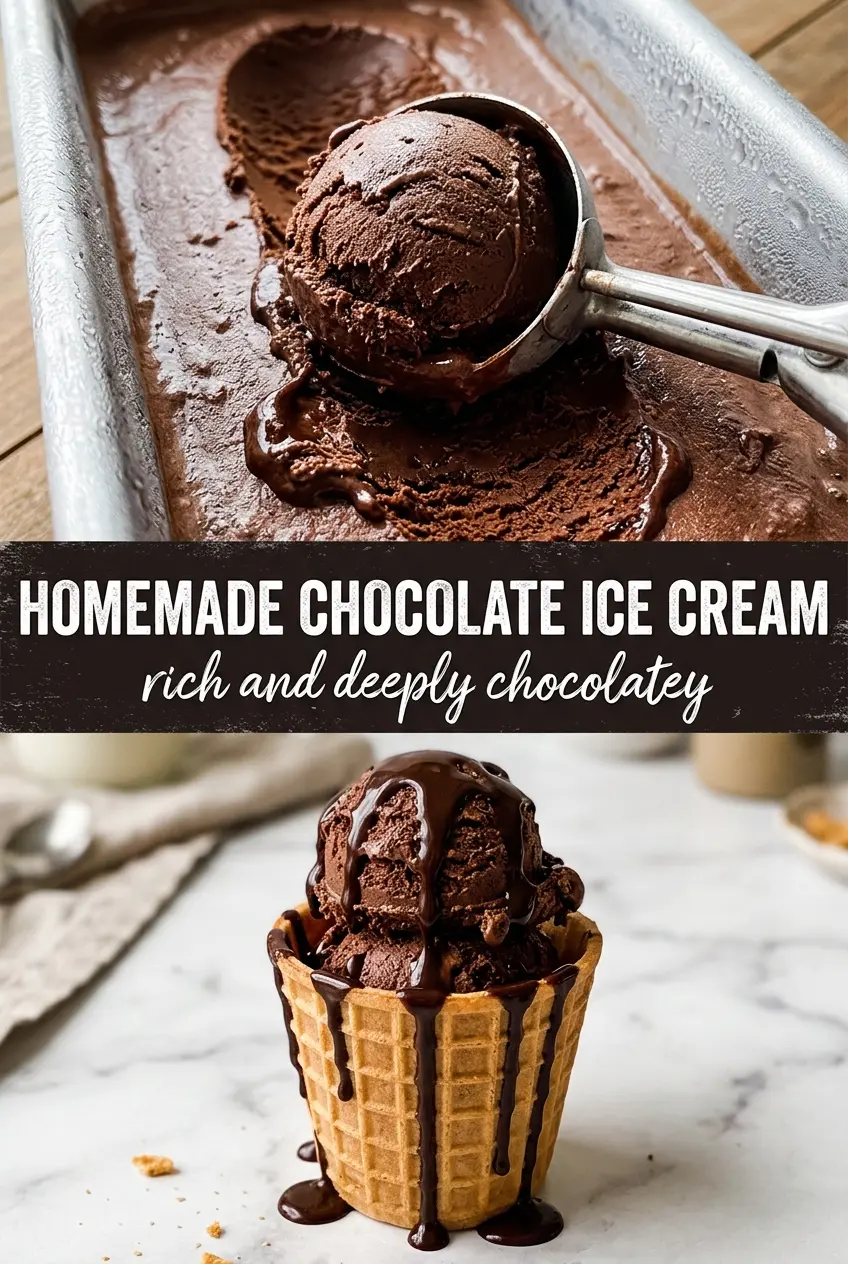
Homemade Chocolate Ice Cream
Ingredients
Equipment
Method
- Whisk unsweetened cocoa powder with 1/4 cup granulated sugar, then add heavy cream and whole milk to a saucepan and heat over medium, whisking, until steaming (about 3–5 minutes).
- Add finely chopped dark chocolate and whisk until fully melted and smooth (about 1–2 minutes).
- Whisk egg yolks with the remaining 1/2 cup granulated sugar until pale and slightly thick (about 2–3 minutes).
- Slowly whisk the hot chocolate cream into the egg yolks to temper, then return everything to the saucepan.
- Cook over medium-low heat, stirring constantly, until the custard coats the back of a spoon and reaches 175F (about 8–10 minutes).
- Strain through a fine mesh sieve into a container, then stir in vanilla extract and salt.
- Cool completely over an ice bath, stirring occasionally to keep the surface from forming a skin (about 15–20 minutes).
- Refrigerate at least 4 hours or overnight, covered, until very cold.
- Churn in an ice cream maker according to manufacturer directions, then freeze until firm.


