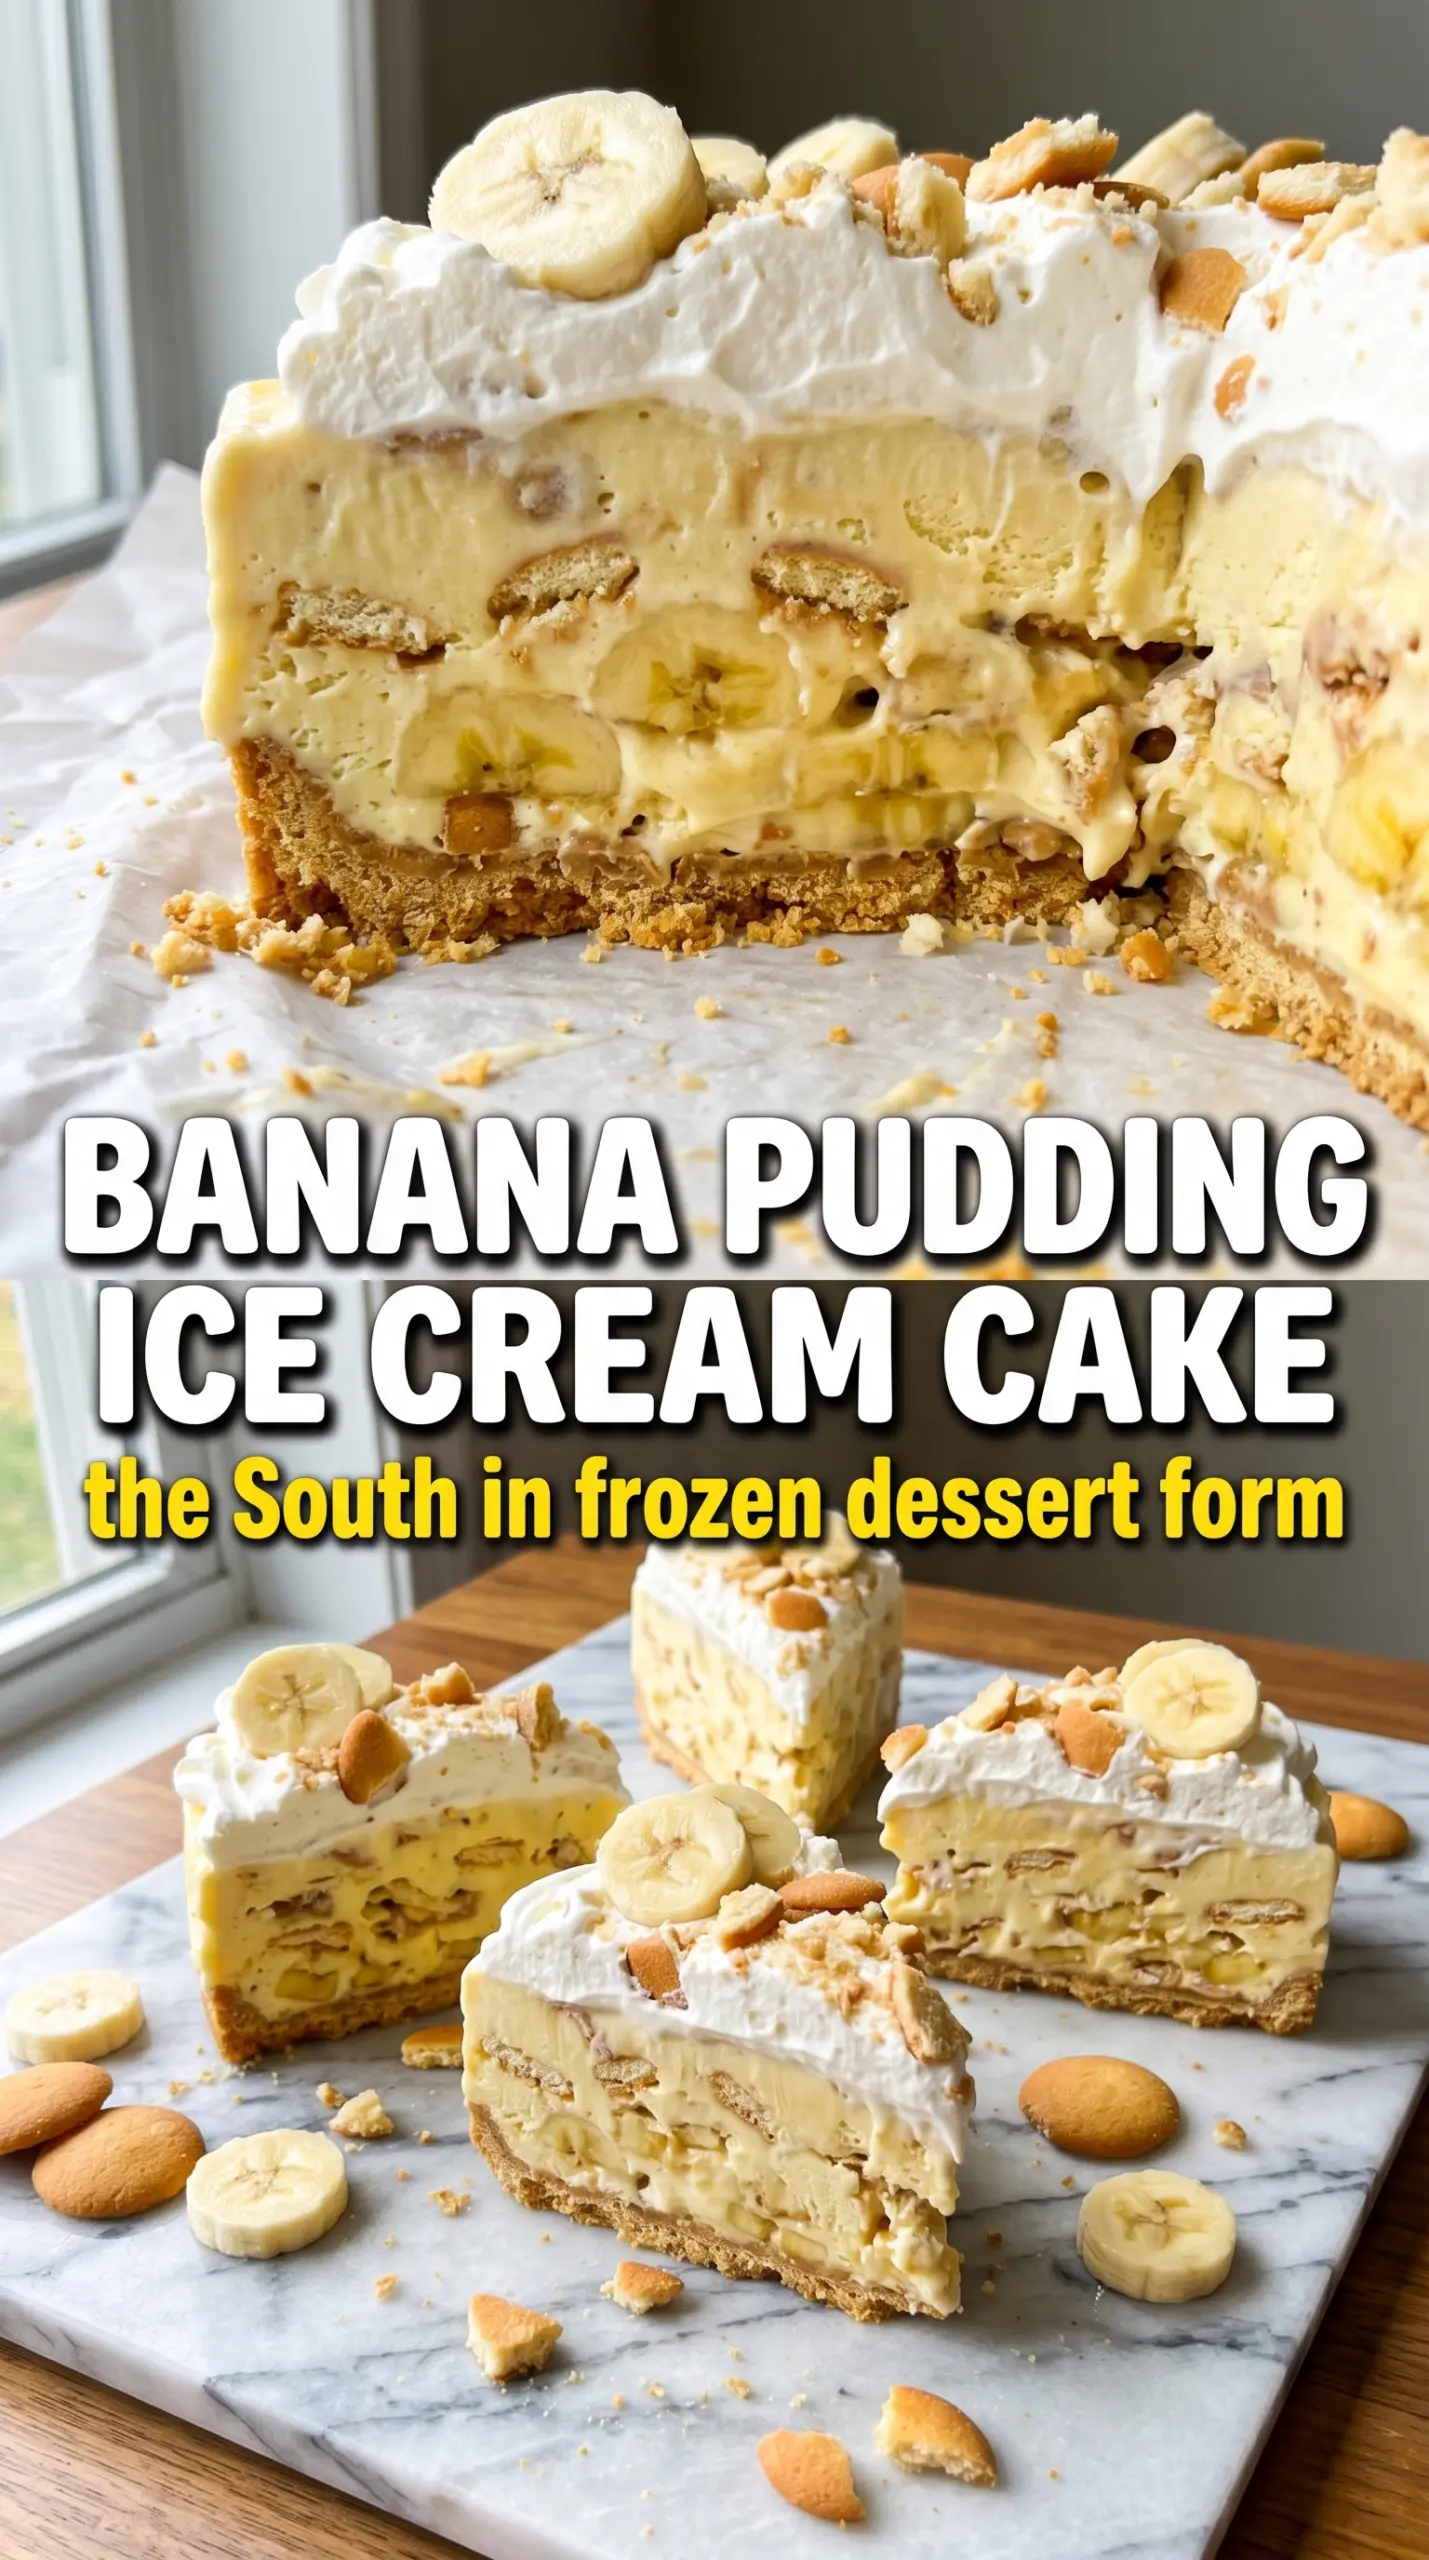
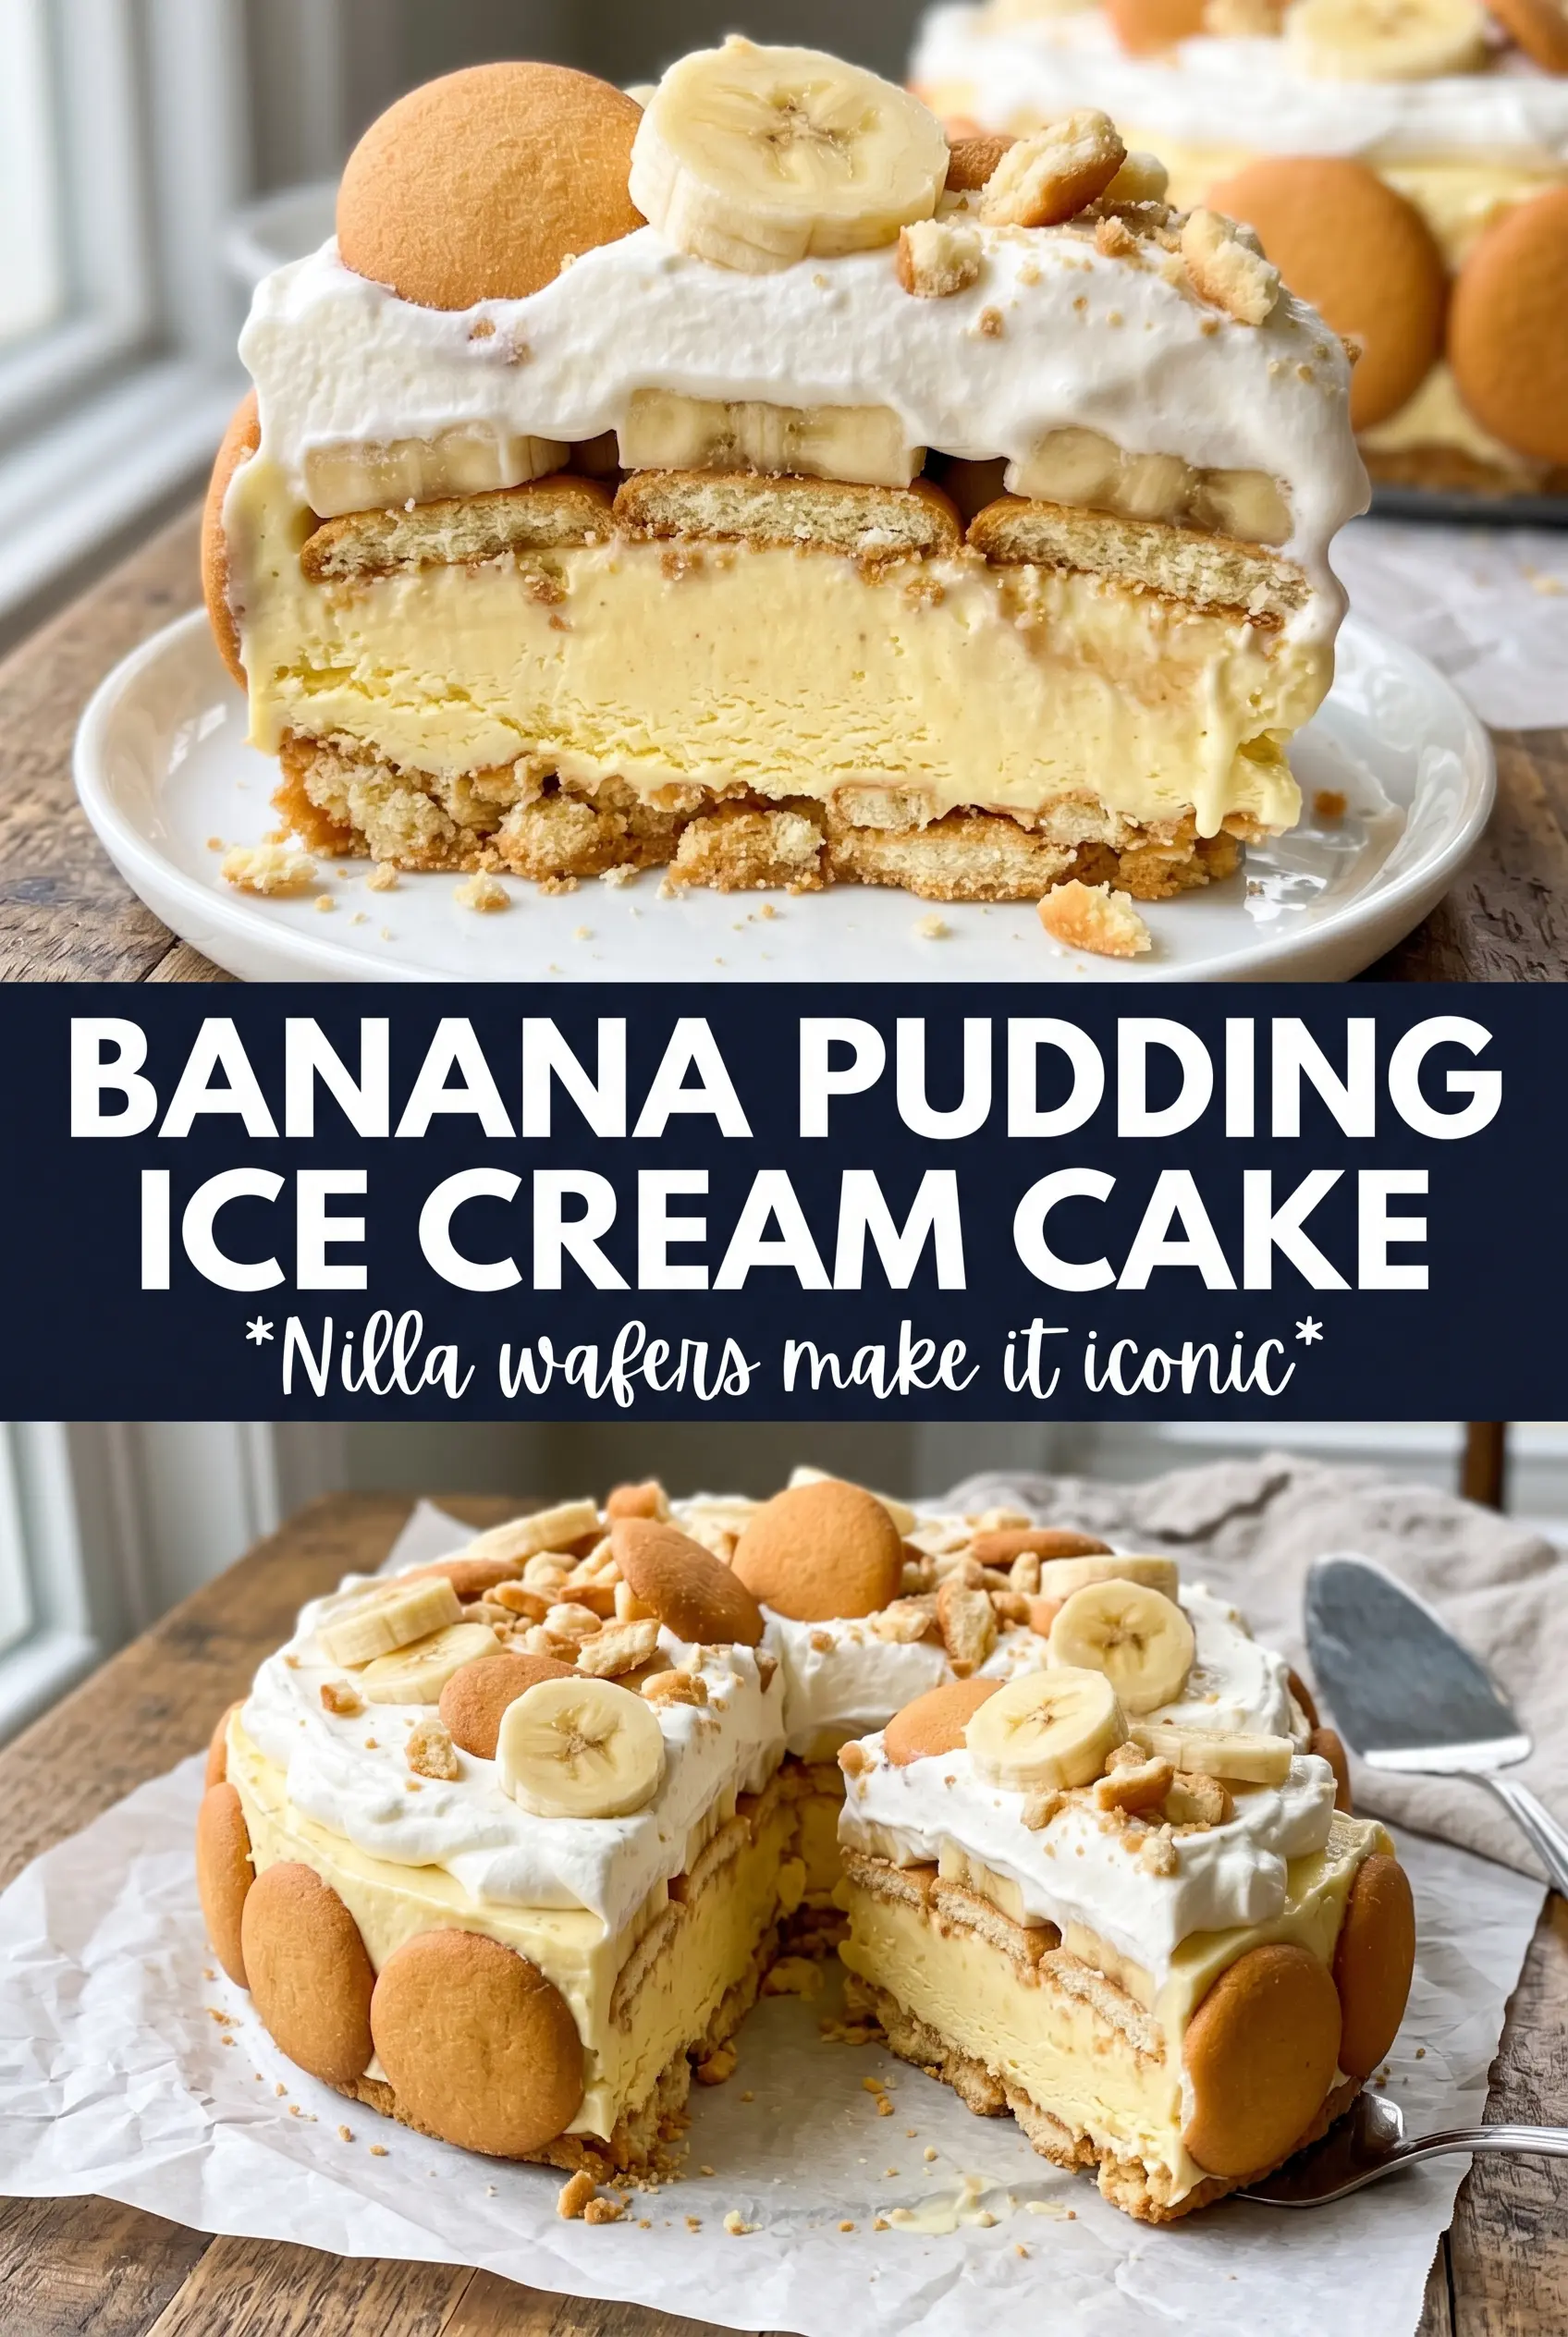
Banana pudding ice cream cake lands somewhere between nostalgic and showstopping: a crunchy Nilla wafer crust, cold banana ice cream, soft pudding, and a whipped topping finish that slices cleanly once it has had time to firm up. The texture is the whole point. You get creamy, cold layers with just enough cookie structure to keep each bite from turning mushy.
The trick is treating each layer like it needs its own moment. The crust freezes first so it stays intact under the ice cream, the bananas go in between the ice cream and pudding so they soften into the filling instead of turning black on top, and the whole cake needs a long freeze so the layers hold when you cut it. Skip the hurry and this dessert rewards you with neat squares and big banana pudding flavor.
Below, I’ve included the one step that keeps the crust from crumbling, plus the small timing details that matter when you’re building a frozen dessert with fresh fruit. If you’ve ever had a layered ice cream cake slide into a mess on the first slice, this version is built to avoid that.
The crust set up beautifully and the banana layers stayed distinct after freezing. I let it sit out 10 minutes before slicing and it came out in clean squares instead of a slushy mess.
Love the layers of banana pudding ice cream cake? Save this frozen Nilla wafer dessert for the next time you want an easy make-ahead cake that slices beautifully.
The Part That Keeps Frozen Banana Layers From Sliding Apart
The biggest mistake with a dessert like this is building it like a soft pudding pie and expecting it to cut like a cake. It won’t. The crust has to be frozen before the ice cream goes on, and the ice cream layer needs to be spread evenly while it is still soft enough to move without tearing the crust underneath.
The other thing worth respecting is the banana layer. Fresh bananas are sweet, but they also soften fast and can make the middle slippery if the pudding is too loose. A thicker instant pudding sets up better here than a homemade stovetop pudding would, and that firmer texture is what helps the whole cake stay stacked once it’s frozen.
- Nilla wafers — These bring the right vanilla-cookie flavor and a crumb that packs down into a crust instead of turning sandy. If you swap them, use another crisp vanilla wafer-style cookie, not something soft or chewy.
- Butter — This is what binds the crust so it slices instead of crumbling. Salted butter works in a pinch, but unsalted gives you a cleaner vanilla taste.
- Banana or vanilla ice cream — Banana ice cream pushes the dessert toward true banana pudding flavor, while vanilla keeps it classic and a little lighter. Let it soften on the counter just until spreadable; melted ice cream will seep into the crust.
- Instant banana pudding — Instant pudding sets firmly enough for freezer layers. Cook-and-serve pudding won’t hold the same shape after freezing, so skip it here.
- Whipped topping — It spreads smoothly and freezes with a lighter texture than fresh whipped cream. If you want to use homemade whipped cream, stabilize it first or it may weep after a day in the freezer.
- Fresh bananas — Use ripe bananas with plenty of yellow and a few speckles. Green bananas taste flat, and overly soft bananas can turn mushy between the layers.
What Each Ingredient Is Actually Doing in This Ice Cream Cake
- Base layer (cookies, cake, or graham cracker) — This provides structure and stability. Crushed and mixed with butter creates a firm foundation.
- Ice cream (the main star) — Use quality ice cream or make homemade. Softness matters for layering.
- Sauce or topping between layers (fudge, caramel, or fruit) — This adds moisture, flavor, and prevents dryness. Don’t skip this layer.
- Frosting or whipped cream (optional outer layer) — This prevents freezer burn and adds creaminess. Stabilized whipped cream works best.
- Freezing time (at least 4-6 hours) — This sets the layers so cake slices cleanly. Longer freezing prevents melting during serving.
- Room temperature before serving (5-10 minutes) — This softens the cake slightly for better texture. Serve immediately after thawing.
- Toppings (chocolate, nuts, cookies, or sprinkles) — These add visual appeal and texture. Add right before serving.
- Storage (in freezer at 0°F or below) — This prevents ice crystal formation and maintains quality. Cover with plastic wrap.
Building the Layers So the Cake Slices Cleanly
Pressing and Freezing the Crust
Crush the wafers finely enough that the butter can hold them together, then press the mixture firmly into the pan with the bottom of a measuring cup. The crust should look compact and even, not loose or dusty. Freeze it for the full 15 minutes so the ice cream doesn’t immediately melt into it. If the crust is still soft, the first layer will sink and the slices will fall apart later.
Spreading the Ice Cream Without Tearing the Base
Spoon the softened ice cream over the cold crust and work from the center outward with an offset spatula or the back of a spoon. The goal is an even layer with no deep tracks gouged into the crust. If the ice cream is too hard, it will rip the crust; if it’s too melted, it will puddle at the edges. Softened means pliable, not slushy.
Layering the Bananas and Pudding
Lay the banana slices over the ice cream in a single layer, then spread the prepared pudding gently over the top. Don’t stir the bananas into the pudding. Keeping them in a distinct layer gives you cleaner slices and better banana flavor in each bite. Once the pudding is on, the cake should already look sturdy enough to finish with the whipped topping.
Finishing the Top and Freezing Fully
Spread the whipped topping all the way to the edges, then decorate with the remaining wafers and banana slices. I like to press a few wafers into the top and sides so the cake looks finished even after slicing. Freeze it for at least 6 hours, and longer is better if you want sharp edges. Let it sit at room temperature for 8 to 10 minutes before cutting so the knife can glide through the frozen layers.
Three Ways to Make This Cake Fit Your Kitchen
Use vanilla ice cream for a milder banana flavor
Vanilla ice cream keeps the dessert closer to classic banana pudding and lets the fresh bananas and pudding lead. Banana ice cream makes the whole cake taste bolder and more banana-forward, but it can also read sweeter, so choose based on how intense you want the banana flavor to be.
Swap the whipped topping for stabilized whipped cream
If you’d rather avoid whipped topping, use stabilized whipped cream so the top holds its shape after freezing. Plain whipped cream looks lovely on day one but can soften and weep once the cake sits in the freezer for a while.
Make it gluten-free with a GF vanilla cookie crust
A gluten-free vanilla wafer-style cookie works well here as long as it crushes into a fine crumb and still binds with butter. The texture will be a little different, but the frozen layers and banana pudding filling carry the dessert the same way.
Build it in a trifle bowl instead of a pan
For a more dramatic look, layer everything in a deep glass bowl and chill it until firm enough to scoop. You won’t get the same clean cake slices, but you’ll get prettier stripes and an easier serving style for a crowd.
Storage and Reheating
- Refrigerator: This cake isn’t a refrigerator dessert; it softens fast and loses its structure. Keep it frozen until serving time.
- Freezer: It keeps well for up to 1 week when wrapped tightly. After that, the bananas start to lose their fresh flavor and the wafers can pick up freezer smell.
- Reheating: No reheating needed. For the cleanest slices, let the cake stand at room temperature for 8 to 10 minutes, then cut with a sharp knife dipped in warm water and wiped dry between slices.
Answers to the Questions Worth Asking
Banana Pudding Ice Cream Cake
Ingredients
Equipment
Method
- Crush 40 Nilla wafers and combine with melted butter, then press into the bottom of a 9x13 pan. Freeze for 15 minutes, until the crust feels set.
- Spread softened ice cream over the crust in an even layer. Press lightly so the layer is smooth and level.
- Layer sliced bananas over the ice cream. Arrange in a single even layer for consistent bites.
- Spread the prepared banana pudding over the banana slices. Smooth the surface so it reaches the edges.
- Top with whipped topping and smooth it into an even layer. Make the top flat for neat slices.
- Decorate with remaining Nilla wafers and fresh banana slices. Gently press toppings into the whipped layer to help them adhere.
- Freeze at least 6 hours before serving. Slice with a sharp knife for clean layers.


