Vanilla ice cream, hot fudge, and salty peanuts land together here in the kind of slice that disappears fast at a party. The Oreo crust gives it the same dark, chocolatey base you expect from a Buster Bar, while the fudge layer stays rich and chewy enough to cut cleanly once it’s frozen. It tastes nostalgic, but it serves like a proper cake.
The trick is keeping each layer cold enough to stay distinct. Softened ice cream spreads without tearing up the crust, and the fudge gets warmed just enough to pour before the peanuts go in, so they’re suspended through the middle instead of sinking to the bottom. That little bit of texture is what makes each bite feel like the classic bar, just in bigger, cleaner squares.
You’ll find the freezing times that keep the layers from smearing, plus a few smart swaps if you want to change the crust, the topping, or the pan.
The fudge layer set up beautifully and the peanuts stayed crunchy on top instead of getting soggy. I made it the day before a birthday dinner and every slice came out clean.
Buster Bar Ice Cream Cake keeps the same fudge, peanut, and vanilla layers you know, but it slices like a birthday cake.
The Part That Makes the Layers Slice Cleanly Instead of Slumping
The difference between a neat ice cream cake and a muddy mess is temperature discipline. If the crust isn’t firm before the ice cream goes in, the butter leaks upward and the base loses its crunch. If the ice cream is too soft, it blends into the crust instead of sitting in a clean layer. And if the fudge goes on while it’s too hot, it melts a tunnel straight into the ice cream and you lose the sharp layers that make this cake worth making.
Each freeze stage is doing a job, not just killing time. Fifteen minutes is enough to set the crust. Three hours gives the ice cream a solid surface for the fudge. The final freeze after the topping goes on matters too, because whipped topping holds its shape only when the cake is fully cold.
What Each Ingredient Is Actually Doing in This Cake
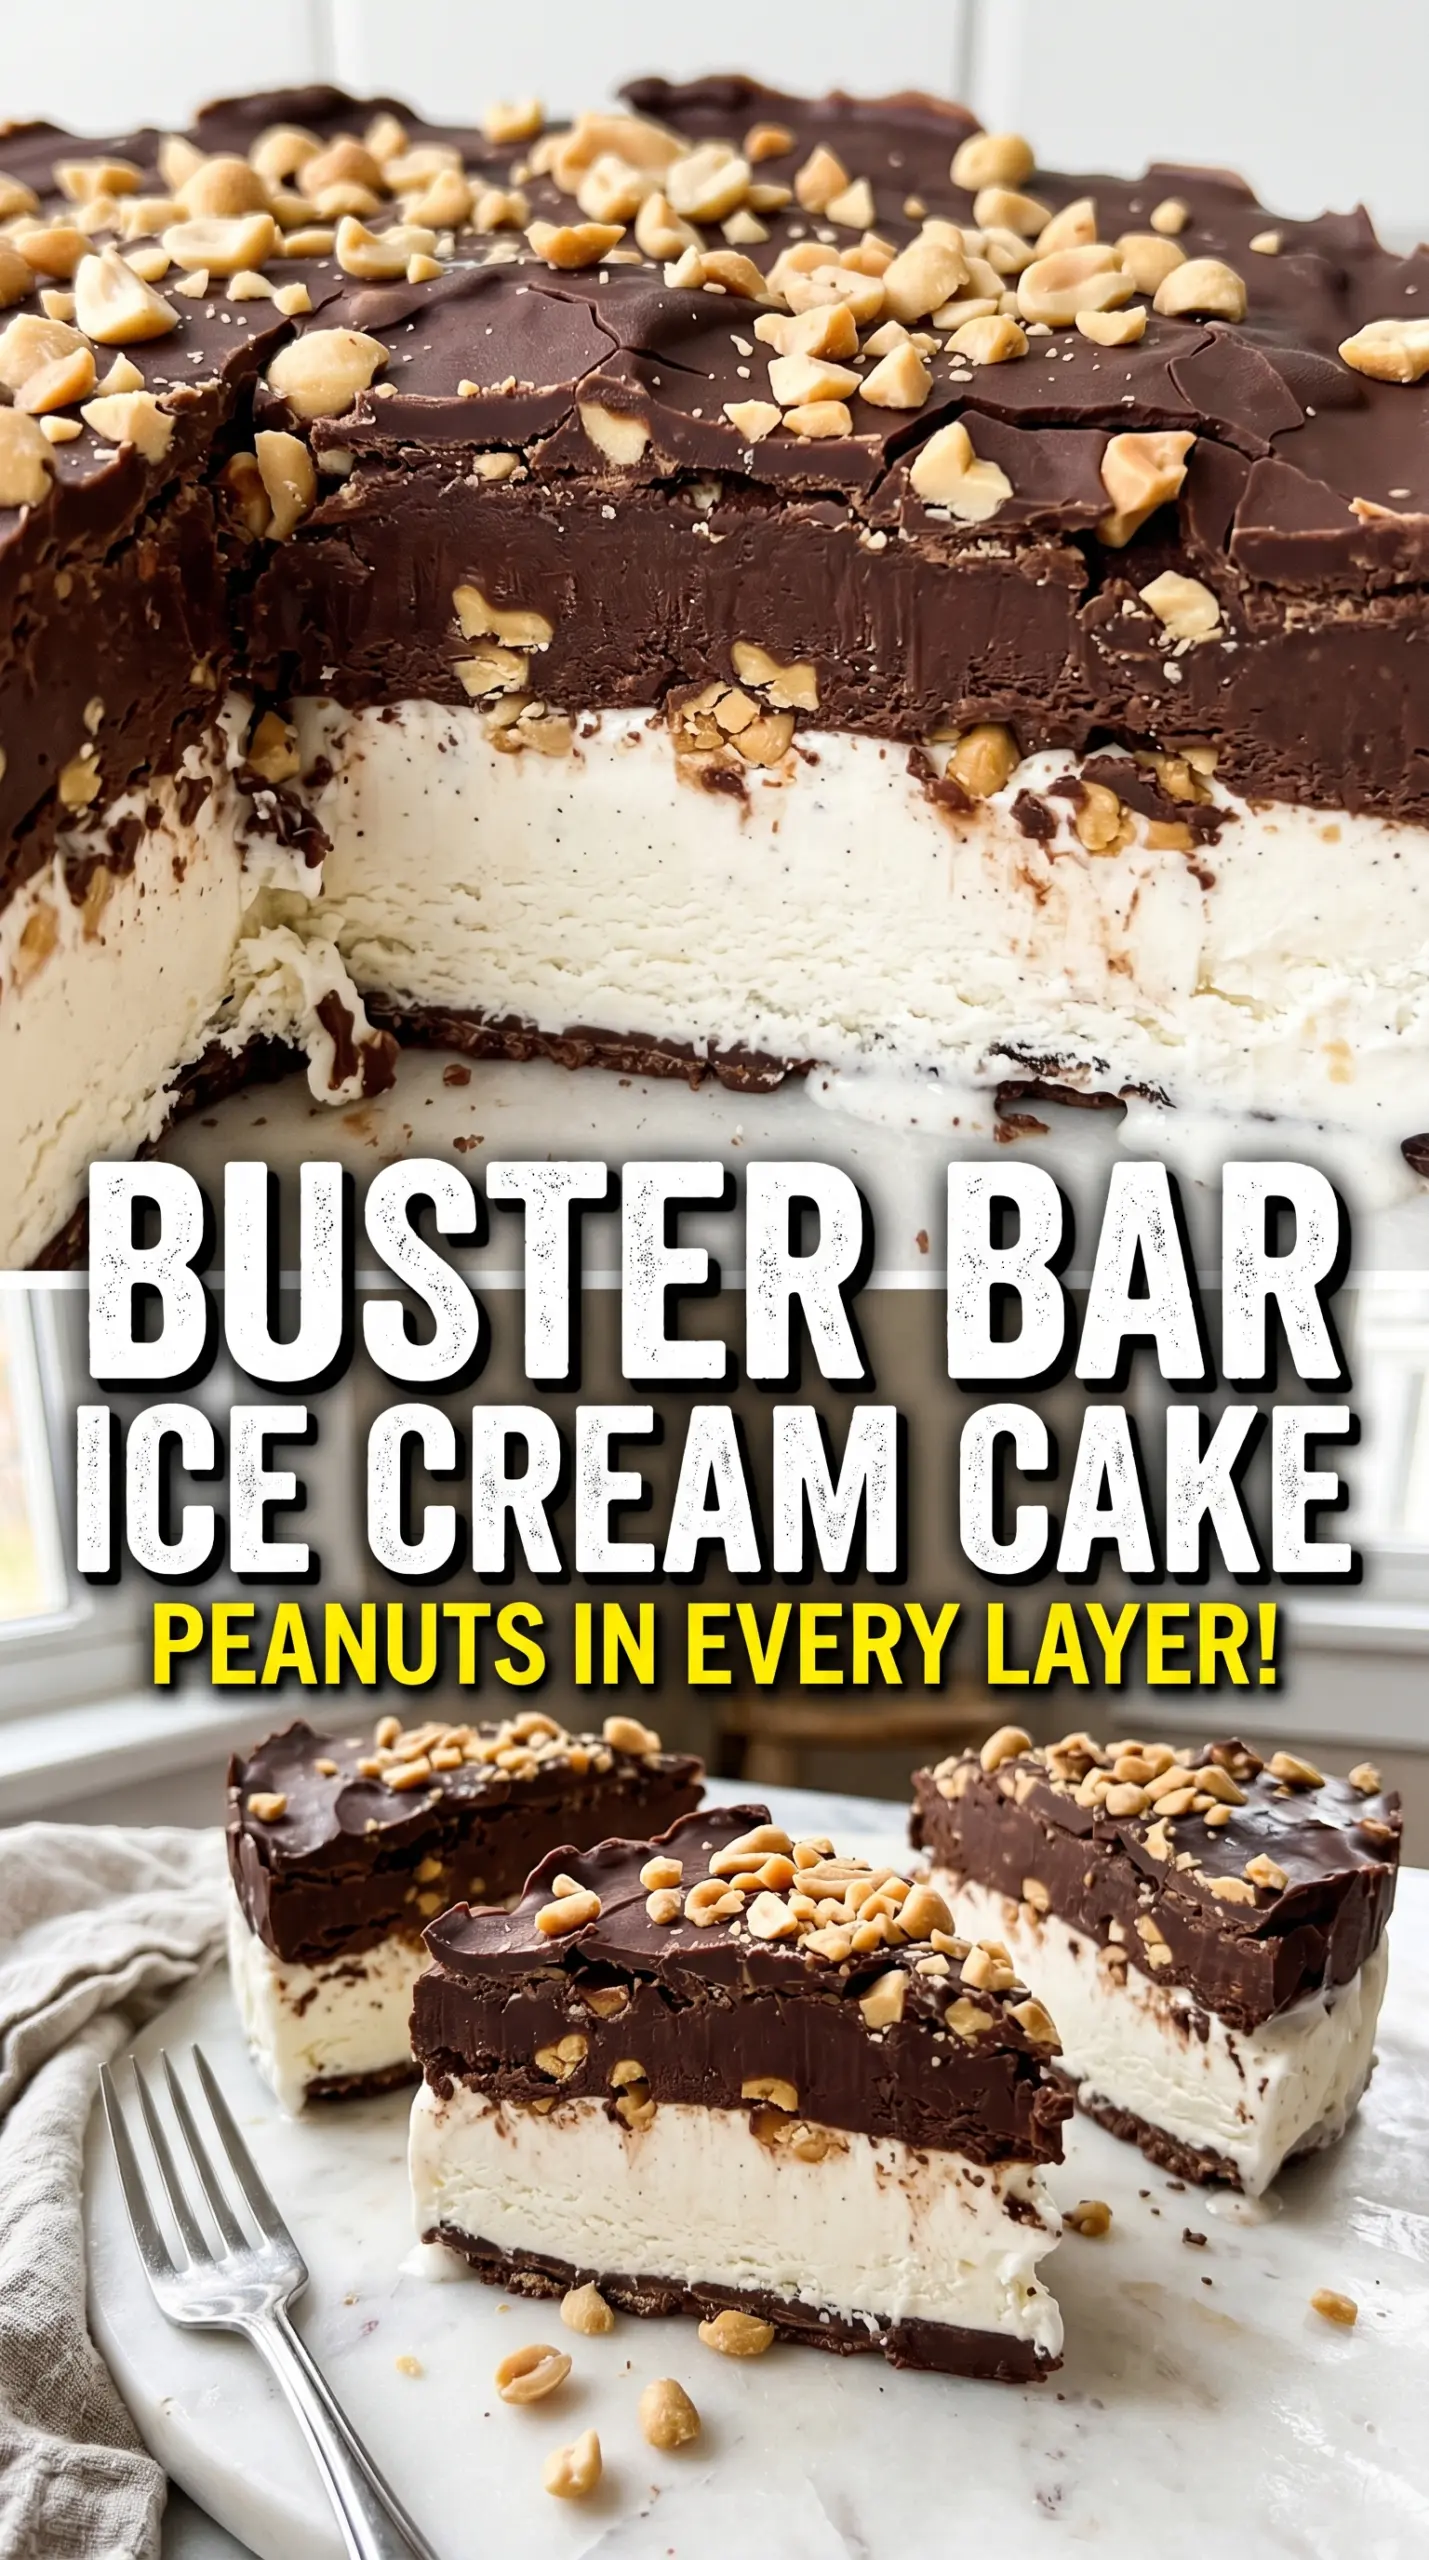
- Oreo cookies — These make the crust taste like the chocolate shell of the original bar. Regular sandwich cookies work best here because the filling helps bind the crumbs without making the crust greasy.
- Unsalted butter — This is what turns dry crumbs into a sliceable base. Salted butter works in a pinch, but the crust can read a little saltier once the peanuts and fudge are added, so unsalted gives you more control.
- Vanilla ice cream — Use a full-fat, good-quality carton if you can. Lower-fat ice cream tends to freeze icier and can spread unevenly, which makes the center feel hard instead of creamy once the cake is sliced.
- Hot fudge sauce — The sauce has to be pourable, not steaming hot. Warm it just enough that it flows smoothly; overheated fudge can melt the ice cream beneath it and make a streaky middle layer.
- Salted peanuts — Chop them roughly so you get some bigger crunchy pieces and some finer bits in every bite. The salted kind matters because the cake needs that snap of contrast against the sweet ice cream and fudge.
- Whipped topping — This is the light finish that keeps the top from feeling heavy. Whipped cream can be used, but it softens faster and doesn’t hold up as long in the freezer.
Building the Cake Without Melting the Middle
The Oreo Crust
Mix the crushed Oreos with the melted butter until the crumbs look evenly damp, then press them into a 9×13-inch pan or a 10-inch springform pan. Use the bottom of a measuring cup to compact the crust firmly, especially around the edges, because loose crumbs break apart when you serve the cake. Freeze it for 15 minutes so the butter resets before the ice cream layer goes on.
The Ice Cream Layer
Soften the vanilla ice cream just enough that it spreads, but don’t let it turn soupy. If it’s too melted, it soaks into the crust and leaves a marbled bottom instead of a clean white layer. Spread it evenly over the chilled crust, smooth the top, and freeze for 3 hours until it’s firm enough to support the fudge.
The Fudge-Peanut Middle
Warm the fudge until it’s pourable, then stir in 1 cup of the chopped peanuts. Pour that over the frozen ice cream and spread it quickly from edge to edge. The layer should sit on top in a thick blanket; if it starts to sink, the ice cream underneath wasn’t cold enough. Freeze for 2 hours until the fudge is set and no longer tacky to the touch.
The Topping and Final Freeze
Spread the whipped topping over the firm fudge layer, then scatter the remaining peanuts across the top. Press them lightly so they stick without sinking in. Freeze the cake for 1 more hour before cutting. For the cleanest slices, dip a sharp knife in hot water and wipe it dry between cuts.
How to Adjust This Cake for Different Freezers, Crusts, and Diets
Gluten-Free Crust Swap
Use certified gluten-free chocolate sandwich cookies in place of the Oreos. The texture stays nearly identical, and you still get that dark, crunchy base, but check the cookie sweetness because some gluten-free versions run a little softer and sweeter than classic Oreos.
Dairy-Free Version
Swap in dairy-free vanilla ice cream, plant-based whipped topping, and a dairy-free hot fudge sauce. The cake still freezes into clean layers, but the finished texture will be a touch softer, so give it the full freezing time and let it sit at room temperature for 5 minutes before slicing.
Peanut-Free Option
Replace the peanuts with chopped pretzels or toffee bits if you need a nut-free crunch. Pretzels bring more salt and less sweetness; toffee bits lean closer to the original candy-bar feel, but they can harden more in the freezer, so chop them fine.
Storage and Reheating
- Refrigerator: This cake doesn’t belong in the fridge for long; it softens fast and loses its clean layers. If you need to hold it, keep it frozen and serve straight from the freezer.
- Freezer: Wrap the pan tightly once the cake is fully frozen. It keeps well for up to 1 month, though the whipped topping is best in the first week before freezer odors start to creep in.
- Reheating: There isn’t a reheating step here. Set the cake at room temperature for 5 to 10 minutes before slicing so the knife can move through the fudge layer without cracking the top.
Questions I Get Asked About This Recipe
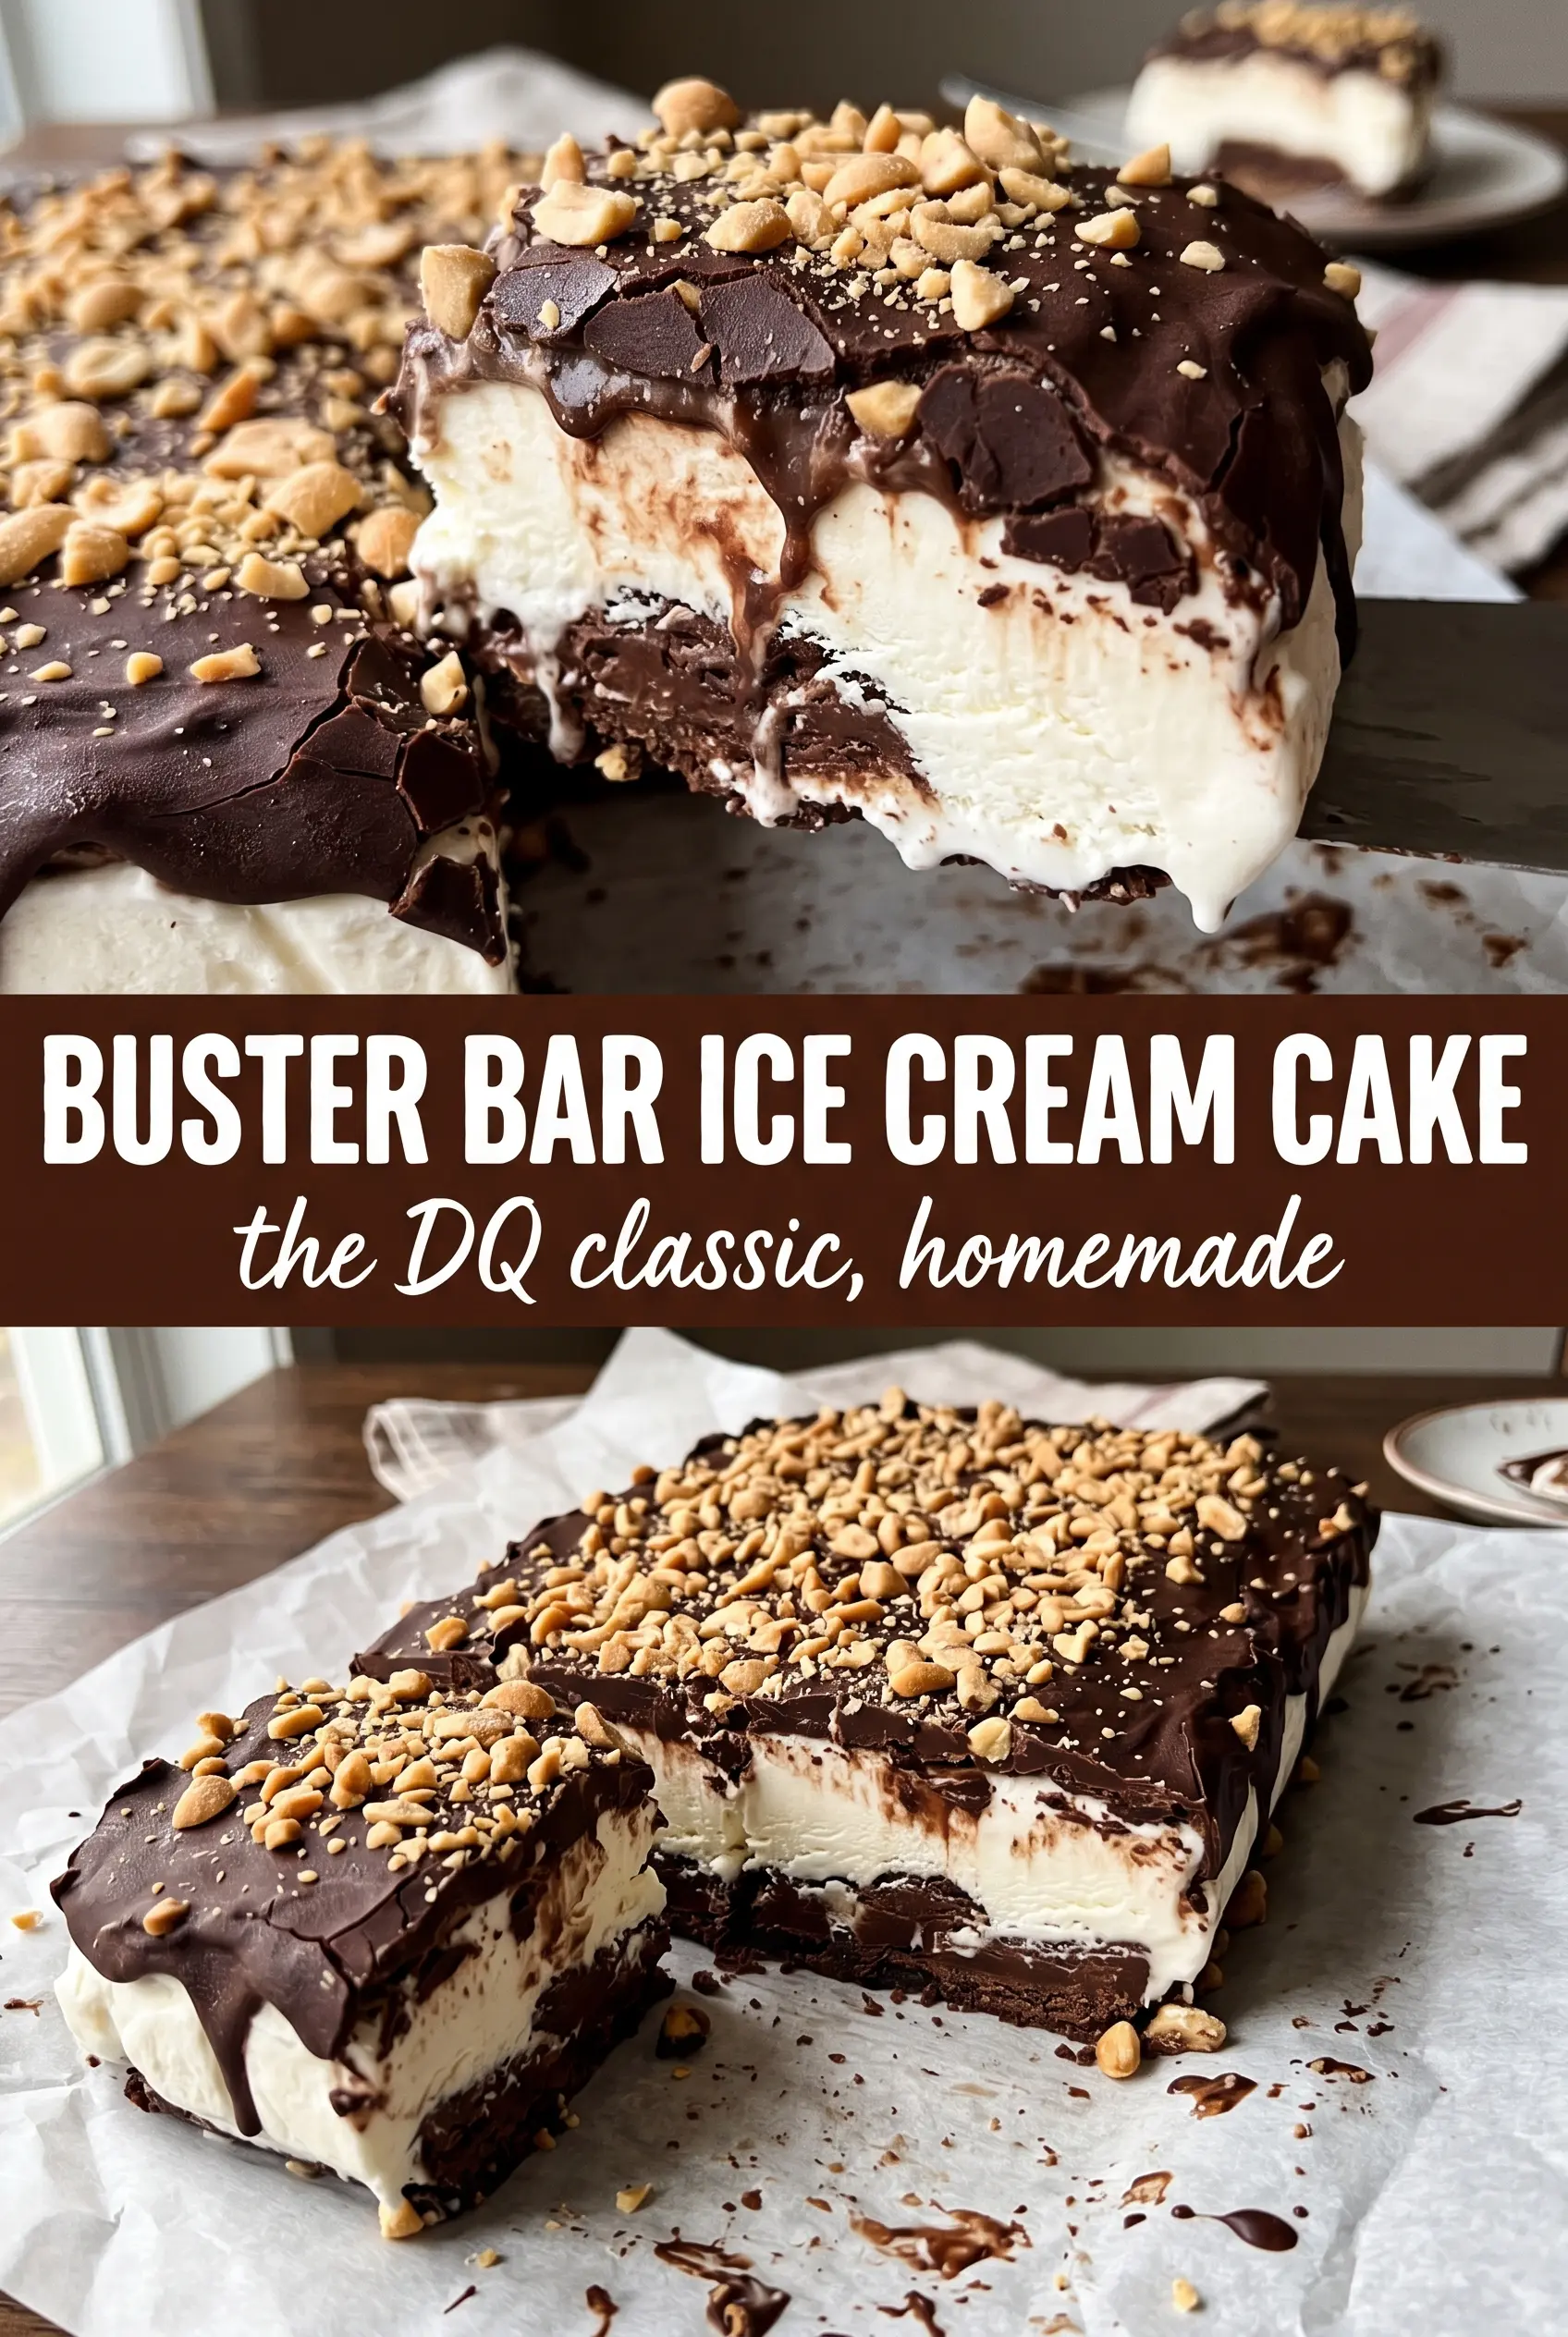
Buster Bar Ice Cream Cake
Ingredients
Equipment
Method
- Preheat nothing; instead, combine crushed Oreos and melted unsalted butter until the mixture looks evenly coated. Press the crumbs into a 9x13 pan or 10-inch springform to form a tight, even crust, then freeze for 15 minutes to set.
- Spread the softened vanilla ice cream over the frozen crust and smooth the top so it reaches the edges. Freeze for 3 hours until the ice cream layer is firm.
- Warm the hot fudge sauce until it is pourable, then stir in 1 cup of the salted peanuts so the mixture is evenly studded. Keep the sauce warm enough to pour cleanly without lumps.
- Pour the fudge-peanut mixture over the frozen ice cream and spread evenly to the edges for a uniform layer. Freeze for 2 more hours until the fudge layer is firm.
- Spread the whipped topping over the firm fudge layer, then scatter the remaining peanuts over the top for a crisp, salty finish. Freeze for 1 hour before serving so the cake slices cleanly.


