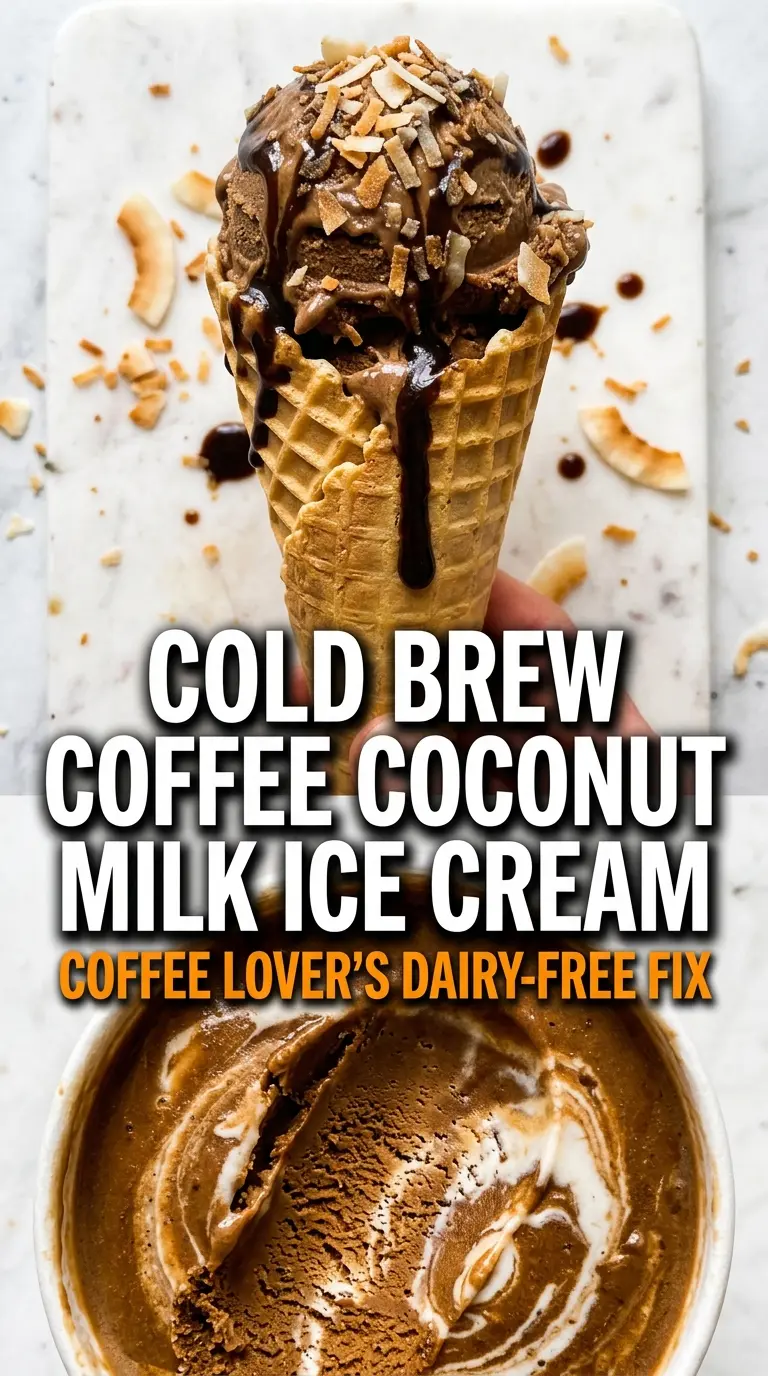
Cold brew coffee ice cream lands with a deep roast flavor that doesn’t get muddy or bitter, and the coconut milk gives it a plush, almost custard-like body without any dairy. The finish stays clean and bold, with just enough sweetness to round out the coffee instead of hiding it.
This version works because the coffee is used as a concentrate, not a watery brew, so the flavor stays strong after churning and freezing. Full-fat coconut milk brings the fat you need for a smooth scoop, while a small amount of arrowroot or cornstarch gives the base a little insurance against ice crystals. That combo keeps the texture creamy even after a night in the freezer.
Below, I’ve included the part that matters most: how to keep the base from tasting thin, why the chilling step is worth the wait, and the one topping that makes the coffee flavor pop even more.
The coffee flavor stayed bold even after freezing, and the coconut milk made it scoopable without that icy edge I usually get with dairy-free ice cream.
Save this cold brew coffee and coconut milk ice cream for the nights when you want a bold, dairy-free scoop with an extra drizzle on top.
The Trick to Keeping Coffee Ice Cream Bold Instead of Bitter
Cold brew gives this ice cream a smoother coffee edge than hot-brewed coffee ever will. That matters because freezing dulls flavor. If you start with a weak brew, the finished scoop tastes flat; if you start with a concentrate, the coffee stays present after the churning and freezing.
The other thing that saves this recipe is the gentle heat. You’re not cooking a custard here, so there’s no egg to temper and no thick pudding to chase. You only need enough heat to dissolve the sugar and help the starch hydrate. Push it to a boil and you lose control of the texture fast. Keep it at a steady, calm heat until it thickens just enough to lightly coat a spoon.
- Cold brew coffee concentrate — This is the flavor anchor. Use a concentrate, not ready-to-drink cold brew, or the coffee will fade too much in the freezer.
- Full-fat coconut milk — The fat matters. Light coconut milk turns icy and thin, while full-fat gives the base body and scoopability.
- Arrowroot or cornstarch — Either one helps the mixture freeze smoother. Arrowroot gives a slightly silkier finish, while cornstarch is the easier pantry swap.
- Granulated sugar or maple syrup — Sugar sweetens and softens the freeze. Maple syrup works too, but it adds a faint caramel note that will nudge the flavor away from straight coffee.
What Each Ingredient Is Actually Doing in This Ice Cream
- Base ingredient (cream, milk, or custard) — This provides the foundation and richness. Quality matters.
- Sweetener (sugar, honey, or condensed milk) — This sweetens and prevents ice crystals. The ratio is critical.
- Flavor element (vanilla, fruit, chocolate, coffee, or other) — This defines the ice cream personality. Use quality ingredients.
- Egg yolks (if making custard base) — These create richness and silky texture. Optional but elevates ice cream.
- Churning (if using ice cream maker) — This incorporates air and prevents ice crystals. Critical for smooth texture.
- Freezing temperature and time — Proper freezing prevents rock-hard texture. Store at 0°F or below.
- Mix-ins (chocolate, cookies, fruit, or swirls) — These add texture and prevent one-dimensional flavor. Add near end of churning.
- Serving temperature (slightly soft, not rock hard) — This provides creamy mouthfeel. Remove from freezer 5 minutes before serving.
How to Build the Base So It Churns Smoothly
Whisking the Base Evenly
Start by whisking everything together in the saucepan before turning on the heat. That keeps the starch from clumping and helps the sugar begin dissolving right away. The mixture should look smooth and loose at this stage, with no streaks of coconut cream floating on top. If the coconut milk has separated in the can, stir it well before measuring so the fat is evenly distributed.
Heating Until It Lightly Thickens
Cook over medium heat, whisking constantly, until the base looks slightly glossy and a little more substantial, about 5 minutes. You’re looking for a texture that coats the back of a spoon without turning into pudding. If it starts bubbling hard, lower the heat immediately. Rapid boiling can make the coconut flavor taste cooked and can push the starch past the point where it helps.
Chilling Before Churning
Cool the mixture over an ice bath first, then move it to the refrigerator for at least 4 hours. This step is what gives you a smooth churn and a finer ice crystal structure. If you pour a warm base into the machine, it takes longer to freeze and the texture usually turns denser and more grainy. The base should feel fully cold before it goes into the ice cream maker.
Freezing to the Right Scoop Point
After churning, the ice cream will be soft like thick soft-serve. That’s normal. Transfer it to a freezer container and let it firm up until scoopable. If it freezes hard, let it sit at room temperature for 5 to 10 minutes before serving. A drizzle of cold brew concentrate over the top sharpens the coffee flavor and gives each bite a little bitter contrast.
Small Changes That Still Keep the Texture Right
Maple-Sweetened Version
Swap the granulated sugar for maple syrup if you want a deeper, rounder sweetness. The ice cream will pick up a light caramel note, and the base may churn a touch softer because liquid sweeteners keep things more fluid.
Cornstarch Instead of Arrowroot
Cornstarch works just as well if that’s what you have. It gives the base the same stabilizing lift, though the finish is a little less silky than arrowroot. Use the same amount and cook only until the mixture slightly thickens.
Caffeine-Light Coffee Flavor
Use half cold brew concentrate and half strongly brewed decaf concentrate if you want the flavor without as much caffeine. Keep the total liquid the same so the texture doesn’t change, and don’t dilute it with regular drip coffee unless you want a milder result.
No-Churn Version
If you don’t have an ice cream maker, freeze the cooled base in a shallow container and stir it every 30 minutes for the first 2 to 3 hours. The texture won’t be as airy, but the starch and coconut fat still help it freeze into a scoopable dessert instead of a solid block.
Storage and Reheating
- Refrigerator: Not ideal once churned; ice cream belongs in the freezer, not the fridge, or it will melt and refreeze with a gritty texture.
- Freezer: Store in a tightly sealed container for up to 2 weeks. Press parchment directly on the surface if you want to limit ice crystals.
- Reheating: Not applicable. Let it stand at room temperature for 5 to 10 minutes before scooping so the edges soften first instead of hacking at a rock-hard container.
Answers to the Questions Worth Asking
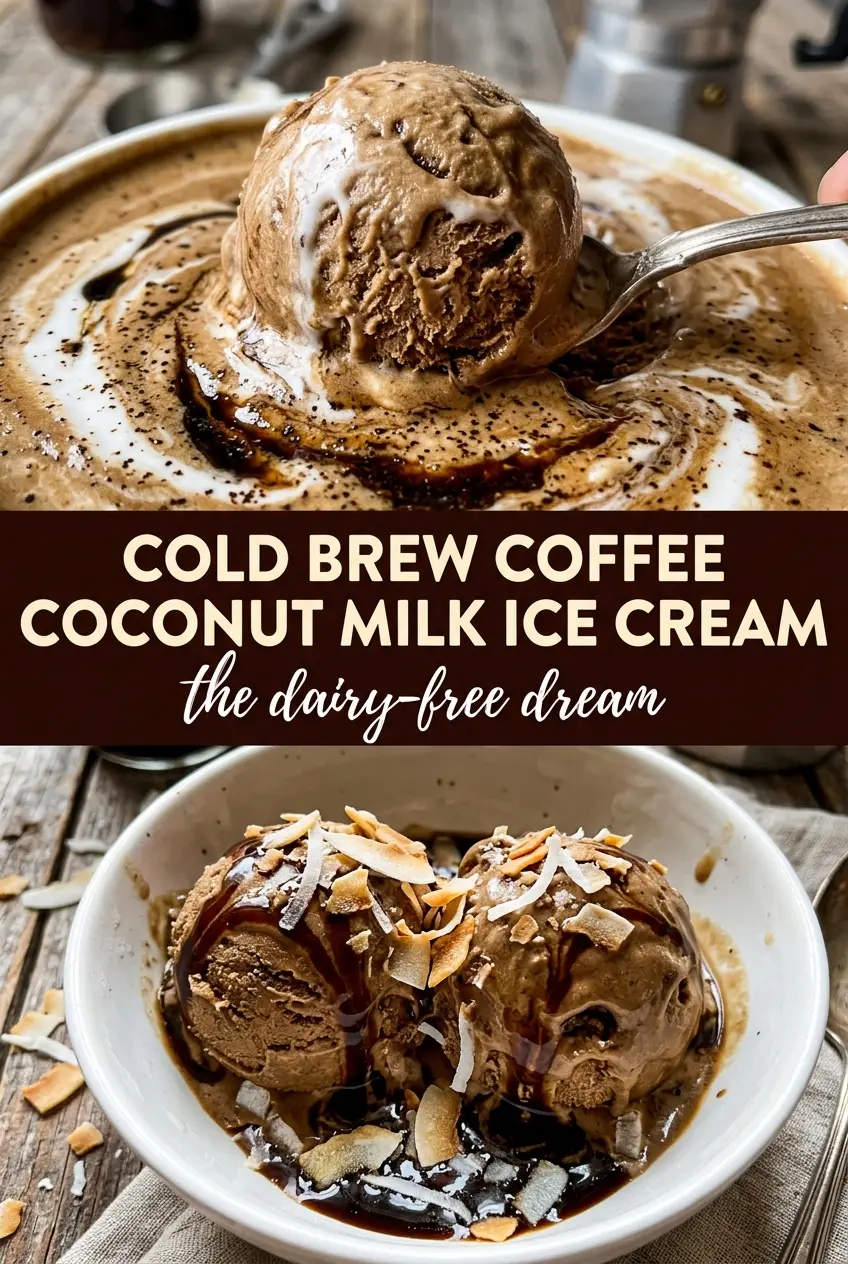
Cold Brew Coffee and Coconut Milk Ice Cream
Ingredients
Equipment
Method
- Whisk full-fat coconut milk, cold brew coffee concentrate, granulated sugar or maple syrup, arrowroot or cornstarch, vanilla extract, and salt together in a saucepan until smooth.
- Heat over medium heat, whisking constantly, until the mixture thickens slightly and the sugar dissolves—about 5 minutes.
- Cool completely over an ice bath, stirring occasionally until the mixture is no longer warm.
- Refrigerate at least 4 hours until thoroughly chilled.
- Churn in an ice cream maker according to the manufacturer’s instructions until thick and creamy.
- Freeze until scoopable, then serve with an extra drizzle of cold brew coffee concentrate.


