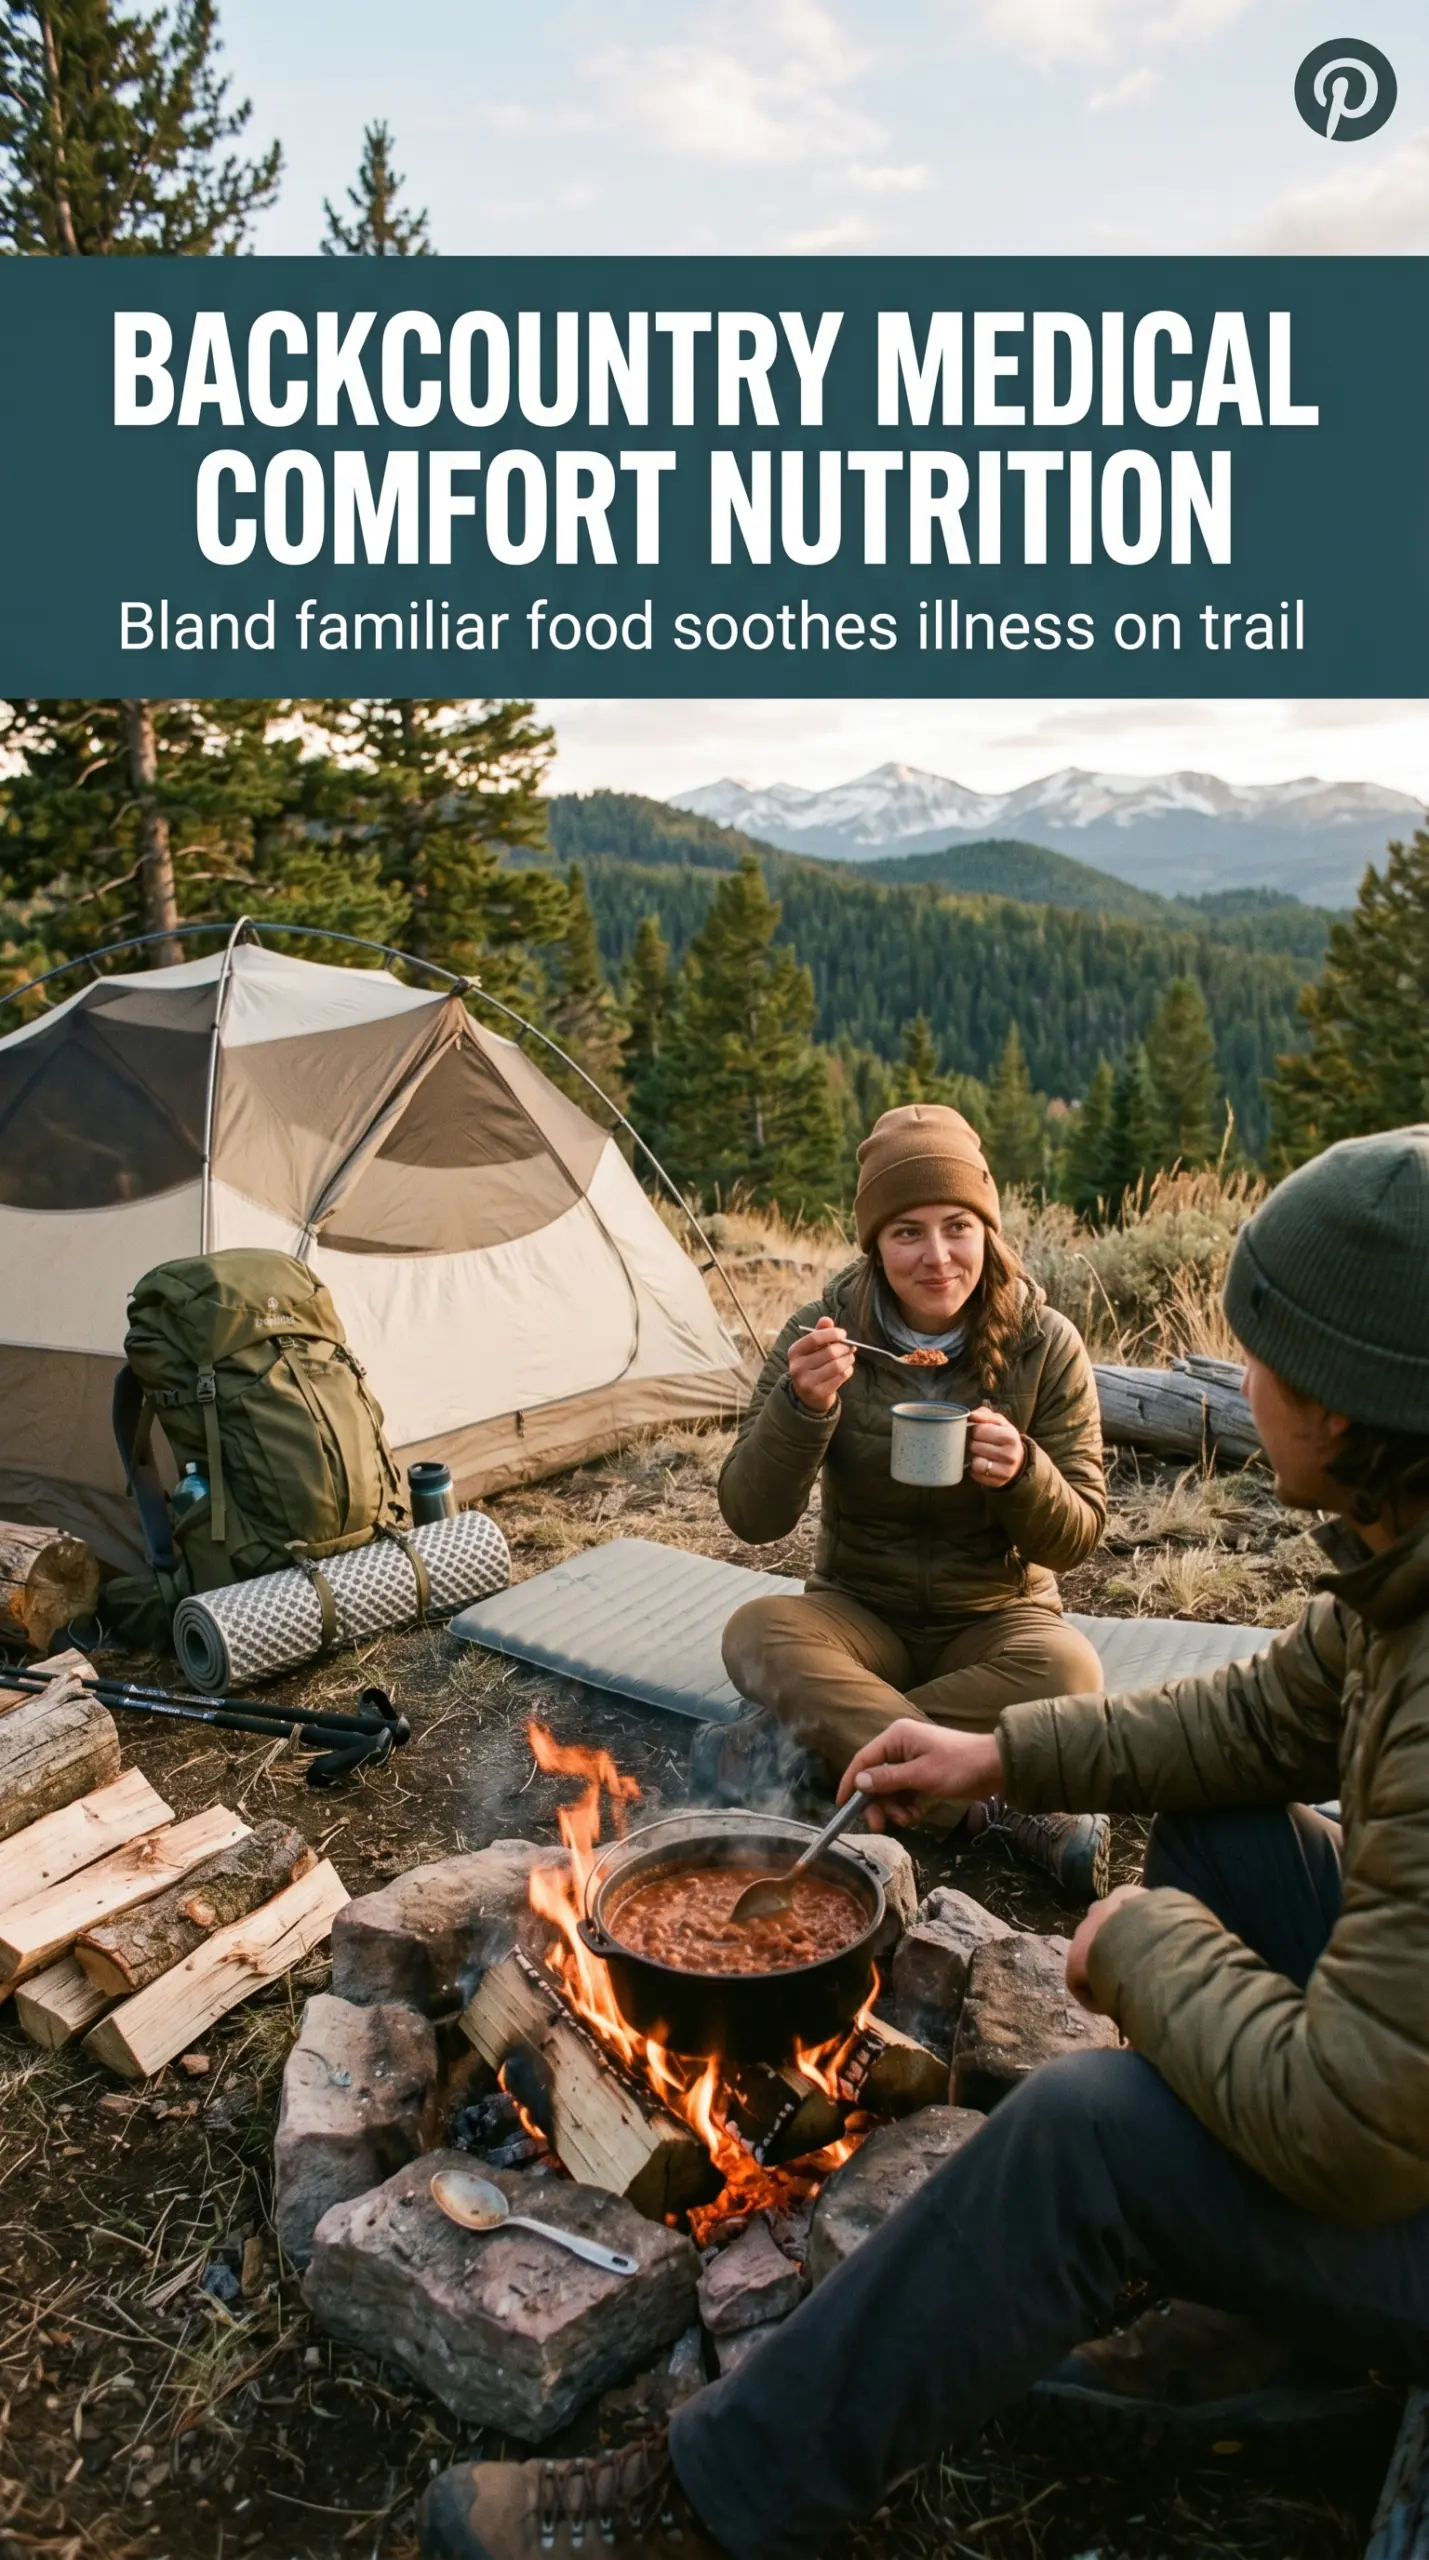
Campfire chili earns its place because it gets thick, smoky, and deeply savory without asking for much more than a hot fire and a little patience. The tomatoes cook down into a rich base, the beans hold their shape, and the beef turns the whole pot into something hearty enough to stand on its own. It’s the kind of meal that tastes even better with a spoon in one hand and a piece of bread or crackers in the other.
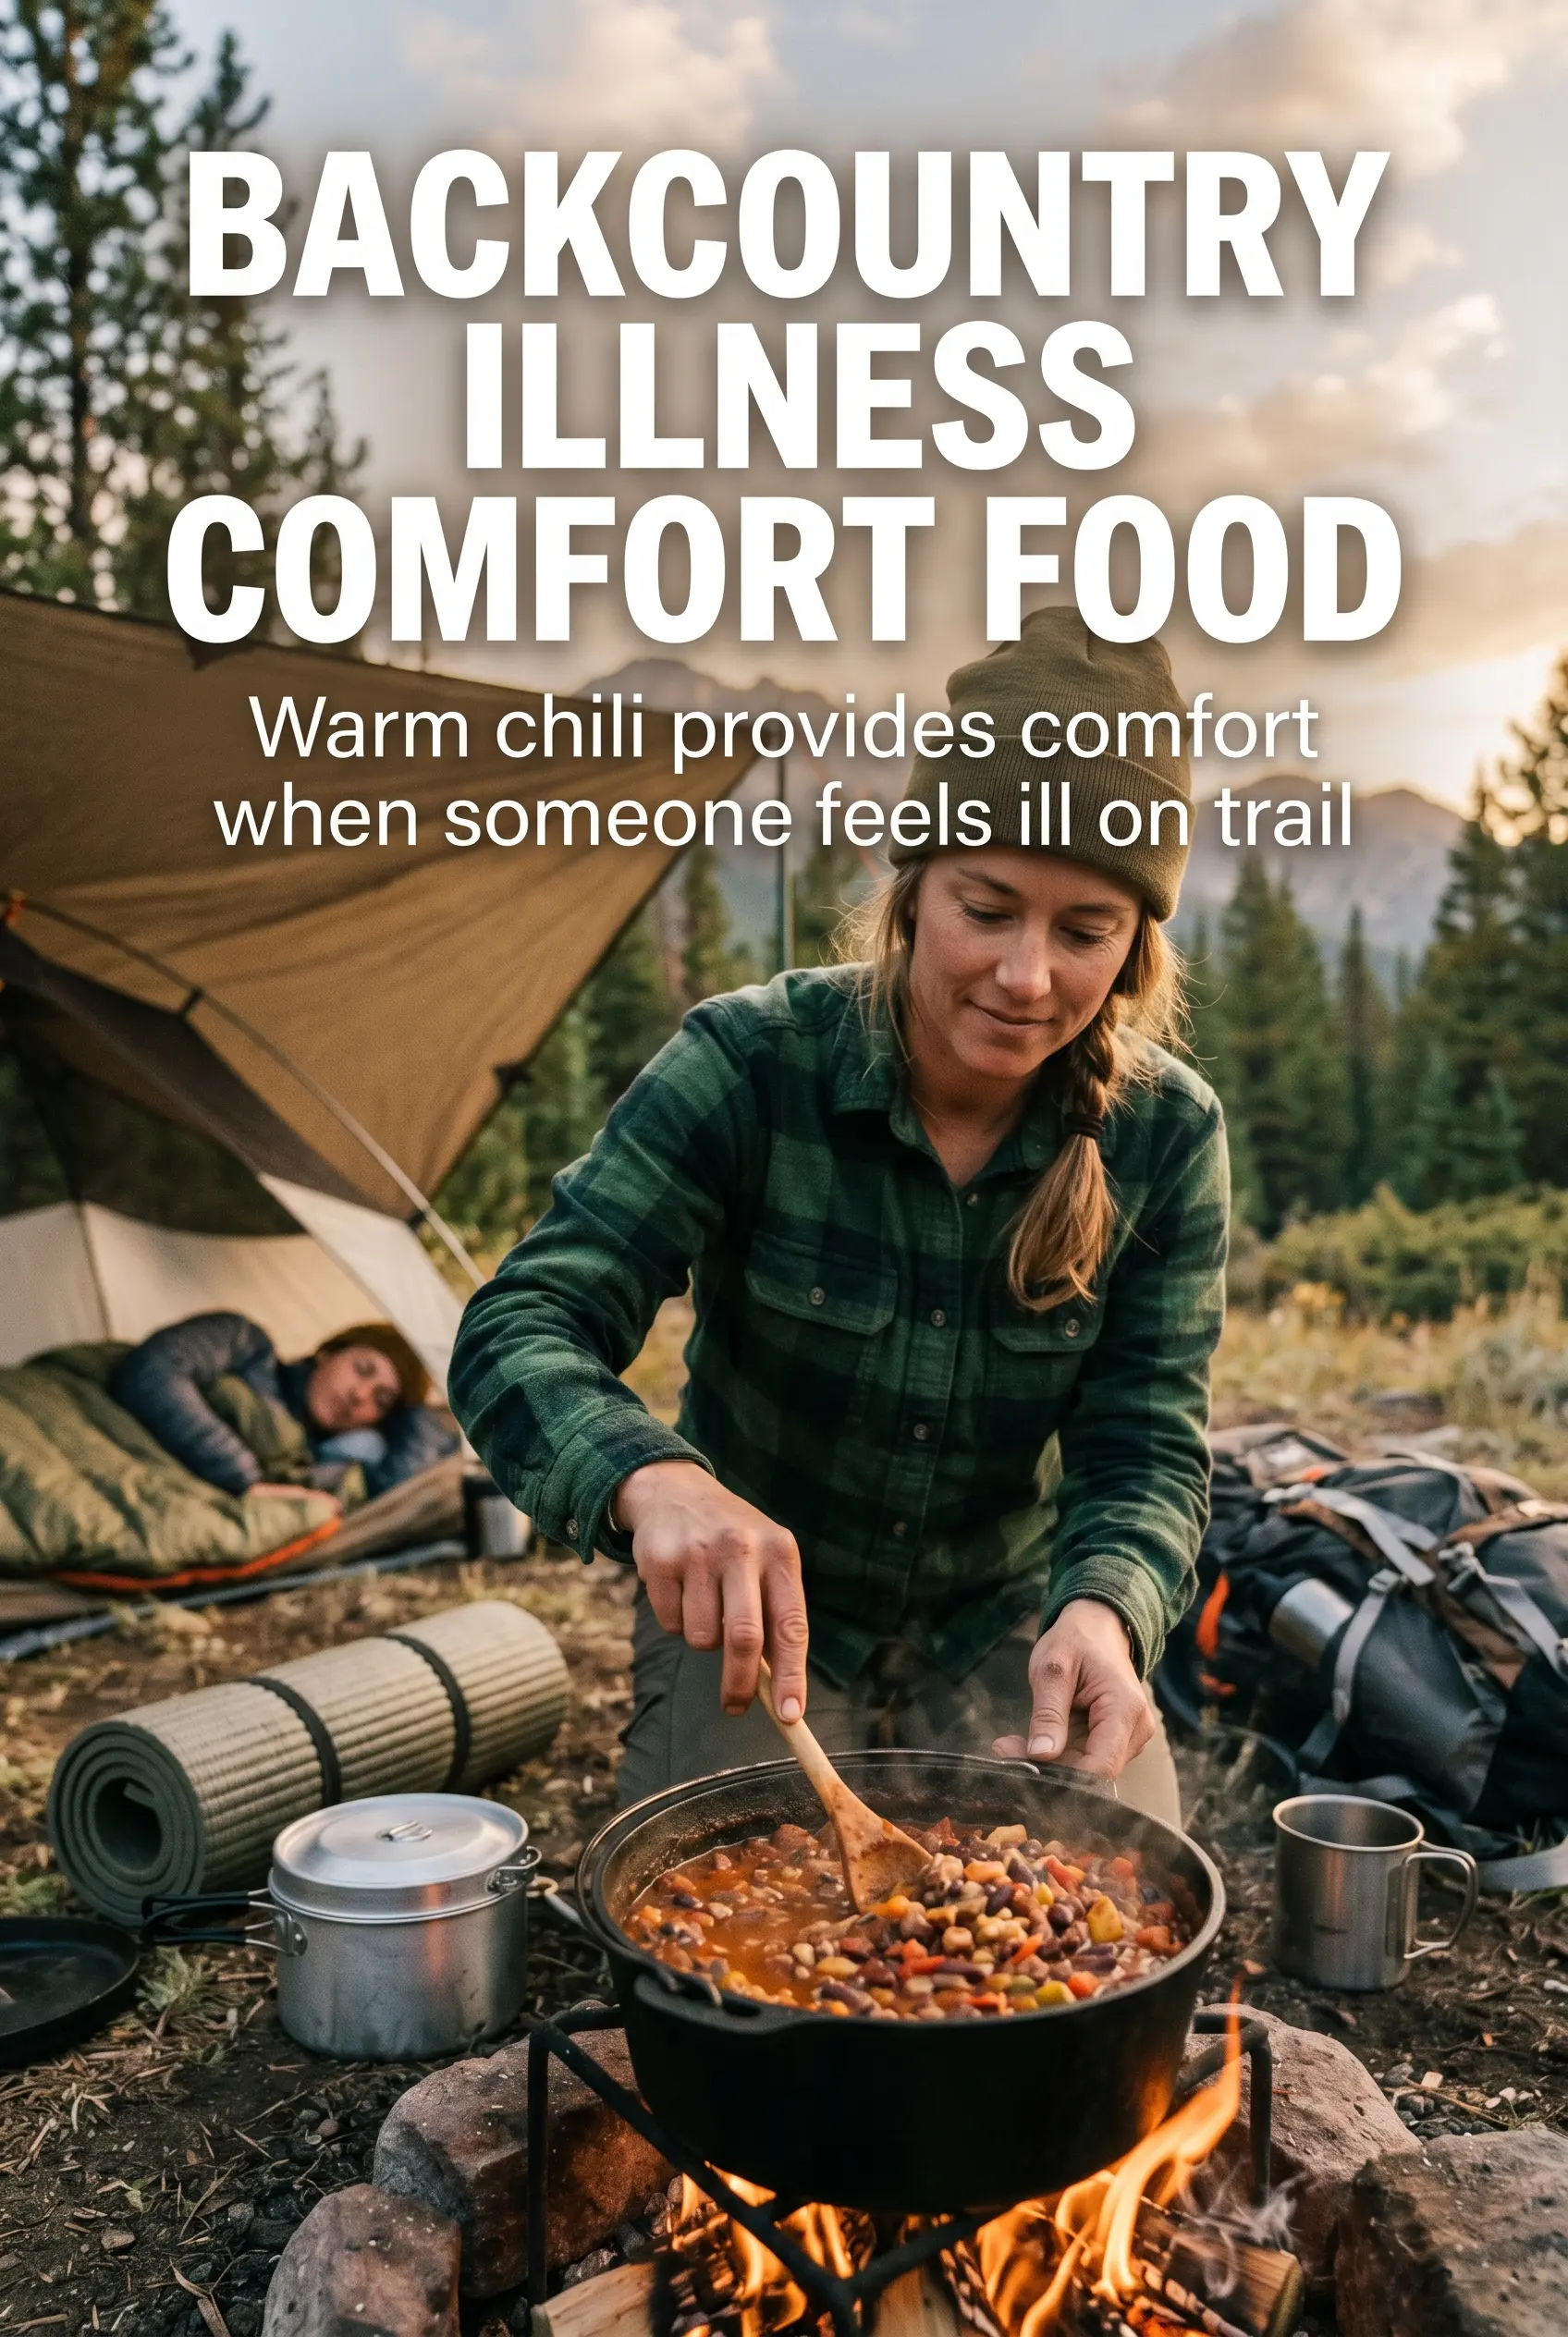
The trick is letting the beef brown before anything else goes in. That’s where the flavor starts, and if you rush past it, the chili tastes flat no matter how much seasoning you add later. Tomato paste gets a minute of direct heat too, which takes the raw edge off and gives the finished pot a fuller, rounder taste. A Dutch oven helps here because it holds steady heat and makes the chili simmer evenly over the fire instead of scorching in spots.
Below, I’ll walk through the parts that matter most: how to keep the fire gentle enough for a real simmer, which ingredients can be swapped without ruining the pot, and how to stretch this into a bigger camping crowd without losing that thick, spoon-coating texture.
The chili thickened up perfectly over the fire and the tomato paste gave it that deep, cooked flavor instead of tasting flat. We ate the leftovers for lunch the next day and it was even better.
Campfire Chili is the kind of smoky, thick Dutch oven chili that’s worth pinning for your next camping dinner.
The Part That Keeps Campfire Chili Thick Instead of Watery
Chili over a campfire can go wrong in one of two ways: it scorches on the bottom, or it never reduces enough and stays soupy. This version avoids both by building flavor early and then letting the pot simmer uncovered long enough for the tomatoes and beans to settle into the beef instead of floating around in broth. The fire should be steady, not raging. If the chili is boiling hard, it’s too hot and the edges will darken before the center has a chance to come together.
The other thing that helps is tomato paste. It doesn’t just add color; it gives the pot body. Stirring it into the beef and vegetables before the beans and tomatoes go in helps it lose that raw, tinny taste and blend into the base. That extra minute or two is what turns this from a camp meal into a proper bowl of chili.
What Each Ingredient Is Actually Doing in the Pot
- Ground beef — This gives the chili its body and the savory base that beans alone can’t provide. An 80/20 blend works well because a little fat carries the spices and keeps the pot from tasting dry. If you use lean beef, leave the rendered juices in the pot instead of draining it completely.
- Onion and bell pepper — These soften into the beef and give the chili a sweeter, rounder background flavor. Dice them small so they disappear into the finished pot instead of staying chunky and separate.
- Kidney beans — They hold up better than softer beans and keep their shape after a long simmer. If you swap in black beans, the chili will taste a little earthier and the texture will be slightly softer.
- Diced tomatoes and tomato paste — The tomatoes provide moisture and acidity, while the paste thickens and deepens the flavor. Paste is one place where quality matters more than you’d think, because a bland paste leaves the whole pot flatter.
- Chili powder and cumin — These do the heavy lifting on seasoning. Chili powder brings warmth and color; cumin adds that familiar smoky edge. If your chili powder is old, the chili will taste muted, so use a fresh jar if you can.
How to Build the Pot So the Fire Works With You
Brown the Beef First
Set the Dutch oven over a steady bed of campfire heat and brown the ground beef before anything else goes in. You want actual browning, not just gray meat, because those browned bits are the base of the flavor. If there’s too much liquid in the pot, keep cooking until it evaporates and the meat starts to sizzle again.
Soften the Vegetables in the Fat
Add the onion and bell pepper to the beef and cook until they lose their raw crunch and start to look glossy and tender. This usually takes about 5 minutes. If the vegetables are still firm when you move on, they’ll stay too noticeable in the finished chili instead of blending into the base.
Wake Up the Tomato Paste
Stir in the tomato paste with the spices and let it cook briefly before adding the beans and diced tomatoes. You’re looking for a darker, brick-red color and a smell that shifts from sharp to savory. If you dump it straight into the liquid, the paste stays a little raw and the chili tastes less developed.
Simmer Until It Thickens
Add the beans, tomatoes, chili powder, cumin, salt, and pepper, then bring the pot to a simmer. Cover and cook gently, stirring every so often so the bottom doesn’t catch. If the chili looks thin near the end, take the lid off for the last 10 minutes and let steam escape so the broth reduces into a thicker, spoonable finish.
How to Adapt Campfire Chili for Different Camps and Kitchens
Make It With Ground Turkey
Ground turkey works if you want a lighter pot, but it needs a little help because it doesn’t bring as much fat or flavor as beef. Keep the onion and pepper, don’t drain every drop of moisture, and add an extra pinch of salt. The finished chili will still be hearty, just a touch leaner and cleaner-tasting.
Go Meatless Without Losing the Bowl’s Body
Skip the beef and add an extra can of beans, or use a mix of kidney and black beans for more texture. You’ll miss the meaty richness, so boost the tomato paste and cumin a little and let the pot simmer long enough for the beans to break down slightly at the edges. It won’t taste like classic beef chili, but it will still eat like a full dinner.
Make It Gluten-Free
The chili itself is naturally gluten-free as written. The part to watch is what you serve with it, since crackers and some toppings can bring gluten back in fast. Use certified gluten-free crackers or serve it with cornbread on the side.
Storage and Reheating
- Refrigerator: Store in a covered container for up to 4 days. The chili thickens as it sits, which is exactly what you want.
- Freezer: It freezes well for up to 3 months. Cool it first, then portion it into freezer-safe containers so it thaws evenly.
- Reheating: Warm it gently on the stove over low heat with a splash of water if needed. Don’t blast it on high or the bottom can scorch before the center is hot.
Answers to the Questions Worth Asking
Campfire Chili
Ingredients
Equipment
Method
- Brown ground beef in a Dutch oven over the campfire until no pink remains, then add the diced onion and diced bell pepper and cook for 5 minutes, stirring occasionally and watching for a fragrant sizzle.
- Add kidney beans, diced tomatoes, tomato paste, chili powder, cumin, salt, and pepper, stirring until everything is evenly combined and looks thoroughly coated.
- Bring the chili to a simmer over the campfire, then keep it bubbling steadily as you cover the Dutch oven.
- Cover and cook for 35-40 minutes, stirring occasionally, until the chili thickens and the surface shows consistent bubbling.
- Serve hot with shredded cheese, sour cream, and crackers, letting the toppings melt slightly and settle into the chili as you ladle.