Seven clean layers and a dramatic slice are what make this ice cream cake worth the freezer space. The crust stays firm, the ice creams stay distinct, and the sauces settle into thin ribbons instead of turning the whole thing muddy. When you cut into it, you get that striped cross-section everyone leans in to look at first.
The trick is patience between layers. Each one needs time to firm up before the next goes on, or the colors and textures blur together and the cake loses that sharp, bakery-style look. A springform pan helps the whole thing release without drama, and softened ice cream spreads cleanly without tearing up the layer underneath.
Below, I’ve included the timing that keeps the layers separate and the one detail that makes slicing much cleaner once the cake is fully frozen. If you’ve ever had an ice cream cake slump at the table, this version fixes that.
The layers stayed separate and the fudge didn’t sink into the crust. I followed the freeze times exactly and the slice came out clean with all seven layers showing.
Like this seven-layer ice cream cake? Save it to Pinterest for birthdays, parties, and any night that calls for a dramatic frozen slice.
The Freeze Time Is What Keeps the Layers Clean
Most layered ice cream cakes fail because the next layer goes on before the one underneath has set. Soft ice cream is already easy to spread, but if the base is still giving under your spatula, the colors smear together and the sauces sink. That’s how you end up with a pan of frozen filling instead of a sliceable cake.
The answer here is short freezes between every major layer, not one long freeze at the end. The crust gets a head start so it can hold the weight above it. The sauce layers need enough time to firm at the edges before the next ice cream layer lands, or they’ll streak through the cake instead of sitting in distinct bands.
- Oreo crust — The crumbs need enough butter to pack into a solid base, but not so much that the crust turns greasy and soft in the freezer. Press it hard into the pan so it sets like a cookie shell.
- Softened ice cream — Store-bought ice cream works best here because it’s stable and predictable. Let it sit just until spreadable, not melty, or the layers will slide and blend.
- Hot fudge and caramel — These need to be pourable but not hot enough to melt the ice cream below. Warm them just until they move easily off a spoon, then spread gently.
What Each Layer Is Doing in the Cake
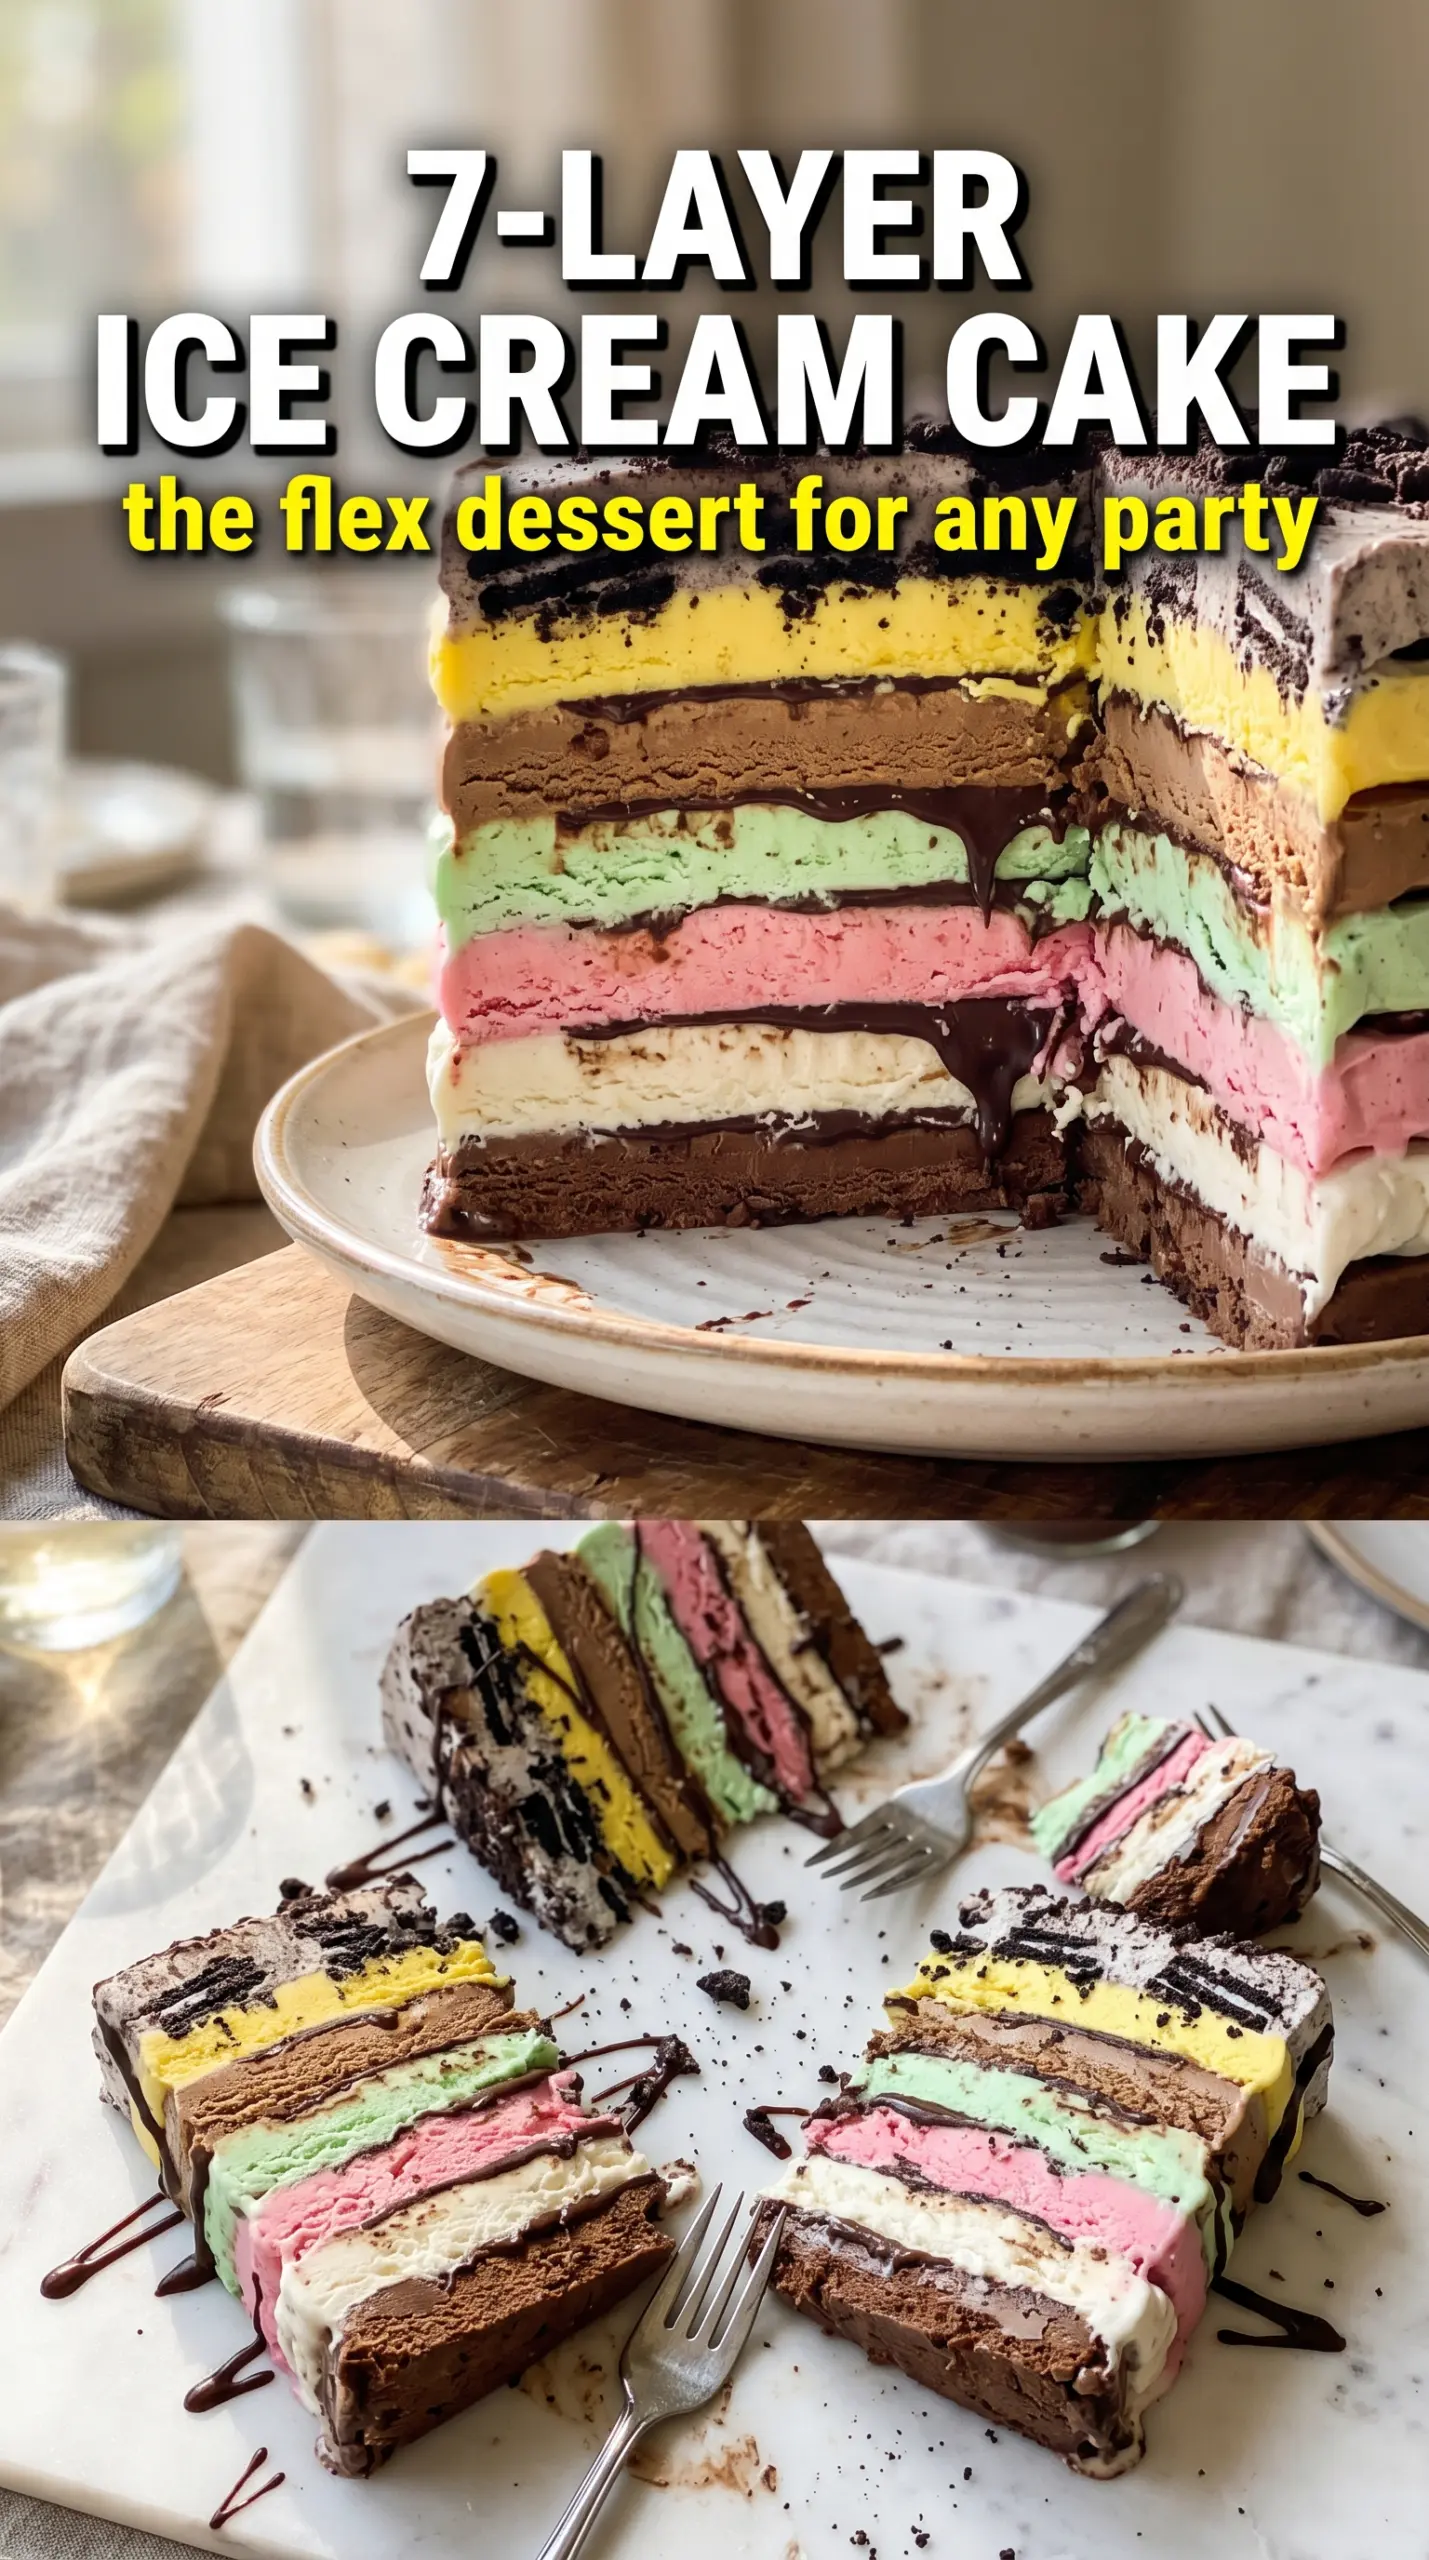
- Oreos and butter — This is the backbone. Oreos give you a chocolate cookie crunch that stays recognizable after freezing, and the butter helps the crumbs lock together. Graham crackers won’t give you the same dark, sturdy base.
- Chocolate, vanilla, and strawberry ice cream — Use flavors that contrast in color as well as taste, because the visual payoff is half the point. Premium ice cream makes a slightly denser slice, but any good supermarket brand works as long as it softens evenly.
- Hot fudge and caramel sauce — These create the dramatic middle stripes. Thick sauces are better than thin ice cream toppings, which can soak into the layers and disappear. If your sauce is very stiff, warm it just enough to drizzle and spread.
- Whipped topping and sprinkles — Whipped topping freezes smoother than freshly whipped cream, which can turn grainy in a cake like this. Sprinkles add color and a little crunch on top without affecting the structure.
Building the Cake Without Smearing the Stripes
Pack the crust first
Mix the crushed Oreos with the melted butter until every crumb looks damp, then press the mixture firmly into the bottom of a 9-inch springform pan. Use the flat bottom of a measuring cup to compress it into an even layer. If the crust is loose, it will break apart when you slice the cake, so press harder than feels natural and freeze it until the surface is firm.
Spread each ice cream layer when it’s pliable, not runny
Let the chocolate, vanilla, and strawberry ice cream sit at room temperature just until a spoon can glide through it. Spread it over the frozen crust in an even layer, working from the center outward so you don’t dig into the edge below. If it starts to puddle, it’s gone too far and the cake will lose definition.
Pause after every sauce layer
Drizzle the fudge and caramel over the set ice cream, then smooth them into thin, even bands before freezing again. Don’t pour them on hot; that’s how the layer underneath turns soft and the sauces disappear into the ice cream. A short freeze here keeps the stripes bold and stops the cake from leaning or collapsing later.
Finish with a hard freeze before slicing
After the whipped topping goes on, the cake needs several hours in the freezer until it’s fully solid through the center. That long final freeze matters more than the decorations, because a cake that isn’t frozen all the way through will slump the moment you remove the springform ring. For the cleanest cut, let it sit at room temperature for 5 to 10 minutes before slicing with a sharp knife dipped in hot water and wiped dry between cuts.
Three Ways to Change the Cake Without Losing the Look
Make it gluten-free with one crust swap
Use gluten-free sandwich cookies in place of the Oreos and keep the butter the same. The texture stays nearly identical, but some gluten-free cookies are a little drier, so press the crust firmly to help it hold together when frozen.
Swap the flavors to match the party
Keep the structure the same and change the ice cream flavors to mint chip, coffee, cookies and cream, or cherry vanilla. The important thing is contrast: choose flavors with different colors so the sliced layers still look dramatic from the side.
Make it dairy-free with frozen desserts and plant-based topping
Use dairy-free ice cream, vegan butter in the crust, and a non-dairy whipped topping. The cake still layers beautifully, but the softer the alternative ice creams are, the more important the freeze times become, because some dairy-free brands melt faster while you spread them.
Turn it into a smaller, taller cake
Build the same layers in a smaller springform pan or a loaf pan lined with parchment. The slices will be taller and the layer stripes will look even more dramatic, but you may need a few extra minutes of freeze time because the center takes longer to set.
Storage and Reheating
- Refrigerator: Don’t store this in the fridge; it melts and loses its structure within minutes.
- Freezer: Keep it tightly covered in the freezer for up to 1 week for the best texture and cleanest layers. After that, the ice cream can start to pick up freezer frost.
- Reheating: No reheating needed. For slicing, let the cake sit at room temperature for 5 to 10 minutes, just until the knife can cut cleanly without cracking the crust.
Answers to the Questions Worth Asking
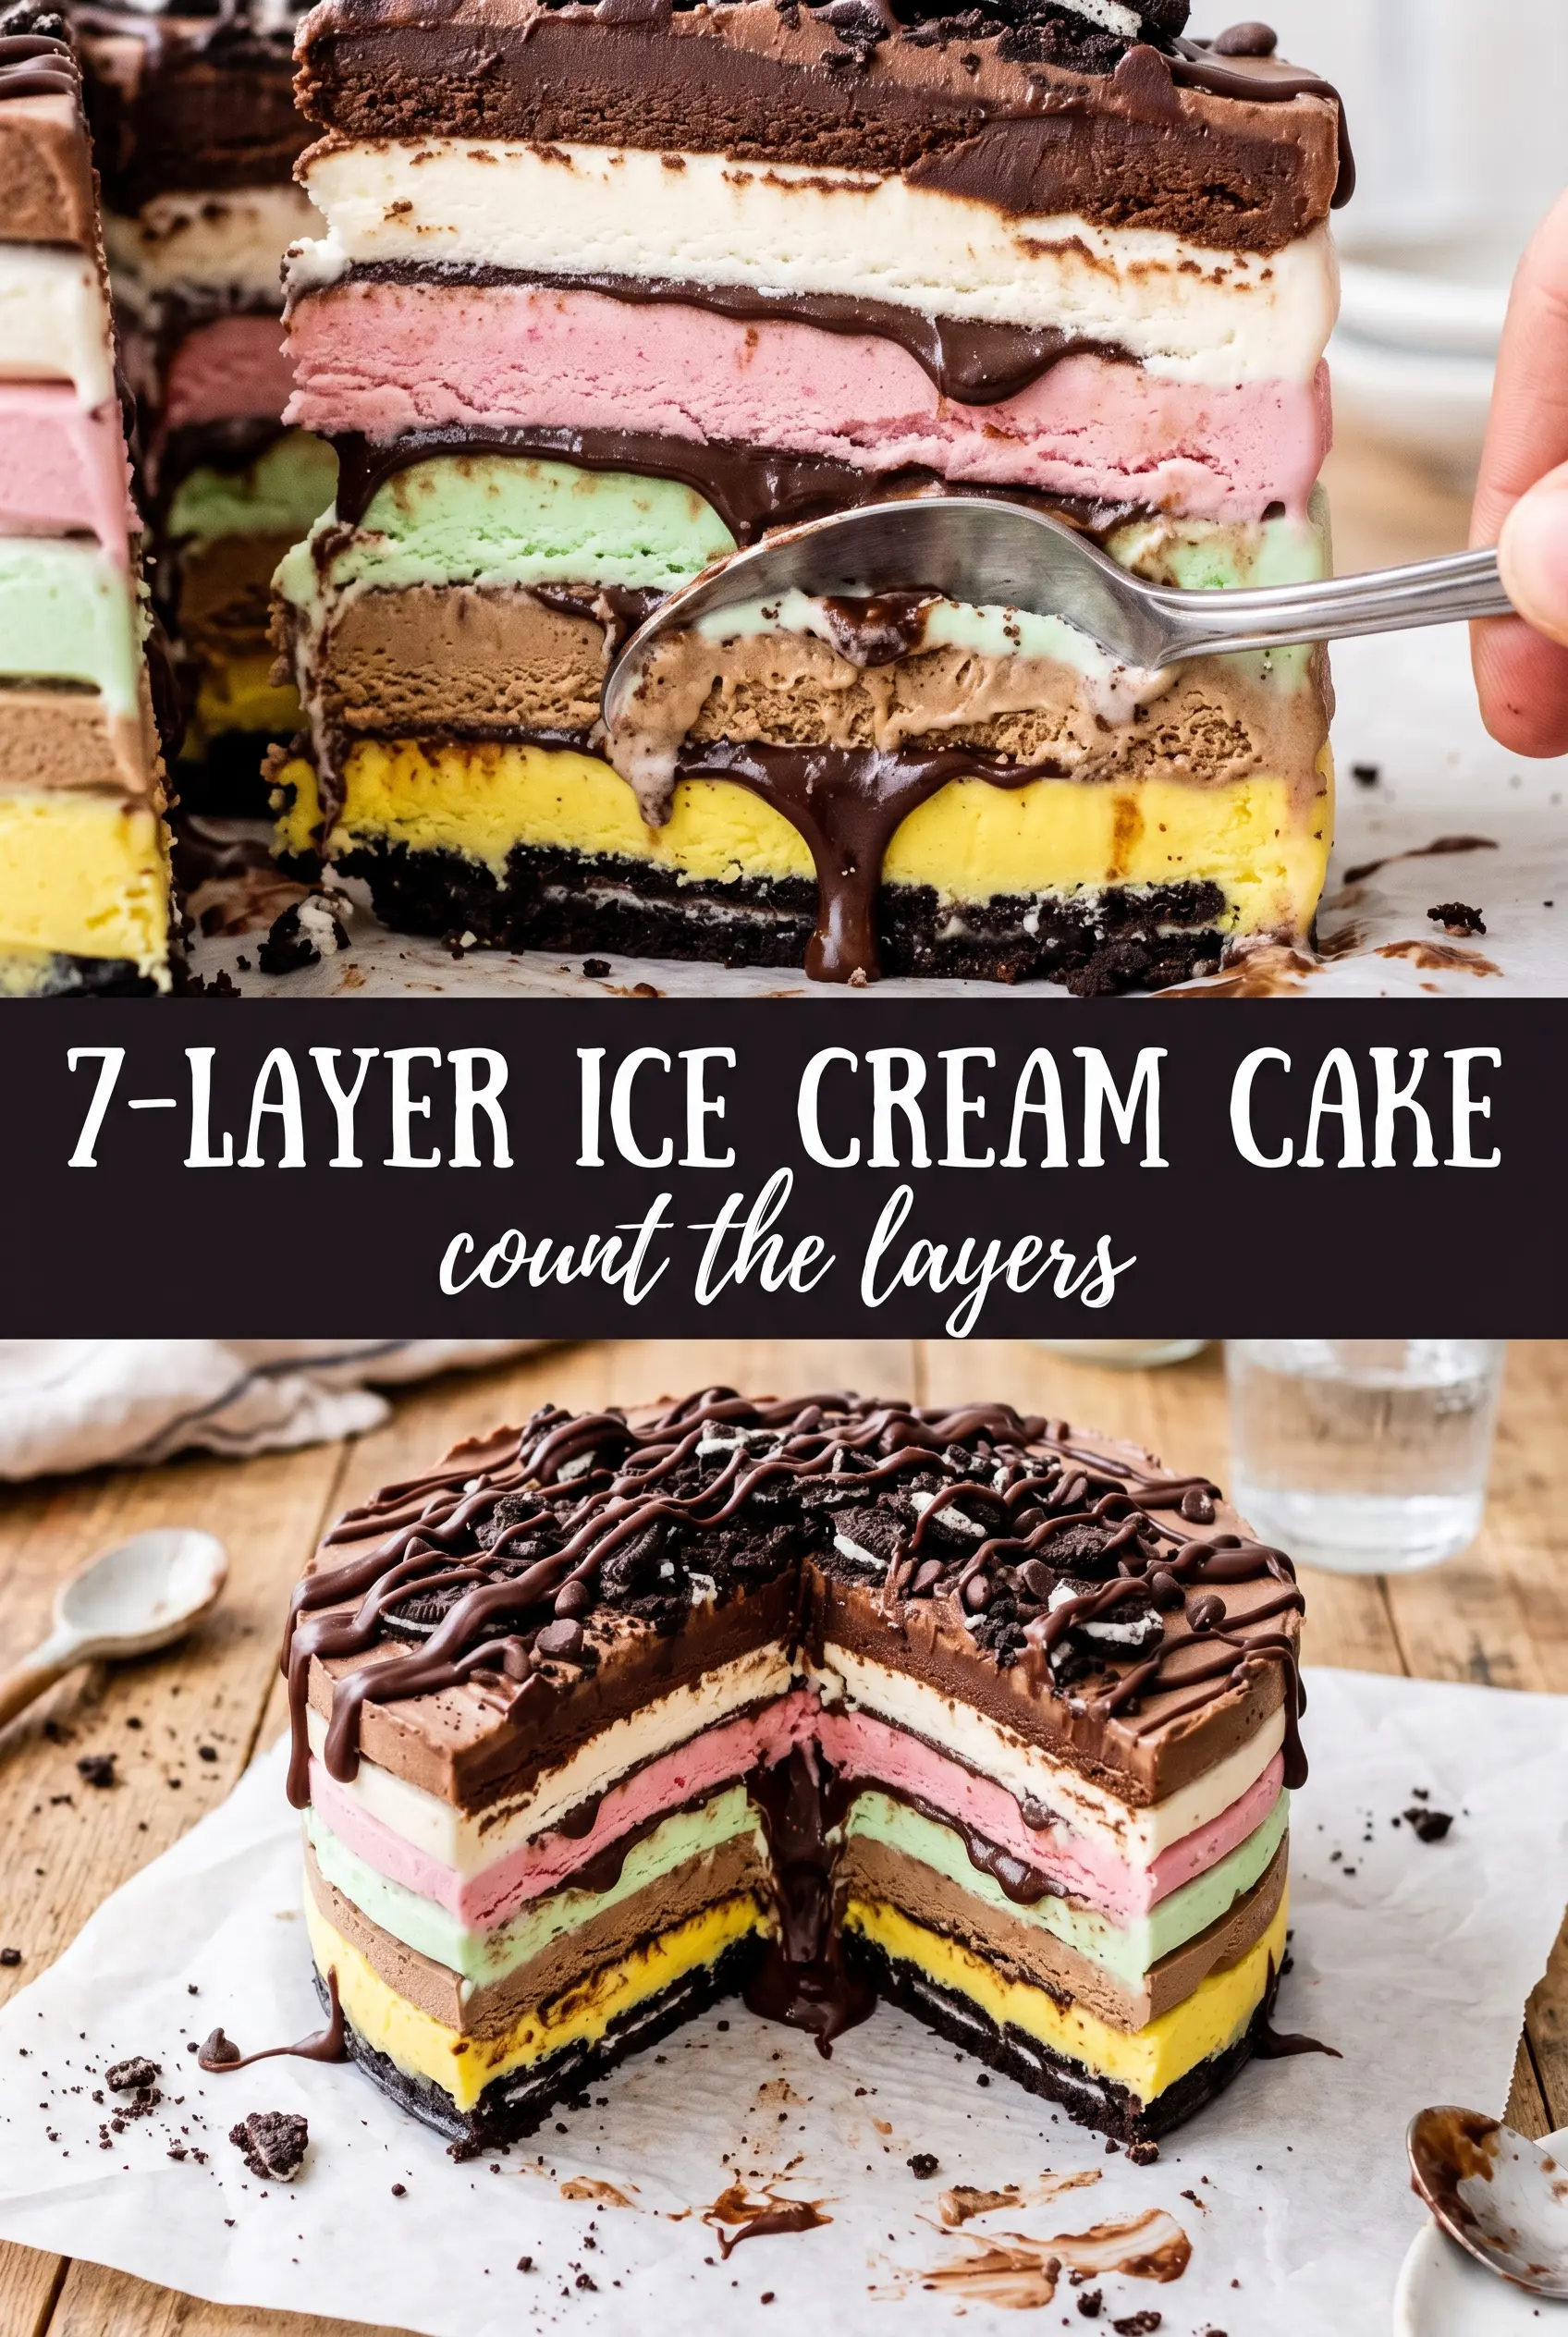
7-Layer Ice Cream Cake
Ingredients
Equipment
Method
- Press the crushed Oreos mixed with butter into a 9-inch springform pan and level the surface. Freeze for 20 minutes until set.
- Spread the softened chocolate ice cream over the Oreo crust in an even layer. Freeze for 45 minutes until firm.
- Spoon and spread the hot fudge sauce over the chocolate ice cream layer. Freeze for 20 minutes until the sauce firms up.
- Spread the softened vanilla ice cream over the hot fudge layer. Freeze for 45 minutes until firm.
- Drizzle the caramel sauce over the vanilla ice cream, then gently spread or tap to distribute evenly. Freeze for 20 minutes until the layer looks set.
- Spread the softened strawberry ice cream as the final ice cream layer and smooth the top. Freeze for 4 hours until completely solid.
- Spread whipped topping over the top and decorate with sprinkles. Freeze for 2 hours before serving.


