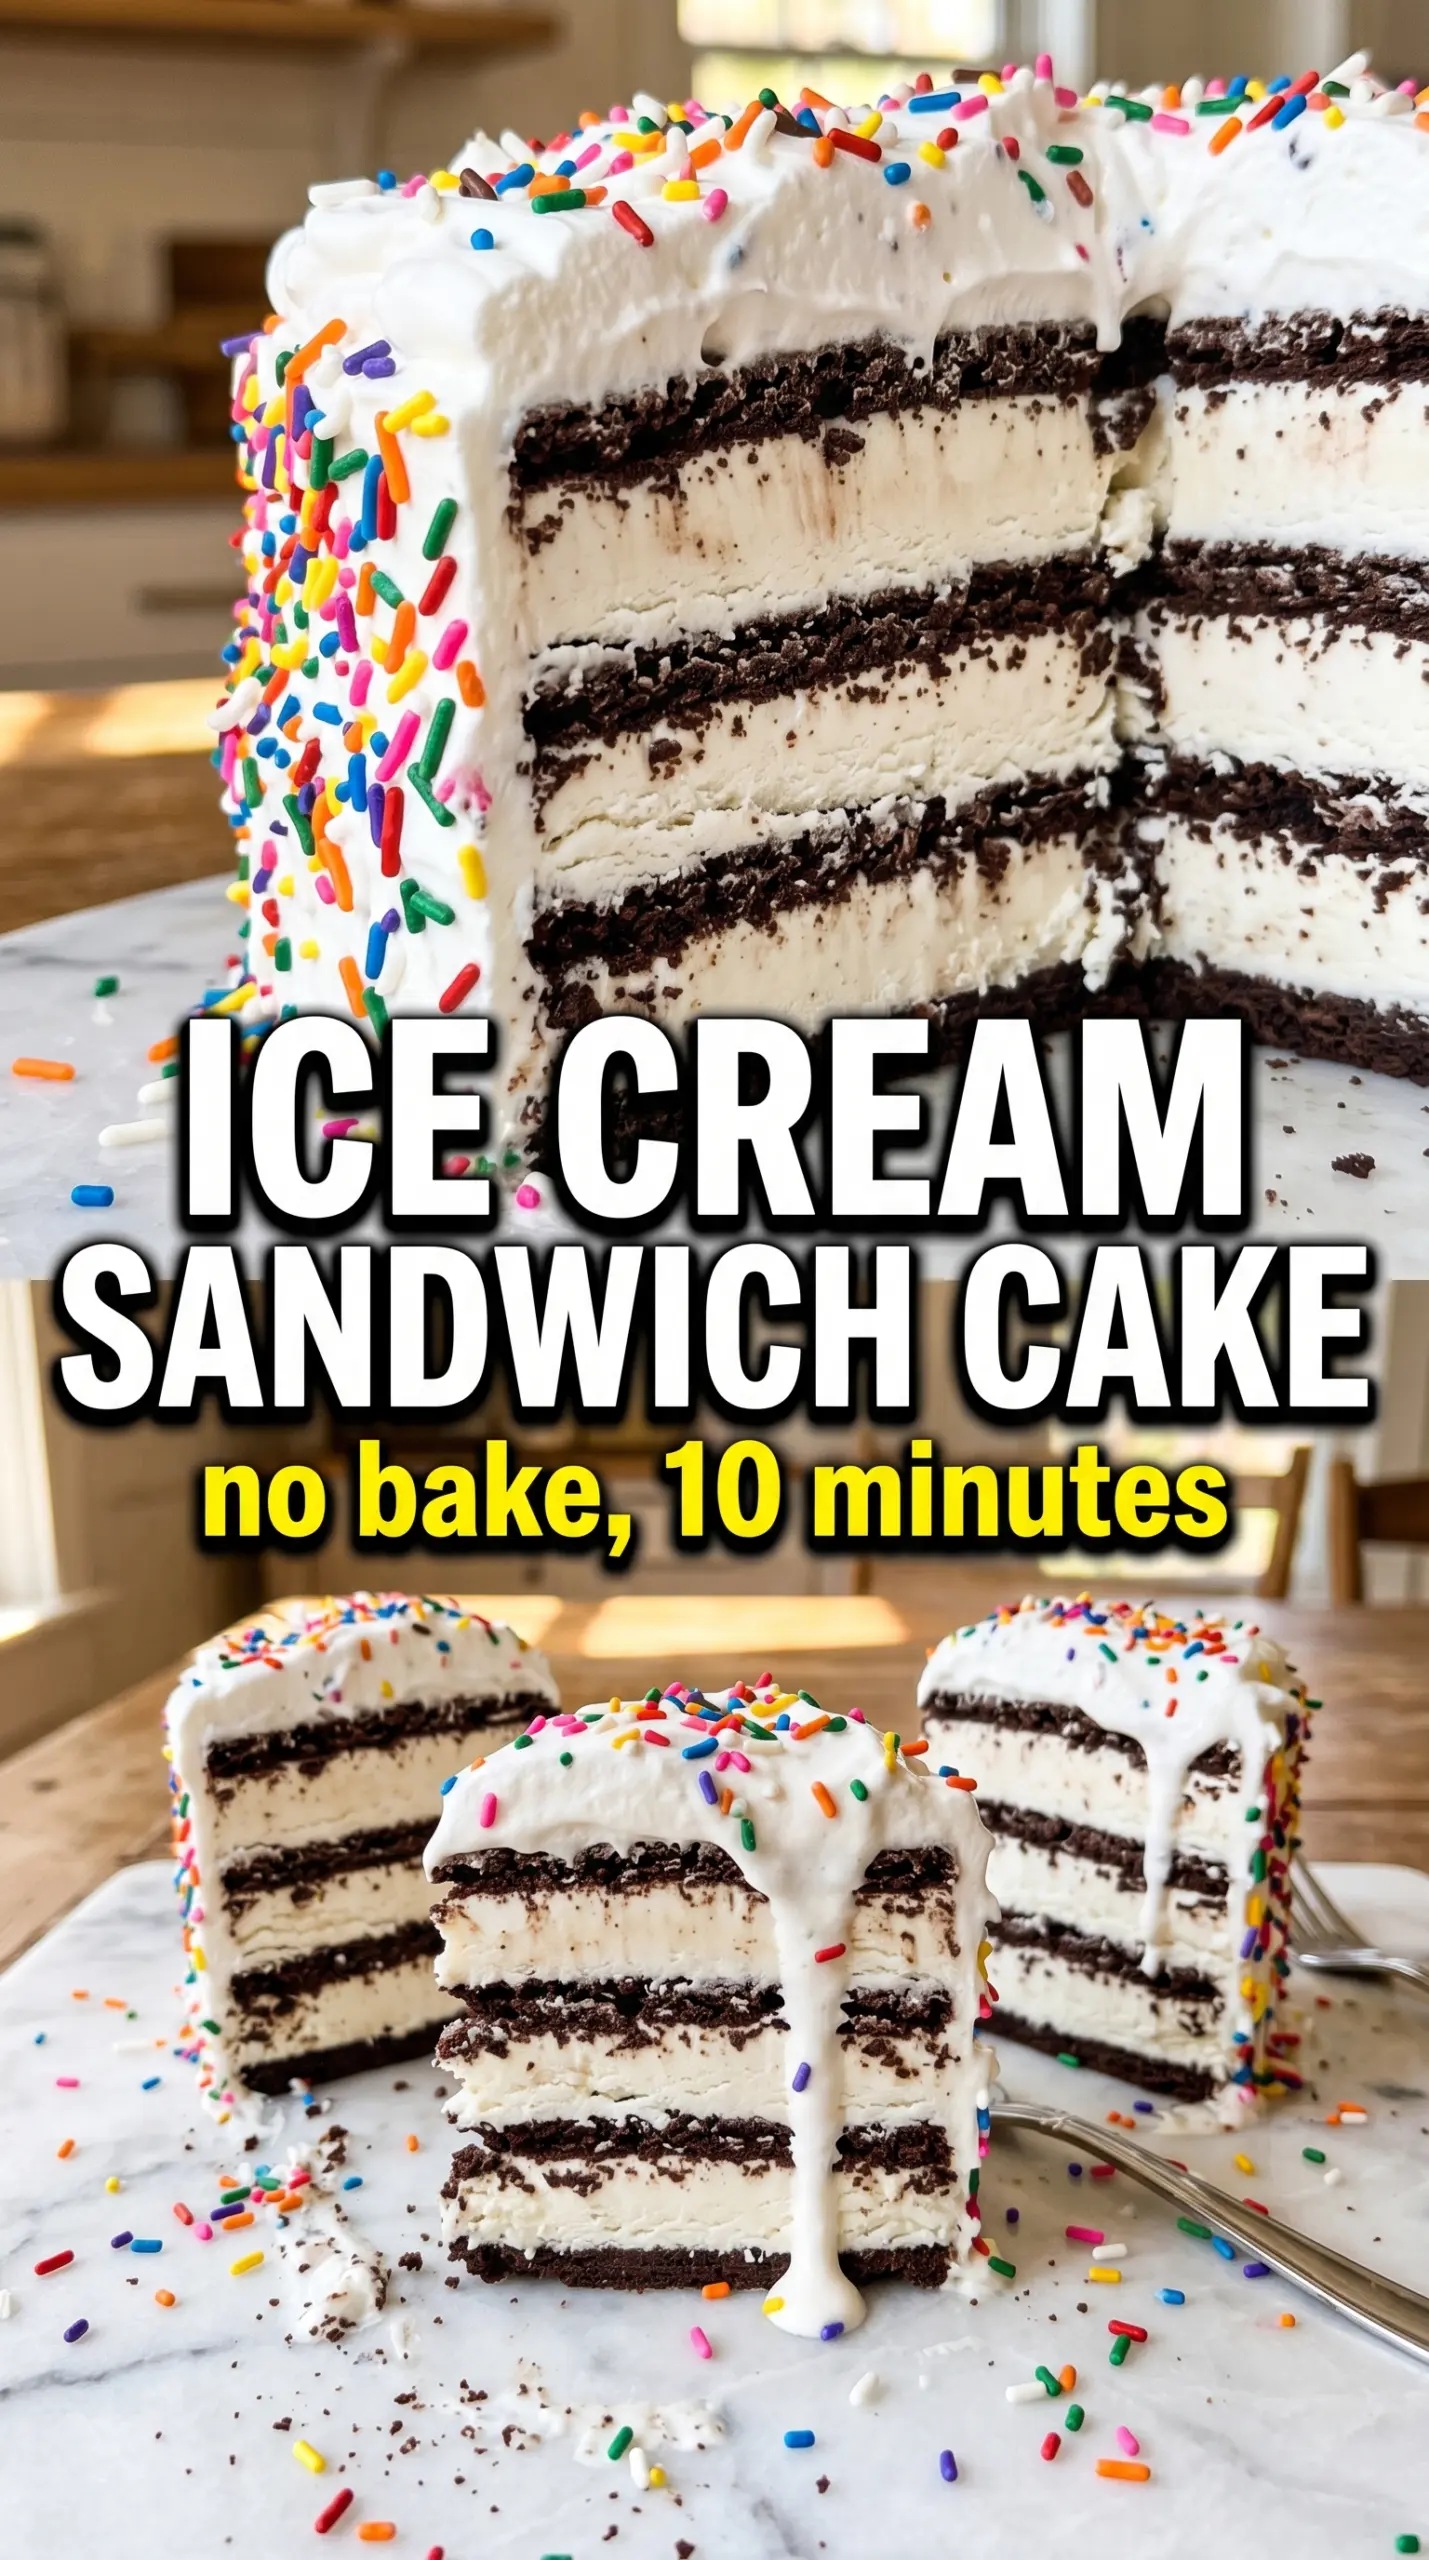
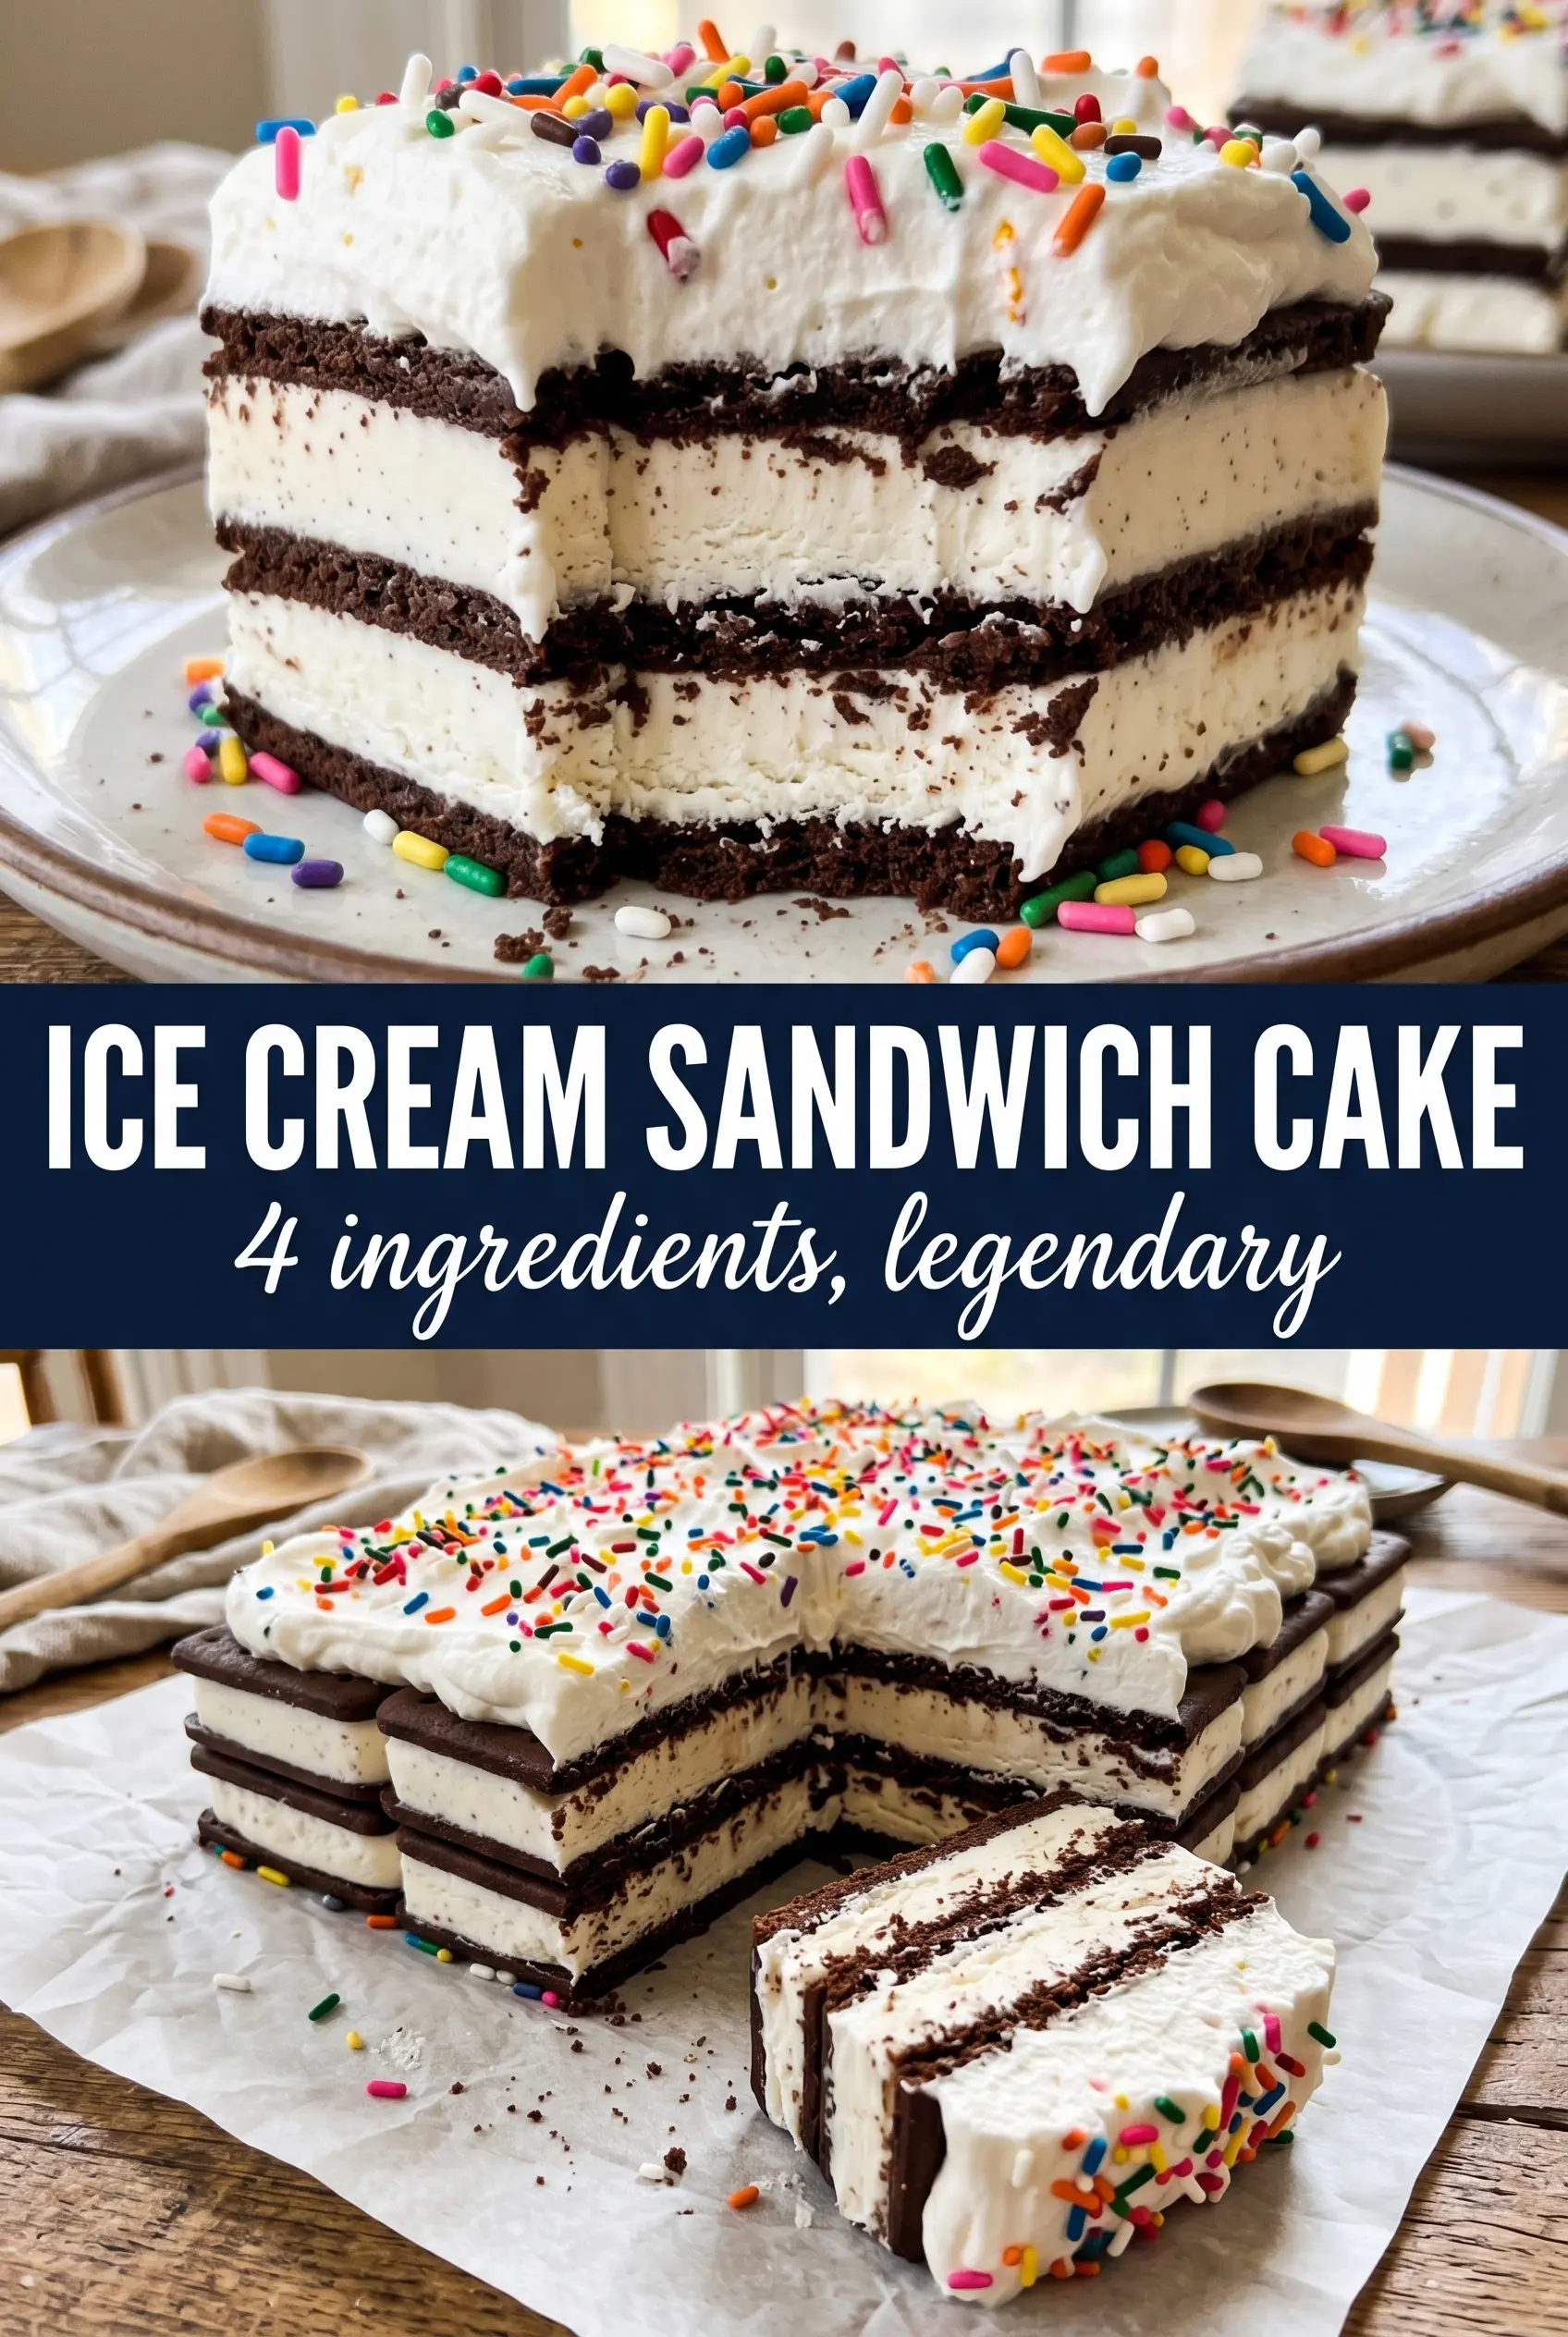
Ice cream sandwich cake cuts cleanly, serves a crowd, and gives you all the payoff of a layered frozen dessert without the fuss of baking a cake layer. The texture is the part that keeps it on repeat: soft enough to slice after a proper freeze, but still structured enough that each piece holds those neat stripes of chocolate cookie, whipped topping, and fudge.
The trick is using the sandwiches as both the cake layers and the structure. A 9×13 pan gives you the right footprint for a tidy stack, and the whipped topping spreads more smoothly if it’s thawed just enough to be fluffy, not slushy. Hot fudge and caramel bring the contrast, but they need to be drizzled in a thin layer so the cake doesn’t turn into a slippery mess when it’s time to cut.
Below, I’ve included the small details that keep the layers even, plus a few easy ways to change the decorations without changing the method. If you’ve ever had a frozen dessert collapse on the first slice, the freezing and slicing tips here are worth reading through.
The layers froze firm and the slices held together beautifully. I loved that the fudge stayed distinct instead of soaking into everything, and the Oreo topping gave it that bakery-style finish.
Save this ice cream sandwich cake for the next birthday, potluck, or no-bake dessert night when you need a frozen crowd-pleaser with zero oven time.
The Freezer Time That Gives You Clean Slices Instead of a Mess
The biggest mistake with a cake like this is cutting into it before the layers have fully set. The sandwiches may look firm on top, but the whipped topping and sauces need time to tighten all the way through or the first slice drags everything with it. Six hours is the minimum I’d trust; overnight is even better if you want sharper edges and a neater presentation.
Another thing that matters here is how evenly you build the layers. If one side gets more fudge than the other, the cake can slump when you slice it because the frozen sandwiches and the softer toppings don’t have the same weight. A flat layer in the pan gives you even freezing, which is what keeps each piece stackable.
- Ice cream sandwiches — These are the structure of the cake, so use the rectangular kind that fit the pan cleanly. If yours are a little smaller or larger, trim the edges only if needed to keep the first layer even.
- Whipped topping — Cool Whip holds its shape better than freshly whipped cream once frozen, which is why it works so well here. Let it thaw just until spreadable, not soupy, or it will slide around instead of forming a clean layer.
- Hot fudge sauce — Use a pourable fudge sauce that stays soft when cold. If it’s too thick, warm it just enough to drizzle; if it’s hot, it can melt the whipped layer and blur the stripes.
- Caramel sauce — This adds sweetness and a buttery note that keeps the dessert from tasting flat. A thick jarred caramel works fine, but thin it slightly if it won’t drizzle smoothly.
- Oreo crumbles and sprinkles — These are for texture and a little visual drama. Add them at the end so they stay on top instead of sinking into the whipped layer.
What Each Ingredient Is Actually Doing in This Ice Cream Cake
- Base layer (cookies, cake, or graham cracker) — This provides structure and stability. Crushed and mixed with butter creates a firm foundation.
- Ice cream (the main star) — Use quality ice cream or make homemade. Softness matters for layering.
- Sauce or topping between layers (fudge, caramel, or fruit) — This adds moisture, flavor, and prevents dryness. Don’t skip this layer.
- Frosting or whipped cream (optional outer layer) — This prevents freezer burn and adds creaminess. Stabilized whipped cream works best.
- Freezing time (at least 4-6 hours) — This sets the layers so cake slices cleanly. Longer freezing prevents melting during serving.
- Room temperature before serving (5-10 minutes) — This softens the cake slightly for better texture. Serve immediately after thawing.
- Toppings (chocolate, nuts, cookies, or sprinkles) — These add visual appeal and texture. Add right before serving.
- Storage (in freezer at 0°F or below) — This prevents ice crystal formation and maintains quality. Cover with plastic wrap.
Building the Layers Without Letting Them Slide
Setting the First Sandwich Layer
Arrange the ice cream sandwiches in a single layer in the 9×13 pan, pressing them together so there are no big gaps. If the pan walls leave a little space at the edge, that’s fine; the important part is a stable base. A loose first layer makes the whole dessert wobble when you slice it later, so line them up like puzzle pieces.
Spreading the Whipped Topping
Spread half the whipped topping over the sandwiches with a spatula in a thin, even layer. Don’t dig down hard enough to disturb the sandwiches underneath; you want the topping to sit on top, not drag crumbs through it. If the topping starts to look melty, chill it for a few minutes before continuing because warm whipped topping turns runny fast and won’t hold the next drizzle well.
Adding the Sauces
Drizzle the fudge and caramel in thin ribbons instead of dumping them in the center. Thin streams give you the marbled look and keep the cake from turning dense and sticky in one area. If your fudge is too cold to drizzle, warm it just until it loosens; if it’s hot, wait, because heat is the enemy of those clean layers.
Finishing and Freezing
Top with the second layer of sandwiches, then spread on the remaining whipped topping until the surface is covered completely. Finish with more fudge, caramel, sprinkles, and Oreo crumbles. Freeze it uncovered for the first hour if you want the top to firm up quickly, then cover it and freeze until solid so the decorations stay in place and the cake slices neatly.
How to Adapt This Ice Cream Sandwich Cake for Different Crowds and Diets
Dairy-Free Version
Use dairy-free ice cream sandwiches, a coconut-based whipped topping, and dairy-free fudge and caramel sauces. The texture stays close to the original, though the coconut topping sets a little softer, so give the cake the full overnight freeze if you want the cleanest slices.
Chocolate-Lover’s Version
Swap the caramel for extra hot fudge and use crushed chocolate cookies on top instead of sprinkles. The cake turns richer and less sweet, with a more cookies-and-cream feel that works well for people who want the chocolate to lead.
Smaller Pan, Taller Slices
If you want thicker slices, build the cake in an 8×8 or 9×9 pan and reduce the sandwich count to fit the base. The result is a taller dessert with more dramatic layers, but it needs a longer freeze to set all the way through.
Storage and Reheating
- Refrigerator: Don’t store this one in the fridge; it softens too quickly and loses the layered texture.
- Freezer: Keep it covered in the freezer for up to 1 week for the best texture. After that, the sandwiches can pick up freezer flavor and the toppings start to look dull.
- Reheating: No reheating needed. Let slices sit at room temperature for 5 to 10 minutes before serving so the knife glides through without shattering the frozen layers.
Answers to the Questions Worth Asking
Ice Cream Sandwich Cake
Ingredients
Equipment
Method
- Arrange a single layer of rectangular ice cream sandwiches in a 9x13 pan.
- Spread half the whipped topping over the sandwiches, smoothing to the edges so the layer is even.
- Drizzle half the hot fudge sauce and half the caramel sauce over the whipped topping in thin ribbons.
- Arrange a second layer of rectangular ice cream sandwiches on top, pressing lightly to help it set.
- Spread the remaining whipped topping to cover completely, creating an even top surface.
- Drizzle the remaining hot fudge sauce and caramel sauce on top, then decorate with rainbow sprinkles and Oreo crumbles.
- Freeze at least 6 hours or overnight before slicing, until firm enough to cut clean wedges with visible layers.


