Apple butter pie bakes into something that lands between a silky custard and a spiced fall dessert filling, with a smooth, spoonable center that slices cleanly once it cools. The apple butter gives it a deep cooked-apple flavor without needing to stew fruit first, and the cream keeps the texture rich instead of dense. What comes out of the oven is fragrant, lightly jiggly in the middle, and sturdy enough to hold a neat wedge after a proper chill.
The trick is treating it like a custard pie, not a quick dump-and-bake dessert. Pre-baking the crust keeps the bottom crisp, and whisking the filling until completely smooth prevents streaks of egg or little pockets of spice from turning up in the finished pie. The sugar works with the apple butter instead of fighting it, so the pie tastes balanced rather than overly sweet.
Below, I’ve included the small details that matter most: how to tell when the center is set, why the chill time isn’t optional, and what to change if you want a slightly lighter filling or a gluten-free crust.
The filling baked up silky and the crust stayed crisp on the bottom, which almost never happens with custard pies in my oven. I chilled it overnight and the slices held their shape perfectly with just enough wobble in the center.
Save this apple butter pie for the kind of dessert that slices cleanly, chills beautifully, and tastes like warm spiced apple filling without any fuss.
The Part That Keeps Apple Butter Pie From Turning Watery
Apple butter pie only works when you think about it like a baked custard. The filling has a lot of moisture from the apple butter and cream, and the eggs need gentle, even heat to set that into a clean slice. If the oven runs hot or the pie goes in with an underbaked crust, the edges can firm up before the center is ready, which is how you end up with a loose middle and a soggy bottom.
The pre-bake on the crust is doing more than saving time later. It gives the shell a head start so it doesn’t absorb the filling before the custard has a chance to set. The pie is done when the outer ring is set and the center still moves a little like gelatin, not liquid. That wobble disappears as the pie cools on the counter and then firms fully in the fridge.
- Watch the center, not the clock. Ovens vary, and this pie can look done on top before the middle is ready.
- Pre-bake the crust just enough to set it. You’re not fully browning it here; you’re creating a barrier against a wet filling.
- Cool it all the way before slicing. Cutting too early breaks the custard structure and leaves you with a soft, messy wedge.
What Each Ingredient Is Actually Doing in This Pie
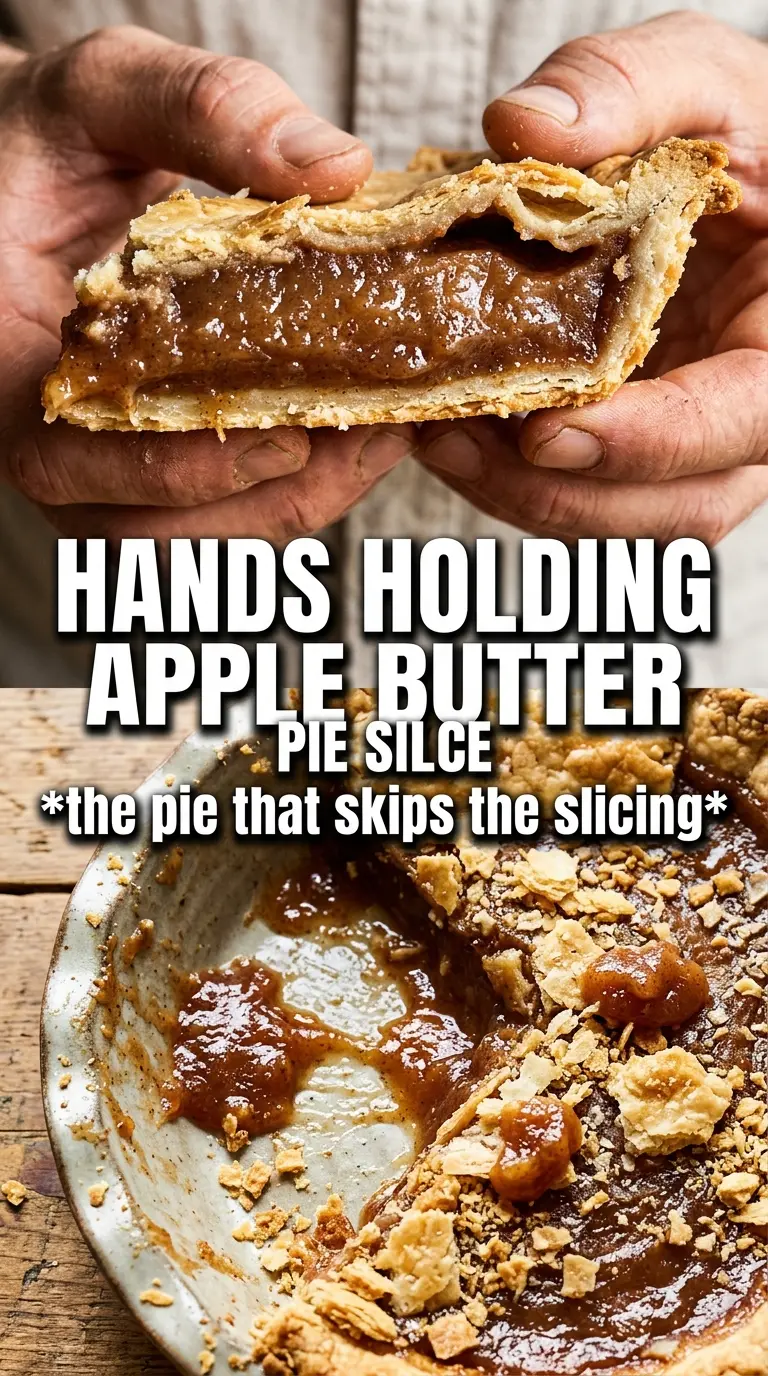
- Apple butter — This is the backbone of the pie, not just a sweetener. Use a thick, well-spiced apple butter with a deep cooked flavor; a thin applesauce won’t give you the same body or intensity.
- Heavy cream — It turns the filling silky and rich. Half-and-half will work in a pinch, but the pie won’t set as plushly and the flavor will be lighter.
- Eggs — They set the custard. Whisk them fully into the mixture so you don’t get eggy strands after baking.
- Brown sugar and granulated sugar — The brown sugar adds molasses depth, while the granulated sugar keeps the sweetness clean. Don’t cut both unless your apple butter is already very sweet.
- Cinnamon, nutmeg, and allspice — These echo the apple butter and make the pie smell as good as it tastes. If your apple butter is heavily spiced already, you can slightly reduce them, but don’t skip all three or the filling tastes flat.
- Deep-dish pie crust — A sturdier shell matters here because the filling is rich and substantial. If you use a store-bought crust, pick one that’s meant for deep-dish pies so the filling doesn’t overflow.
Building the Custard So It Sets Cleanly
Pre-Baking the Crust
Prick the bottom of the crust, then bake it just until the dough no longer looks raw and glossy. You want it set, not browned through. If you skip this step, the bottom can stay gummy under the custard, especially because apple butter filling is moist and needs a head start from the shell.
Mixing the Filling Smooth
Whisk the apple butter, eggs, sugars, cream, spices, vanilla, and salt until the mixture looks completely even and glossy. Any streaks of egg or clumps of brown sugar will show up after baking, so keep whisking until the texture is uniform. The filling should pour like a thick cream, not sit in lumps.
Baking Until the Center Still Moves
Pour the filling into the warm crust and bake until the edges are set and the center has a slight wobble when you nudge the pan. If the whole pie looks firm in the oven, it’s probably overbaked and can crack as it cools. Pull it when the middle still has a soft jiggle; residual heat finishes the job.
Cooling and Chilling for Clean Slices
Let the pie cool completely at room temperature before moving it to the refrigerator. The filling tightens as it cools, and the fridge finish gives you the neatest slices. If you cut it while warm, the custard won’t have enough structure and the filling will slump out of the crust.
How to Adapt Apple Butter Pie for Different Kitchens and Crowds
Gluten-Free Crust Swap
Use a gluten-free deep-dish pie shell and par-bake it the same way. The filling is naturally gluten-free, so the crust is the only thing you need to change. Expect a slightly more delicate slice, especially if the crust is made with a very tender gluten-free flour blend.
Dairy-Free Version
Swap the heavy cream for full-fat canned coconut milk. It keeps the filling rich enough to set, though the pie will carry a faint coconut note that changes the apple butter flavor a bit. Use a dairy-free crust if needed, and chill the pie thoroughly before slicing.
Less Sweet, More Apple Forward
Reduce the granulated sugar by 2 tablespoons if your apple butter is already very sweet. The pie will taste a little more tart and cooked-fruit forward, which works well if you plan to serve it with whipped cream. Don’t cut the sugar much further or the custard can taste flat.
Making It Ahead
This pie is an excellent make-ahead dessert because the texture improves after chilling. Bake it a day in advance, cool it completely, then refrigerate it uncovered until firm. Cover it after the filling has set so you don’t trap condensation on the surface.
Storage and Reheating
- Refrigerator: Store covered for up to 4 days. The crust softens slightly over time, but the filling stays creamy.
- Freezer: Freeze the baked pie tightly wrapped for up to 1 month. Thaw overnight in the refrigerator for the best texture; freezing longer can make the custard a little watery after thawing.
- Reheating: Serve chilled or let slices sit at room temperature for 20 to 30 minutes. If you warm it, do it gently and briefly; high heat can break the custard and make the filling weep.
Answers to the Questions Worth Asking
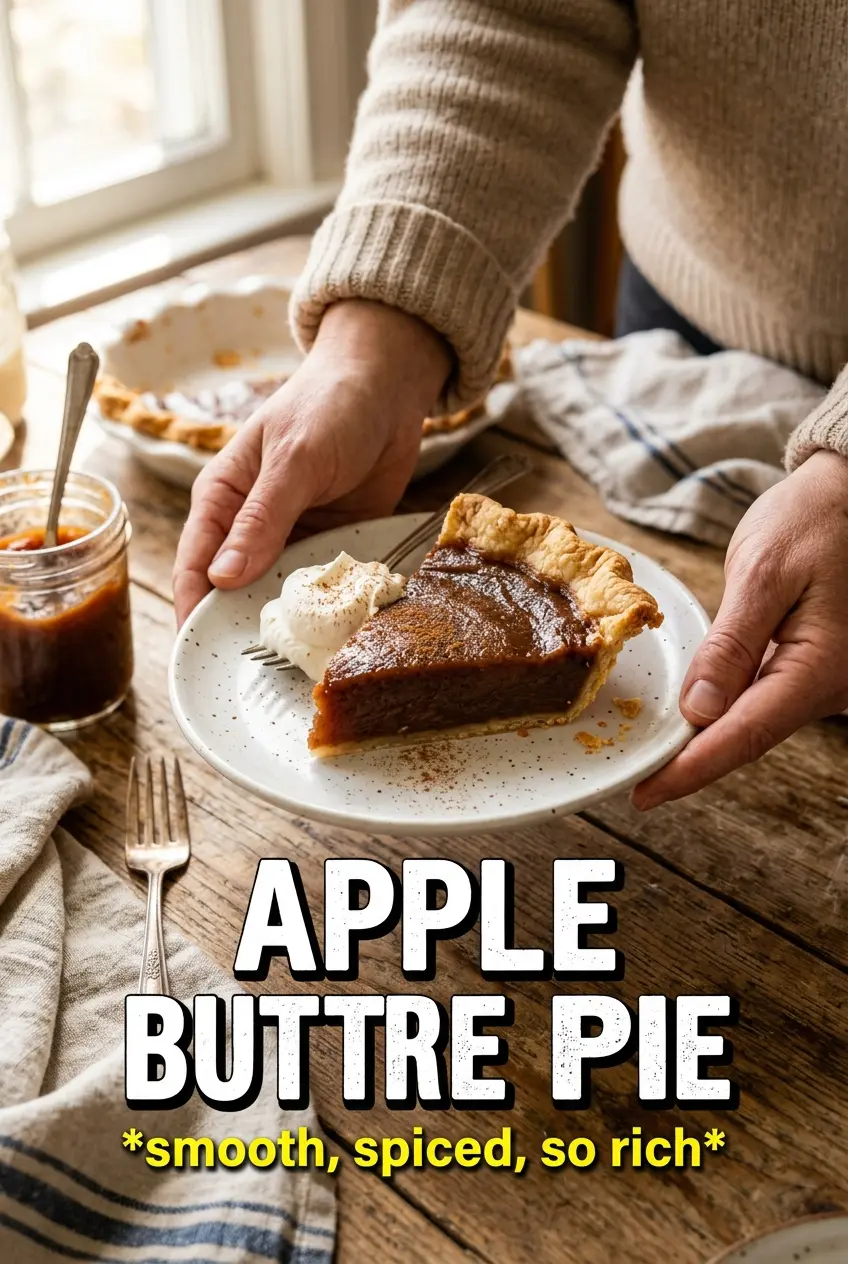
Apple Butter Pie
Ingredients
Equipment
Method
- Preheat the oven to 375F, then prick the bottom of the pie crust and pre-bake for 10 minutes until just set, using a visible light set on the surface.
- Remove the pre-baked crust and let it rest briefly while you mix the filling so the custard goes in smoothly.
- Whisk apple butter, eggs, granulated sugar, brown sugar, heavy cream, cinnamon, nutmeg, allspice, vanilla extract, and salt until completely smooth, with no streaks remaining.
- Pour the smooth filling into the pre-baked shell, filling to the edges without spilling over.
- Bake for 40-45 minutes at 375F until the edges are set but the center still has a slight wobble when gently nudged.
- Cool the pie completely so the filling firms as it cools, leaving the top looking fully set and stable.
- Refrigerate for at least 2 hours before slicing, then serve each piece with whipped cream.


