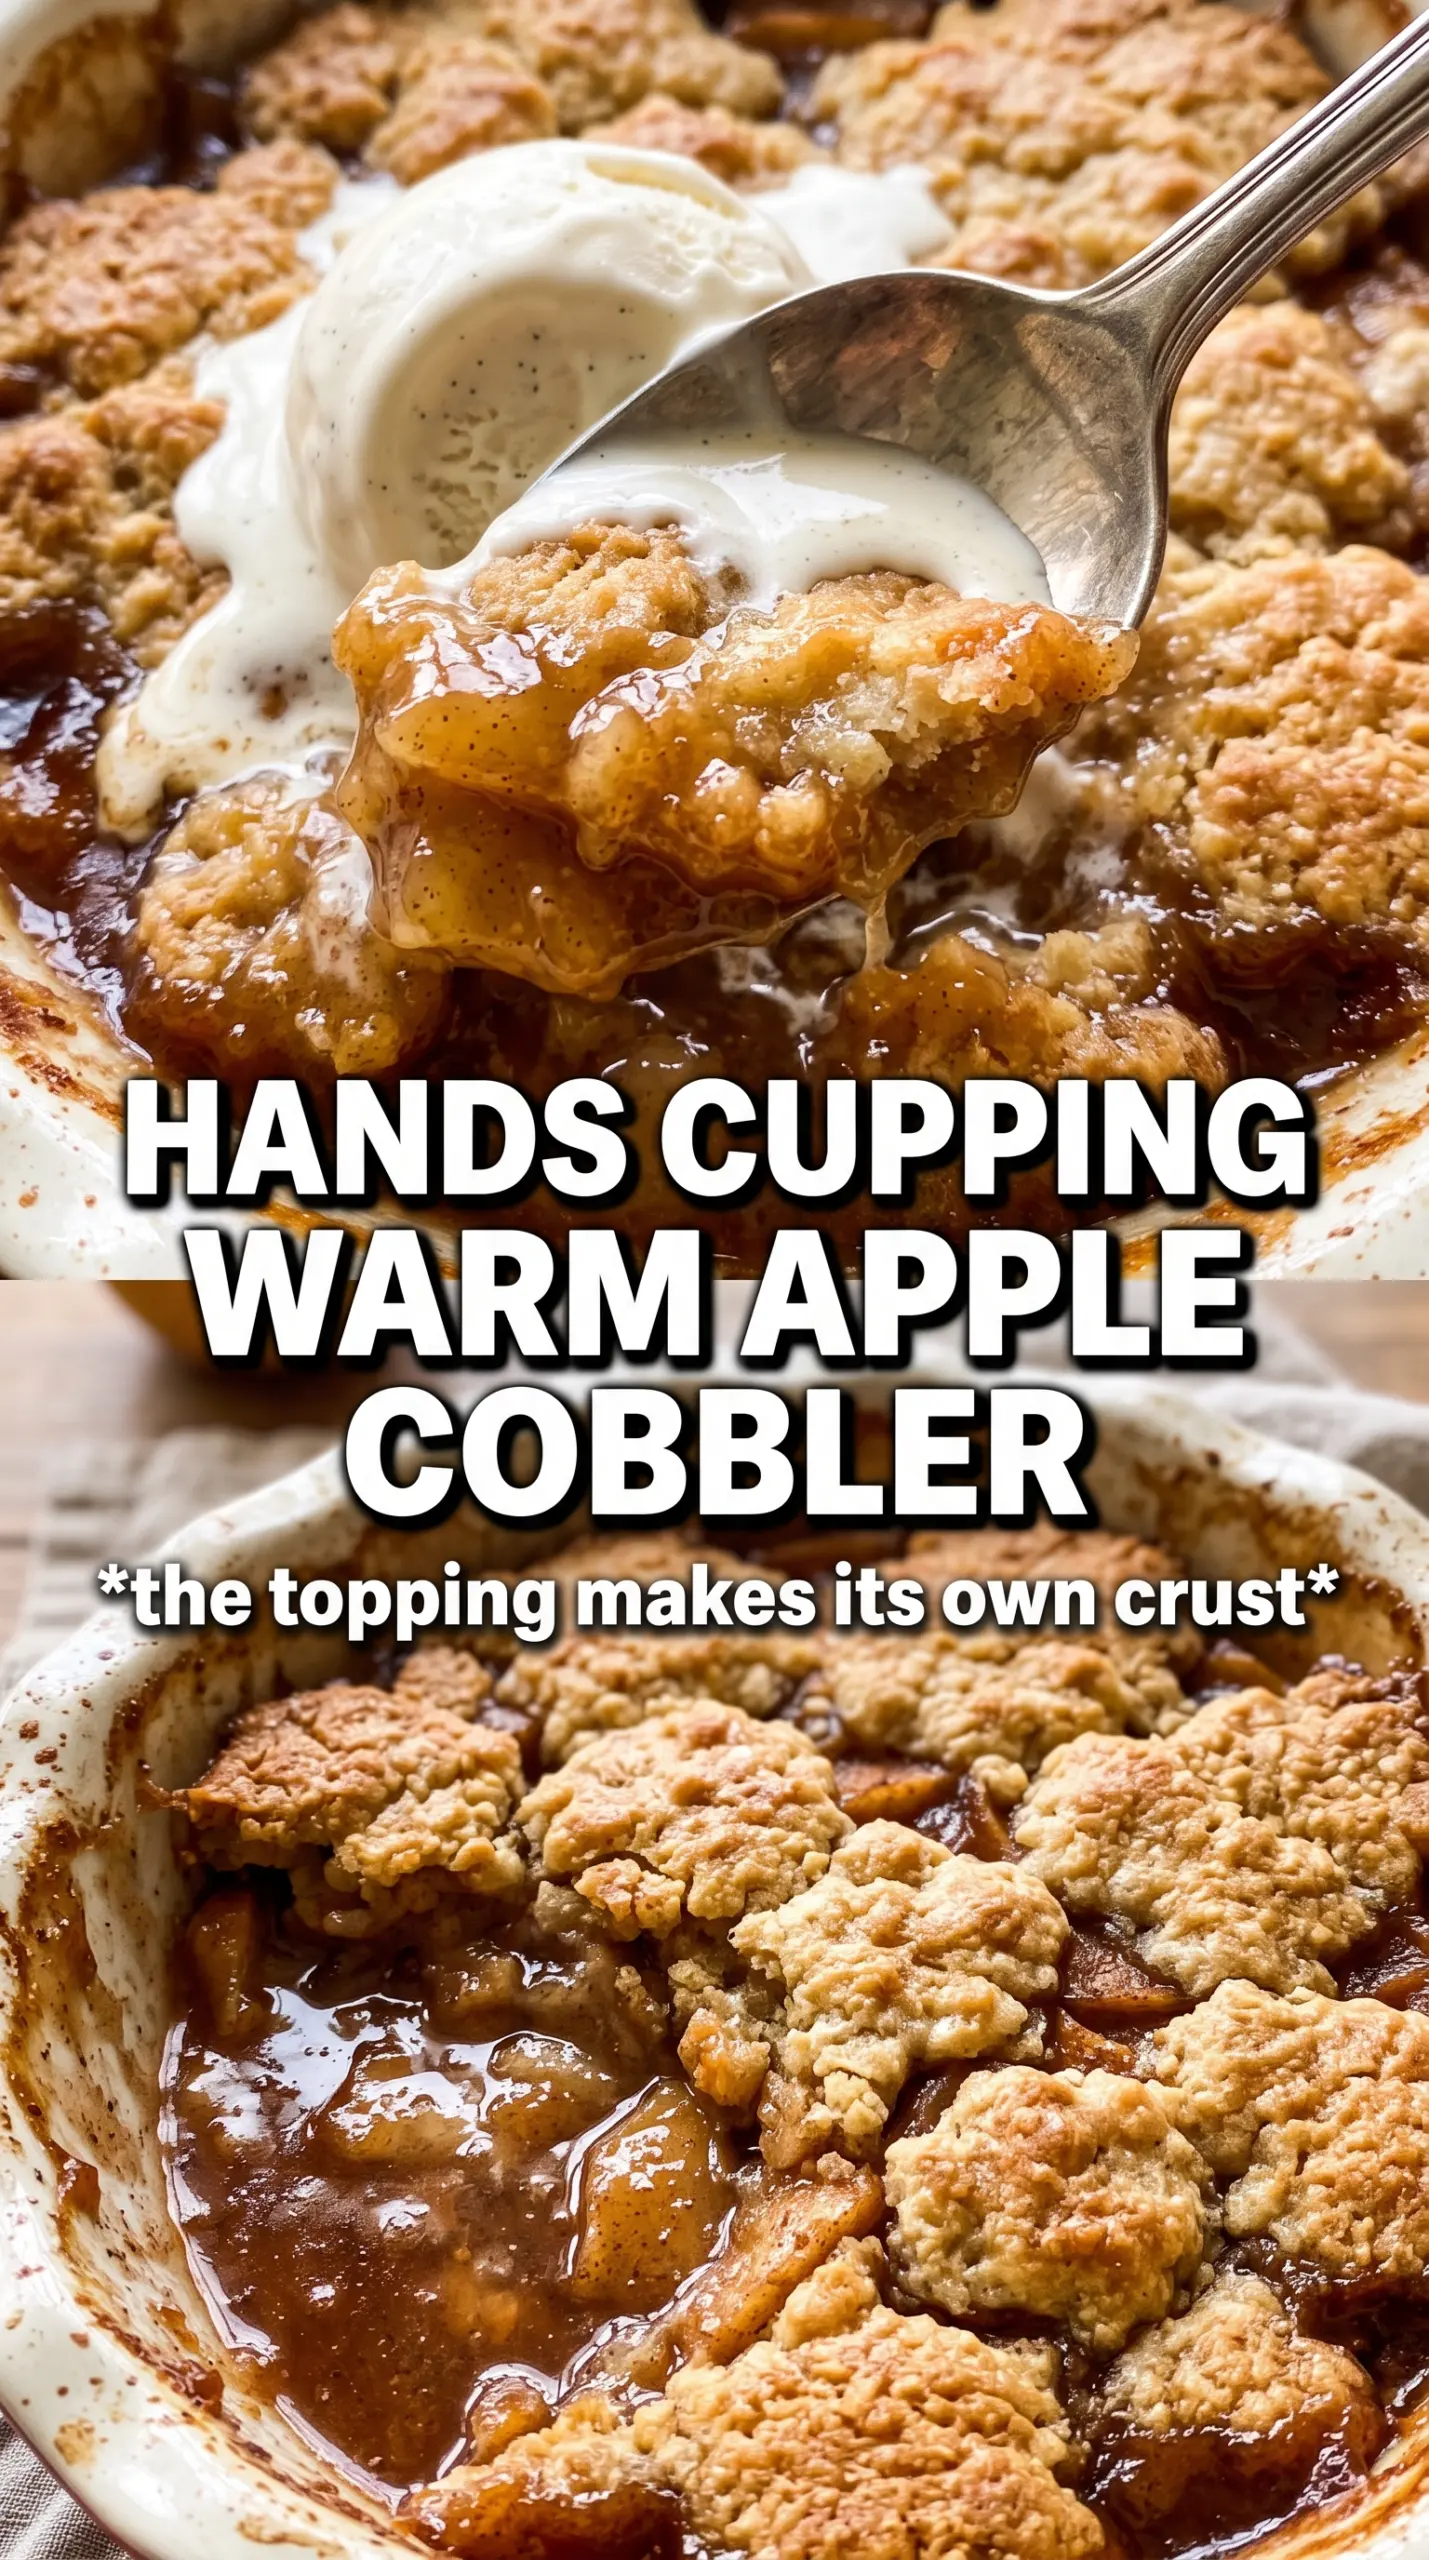
Warm apple cobbler lands exactly where dessert should: tender spiced apples bubbling up under a buttery biscuit topping with crisp edges and a soft center. The best bites give you a little of everything at once, and this version keeps the filling thick enough to spoon cleanly without turning gummy. That contrast is what makes a pan disappear fast.
The trick is baking the apples before the topping goes on. That head start softens the fruit and gives the cornstarch time to thicken the juices, so the cobbler finishes with a glossy filling instead of a watery one. The biscuit dough stays light because the butter goes in cold and the batter is stirred just until combined, which keeps the topping from turning dense.
Below, I’ll walk you through the little details that matter most: how to know when the filling has thickened enough, how to drop the topping so it bakes evenly, and how to keep leftovers tasting good the next day.
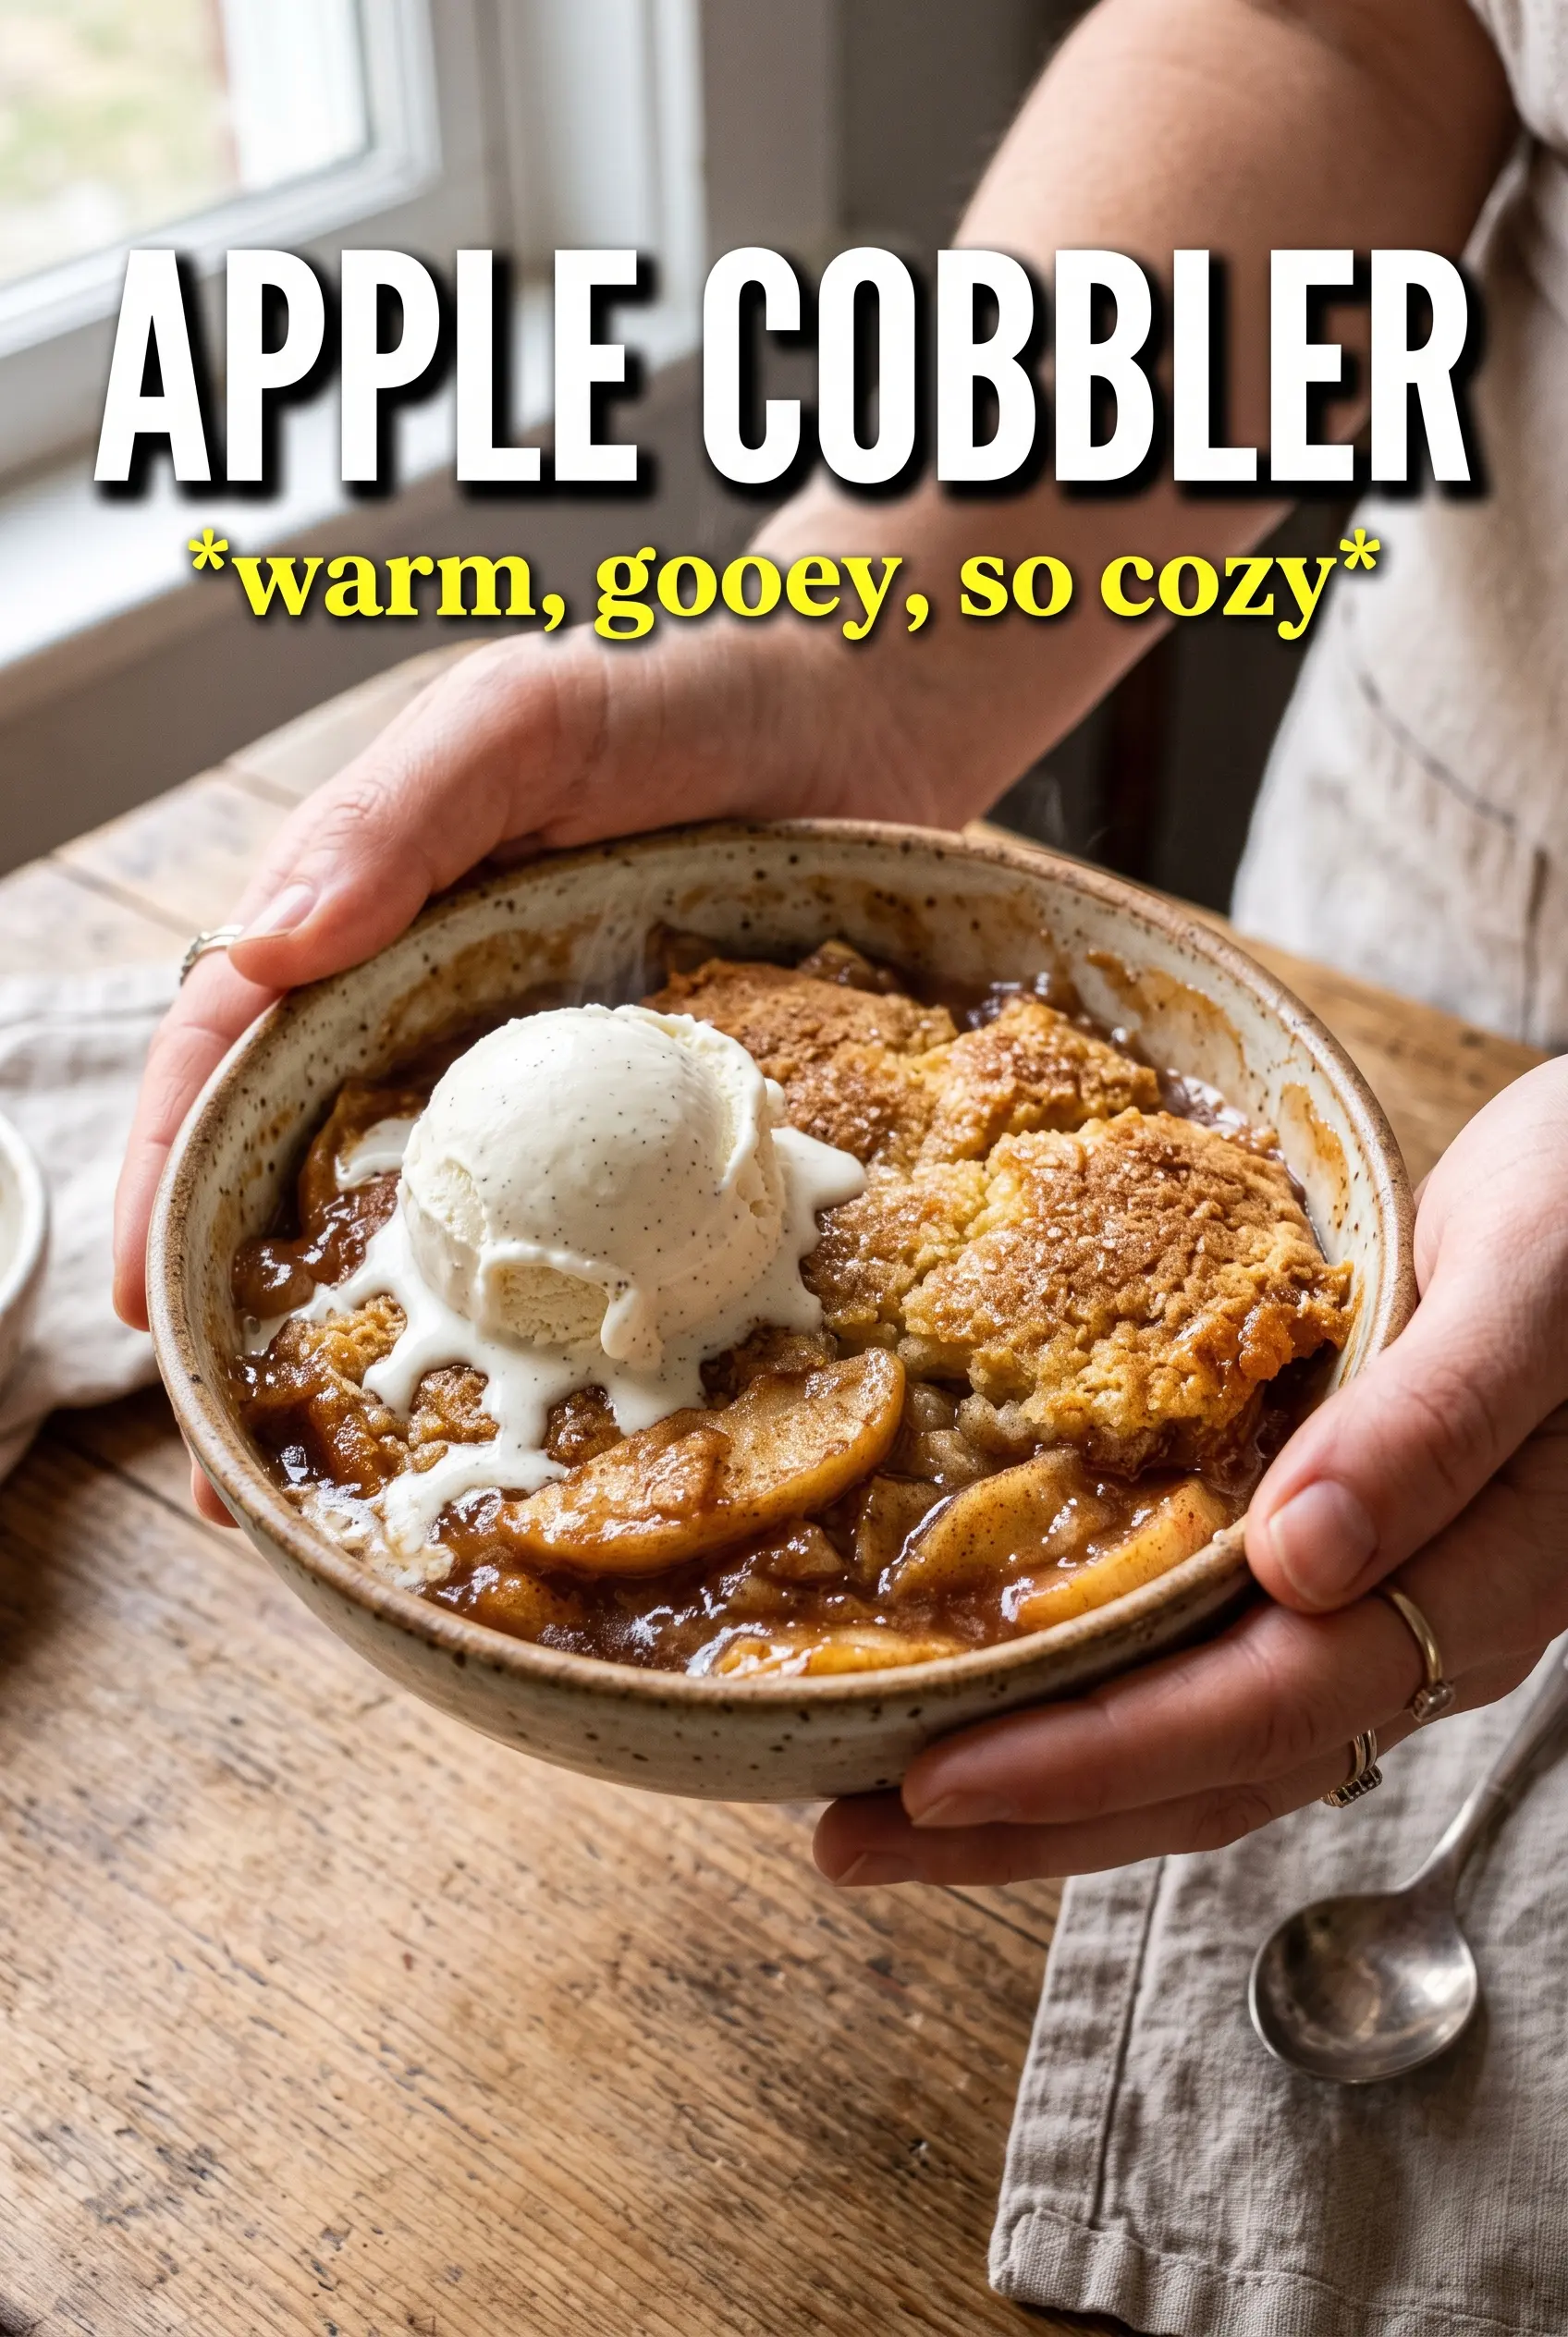
The apples turned tender without falling apart, and the biscuit topping baked up with those crunchy cinnamon-sugar edges I was hoping for. I served it warm with vanilla ice cream and the filling set up beautifully instead of running all over the plate.
Save this apple cobbler for the nights when you want bubbling cinnamon apples under a buttery biscuit crust.
The Part Most Apple Cobblers Get Wrong: A Watery Filling
Apple cobbler fails when the fruit and sugar start leaking before the topping has a chance to finish. If you dump everything into the dish and go straight to the oven, the apples release juice faster than the cornstarch can thicken it, and you end up with soup under baked dough. Giving the filling a 15-minute head start solves that problem because the juices begin to thicken before the topping goes on.
The other place people lose the texture is with the biscuit layer. A cobbler topping should look rough and a little shaggy before it goes in the oven. If you stir it until smooth, the butter warms up and the topping bakes up tight instead of tender. Cold butter and a light hand are what keep those little nooks and crannies crisp on top and soft underneath.
What Each Ingredient Is Doing in the Cobbler
- Apples — Use a firm baking apple if you can. You want slices that hold their shape after 45 minutes in the oven, not apples that melt into applesauce. Granny Smith, Honeycrisp, Braeburn, or a mix all work well.
- Cornstarch — This is what turns the fruit juices into a spoonable filling. Flour won’t thicken as cleanly here, and you’ll usually need more of it to get the same set. Toss it with the sugar and spices before it hits the dish so it disperses evenly.
- Lemon juice — It keeps the apples tasting bright and keeps the filling from flattening out under all that sugar. Fresh juice is best, but bottled works in a pinch.
- Cold butter in the topping — The little pieces of butter melt in the oven and leave behind flaky pockets. If the butter softens before baking, the topping turns more cakey and less biscuit-like.
- Whole milk or buttermilk — Whole milk gives a soft, mild topping. Buttermilk gives a slight tang and a little extra tenderness, which is great if you like a more old-fashioned cobbler flavor.
- Egg and vanilla — The egg gives the topping enough structure to hold onto the fruit, and the vanilla rounds out the biscuit dough so it tastes finished rather than plain.
How to Build the Cobbler So the Top Bakes Before the Fruit Breaks Down
Season and Start the Filling First
Toss the sliced apples with sugar, cinnamon, nutmeg, cornstarch, and lemon juice until every slice looks lightly coated. Spread them in the baking dish and dot the top with butter, then let the oven do the first round of work. After 15 minutes, the apples will have started to soften and the juices will look a little syrupy around the edges, which is exactly what you want before the topping goes on.
Keep the Biscuit Dough Ragged
Whisk the dry ingredients, cut in the cold butter, then stir in the milk mixture just until the flour disappears. The dough should look lumpy and uneven, not silky. If it seems dry, give it one or two more folds with the spoon; if you keep mixing past that point, the topping gets tough and loses that biscuit texture.
Drop, Sugar, and Finish Baking
Spoon the dough over the hot filling in rough mounds rather than trying to cover every inch. Leaving gaps lets the fruit bubble up around the edges and helps the top bake through without steaming itself soft. Finish with the cinnamon sugar and bake until the topping is deep golden and the filling is bubbling thickly through the cracks, not just at the sides.
Use a Dairy-Free Topping
Swap the butter for a solid plant-based butter that bakes well and use unsweetened non-dairy milk. The texture stays close to the original, though the topping will be a little less rich and the browned edges won’t taste quite as buttery.
Make It Gluten-Free
Use a cup-for-cup gluten-free flour blend in the topping. The apples don’t need adjusting, but the biscuit layer may spread a little more, so keep the mounds slightly taller when you drop them over the filling.
Change the Apple Mix
Using a tart apple with a sweeter one gives you a more balanced filling. All Granny Smith makes the cobbler brighter and sharper; all Honeycrisp makes it softer and sweeter. A mix gives the best middle ground.
Storage and Reheating
- Refrigerator: Store covered for up to 4 days. The topping softens as it sits, but the flavor stays good.
- Freezer: It freezes well after baking. Cool completely, wrap tightly, and freeze for up to 2 months. Thaw overnight in the refrigerator before reheating.
- Reheating: Warm in a 325°F oven until the filling is hot and the top re-crisps, about 15 to 20 minutes for individual portions or a little longer for the full dish. Microwaving works for speed, but it softens the biscuit topping.
Questions I Get Asked About This Apple Cobbler
Apple Cobbler
Ingredients
Equipment
Method
- Preheat oven to 375F and grease a 9x13 baking dish.
- Toss apple slices with granulated sugar, cinnamon, nutmeg, cornstarch, and lemon juice, then spread in the dish and dot with unsalted butter.
- Bake the apple filling for 15 minutes while you make the biscuit topping.
- Whisk all-purpose flour, granulated sugar, baking powder, salt, and cinnamon until evenly combined.
- Cut in cold unsalted butter until the mixture looks crumbly.
- Whisk whole milk or buttermilk, egg, and vanilla, then stir into the flour mixture until just combined.
- Drop spoonfuls of biscuit dough over the hot apple filling and sprinkle with cinnamon sugar.
- Bake 28-32 minutes at 375F until the biscuit topping is golden and the filling bubbles.
- Serve warm apple cobbler with vanilla ice cream.


