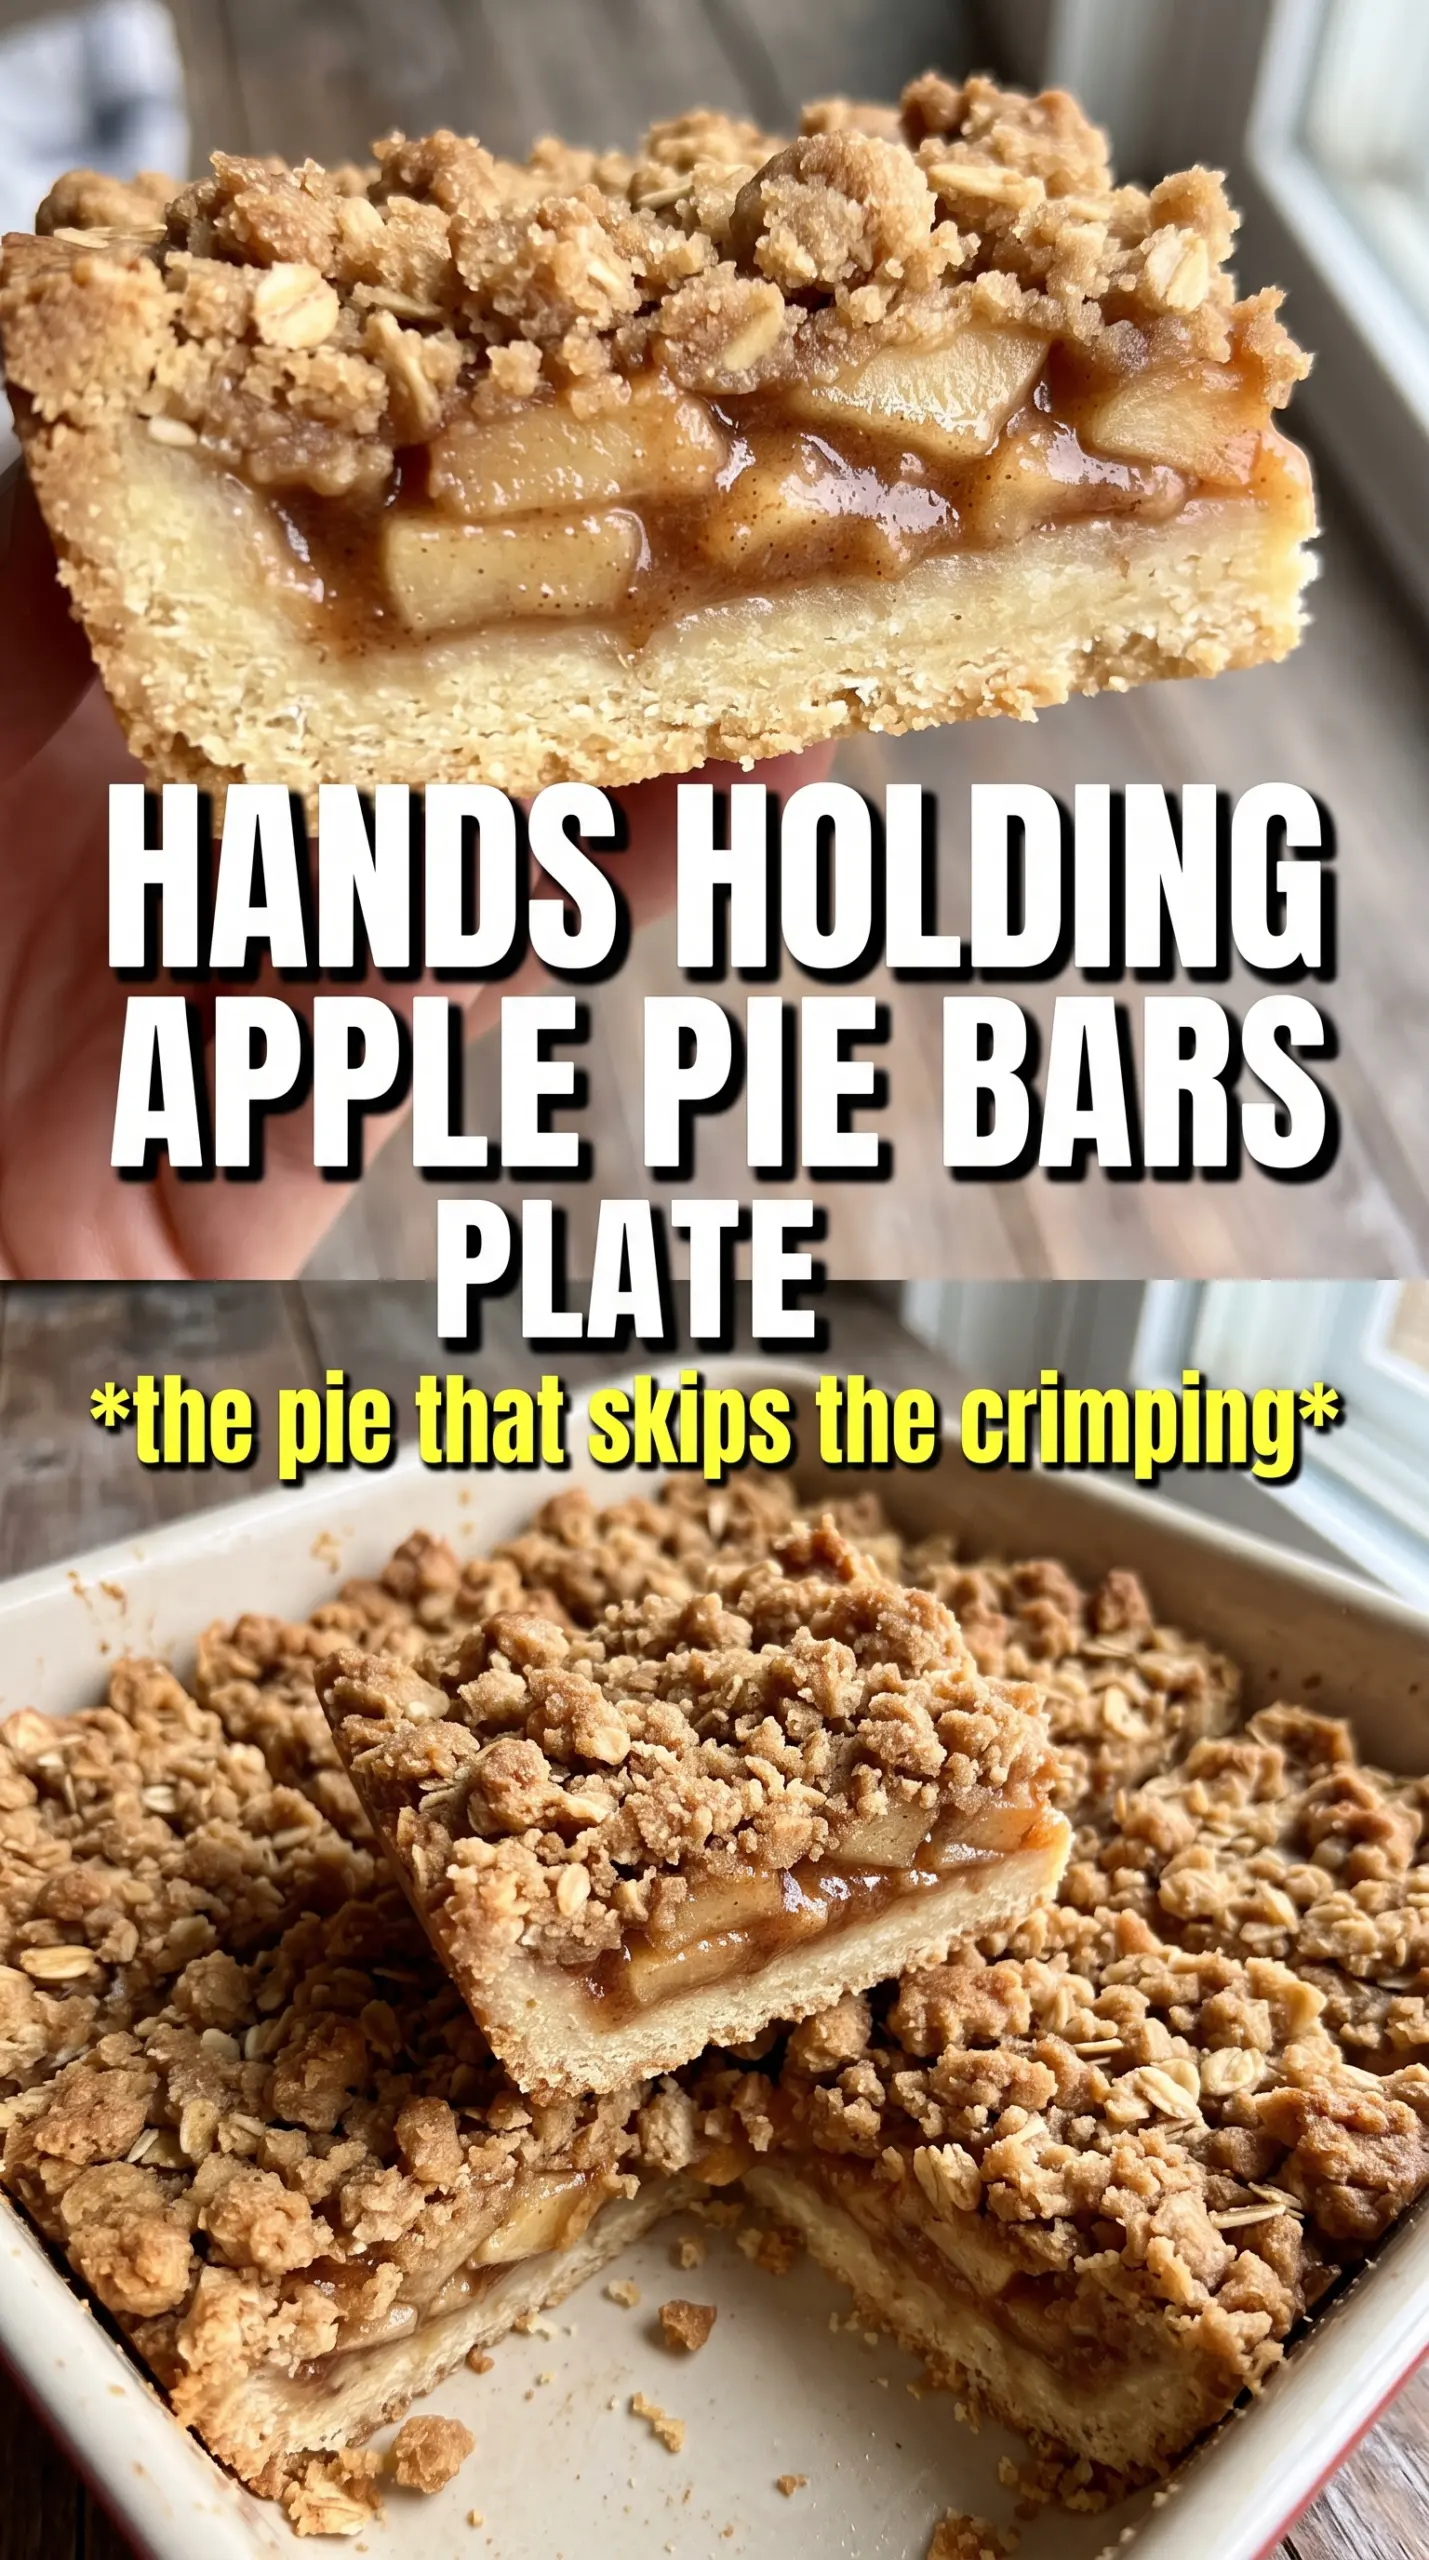
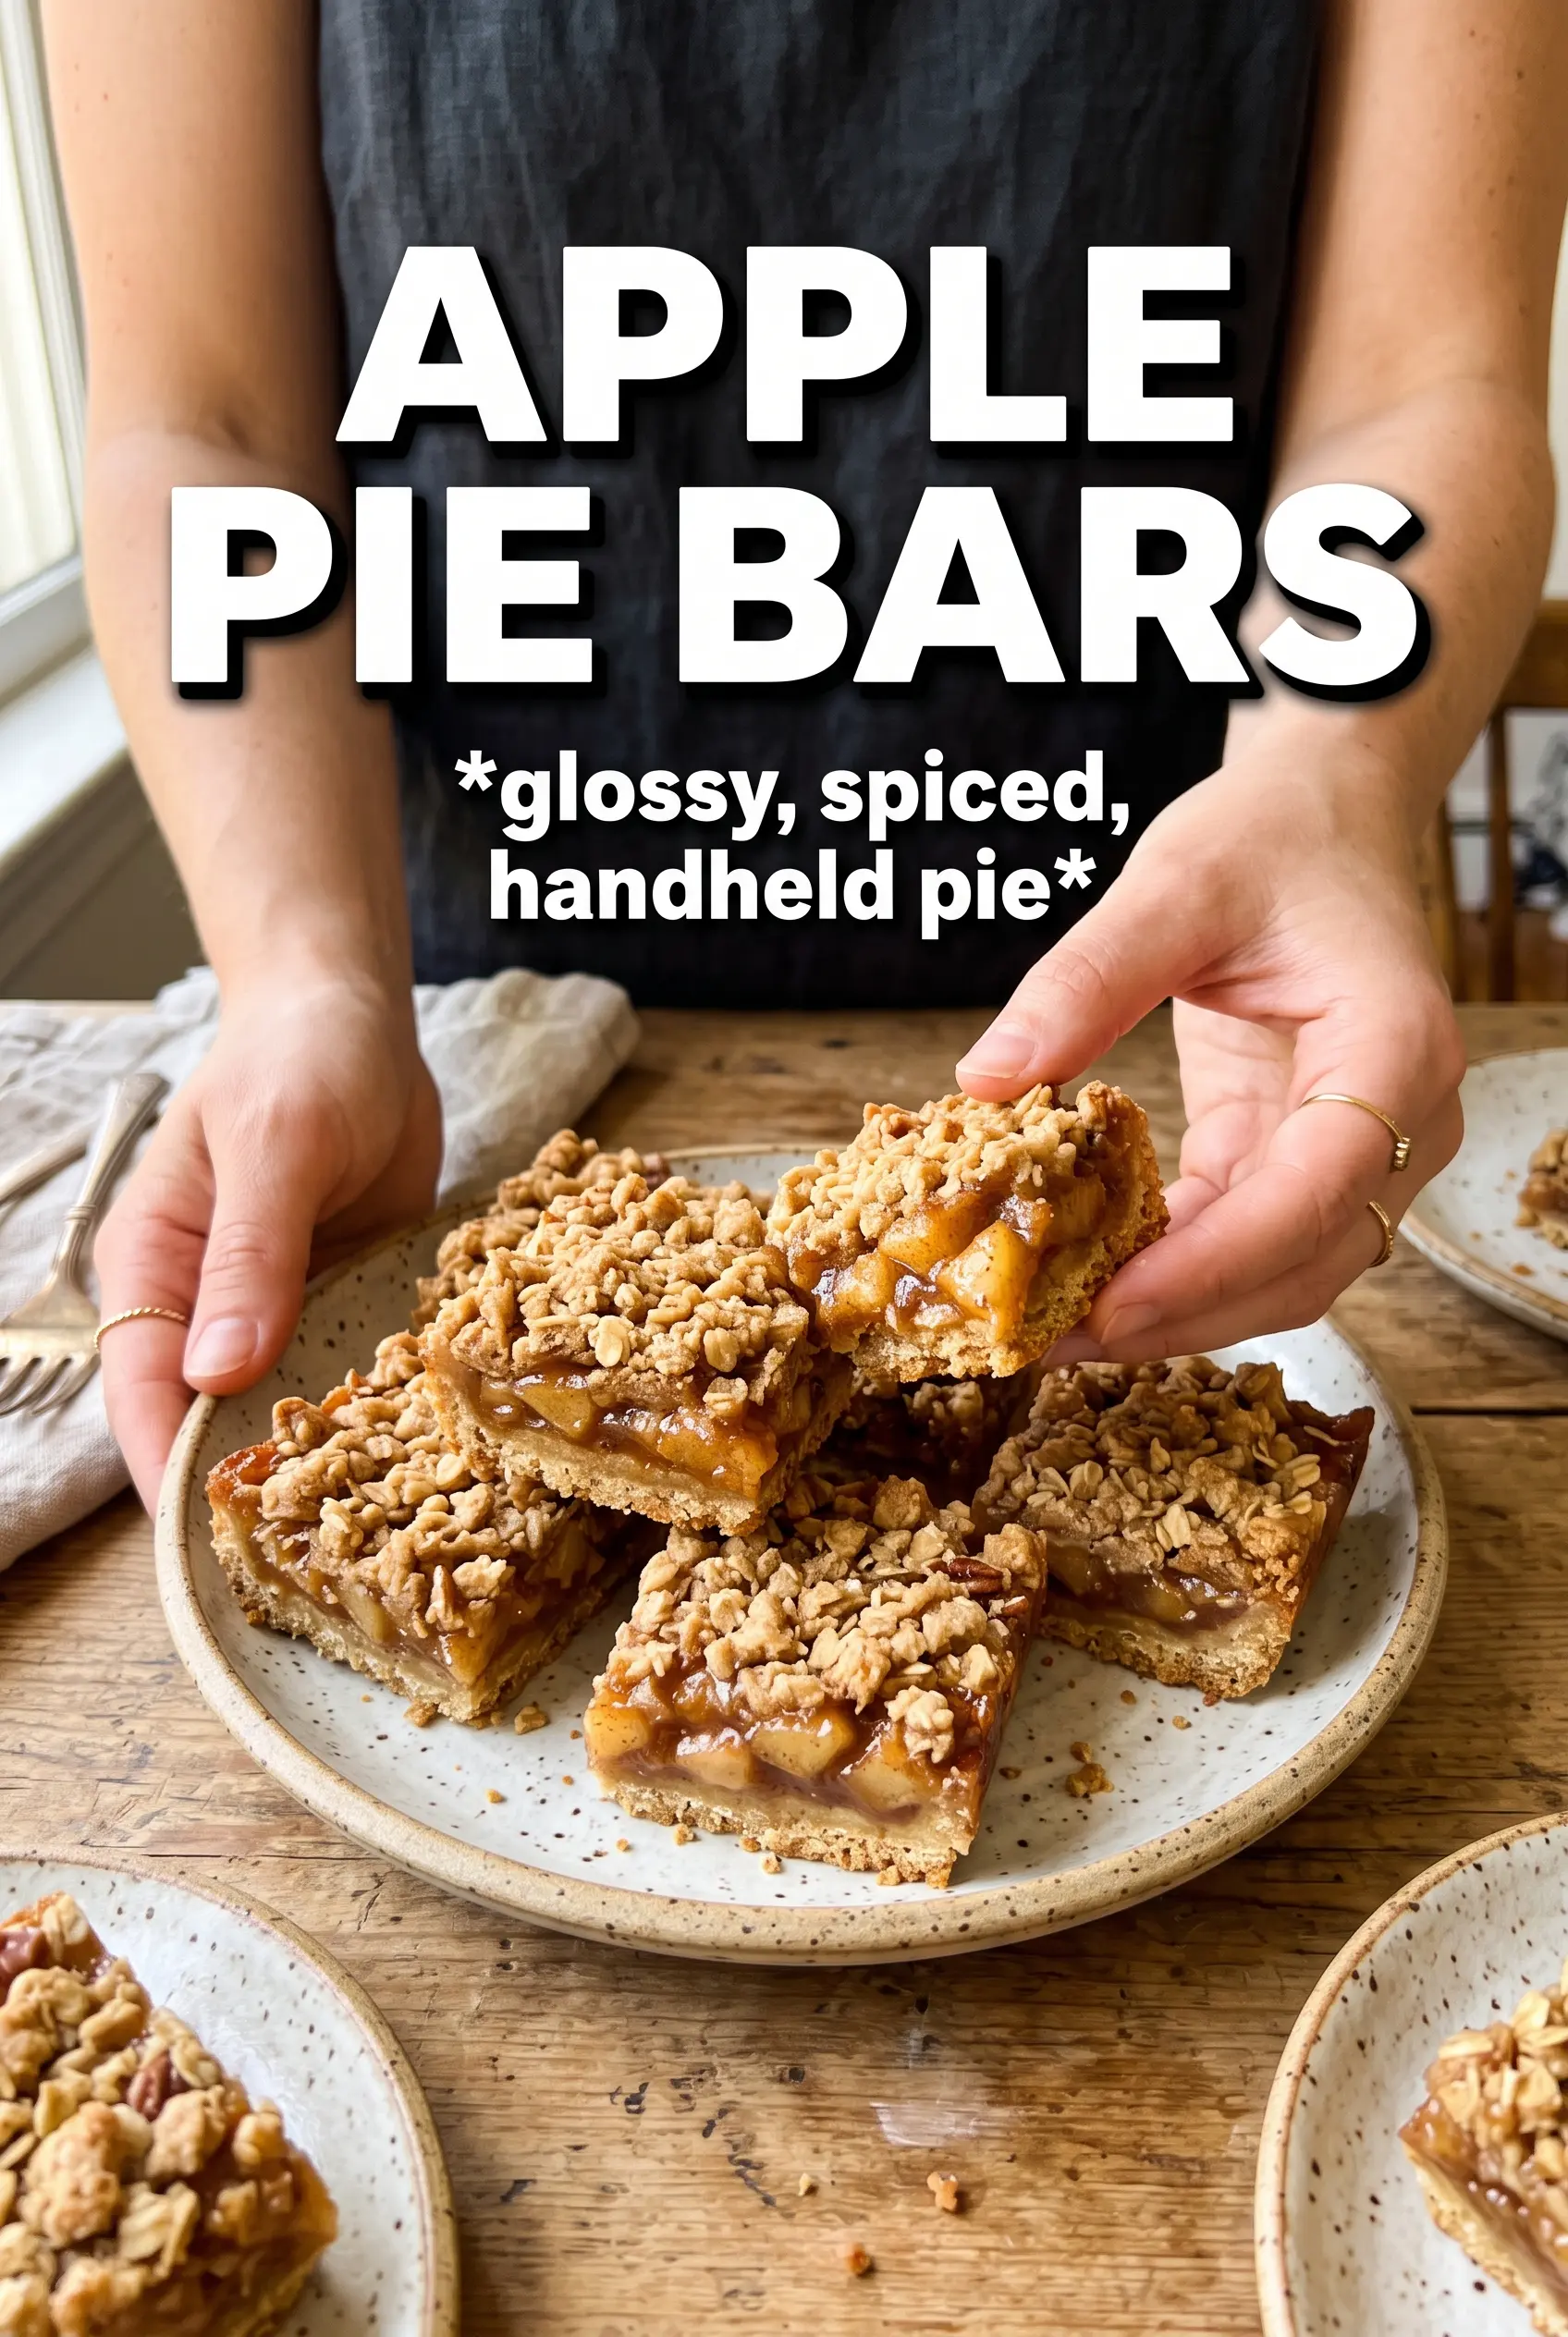
Apple pie bars give you everything people love about a good slice of apple pie without rolling a crust or worrying about a clean wedge. The base bakes into a buttery shortbread layer that stays tender, the apple filling turns soft and spiced without going watery, and the crumble on top adds just enough texture to keep every bite interesting. Cut into neat squares, they hold together better than pie and travel better too, which is exactly why they disappear fast from potlucks and bake sales.
The trick is starting with a baked base before the apples go on. That extra 15 minutes keeps the bottom from turning soggy once the fruit starts releasing juice. Cornstarch matters here because apples vary a lot in moisture; it thickens the filling as it bakes instead of letting the whole pan settle into apple soup. A full cool-down before glazing and slicing also makes a huge difference, since the bars firm up as they sit.
Below you’ll find the small details that make these bars behave like they should, plus the swaps that work when you need to adjust the apples or the finish.
The crust baked up sturdy and buttery, and the apple layer stayed thick instead of running all over the pan. I let them cool all the way before cutting, and the squares came out clean with that perfect crumble on top.
Save these apple pie bars for when you want buttery shortbread, spiced apples, and a clean-cut dessert that serves itself easily.
The Shortcut Most Apple Bars Skip: Prebaking the Base
Most apple bar recipes layer raw dough, fruit, and crumble all at once, then wonder why the bottom tastes soft instead of sandy and crisp. Prebaking the base changes the structure of the whole pan. It sets the crust before the apples have a chance to dump juice into it, and it gives you that shortbread bite instead of a damp, cakey bottom.
The dough itself should look crumbly before it presses together. If it turns greasy or pasty, the butter has gotten too warm and the bars will bake up dense. You want cold butter cut into the flour and sugars until the mixture looks like coarse breadcrumbs, then just enough mixing to bring in the yolk and make a soft dough that holds when pressed.
What Each Ingredient Is Actually Doing in These Bars
- All-purpose flour — This is the backbone of both the shortbread base and the crumble. A lower-protein flour like cake flour would make the crust too tender and weak, while bread flour would tighten it up more than you want.
- Cold unsalted butter — Cold butter is what keeps the base and topping sandy, flaky, and bakery-style instead of oily. Salted butter works in a pinch, but the filling and crust both get easier to balance if you control the salt yourself.
- Egg yolk — The yolk helps the dough hold together without making it bready. Skip the white; it adds more water than you need and can make the crust tougher.
- Apples — Firm baking apples hold their shape best. Softer apples will cook down faster, which is fine if you want a looser filling, but the bars won’t have as much definition when you slice them.
- Cornstarch — This is the difference between a glossy, set filling and one that runs. Flour can thicken fruit too, but cornstarch keeps the filling cleaner and less cloudy.
- Lemon juice — It wakes up the apples and keeps the filling from tasting flat. You won’t taste lemon; you’ll just notice the apples taste brighter.
The Bake That Keeps the Bottom Crisp and the Top Crumbly
Building the Shortbread Base
Line the pan with parchment first so the bars lift out cleanly once they cool. Mix the flour, both sugars, and salt, then cut in the butter until the mixture looks like uneven crumbs with some pea-sized bits still visible. Add the egg yolk and mix just until the dough starts to clump when pressed; if you work it until smooth, the base loses that tender shortbread texture. Press two-thirds of the dough firmly into the pan and bake it until the surface looks set and pale gold at the edges.
Making the Apple Layer
Toss the sliced apples with both sugars, cinnamon, nutmeg, cornstarch, and lemon juice until every slice looks lightly coated. The cornstarch won’t look like much at first, but it does its job in the oven once the apples release juice. Layer the filling evenly over the warm crust so you don’t get dry corners and a heavy center. If the apples pile too high in one area, the bars bake unevenly and the top won’t brown at the same pace.
Finishing With the Crumble
Break up the remaining dough over the apples with your fingers instead of pressing it flat. You want craggy pieces and some smaller crumbs so the top bakes into a mix of crunchy and tender spots. Bake until the topping is deep golden and the filling is bubbling at the edges. If the top colors too fast, lay a loose piece of foil over the pan for the last stretch, but don’t remove it too early or the center can stay underbaked.
Cooling and Glazing
Let the pan cool completely before glazing. Warm bars will make the glaze melt into the surface and the squares will slump when cut. Stir the powdered sugar and milk until smooth and drizzle it in thin lines so it sets without drowning the top. Once the bars are fully cool, a sharp knife gives you the cleanest squares.
How to Adapt These Bars Without Losing the Structure
Make Them Dairy-Free
Use a firm plant-based butter block instead of regular butter. The texture stays closest when you use a baking-style substitute that holds its shape cold, because the crust depends on that firm-fat structure to stay crumbly instead of greasy.
Use a Different Apple Blend
Mix one tart apple with one sweeter, firmer apple if you want a more balanced filling. Tart apples keep the flavor lively, while firmer sweet apples hold their shape and keep the bars from turning mushy.
Make Them Gluten-Free
Use a cup-for-cup gluten-free flour blend that includes xanthan gum. The texture will be a touch more delicate and less buttery-crisp than the original, but it still slices well if you let the bars cool all the way before cutting.
Skip the Glaze for a Cleaner Finish
Leave off the glaze if you want a less sweet bar with more of a pie-like look. The bars still taste complete without it, especially if the apples are well spiced, and the top stays a little drier for stacking or packing.
Storage and Reheating
- Refrigerator: Store in an airtight container for up to 4 days. The crust softens slightly, but the bars still hold their shape well.
- Freezer: Freeze unglazed bars in a single layer, then wrap tightly and store for up to 2 months. Glaze after thawing so the topping stays neat.
- Reheating: Serve at room temperature or warm individual bars for 10 to 15 seconds in the microwave. Long reheating makes the crumble lose its texture and the glaze melt away.
Answers to the Questions Worth Asking
Apple Pie Bars
Ingredients
Equipment
Method
- Preheat the oven to 375F and line a 9x13 pan with parchment for easy lifting.
- In a bowl, combine all-purpose flour, granulated sugar, powdered sugar, and salt, then cut in the cold cubed butter until crumbly.
- Add the egg yolk and mix just until the dough forms, then press 2/3 of the dough into the bottom of the pan.
- Bake for 15 minutes at 375F until the base is set.
- Toss the sliced apples with granulated sugar, brown sugar, cinnamon, nutmeg, cornstarch, and lemon juice until evenly coated.
- Layer the spiced apples over the baked crust.
- Crumble the remaining dough over the apples to form an uneven top.
- Bake for 30 more minutes at 375F until the top is golden and the filling looks set and bubbling at the edges.
- Cool the bars completely so they hold their shape when cut.
- Whisk powdered sugar and milk for the glaze, drizzle over the cooled bars, then cut into neat squares.


