Apple scrap jelly turns the odds and ends from a few baking apples into a clear, amber jelly with a clean apple flavor and a set that feels polished, not fussy. The best part is the texture: smooth, glossy, and firm enough to sit on toast without sliding off. It’s the kind of kitchen project that feels practical and rewarding at the same time, because the scraps that usually get tossed become something you’ll actually want to put on the table.
What makes this version work is the way the juice is handled. The scraps are simmered just long enough to pull out color and flavor without turning the liquid muddy, then they’re left to drain on their own so the jelly stays bright. I also like measuring the juice after straining, not before, because that keeps the sugar ratio honest and gives you a better set. Lemon juice matters here too; it sharpens the apple flavor and helps the jelly behave more predictably as it cooks.
Below, I’ve laid out the one step that protects you from cloudy jelly, plus a few useful swaps and storage notes so you know exactly what to expect once the jars are cooled.
I had no idea scraps could make jelly this clear. I followed the no-pressing tip and it set up beautifully at 220°F, with a bright apple flavor that wasn’t overly sweet.
Save this Apple Scrap Jelly recipe for the next time you have a pile of peels and cores and want a clear, jewel-toned spread from them.
The Part That Keeps Apple Scrap Jelly Clear Instead of Cloudy
The biggest mistake with apple scrap jelly is pressing the fruit after it cooks. That squeezes pulp into the juice and turns a bright jelly into something hazy and thicker in the wrong way. Let the liquid drip through a fine sieve or cheesecloth on its own, even if it takes a little longer. That patience is what gives you the clear, amber look that makes this jelly stand out.
The second thing that matters is timing the sugar after you measure the juice. Apple scraps vary a lot in how much liquid they release, and the ratio only works if you start from the actual amount you strained. If your jelly ever feels loose, it usually wasn’t boiled long enough to hit the gel point, not because the recipe needs more sugar. A thermometer takes the guesswork out, but a cold plate test works too.
What the Apple Scraps, Sugar, and Lemon Juice Are Doing Here
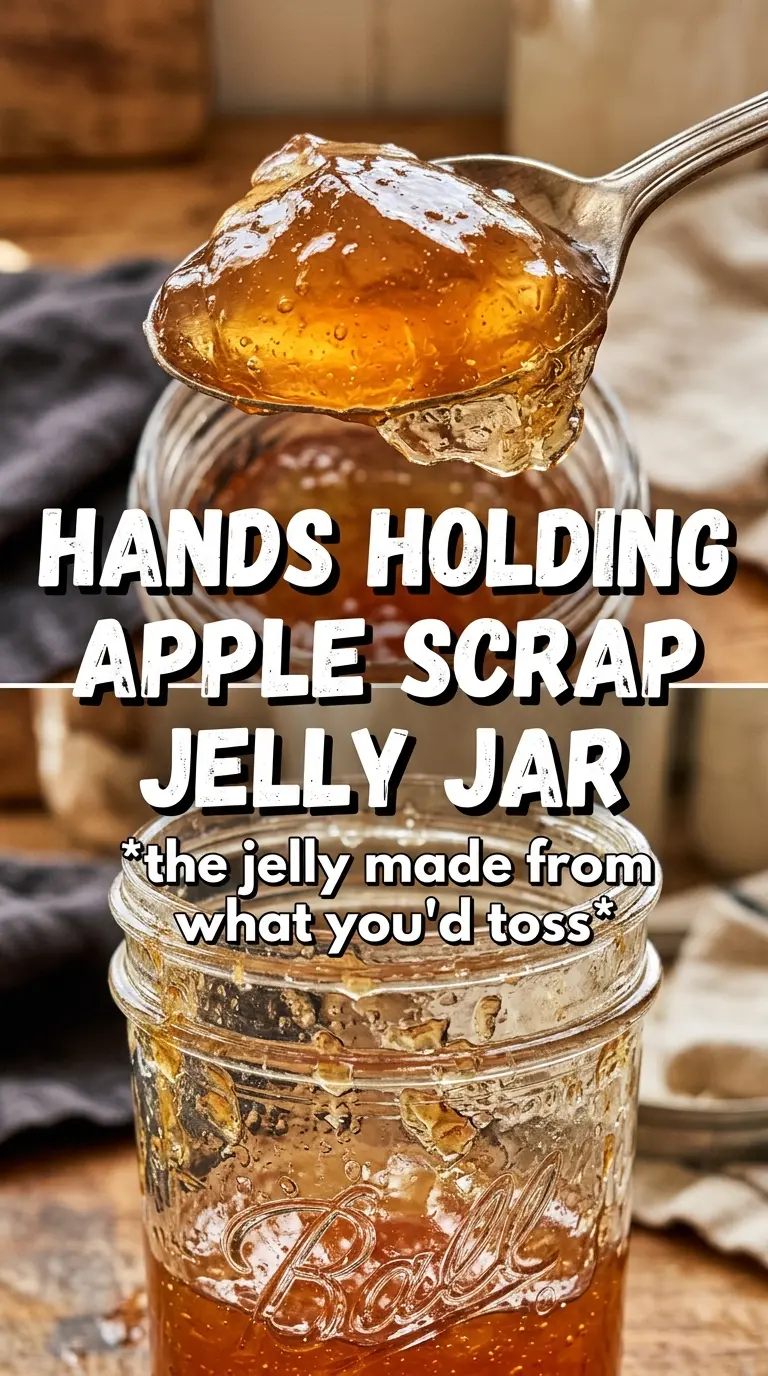
- Apple peels and cores — These carry the flavor, color, and natural pectin that make the jelly set. Use scraps from fresh apples, not browned or bruised trimmings, because old scraps can make the juice dull and the flavor flat.
- Sugar — This isn’t just for sweetness. It helps the jelly gel and gives the finished spread its body. Measure it only after you know how much juice you have, since the yield from apple scraps can vary from batch to batch.
- Lemon juice — The acid brightens the apple flavor and supports a better set. Bottled lemon juice works fine here because consistency matters more than perfume.
- Cinnamon, optional — A small amount adds warmth without making the jelly taste like apple pie filling. Leave it out if you want a pure apple jelly or stir it in at the end for a softer spice note.
- Water — Use just enough to cover the scraps. Too much water stretches the flavor thin and lengthens the boil later.
From Scraps to Set Jelly Without Losing the Bright Color
Cooking Out the Apple Flavor
Put the apple peels and cores in a large pot and cover them with water. Bring the pot to a boil, then drop it to a steady simmer until the scraps are soft and pale, about 30 to 40 minutes. You’re looking for fruit that has given up most of its color and aroma to the liquid. If the pot boils too hard, the liquid can turn darker and a little muddled, so keep the simmer gentle.
Letting the Juice Drain Cleanly
Strain the cooked scraps through a fine mesh sieve or cheesecloth and leave them alone to drip. Don’t press or squeeze them, even if it feels wasteful, because pressure pulls fine solids into the juice and clouds the finished jelly. Letting it drain for 30 minutes gives you a cleaner, clearer liquid and a better-looking jar in the end.
Boiling to the Gel Point
Measure the strained juice, then add 3/4 cup sugar for every 1 cup juice along with the lemon juice. Bring it to a full boil and keep it moving, stirring often so the bottom doesn’t scorch. Cook until it reaches 220°F or a spoonful wrinkles on a cold plate. If it never seems to thicken, keep boiling; jelly sets when enough water has cooked off, not when the kitchen starts smelling done.
Jarring While It’s Hot
Stir in the cinnamon if you’re using it, then ladle the jelly into sterilized jars. The jelly will still look a little loose while hot, and that’s normal. It firms as it cools, so don’t overcook it trying to force a heavy texture in the pot. Refrigerate for quick use, or process the jars if you’re preserving them properly for shelf storage.
How to Change Apple Scrap Jelly Without Changing the Set
Make It Cinnamon Apple Jelly
Add the cinnamon at the very end, after the jelly has reached the gel point. That keeps the spice warm and clean instead of cooked down and muddy. Any more than 1/2 teaspoon starts pushing the jelly away from a bright fruit flavor and toward pie spice.
Keep It Naturally Gluten-Free and Vegan
This recipe is already both, as long as you use standard granulated sugar and no flavored add-ins with hidden ingredients. The set and texture stay the same, so there’s nothing to adjust.
Use Pear Scraps Alongside Apple Scraps
A handful of pear peels or cores can join the pot if that’s what you have, but don’t replace all the apples with pears. Pears are softer in flavor and usually lower in natural pectin, so the jelly may need a longer boil and a less assertive fruit taste.
Storage and Reheating
- Refrigerator: Keep in covered jars for up to 3 weeks. The jelly may firm up a little more after the first day.
- Freezer: It freezes well in freezer-safe containers, but leave headspace for expansion. The texture stays close to the original once thawed.
- Reheating: Jelly doesn’t need reheating for serving, but if it gets too firm after chilling, let the jar sit at room temperature for 10 to 15 minutes before spreading. Microwaving can make the surface watery and uneven.
Questions I Get Asked About This Recipe
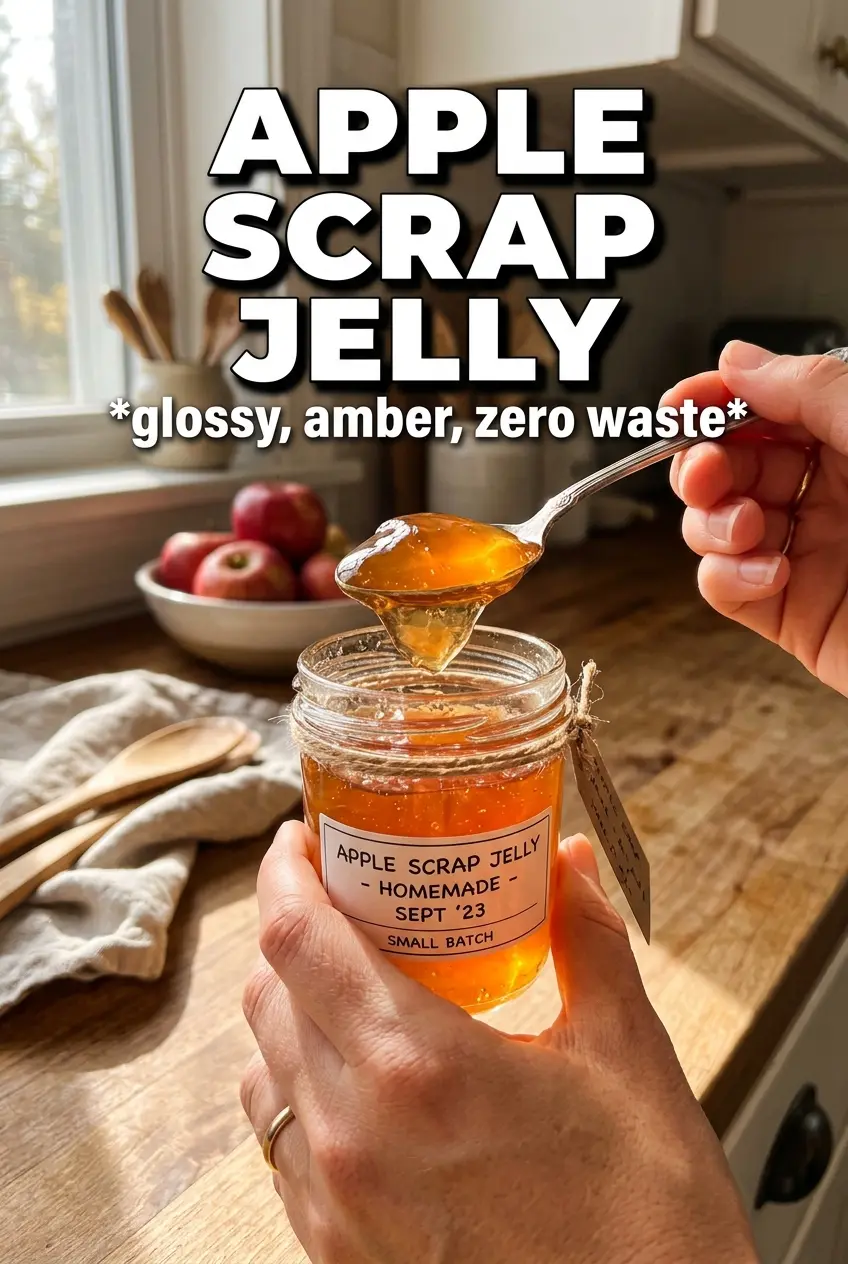
Apple Scrap Jelly
Ingredients
Equipment
Method
- Place apple scraps (peels and cores — no seeds) in a large pot and cover with water. Bring to a boil.
- Reduce to a simmer and cook for 30-40 minutes, until the apple scraps are very soft. Keep it at a steady simmer with gentle bubbling.
- Strain the mixture through a fine mesh sieve or cheesecloth without pressing, then let it drip for 30 minutes. Stop when liquid flow slows and you can’t get more juice by draining.
- Measure the strained juice and calculate sugar using 3/4 cup sugar for every 1 cup juice. Stir to combine juice, sugar, and lemon juice in a saucepan.
- Bring the mixture to a boil over medium-high heat and keep it boiling vigorously, stirring frequently for 15-20 minutes. Cook until it reaches 220°F on a thermometer or reaches a jelly set on a cold plate.
- Stir in cinnamon if using. Ladle hot jelly into sterilized jars and refrigerate or process.


