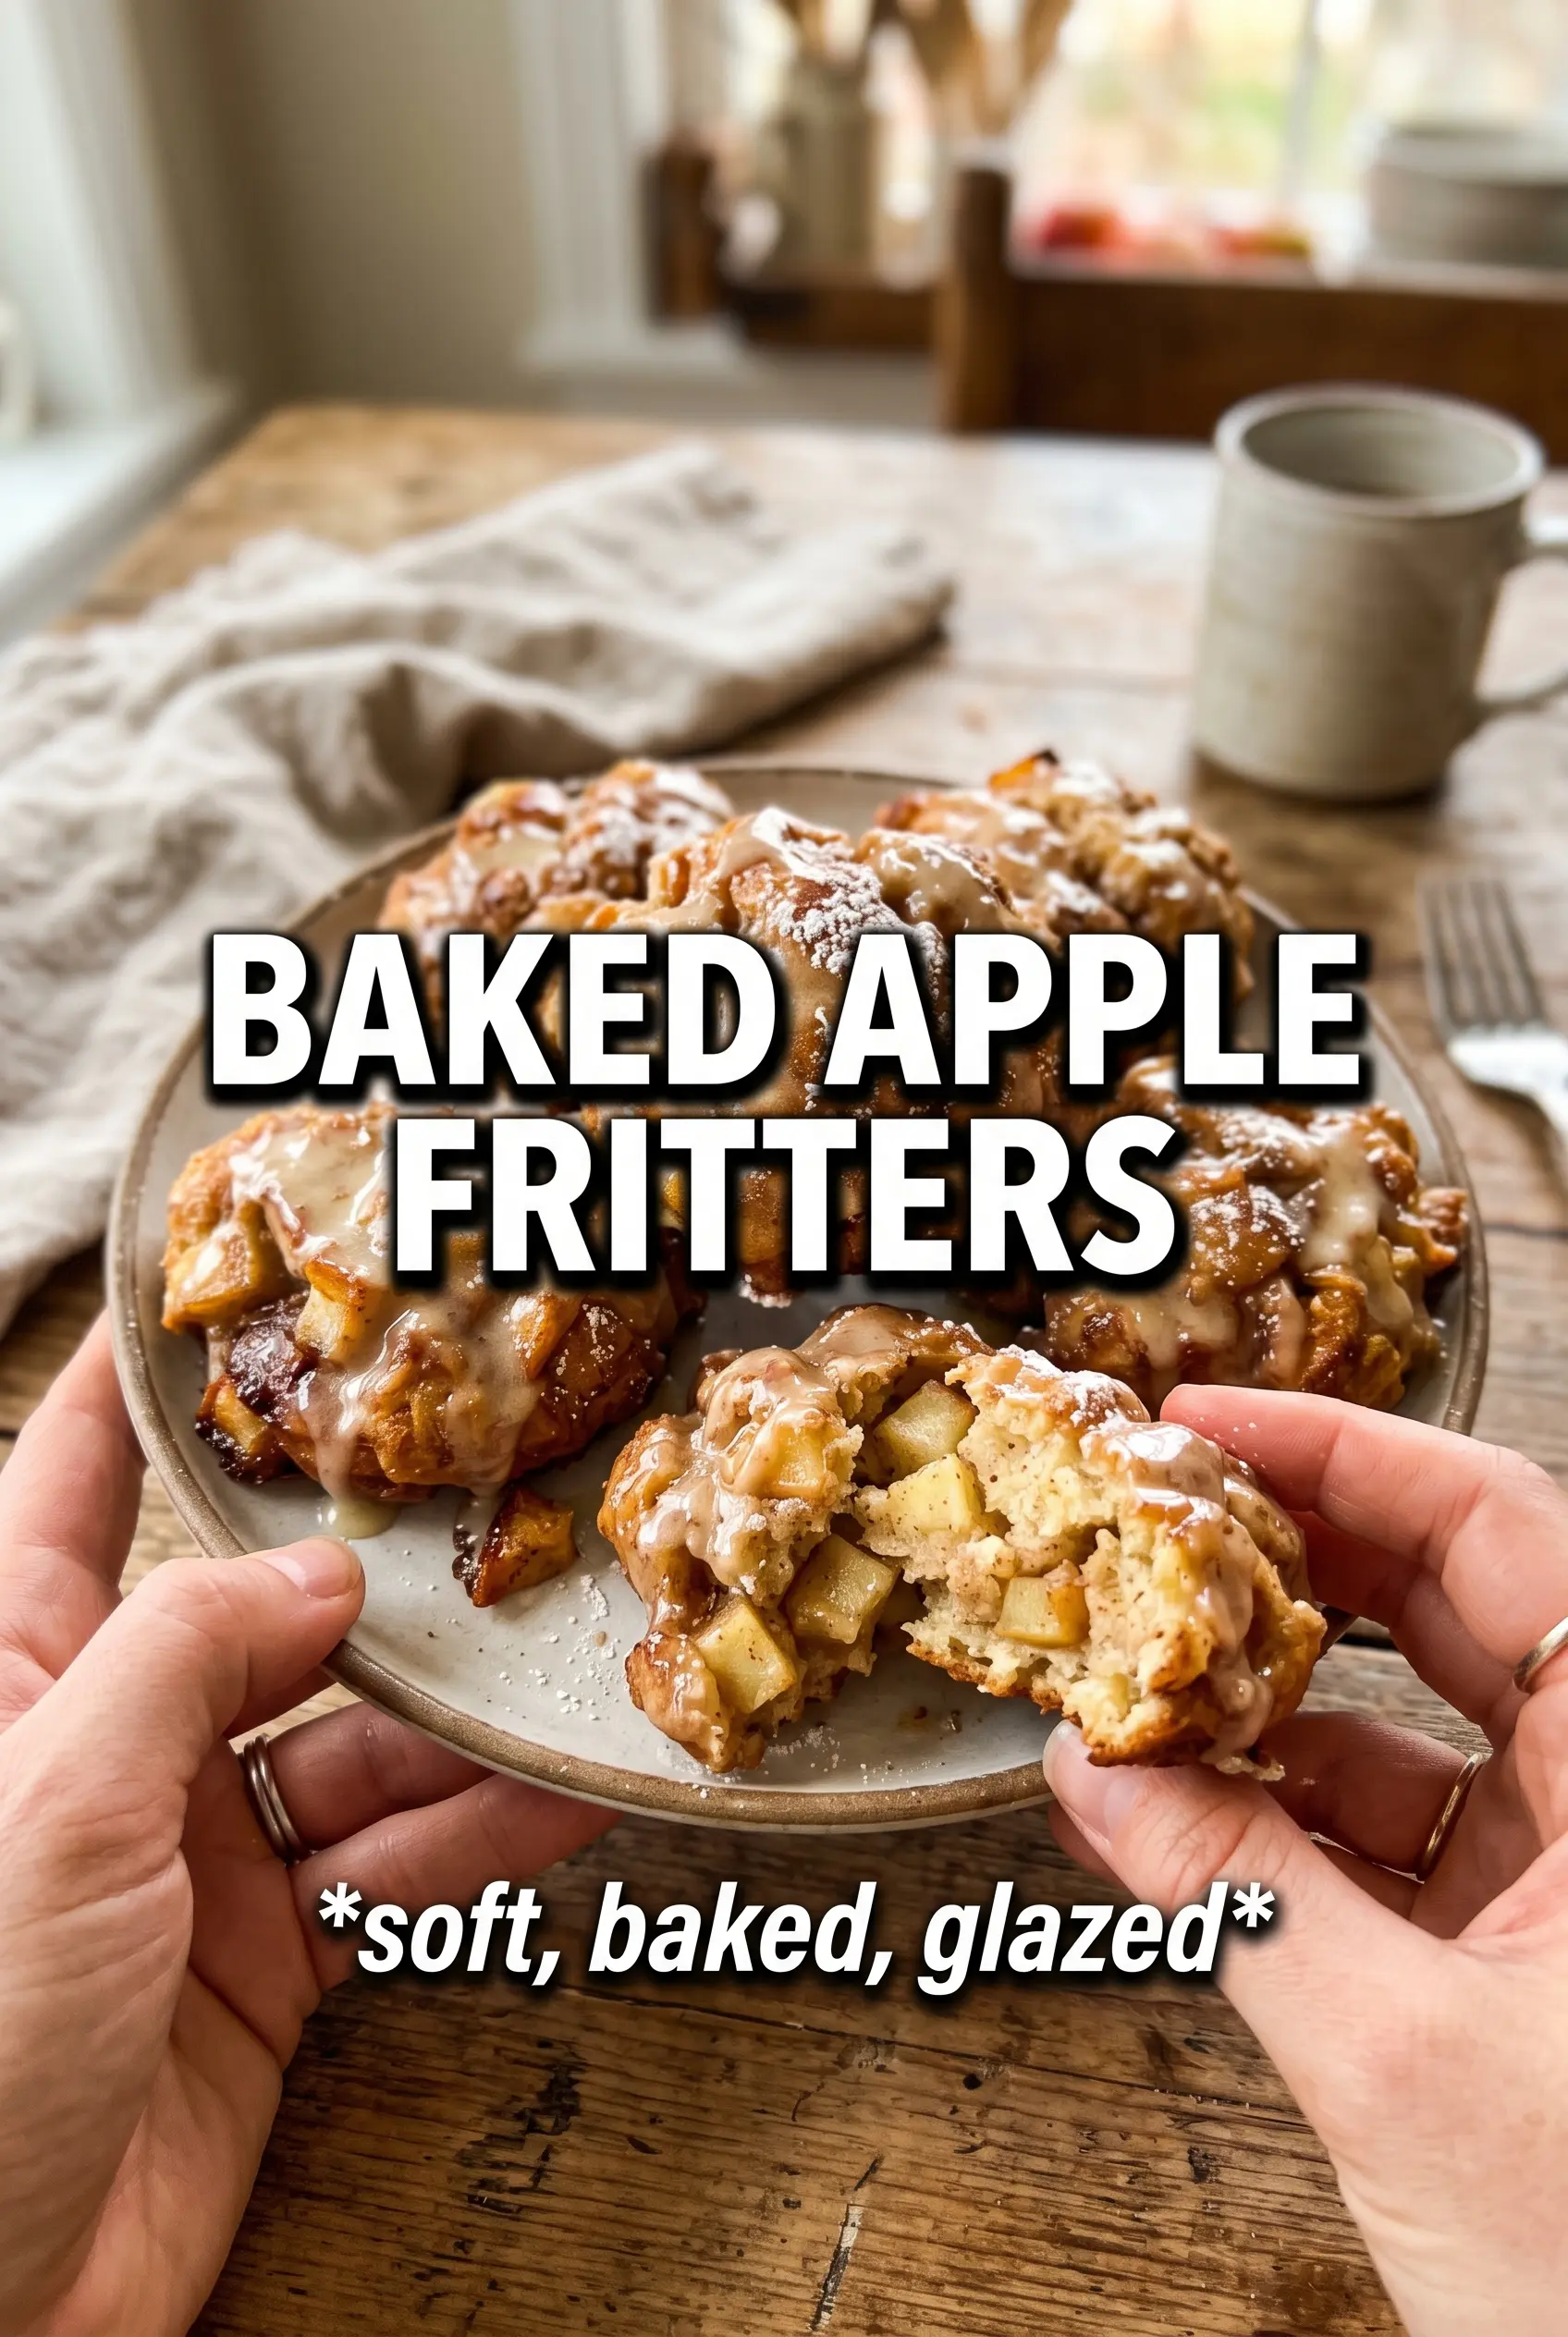
These baked apple fritters land with the best parts of the classic treat: crisp edges, tender centers, and little pockets of cinnamon-scented apple in every bite. The glaze sets over the top just enough to give you that bakery-style finish without drowning out the apples underneath. They taste like something you’d grab from a cafe case, but they come together on a sheet pan with far less mess than frying.
The trick here is keeping the batter thick enough to hold those diced apples in place while still baking up light. Finely dicing the apples matters because bigger chunks throw off the texture and can leave you with raw spots around the fruit. A generous spray of cooking spray on the pan and on the tops helps these brown evenly and gives the fritters that golden, slightly crisp exterior baked versions need.
Below, I’ve included the one timing detail that keeps the centers from going dense and a few smart swaps if you want to work with what you already have on hand.
The fritters baked up with crisp edges and stayed soft inside, and the glaze set just enough that it didn’t slide off the apples. I flipped them halfway like you said, and that was the difference.
Save these baked apple fritters for a breakfast that bakes up golden, glazed, and full of soft apple pieces.
The Detail That Keeps Baked Fritters from Turning Heavy
Baked fritters can go dense fast if the batter gets overmixed or if the apples are too large. Once flour meets the wet ingredients, the gluten starts building, and every extra stir tightens the crumb. Stop as soon as you no longer see dry flour streaks, then fold in the apples gently so the batter stays a little rough and airy.
The other thing that matters is spacing and heat. These need room on the pan so the edges can set instead of steaming against each other, and 400°F gives them enough heat to brown before the centers dry out. Flipping once is not optional here; it helps both sides color evenly and gives you a better texture than a one-sided bake.
What the Apples, Spices, and Glaze Are Actually Doing
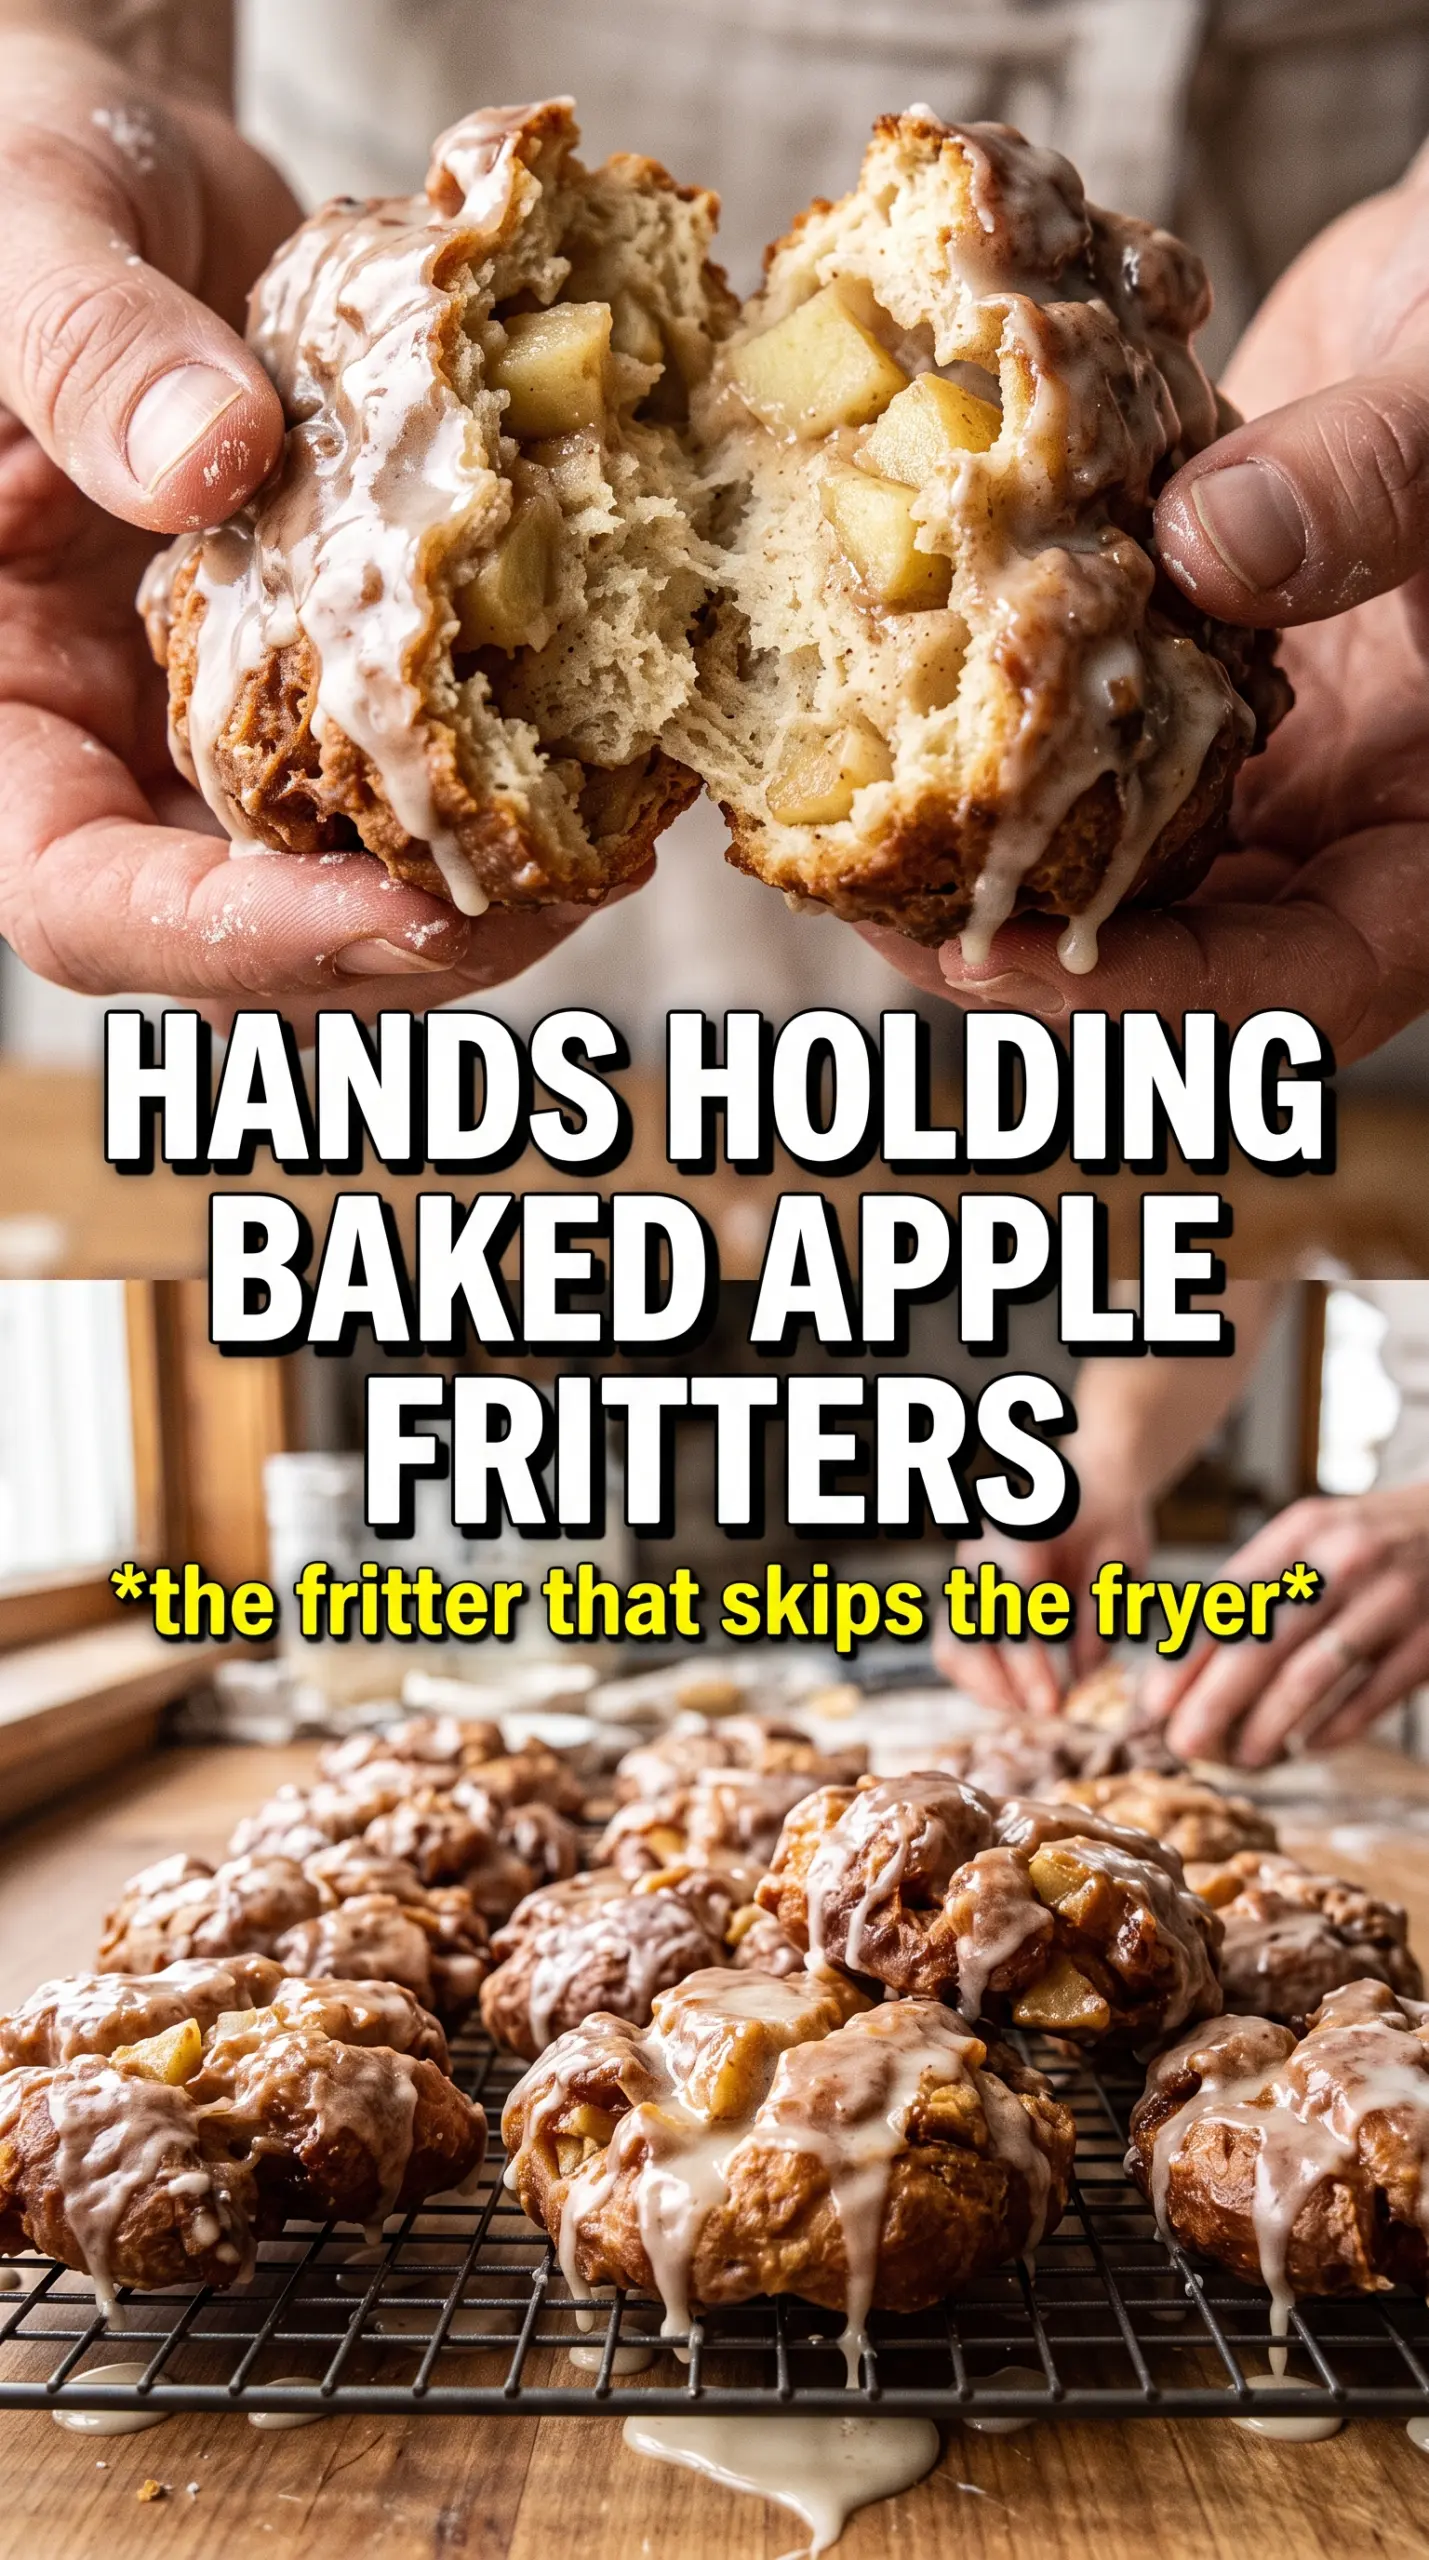
- Apples — Finely diced apples give you little bursts of fruit without weighing the batter down. Granny Smith adds more tartness and holds its shape well; Honeycrisp or Fuji brings a softer, sweeter finish. Peel them, because the skins stay chewy in a baked fritter and break up the tender crumb.
- Baking powder — This is what gives the fritters lift in the oven. Old baking powder is a common reason baked fritters come out flat, so check that yours is fresh if the batter seems fine but the result feels dense.
- Whole milk and melted butter — Whole milk keeps the batter rich enough to taste like a real fritter, while melted butter adds flavor without making the mixture greasy. Lower-fat milk works in a pinch, but the fritters won’t taste as full or bake up quite as tender.
- Powdered sugar glaze — This is a thin glaze on purpose. It clings to the warm fritters and sets in a light shell instead of turning them soggy. If you want a thicker drizzle, hold back a little milk and add it a teaspoon at a time until it falls in ribbons.
Getting the Batter, Bake, and Glaze in the Right Order
Mixing the Dry Base
Whisk the flour, sugar, baking powder, cinnamon, nutmeg, and salt until the spices are evenly distributed and there are no streaks of baking powder left. That step matters because any clump of leavener can leave one bite tasting metallic and another bite tasting flat. A quick whisk also helps break up the sugar so it blends cleanly into the wet ingredients.
Bringing the Batter Together
Whisk the eggs, milk, melted butter, and vanilla in a separate bowl before adding them to the dry mix. Stir only until the flour disappears, then stop; the batter should look thick and a little lumpy, not smooth like cake batter. Fold in the apples at the end so they stay evenly distributed instead of sinking to the bottom.
Baking and Flipping for Even Browning
Drop the batter in 1/4-cup portions onto a well-sprayed parchment-lined sheet pan. Spray the tops too, since that little layer of oil helps the exposed side brown instead of drying out pale and matte. Flip them at about 10 minutes when the bottoms are set and golden, then finish baking until both sides are deeply golden and the centers feel springy when pressed lightly.
Finishing with Glaze While They’re Warm
Whisk the powdered sugar, milk, vanilla, and cinnamon until smooth, then drizzle it over the fritters while they’re still warm, not piping hot. If they’re too hot, the glaze melts and runs off; if they’re cool, it sits on top in a thick layer instead of lightly coating the surface. Warm fritters give you that sweet set glaze that stays visible on the ridges and apple bits.
How to Adapt These Fritters Without Losing the Good Texture
Use a different apple
Any firm baking apple works here, but the texture changes depending on what you choose. Tart apples stay a little brighter after baking, while sweeter apples give the fritters a softer, dessert-like finish. Avoid very soft apples, because they collapse into the batter and make the centers wet.
Make them dairy-free
Swap the whole milk for unsweetened almond milk or oat milk and use a neutral dairy-free butter substitute in place of the melted butter. The fritters will still bake up tender, though the flavor will be a little less rich. Use a dairy-free milk that isn’t sweetened or flavored, or the glaze will taste off.
Turn them into a lighter breakfast platter
Skip a heavy glaze and drizzle just enough on top for shine, or serve it on the side for dipping. That keeps the fritters from tasting like dessert while still giving you the sweet finish people expect. It’s the same recipe, just with a cleaner breakfast feel.
Storage and Reheating
- Refrigerator: Store in an airtight container for up to 3 days. They soften a little as they sit, but the flavor stays good.
- Freezer: Freeze the unglazed fritters for up to 2 months. Wrap them well and thaw at room temperature before reheating; glaze after warming for the best texture.
- Reheating: Warm in a 325°F oven or toaster oven until heated through. The microwave makes them soft and sticky, so use it only if you don’t care about the edges staying crisp.
Questions I Get Asked About This Recipe
Baked Apple Fritters
Ingredients
Equipment
Method
- Preheat oven to 400F. Line a baking sheet with parchment and spray generously with cooking spray.
- Whisk all-purpose flour, granulated sugar, baking powder, cinnamon, nutmeg, and salt together. Whisk until evenly combined with no dry pockets visible.
- Whisk eggs, whole milk, melted butter, and vanilla extract together. Pour into dry ingredients and fold until just combined, stopping as soon as no flour streaks remain.
- Fold in diced apples. Mix until the apples are evenly distributed throughout the batter.
- Drop batter 1/4 cup portions onto the prepared baking sheet. Spray the tops with cooking spray so they bake up golden.
- Bake for 10 minutes at 400F. Flip once after 10 minutes, so both sides brown.
- Bake 6 to 8 minutes more at 400F. Continue until fritters are golden on both sides and look set in the center.
- Whisk powdered sugar, milk, vanilla, and cinnamon for the glaze. Whisk until smooth and thick enough to drizzle.
- Drizzle glaze over warm fritters. Make sure the glaze falls in a thick layer for the classic fritter finish.


