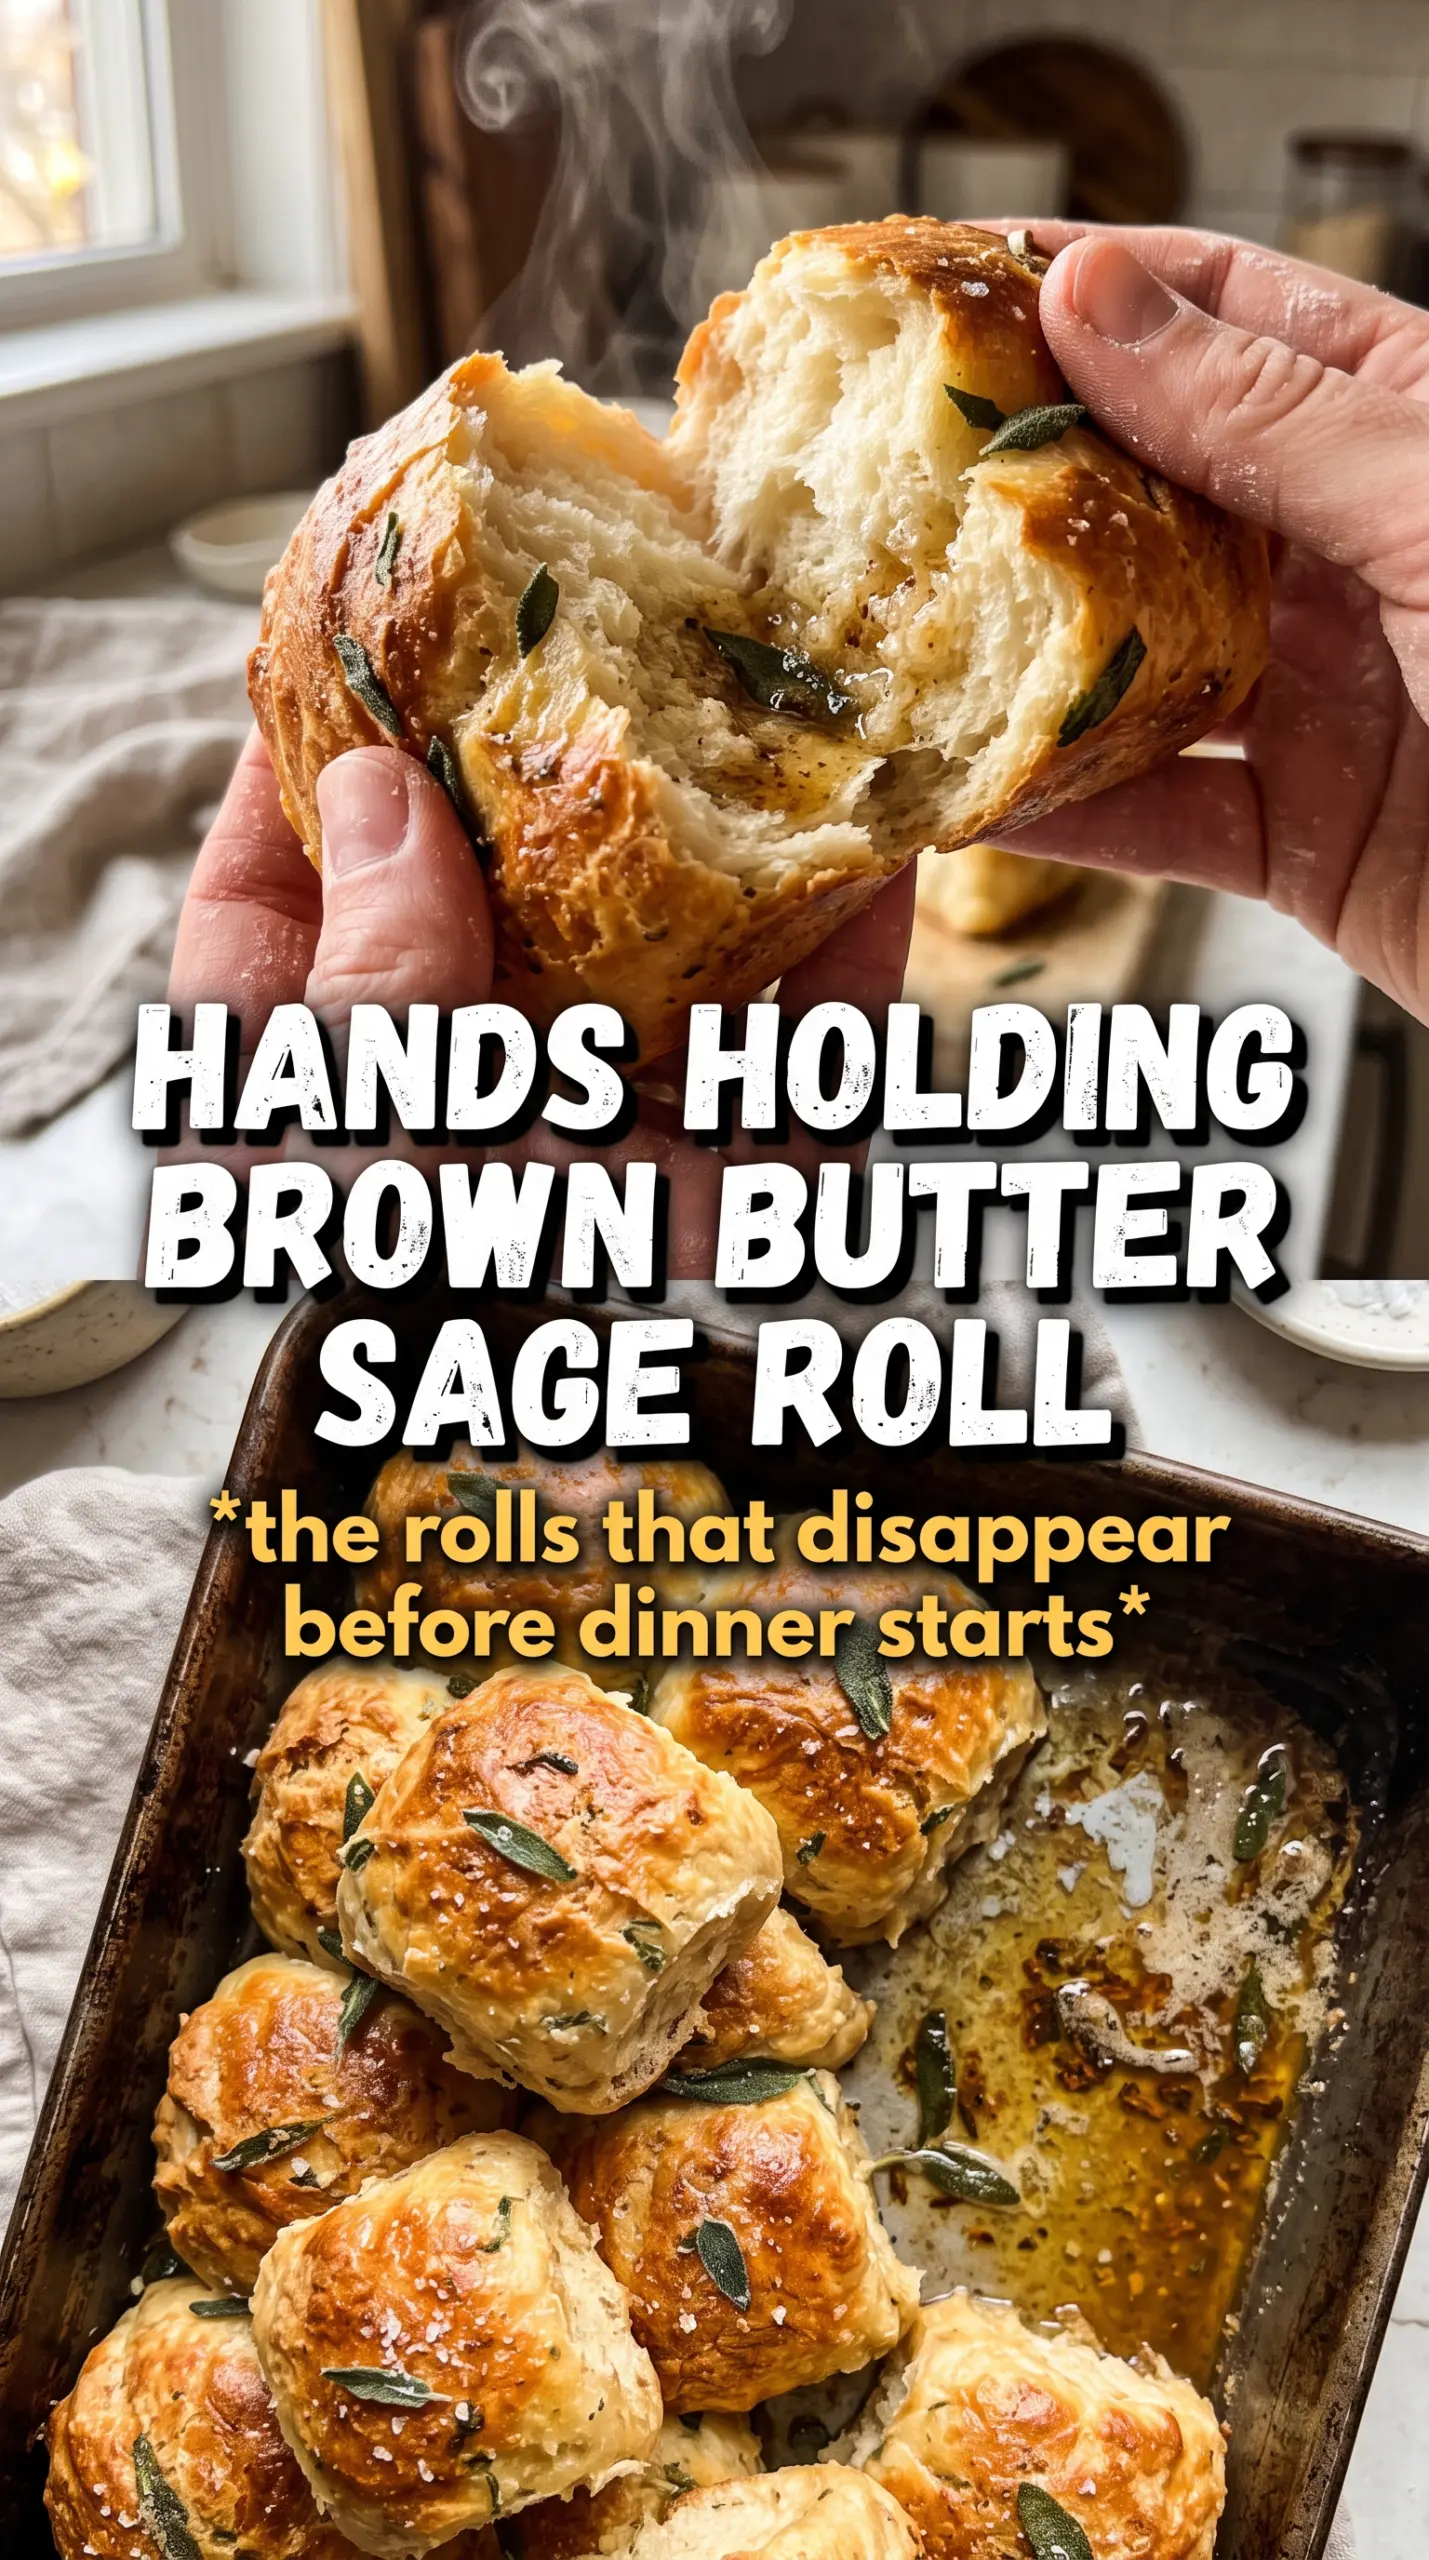
Brown butter sage dinner rolls bake up with a soft, pull-apart crumb and a deep, nutty finish that plain dinner rolls never quite reach. The dough stays tender from the milk and eggs, but the browned butter gives it a richer backbone, and the sage glaze turns the tops glossy, fragrant, and just a little crisp at the edges. They look special on the table, and they disappear fast.
What makes these rolls work is timing. The butter gets browned before it ever meets the dough, which means the flavor is already built in instead of being layered on at the end. The dough also rises in a shallow 9×13 dish, so the rolls support one another and bake into that soft, tear-apart texture people reach for first. The glaze uses the same idea: brown the butter, fry the sage until crisp, then brush everything on while the rolls are still warm so it soaks into the tops instead of sliding off.
Below, I’m walking through the parts that matter most: how to keep the dough supple, how to know when the rolls are proofed enough, and how to get that sage butter onto every roll before the glaze cools and thickens.
The rolls were pillowy and light, and the brown butter sage topping soaked into the tops without making them soggy. I baked them in a glass dish and they pulled apart beautifully.
Brown Butter Sage Dinner Rolls are the kind of pull-apart rolls worth pinning for holidays, Sunday dinners, or any meal that needs a little extra warmth on the table.
The Step Most Roll Recipes Skip: Browning the Butter First
Most dinner roll recipes rely on melted butter alone, which gives you richness but not much depth. Browning the butter changes that immediately. The milk solids toast, the butter smells nutty and almost caramel-like, and that flavor gets worked into every strand of dough instead of sitting on top at the end. Let it cool a bit before mixing it in, though. If it goes in scorching hot, it can slow the yeast and scramble the eggs at the same time.
The other part people miss is the texture of the dough after kneading. It should be smooth and elastic, not stiff or dry. If it looks rough and tears easily, the flour needs a little more time to hydrate. Resist the urge to load in extra flour right away; this dough is meant to feel soft, and that softness is what turns into a tender roll after baking.
What the Flour, Milk, and Sage Are Each Doing Here
- Warm whole milk — Milk gives the dough a softer crumb than water would, and the warmth helps the instant yeast get moving. It should feel warm, not hot, on your wrist; too much heat is the quickest way to weaken the yeast before the dough even starts rising.
- Browned butter in the dough — This is the ingredient that makes these rolls taste like more than standard dinner rolls. You can use melted butter if you must, but you lose the toasted, nutty flavor that makes the recipe stand out. Brown it until the solids turn golden brown and smell like hazelnuts, then cool it slightly before mixing.
- Eggs — Eggs enrich the dough and help it bake up tender and plush. They also give the rolls enough structure to rise into soft domes instead of spreading flat in the pan.
- Fresh sage — Fresh sage is worth using here. Dried sage turns dusty and dull in the glaze, while fresh leaves fry into crisp little chips that give you both aroma and texture on top of the rolls.
- All-purpose flour — This is the right flour for a light, pillowy roll. Bread flour will make them chewier and a little sturdier, which works, but you’ll lose some of the softness that makes these so easy to pull apart.
Building the Dough So the Rolls Stay Light Instead of Dense
Waking Up the Yeast
Start with warm milk, sugar, browned butter, and eggs. The milk should be comfortably warm, not steaming, and the mixture should look smooth before the flour goes in. Instant yeast is forgiving, but it still needs a gentle start; if the liquid is too hot, the rise slows and the rolls can bake up heavy. Once the yeast is mixed in, let the mixture sit just long enough to look foamy and active before moving on.
Kneading Until the Dough Turns Smooth
Add the flour and salt and knead for about 8 minutes. At first the dough will look shaggy and sticky, then it will begin to gather into a single soft ball. The finished dough should feel elastic and slightly tacky, not wet enough to smear all over the counter. If it tears when stretched, keep kneading; if it clings like paste, add flour only a tablespoon at a time.
Rising in the Pan
Once the dough has doubled, divide it into 12 equal pieces and tuck them into a greased 9×13 dish. That close arrangement is part of what gives these rolls their soft sides and pull-apart finish. During the second rise, the rolls should look puffy and nearly touching. If they still look tight and small when they go into the oven, they’ll bake up with a denser texture and more crust than you want.
Finishing with the Sage Butter
Bake until the tops are deeply golden, then make the glaze right away. Brown the remaining butter, add the garlic for just a moment, and fry the sage until it goes crisp and fragrant. Brush the butter over the rolls while they’re hot so it sinks into the tops and edges, then press a few sage leaves onto each one. If you wait too long, the butter will start to thicken and won’t coat the rolls as evenly.
How to Adapt These Rolls Without Losing the Good Part
Make Them Dairy-Free
Swap the whole milk for unsweetened oat milk and use a good plant-based butter that browns if your brand allows it. The rolls will still be soft and flavorful, but the glaze won’t have quite the same deep nuttiness unless the butter substitute can toast properly. If it doesn’t brown well, use it melted and add a pinch more flaky salt.
Use Bread Flour for a Chewier Roll
Bread flour adds more structure and a little chew, which is nice if you want the rolls to hold up to gravy or sandwiches the next day. The dough may need a tablespoon or two more liquid because bread flour absorbs more than all-purpose. The result is less cloud-soft, more bakery-style.
Skip the Garlic for a Cleaner Sage Finish
Leave out the garlic if you want the browned butter and sage to taste more classic and less savory. The rolls will still have plenty of flavor, but the glaze comes across a little more elegant and less assertive. This is the version I’d serve alongside a mild roast or ham.
Storage and Reheating
- Refrigerator: Store in an airtight container for up to 4 days. The rolls soften a bit more as they sit, but they still reheat well.
- Freezer: These freeze well. Wrap tightly and freeze for up to 2 months, either as whole rolls or individual portions. Thaw at room temperature before reheating.
- Reheating: Warm covered in a 300°F oven for 10 to 12 minutes, or microwave briefly in short bursts. Don’t reheat them uncovered in a hot oven or the tops will dry out before the centers are warm.
Answers to the Questions Worth Asking

Brown Butter Sage Dinner Rolls
Ingredients
Equipment
Method
- Brown 1/2 cup butter and cool it slightly until it smells nutty and turns golden-brown, about 3 to 5 minutes on medium heat.
- Activate the yeast in warm milk by whisking in the sugar, browned butter, and eggs until smooth and the mixture looks foamy at the edges, 5 to 10 minutes.
- Knead in the flour and salt until a smooth dough forms, kneading for 8 minutes until elastic and cohesive.
- Rise the dough for 1 hour in a greased area until doubled in size, then divide into 12 equal balls.
- Place the 12 balls in a greased 9x13 dish in a single layer, leaving small gaps for expansion.
- Rise again for 30 to 40 minutes until puffy and touching, while you preheat the oven to 375°F.
- Bake the rolls for 18 to 22 minutes at 375°F until golden-brown on top.
- Brown the remaining butter for the sage glaze, then fry the sage leaves in the browned butter until crisp and fragrant.
- Brush the warm rolls generously with the sage brown butter and press the crispy sage leaves onto the top of each roll, then sprinkle with flaky sea salt to finish.


