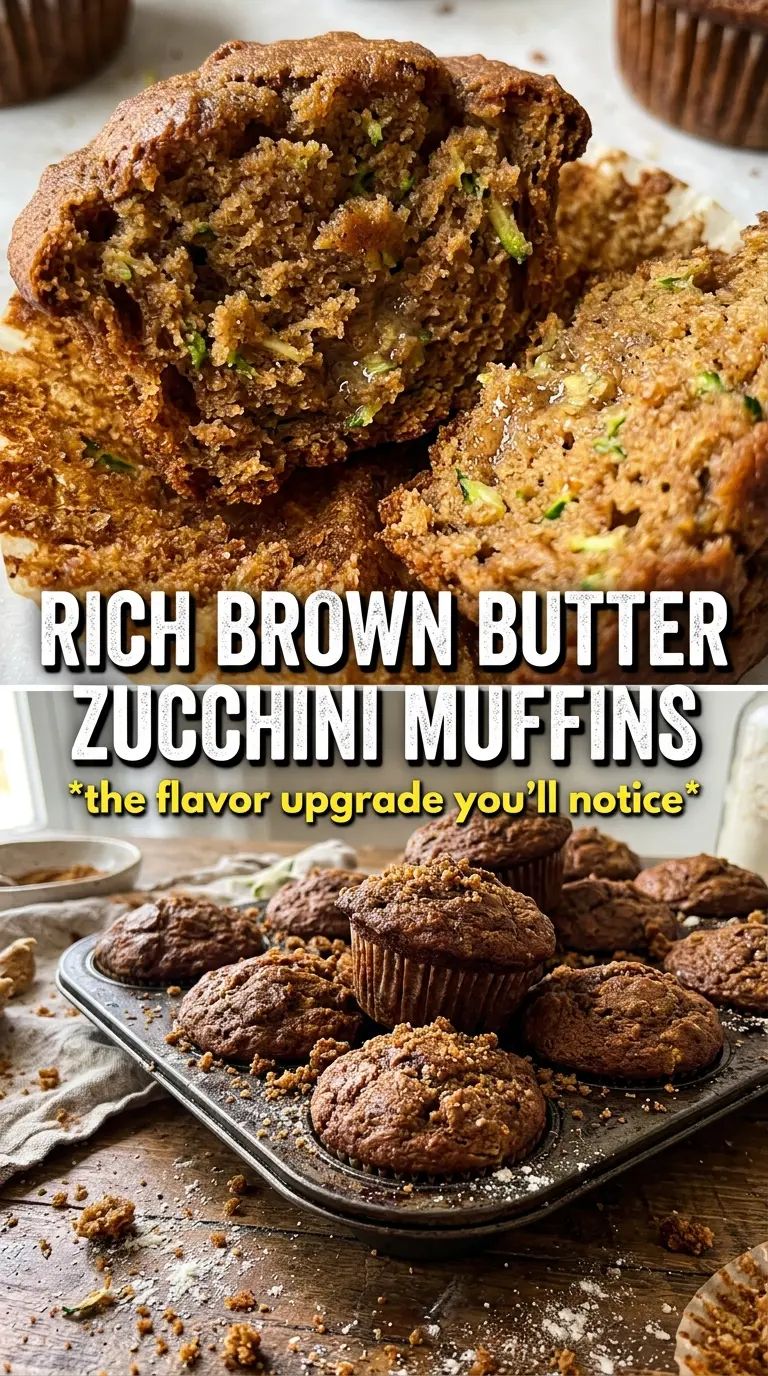
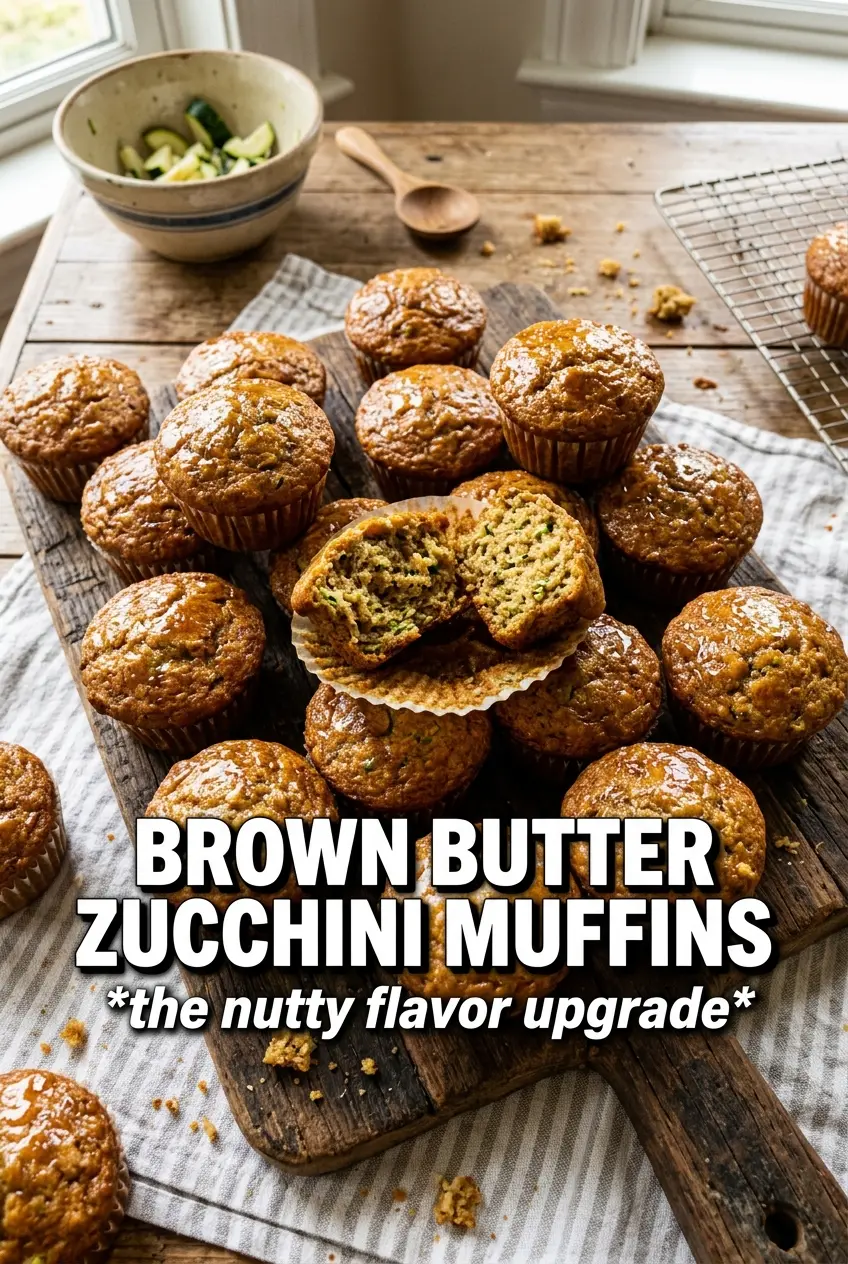
Brown butter zucchini muffins bake up with a deep, nutty aroma, a tender crumb, and those slightly crisp muffin tops that make them feel bakery-worthy without any fuss. The zucchini keeps the inside moist, but the brown butter is what gives these muffins their edge — a toasty caramel note that makes every bite taste richer and more developed than a standard zucchini muffin.
The key is cooling the brown butter before you mix it with the eggs and sugar. If it’s too hot, you’ll scramble the eggs or melt the sugar into a greasy batter, and the muffins won’t bake up with that light, even crumb. Squeezing the zucchini dry matters too. Too much moisture turns the centers dense instead of soft and fluffy.
Below, I’ve included the exact cues I watch for when browning butter, plus a few smart swaps if you want to work with what you’ve got on hand. Once you’ve made these once, they’re the kind of muffin you’ll start planning for on purpose.
The brown butter gave these muffins such a deep, nutty flavor, and the tops baked up with a nice little crust. I squeezed the zucchini well like you said and the crumb stayed soft instead of wet.
Save these brown butter zucchini muffins for the morning you want a bakery-style crumb with a nutty, caramelized finish.
The Browning Step That Decides Whether These Taste Flat or Toasted
The difference between ordinary zucchini muffins and these starts before the batter is even mixed. Browning the butter cooks off the water and leaves behind toasted milk solids, which means the muffins get a deeper flavor without needing extra spice or sweetness. If the butter is only melted, you’ll still have good muffins, but they’ll taste more one-note and soft.
The biggest mistake happens after browning. Hot butter goes straight into eggs, and that’s where people end up with streaks of cooked egg or a batter that looks broken. Let it cool until it’s warm, not hot. You want it fluid but calm. That small pause protects the texture and keeps the muffins light instead of greasy.
- Brown butter — This is the backbone of the recipe. A light-colored pan helps you see the milk solids turn amber so you don’t overshoot into burnt. Once it smells nutty and the flecks are golden, move fast and pour it out of the pan.
- Zucchini — Fresh zucchini adds moisture and tenderness, but it has to be squeezed dry first. That step keeps the crumb from turning heavy or gummy. After grating, press it in a clean towel until it stops dripping.
- Brown sugar — Packed brown sugar adds moisture and a deeper sweetness that plays well with the brown butter. Granulated sugar keeps the crumb from getting too soft or sticky.
- Walnuts or pecans — Optional, but they fit the flavor here. Toast them first so they stay crisp and taste richer in the muffin, not raw and dusty.
What Each Ingredient Is Actually Doing in This Recipe
- Primary ingredient (the star) — Quality matters most. Choose the best you can find.
- Cooking medium (oil, butter, or broth) — This carries flavors and prevents dryness.
- Seasonings (salt, pepper, spices, herbs) — Layer flavors so nothing overpowers. Build depth gradually.
- Aromatics (garlic, onion, herbs) — Cook with fat to bloom flavors. Become the foundation.
- Supporting ingredients — Complement the main ingredient without overpowering it.
- Sauce or liquid (if applicable) — Brings flavors together. Balance richness with acid.
- Acid (lemon, vinegar, wine, or other) — Brightens and prevents flat-tasting results.
- Final finish (garnish, glaze, or sauce) — Prevents one-dimensional taste and adds visual appeal.
Mixing the Batter Without Beating the Air Out of It
Brown the Butter First
Set the butter in a light-colored saucepan over medium heat and stir often as it melts, foams, and then turns from pale gold to amber. The smell changes from creamy to nutty, and the milk solids at the bottom will look like tiny brown specks. Pull it off the heat the second those specks are golden, because the line between browned and burnt is short. Pour it into a bowl right away so the residual heat doesn’t keep cooking it.
Build the Wet Mixture
Once the butter has cooled for about 10 minutes, whisk it with the brown sugar, granulated sugar, eggs, and vanilla until the mixture looks smooth and glossy. If the butter is still too warm, the eggs can seize and the batter will look curdled. That doesn’t mean the muffins are ruined, but the texture is better when everything comes together cleanly from the start. You’re looking for a thick, cohesive mixture that drips slowly from the whisk.
Fold, Don’t Beat
Add the dry ingredients and stir just until the flour disappears. A few streaks are fine at this stage. Overmixing builds toughness, and zucchini muffins can go from tender to dense fast if the batter gets worked too long. Fold in the zucchini and nuts at the end, then stop once everything looks evenly distributed.
Bake Until the Tops Set and the Centers Spring Back
Divide the batter among the muffin cups and fill each about three-quarters full. Bake until the tops are deeply golden and a toothpick comes out clean or with a few moist crumbs, usually 20 to 22 minutes. If the muffins look done but the centers still sink when touched, give them another minute or two. Let them sit in the pan for 5 minutes before moving them to a rack so the bottoms don’t steam and soften.
How to Adapt These Muffins Without Losing the Brown Butter Character
Gluten-Free Version
Use a good 1:1 gluten-free flour blend that already includes xanthan gum. The muffins will still be tender and flavorful, but the crumb may be a little more delicate, so let them cool fully before peeling off the liners.
Nut-Free Version
Leave out the walnuts or pecans and don’t add anything in their place unless you want extra texture from chocolate chips. The muffins stay plenty rich without the nuts, and the brown butter still carries the flavor.
Dairy-Free Version
You can swap in a plant-based butter that browns, but the flavor won’t be quite as deep and the browning stage may be less dramatic. If the alternative butter doesn’t brown well, melt it and lean on the cinnamon and vanilla for warmth instead.
Mini Muffins for Snack Boxes
Portion the batter into a mini muffin tin and start checking around 10 to 12 minutes. The smaller size gives you more caramelized edges and a slightly firmer top, which works nicely if you want a grab-and-go breakfast or lunchbox snack.
Storage and Reheating
- Refrigerator: Store in an airtight container for up to 4 days. The tops soften a bit after the first day, but the crumb stays moist.
- Freezer: These freeze well. Wrap individually and freeze for up to 2 months, then thaw at room temperature or overnight in the fridge.
- Reheating: Warm in a 300°F oven for 6 to 8 minutes or microwave for 15 to 20 seconds. The common mistake is blasting them too long, which dries out the edges and kills the tender center.
Questions I Get Asked About This Recipe
Brown Butter Zucchini Muffins
Ingredients
Equipment
Method
- Melt butter in a light-colored saucepan over medium heat, stirring frequently, until it turns golden amber and smells nutty, about 5 minutes. Immediately pour into a bowl to prevent further browning, with visible golden milk solids throughout.
- Cool the browned butter for 10 minutes so it thickens slightly and is no longer hot, then it should pour smoothly without steaming.
- Preheat the oven to 350°F and line a 12-cup muffin tin with liners. Set up your tin so it’s ready to fill as soon as the batter is mixed.
- Whisk the flour, baking soda, baking powder, cinnamon, nutmeg, and salt in a large bowl until evenly speckled. The mixture should look uniform with no clumps.
- Whisk the cooled brown butter with both sugars, eggs, and vanilla until smooth. Stop when the mixture looks glossy and fully combined.
- Stir the wet into the dry until just combined. Stop as soon as no dry streaks remain to keep the muffins tender.
- Fold in grated zucchini and toasted nuts if using. The batter should look thick with zucchini distributed throughout.
- Divide batter evenly among the muffin cups, filling each ¾ full. Aim for even domes so they bake with consistent height.
- Bake for 20–22 minutes until deeply golden and a toothpick comes out clean. A slightly crisp crown should form and the tops should spring back lightly when touched.
- Cool in the pan for 5 minutes before transferring. This sets the crumb so the muffins don’t stick or collapse.


