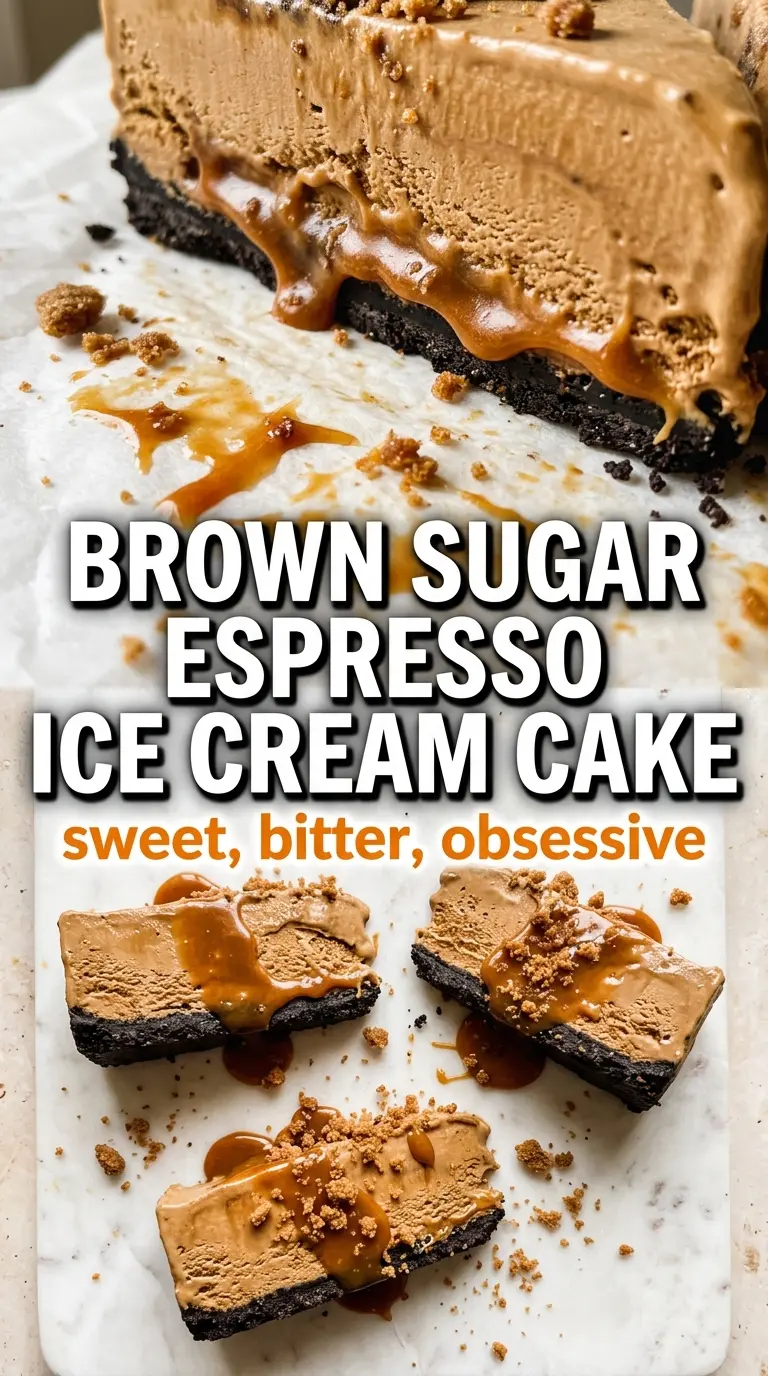
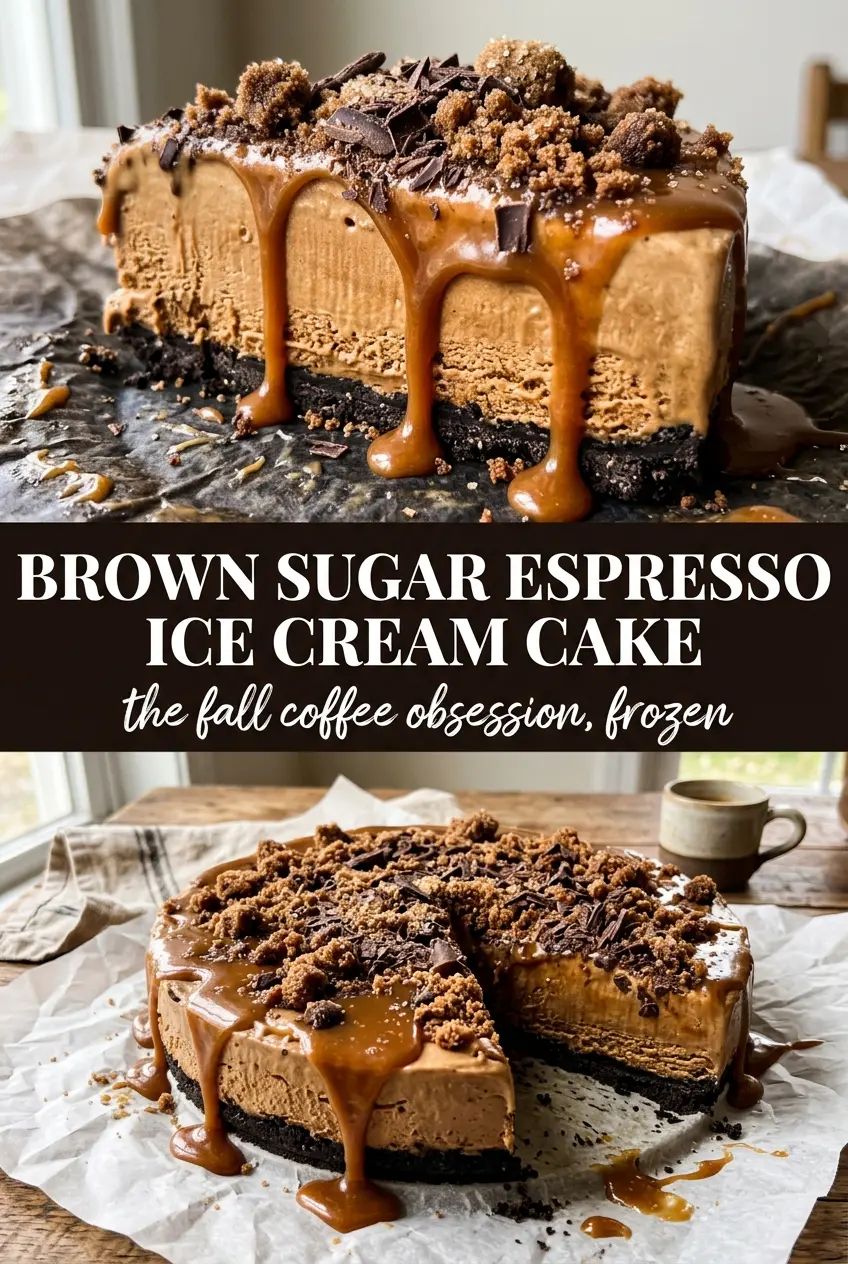
Brown sugar espresso ice cream cake lands with the kind of cold, creamy bite that makes people pause after the first forkful. The coffee ice cream brings a deep, mellow base, while the brown sugar syrup adds that warm caramel note that keeps it from tasting flat or one-note. The graham cracker crust gives it just enough structure to slice cleanly without turning stiff or icy.
What makes this version work is the balance between texture and flavor. The espresso gets dissolved into the syrup first, so it spreads evenly through the ice cream instead of leaving bitter pockets behind. Softening the ice cream just enough before folding in the syrup matters too; if it melts too far, the cake freezes dense instead of light and scoopable. The salted caramel feel comes from brown sugar more than from a heavy sauce, which keeps the dessert from feeling overly rich.
Below, I’ll walk you through the one part that matters most when you’re building a frozen cake like this: how to keep the layers clean, flavorful, and sliceable after hours in the freezer. I’ve also included a few smart swaps and storage notes so you can plan it ahead without guessing.
The espresso syrup folded into the ice cream made the flavor taste layered instead of just “coffee.” It sliced beautifully after the final freeze and the graham crust stayed crisp at the edges.
Save this brown sugar espresso ice cream cake for the nights when you want a make-ahead coffee dessert with a clean slice and a caramel-cinnamon finish.
The Freezer Time That Keeps This Cake Sliceable
The biggest mistake with ice cream cakes is rushing the freeze between layers. If the crust isn’t firm before the ice cream goes in, it softens and blends into the filling instead of staying distinct. If the ice cream isn’t frozen hard again before the drizzle and topping, the whole surface turns messy and the finish sinks instead of sitting on top.
This cake depends on patience in short stages, not one long freeze at the end. A 15-minute crust chill, a 4-hour freeze after spreading the ice cream, and a final 2-hour set after topping each do a different job. That sequence is what gives you a cake that unmolds cleanly and holds together on the plate.
- Crust first: Press it in firmly and evenly so it compacts like a base, not loose crumbs waiting to fall apart.
- Ice cream texture: Let it soften just enough to stir, but stop before it becomes liquid. You want spreadable, not pourable.
- Final top layer: Add the whipped cream and cinnamon only after the cake has re-frozen. Warm toppings on a soft base will slide.
What Each Ingredient Is Really Doing Here
- Graham crackers: They give the cake its classic bakery-style base and a little toasted sweetness. Crushed finely, they press into a tight crust that slices better than a chunky crumb base.
- Brown sugar: This is what makes the coffee flavor taste rounder and more like a brown sugar latte than plain coffee ice cream. You need it in both the crust and the syrup for that layered caramel note.
- Butter: Melted butter is the glue that keeps the crust from crumbling when you cut the cake. A cheaper butter works fine here because it’s doing structure work, not flavor-leading work.
- Coffee ice cream: Use a good one, because it’s the main flavor of the dessert. If the ice cream tastes thin in the carton, it’ll taste thin in the finished cake too.
- Espresso powder: This sharpens the coffee flavor without watering anything down. Dissolving it in hot water first keeps it from leaving gritty specks in the syrup or bitter clumps in the ice cream.
- Whipped cream: It softens the intensity of the coffee and brown sugar on top. If you want a firmer finish, use stabilized whipped cream so it holds its shape longer on the cake.
- Cinnamon and brown sugar topping: This is the last layer of warmth, and it keeps the dessert from reading as just cold coffee and cream. A light dusting is enough; too much cinnamon can take over fast.
Building the Layers Without Letting the Cake Melt Down
Pressing the crust into place
Mix the crushed grahams, brown sugar, and melted butter until every crumb looks evenly coated, then press it firmly into the springform pan. Use the bottom of a measuring cup to pack the edges and center with even pressure. A loose crust will fall apart when you lift the ring, so take the extra minute to compact it well before freezing.
Layering the espresso into the ice cream
Stir the espresso powder into the hot water until it dissolves completely, then blend that into the brown sugar syrup. Fold half of that mixture into the softened coffee ice cream just until it looks streak-free. If you stir too long, the ice cream loses air and turns dense; if you stop too soon, the flavor stays patchy.
Freezing the middle layer
Spread the coffee ice cream mixture over the frozen crust and smooth the top with an offset spatula or the back of a spoon. Work quickly and keep the pan cold between motions, because softened ice cream starts to drag once it warms. Freeze it until firm enough that a finger pressed lightly on top leaves no dent.
Finishing with the drizzle and topping
Drizzle the remaining espresso brown sugar syrup over the frozen surface, then top with whipped cream and the cinnamon-brown sugar dusting. If the cake is even slightly soft, the syrup will sink in and the whipped cream will slide. Return it to the freezer for the final set so every slice holds its layers when you cut it.
How to Adapt This Cake When You Need a Different Finish
Dairy-Free Version
Use a dairy-free coffee ice cream and a plant-based whipped topping. The crust stays the same as long as your butter substitute is firm enough to bind, but the finished cake will soften a little faster once it sits out, so serve it straight from the freezer.
Gluten-Free Crust
Swap the graham crackers for gluten-free grahams or a gluten-free cookie crumb with a similar dry texture. Keep the butter amount the same, then press and freeze as written so the crust sets firmly instead of staying sandy.
A Stronger Coffee Hit
Increase the espresso powder slightly if you want the cake to taste more like a shaken espresso than coffee ice cream. Don’t add extra liquid beyond what the syrup calls for, or the center can freeze with icy pockets.
Storage and Reheating
- Refrigerator: This cake doesn’t belong in the fridge for long; it softens fast and loses its clean slices. If you need to hold it briefly, keep it chilled for no more than 15 to 20 minutes before serving.
- Freezer: Store tightly wrapped in the springform pan or covered after unmolding for up to 1 week. After that, the crust can start to taste stale and the ice cream picks up freezer odor.
- Reheating: There’s no reheating here. For the best slice, let the cake sit at room temperature for 8 to 10 minutes so the knife glides through without cracking the top or shattering the crust.
Answers to the Questions Worth Asking
Brown Sugar Espresso Ice Cream Cake
Ingredients
Equipment
Method
- Combine crushed graham crackers, 1/2 cup brown sugar, and melted butter, then press firmly into a 9-inch springform pan to form an even layer. Freeze 15 minutes until set.
- In a Dutch oven, combine 1/2 cup brown sugar and 1/2 cup water, then simmer over medium heat until the sugar dissolves and the syrup looks glossy. Cool slightly before using.
- Dissolve the espresso powder in 2 tablespoons hot water until smooth and dark. Stir the espresso into the warm brown sugar simple syrup.
- Fold about half of the espresso-brown sugar syrup into the softened coffee ice cream until evenly streaked and cohesive.
- Spread the espresso-infused softened coffee ice cream over the frozen crust and smooth the top. Freeze for 4 hours until firm.
- Drizzle the remaining espresso brown sugar syrup over the frozen cake surface in ribbons. Top with whipped cream in an even layer, then dust with cinnamon and brown sugar.
- Freeze for 2 more hours before serving so the drizzle and topping set cleanly.


