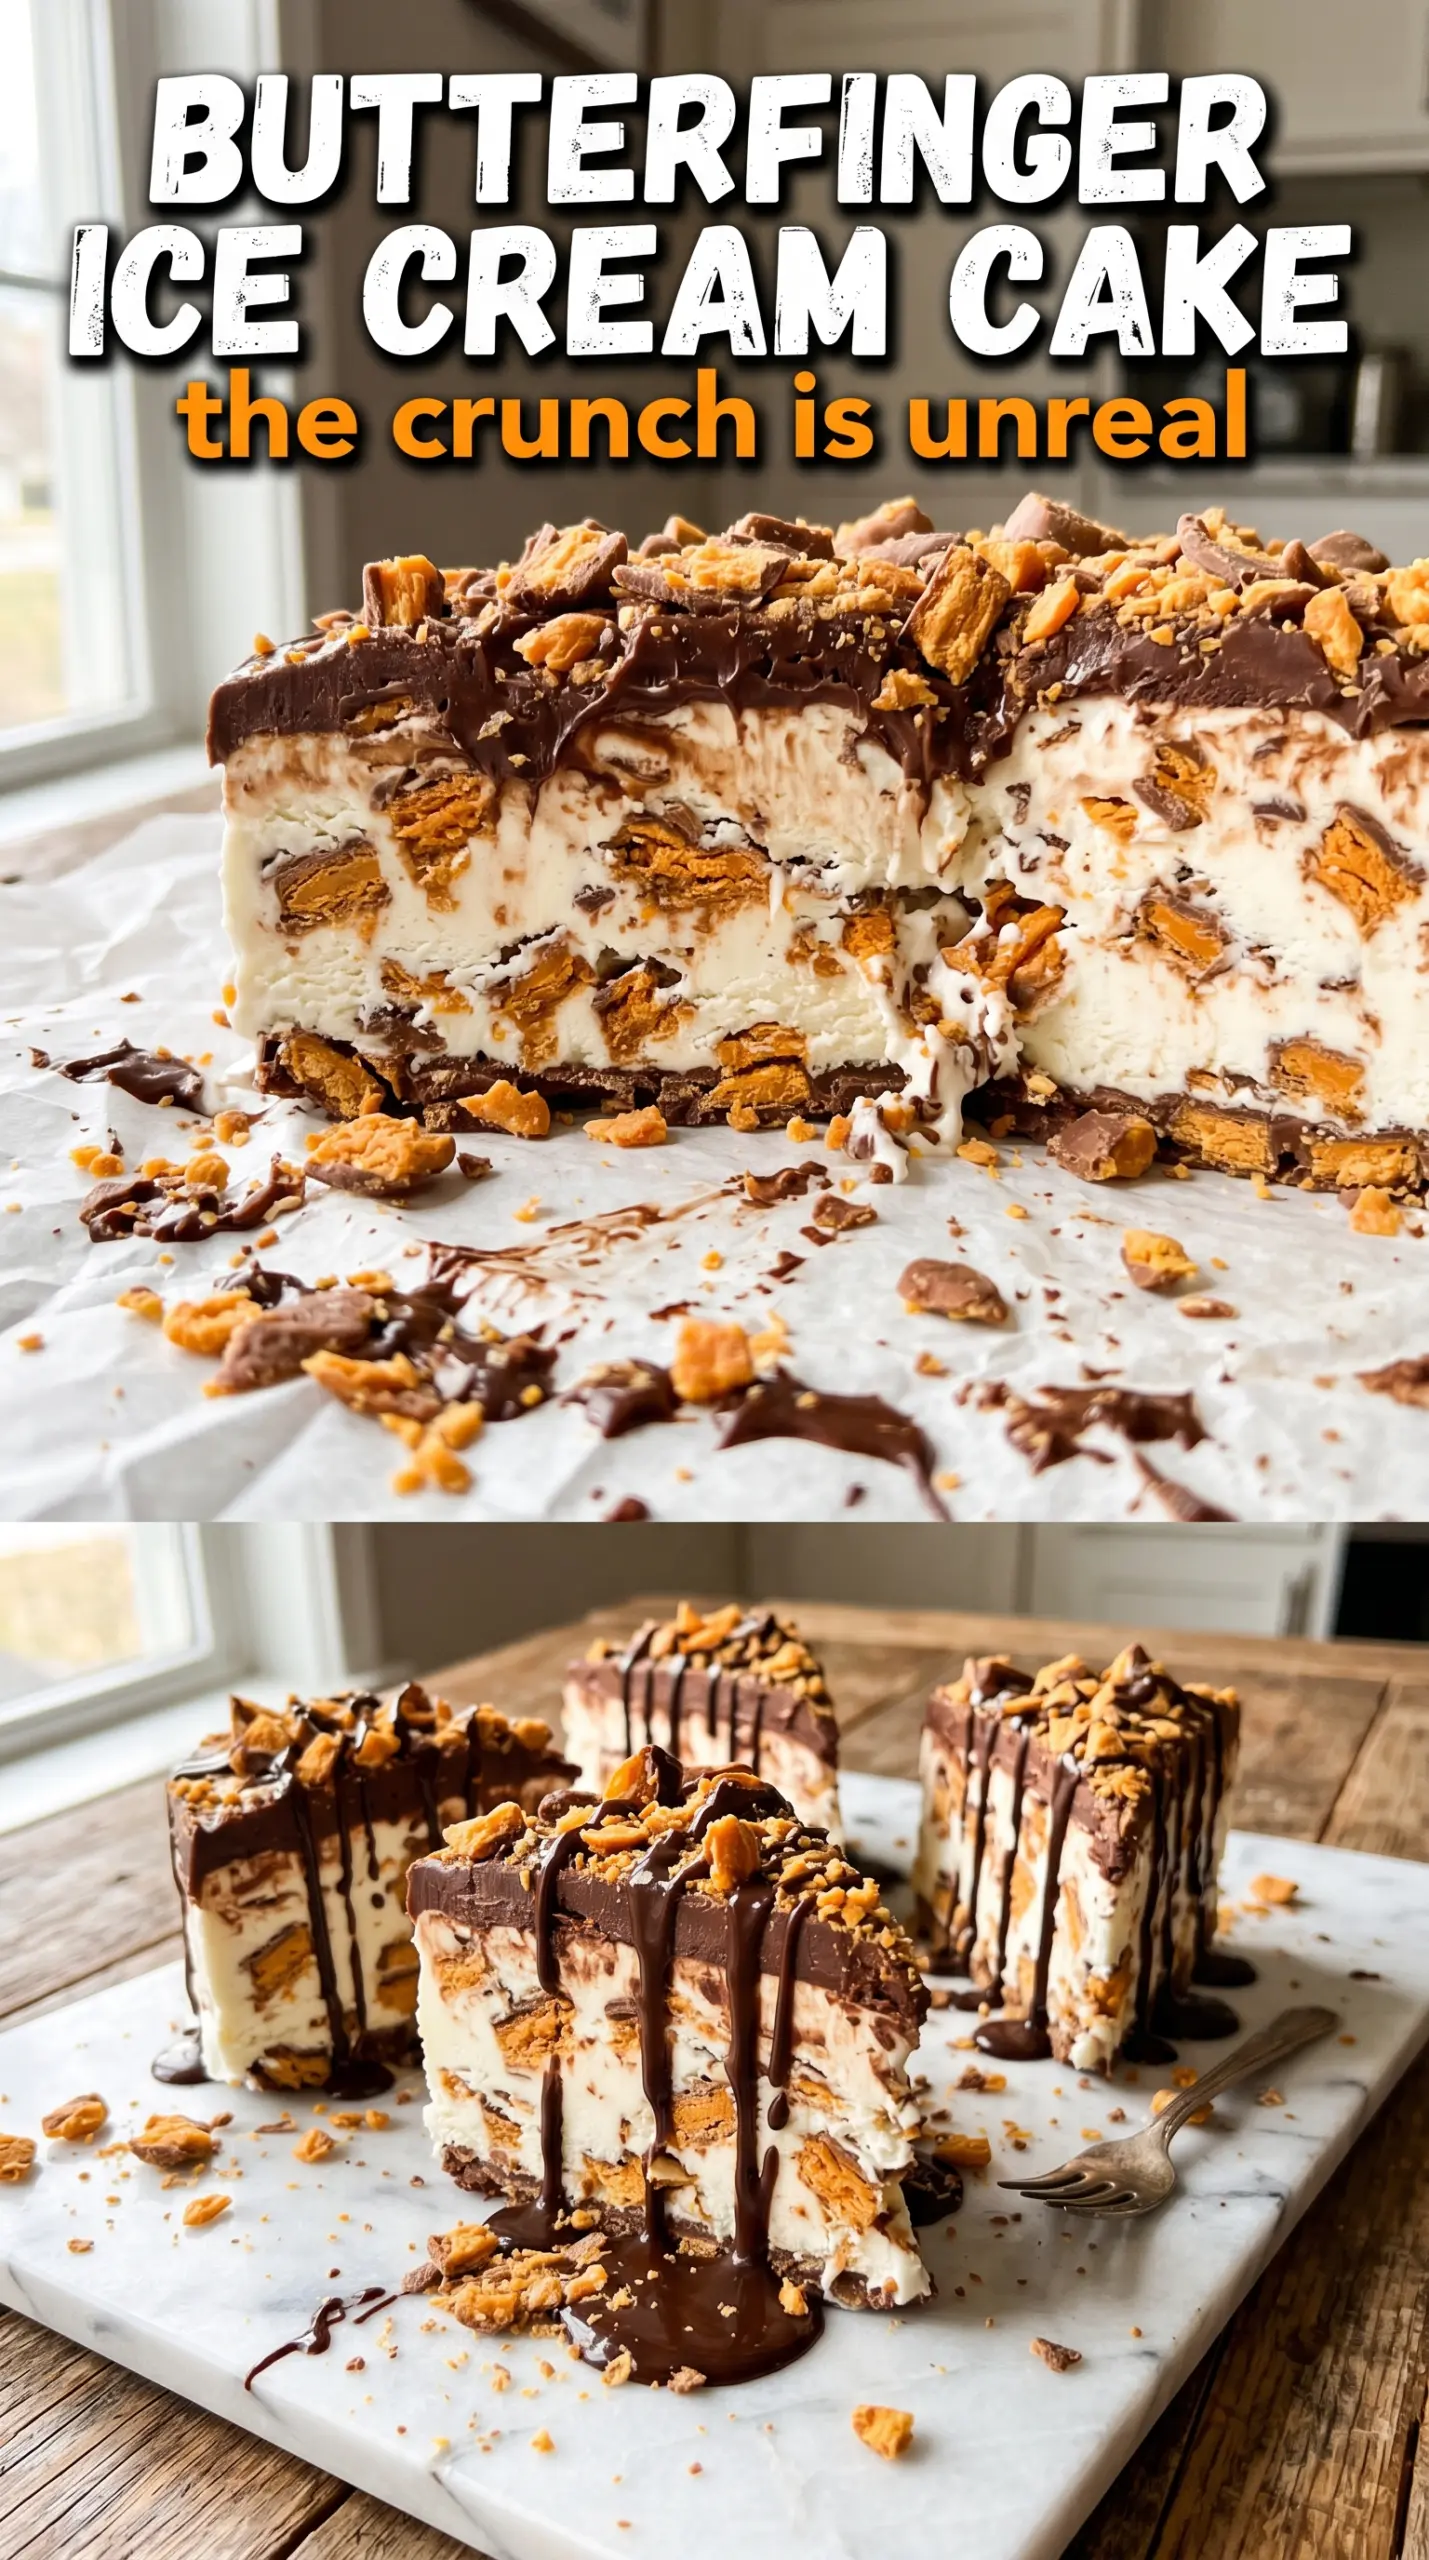
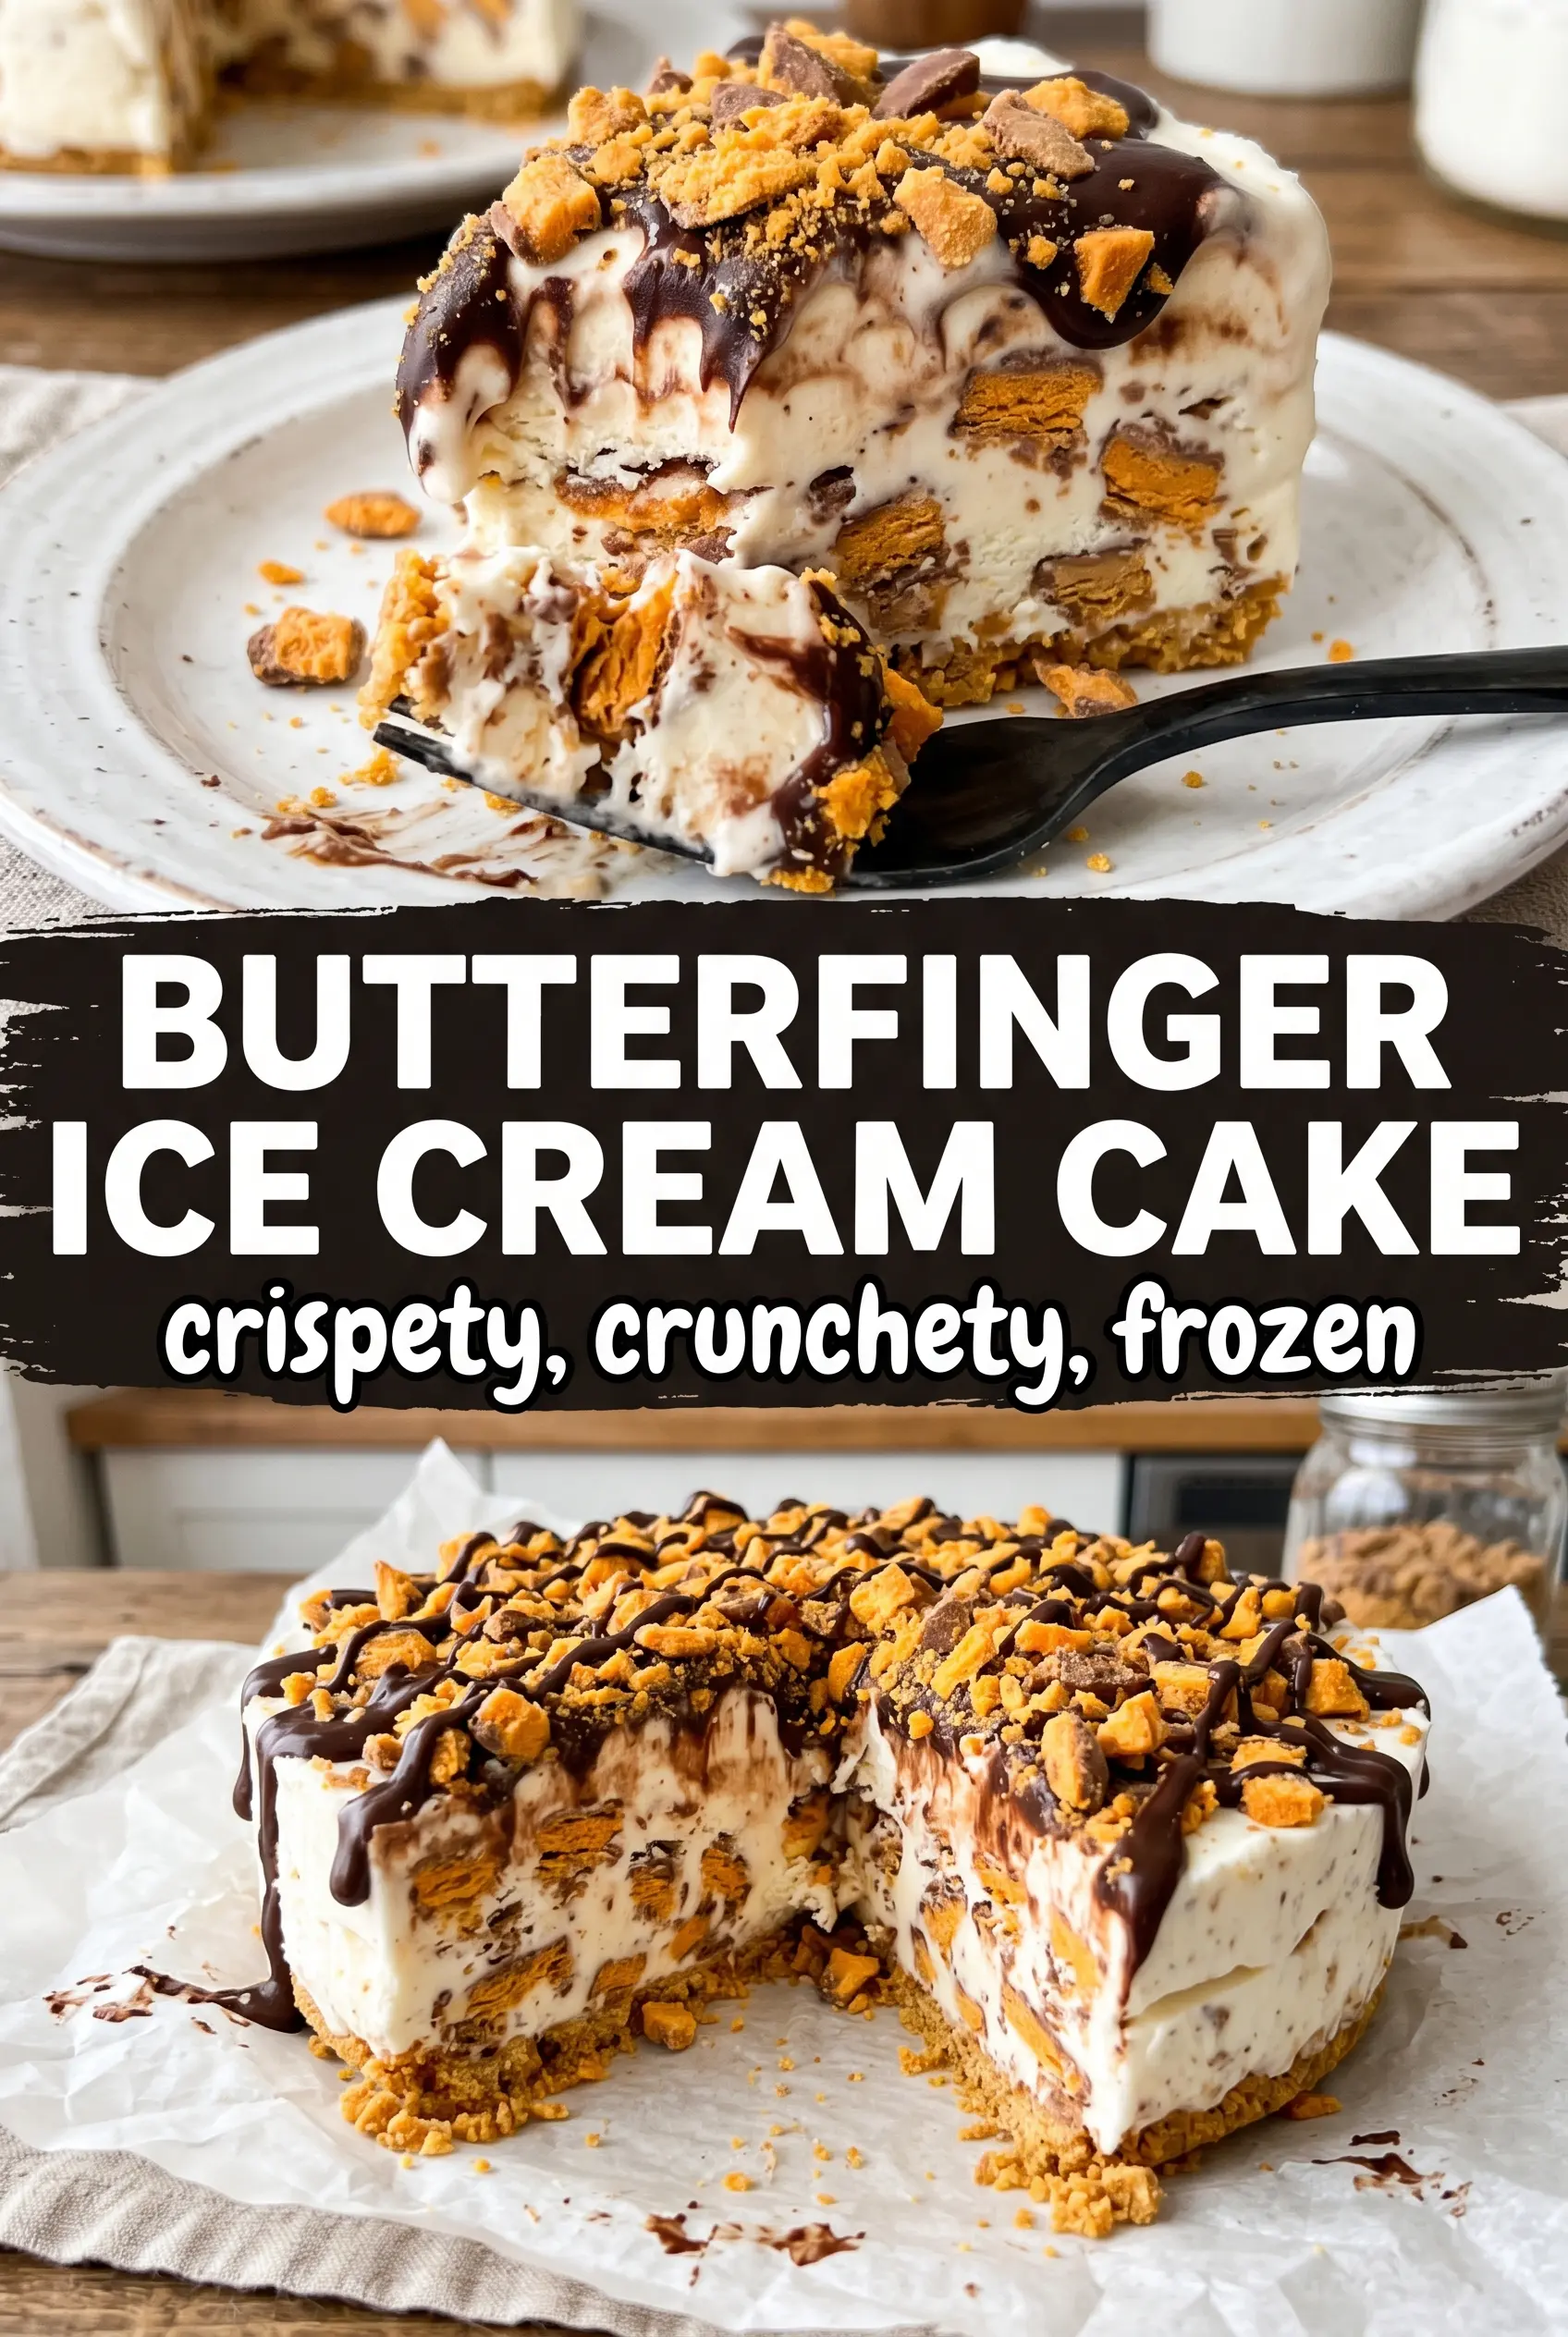
Butterfinger Ice Cream Cake lands with the kind of crunch that makes people pause after the first bite. The chocolate cookie crust stays firm enough to slice cleanly, the vanilla ice cream turns creamy again after a short rest on the counter, and the peanut butter ribbons thread through every layer with that sweet-salty thing Butterfinger does best. It tastes like a birthday cake and a candy bar had the best possible kind of collision.
The trick is keeping each layer distinct long enough to set. Softened ice cream folds together with crushed Butterfingers without turning greasy, and warmed peanut butter drizzles instead of sinking straight through. A springform pan helps a lot here because you can build tall layers and release the cake without wrestling it apart. The final freeze time matters, too. That last couple of hours gives the ganache a clean top and keeps the slices from slumping at the table.
Below, I’m walking through the little details that keep this cake from turning icy or messy, plus the swaps that still work when you want to change up the candy or make it ahead for a party.
The peanut butter stayed in those pretty ribbons instead of disappearing, and the Butterfinger crunch held up even after the cake had been out for a few minutes. Everyone went back for a second slice.
Like the look of those Butterfinger layers? Save this Butterfinger Ice Cream Cake for the next birthday, cookout, or no-fuss dessert night.
The Freezer Time That Keeps the Layers Separate
The biggest mistake with an ice cream cake is rushing the freeze between layers. If the crust isn’t firm before the ice cream goes in, the base starts to crumble and mix upward. If the ice cream layer isn’t fully set before the ganache, the top sinks and the whole cake loses that neat, bakery-style cut.
The other thing worth respecting is temperature. Softened ice cream should be pliable, not melted. You want it spreadable so it folds around the crushed Butterfingers, but if it turns soupy, the candy pieces lose their crunch and the filling freezes denser than it should.
- Chocolate wafer cookies or Oreos — Either one gives you a sturdy, chocolatey base. Oreos bring a little more sweetness and a thicker crust once crushed, while chocolate wafers stay a touch lighter. Crush them fine so the crust packs evenly.
- Butterfinger bars — These are the whole point of the cake. The candy bars hold their crunch better than softer peanut butter candies and bring that unmistakable butterscotch-peanut flavor. Crush them by hand instead of pulverizing them so you keep some texture.
- Peanut butter — Warm it just enough to drizzle. Natural peanut butter can work, but it should be stirred smooth first or it may separate when warmed. Standard creamy peanut butter gives the most reliable ribbon.
- Chocolate ganache — A ganache top sets more cleanly than straight chocolate syrup, which can stay loose in the freezer. Let it cool slightly before pouring so it blankets the ice cream instead of melting a trench into it.
What Each Ingredient Is Actually Doing in This Ice Cream Cake
- Base layer (cookies, cake, or graham cracker) — This provides structure and stability. Crushed and mixed with butter creates a firm foundation.
- Ice cream (the main star) — Use quality ice cream or make homemade. Softness matters for layering.
- Sauce or topping between layers (fudge, caramel, or fruit) — This adds moisture, flavor, and prevents dryness. Don’t skip this layer.
- Frosting or whipped cream (optional outer layer) — This prevents freezer burn and adds creaminess. Stabilized whipped cream works best.
- Freezing time (at least 4-6 hours) — This sets the layers so cake slices cleanly. Longer freezing prevents melting during serving.
- Room temperature before serving (5-10 minutes) — This softens the cake slightly for better texture. Serve immediately after thawing.
- Toppings (chocolate, nuts, cookies, or sprinkles) — These add visual appeal and texture. Add right before serving.
- Storage (in freezer at 0°F or below) — This prevents ice crystal formation and maintains quality. Cover with plastic wrap.
Building the Cake Without Losing the Crunch
Pressing the Crust
Mix the crushed cookies with melted butter until every crumb looks evenly moistened, then press it firmly into the bottom of a 9-inch springform pan. Use the bottom of a measuring cup to pack it flat and tight. If the crust is loose, it breaks apart when you slice the cake. A 15-minute freeze gives the butter time to firm up so the crust stays put under the ice cream.
Folding in the Butterfinger
Let the vanilla ice cream soften until it yields when stirred, then fold in three crushed Butterfinger bars. Stir just enough to distribute the candy without beating the ice cream into a slurry. You want visible flecks and chunks throughout. If the ice cream gets too warm, stop and pop the bowl back in the freezer for a few minutes before spreading it over the crust.
Swirling the Peanut Butter
Warm the peanut butter until it drizzles easily, then spoon it over the ice cream in ribbons. Drag a knife through it once or twice for a soft swirl, but don’t overmix or the whole layer turns muddy. The goal is to find peanut butter in some bites and a clean vanilla-candy bite in others. That contrast is what keeps the cake interesting.
Finishing the Top
After the cake firms up, pour the chocolate ganache over the surface and spread it gently to the edges. Work quickly so it sets in a smooth layer instead of sinking into the ice cream. Scatter the remaining crushed Butterfingers over the top and add whipped topping just before the final freeze. That last two-hour chill gives you sharp slices and keeps the top from dragging when you cut.
How to Change the Candy, the Crust, or the Make-Ahead Plan
Swap in another candy bar
Snickers, Heath bars, or Reese’s Pieces all work, but each changes the texture. Snickers gives you chewy caramel, Heath adds a toffee snap, and Reese’s Pieces lean more peanutty and less buttery. Use the same amount, but keep the pieces on the larger side so they stay noticeable in the frozen filling.
Make it gluten-free
Use certified gluten-free chocolate sandwich cookies or a gluten-free chocolate wafer crust. The rest of the filling stays the same. Check the candy bars and ganache ingredients for hidden gluten if you’re serving someone with celiac needs.
Make it ahead for a party
This cake is built for advance prep. Assemble it the day before, cover it tightly, and freeze overnight. For the cleanest slices, let it sit at room temperature for 10 to 15 minutes before cutting, then run a sharp knife under hot water and wipe it dry between slices.
Storage and Reheating
- Refrigerator: Not ideal. This is best kept frozen, and the ice cream softens fast in the fridge.
- Freezer: Wrap the assembled cake well and freeze up to 1 week for the best texture. After that, the ice cream can pick up freezer flavor and the candy loses some crunch.
- Reheating: No reheating needed. Set the cake out for 10 to 15 minutes before slicing so the knife cuts through cleanly instead of cracking the crust or dragging the ganache.
Questions I Get Asked About This Recipe
Butterfinger Ice Cream Cake
Ingredients
Equipment
Method
- Combine the crushed chocolate wafer cookies or Oreos with melted butter, then press the mixture into a 9-inch springform pan. Chill in the freezer for 15 minutes until set.
- Fold 3 crushed Butterfinger bars into softened vanilla ice cream, then spread it over the crust in an even layer. This should hold together as you spread.
- Warm peanut butter, drizzle it over the ice cream, and swirl gently with a spoon to create ribbon-like streaks. Work quickly so the swirls stay visible.
- Freeze the cake for 4 hours until firm to the touch, so layers don’t shift when you add the ganache. Keep it level in the freezer while it sets.
- Pour chocolate ganache over the top and smooth it into an even coating. Let it settle for a moment before adding the crunch.
- Top with the remaining crushed Butterfinger bars and finish with whipped topping for decoration. Spread carefully so the ganache stays smooth.
- Freeze for an additional 2 hours before slicing and serving, until fully firm. Slice with a clean, warm knife for neat edges.


