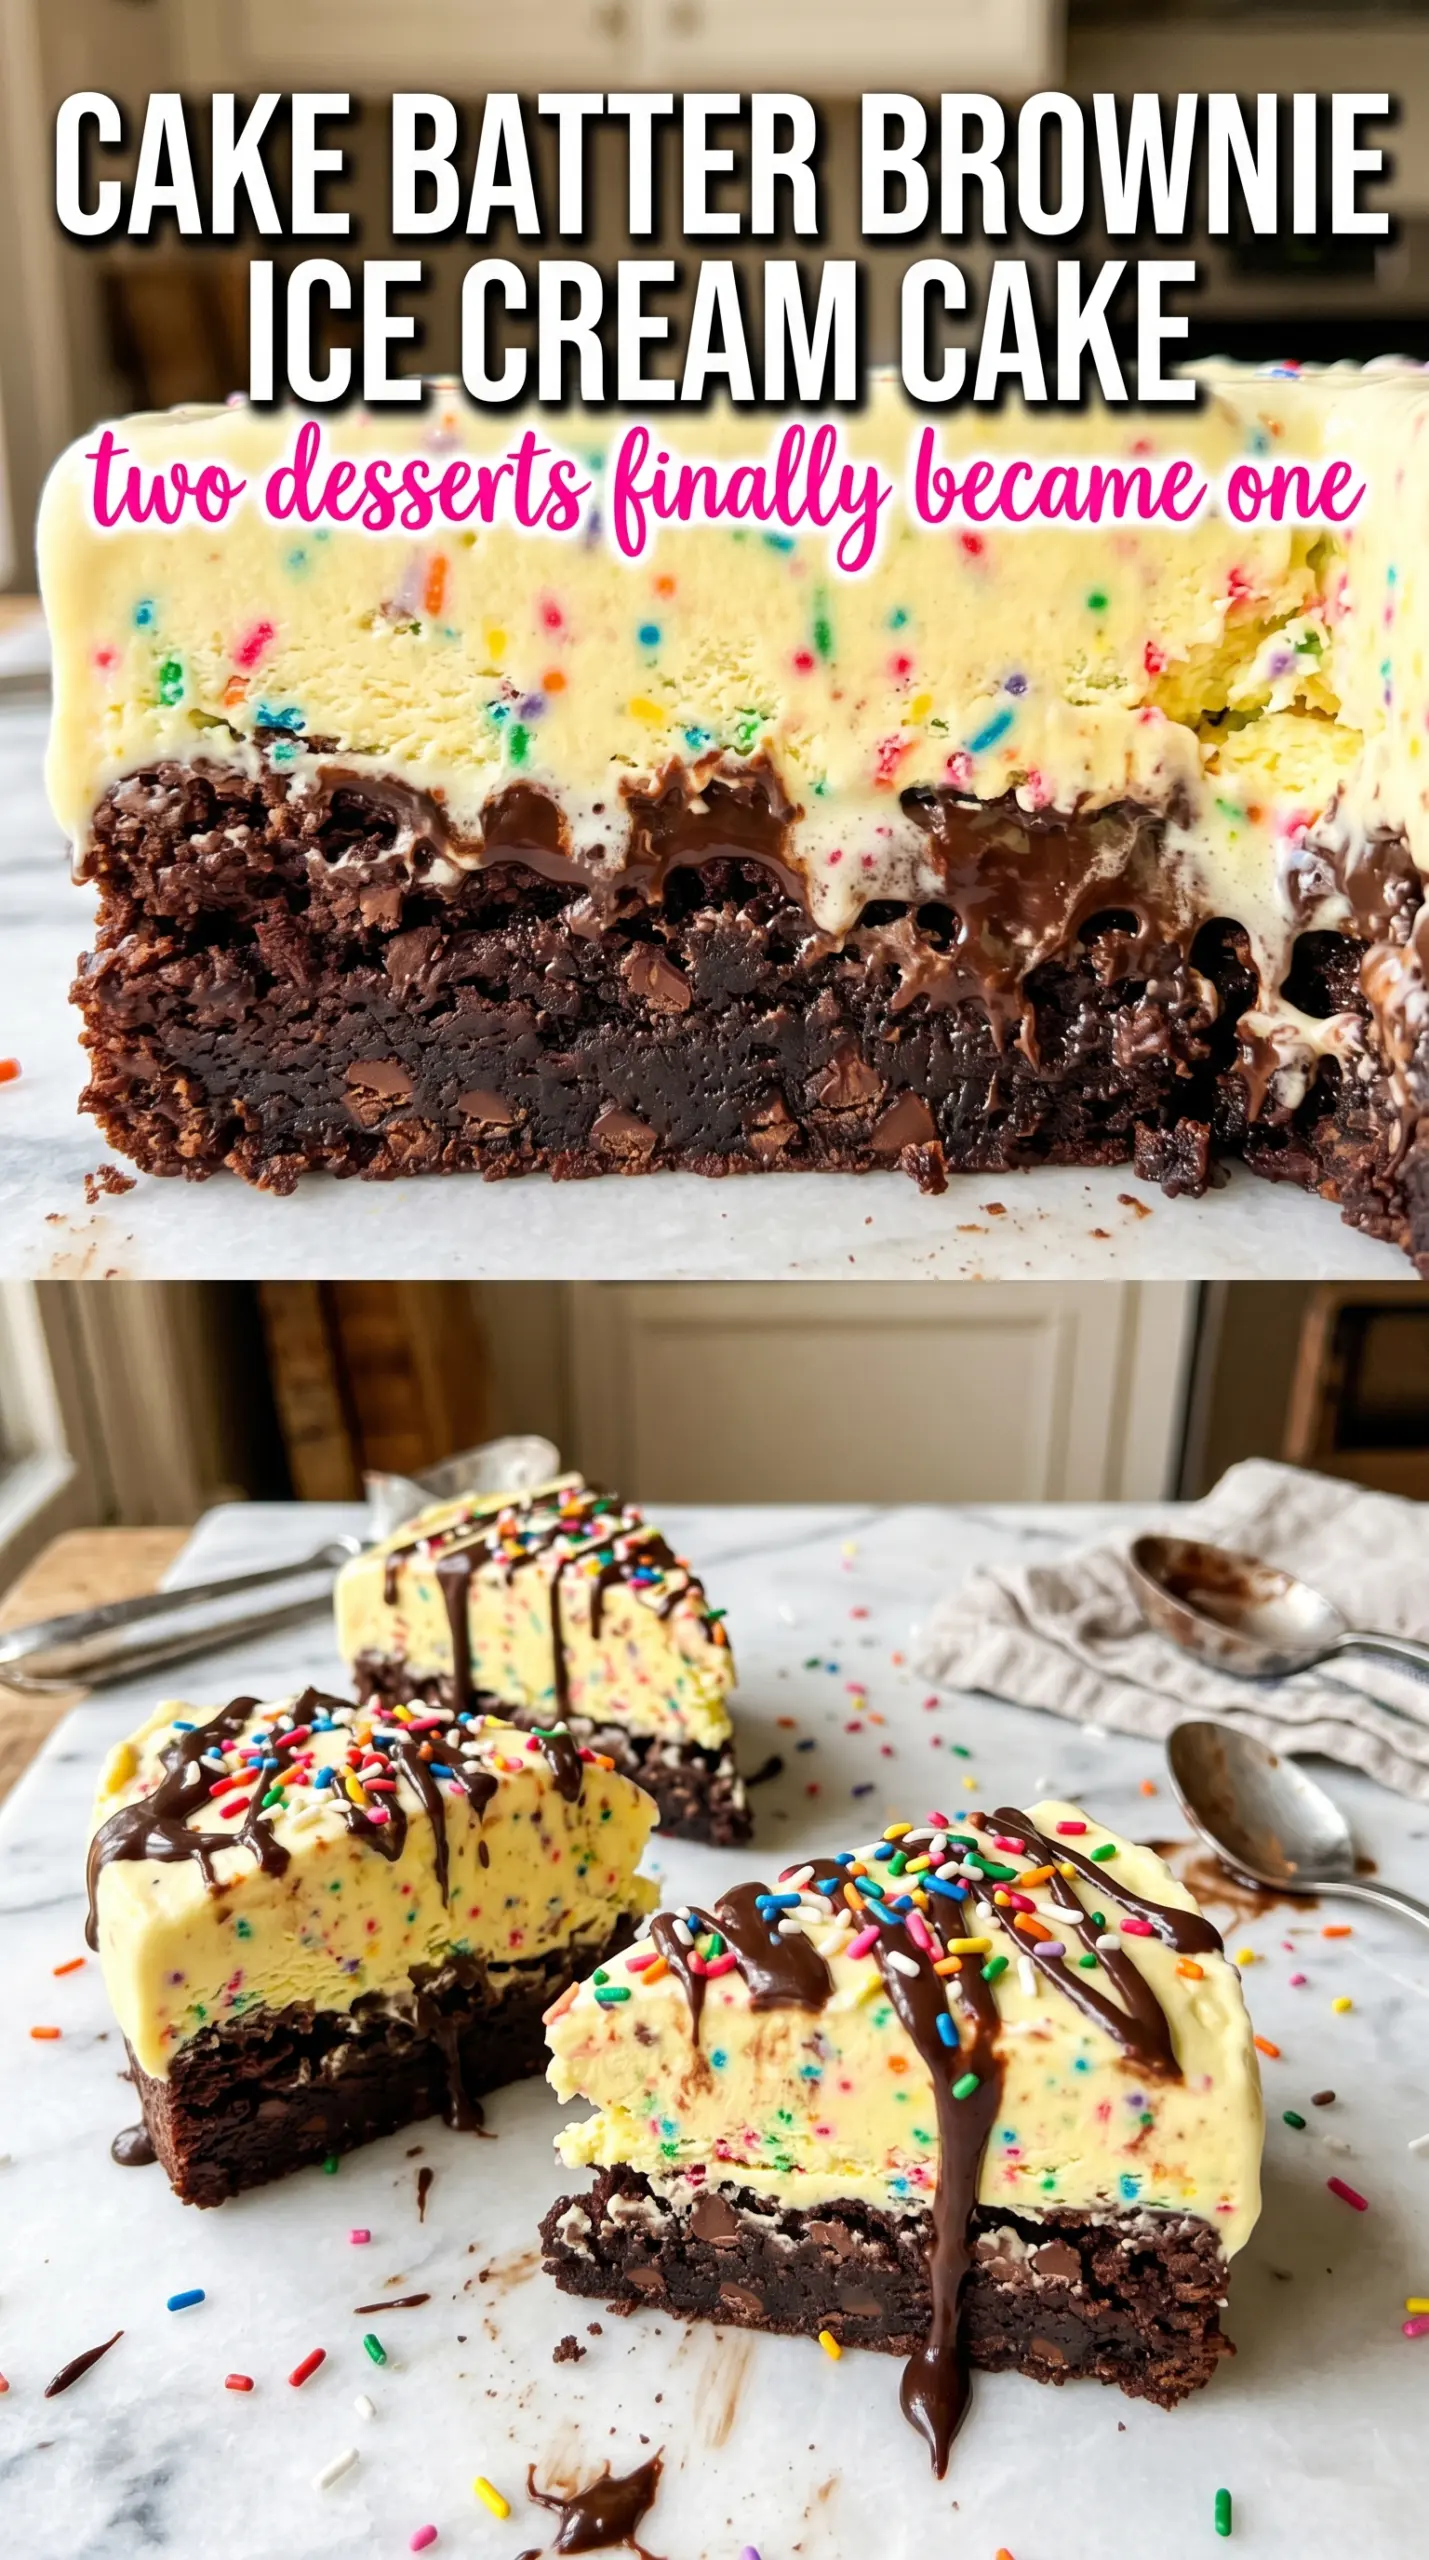
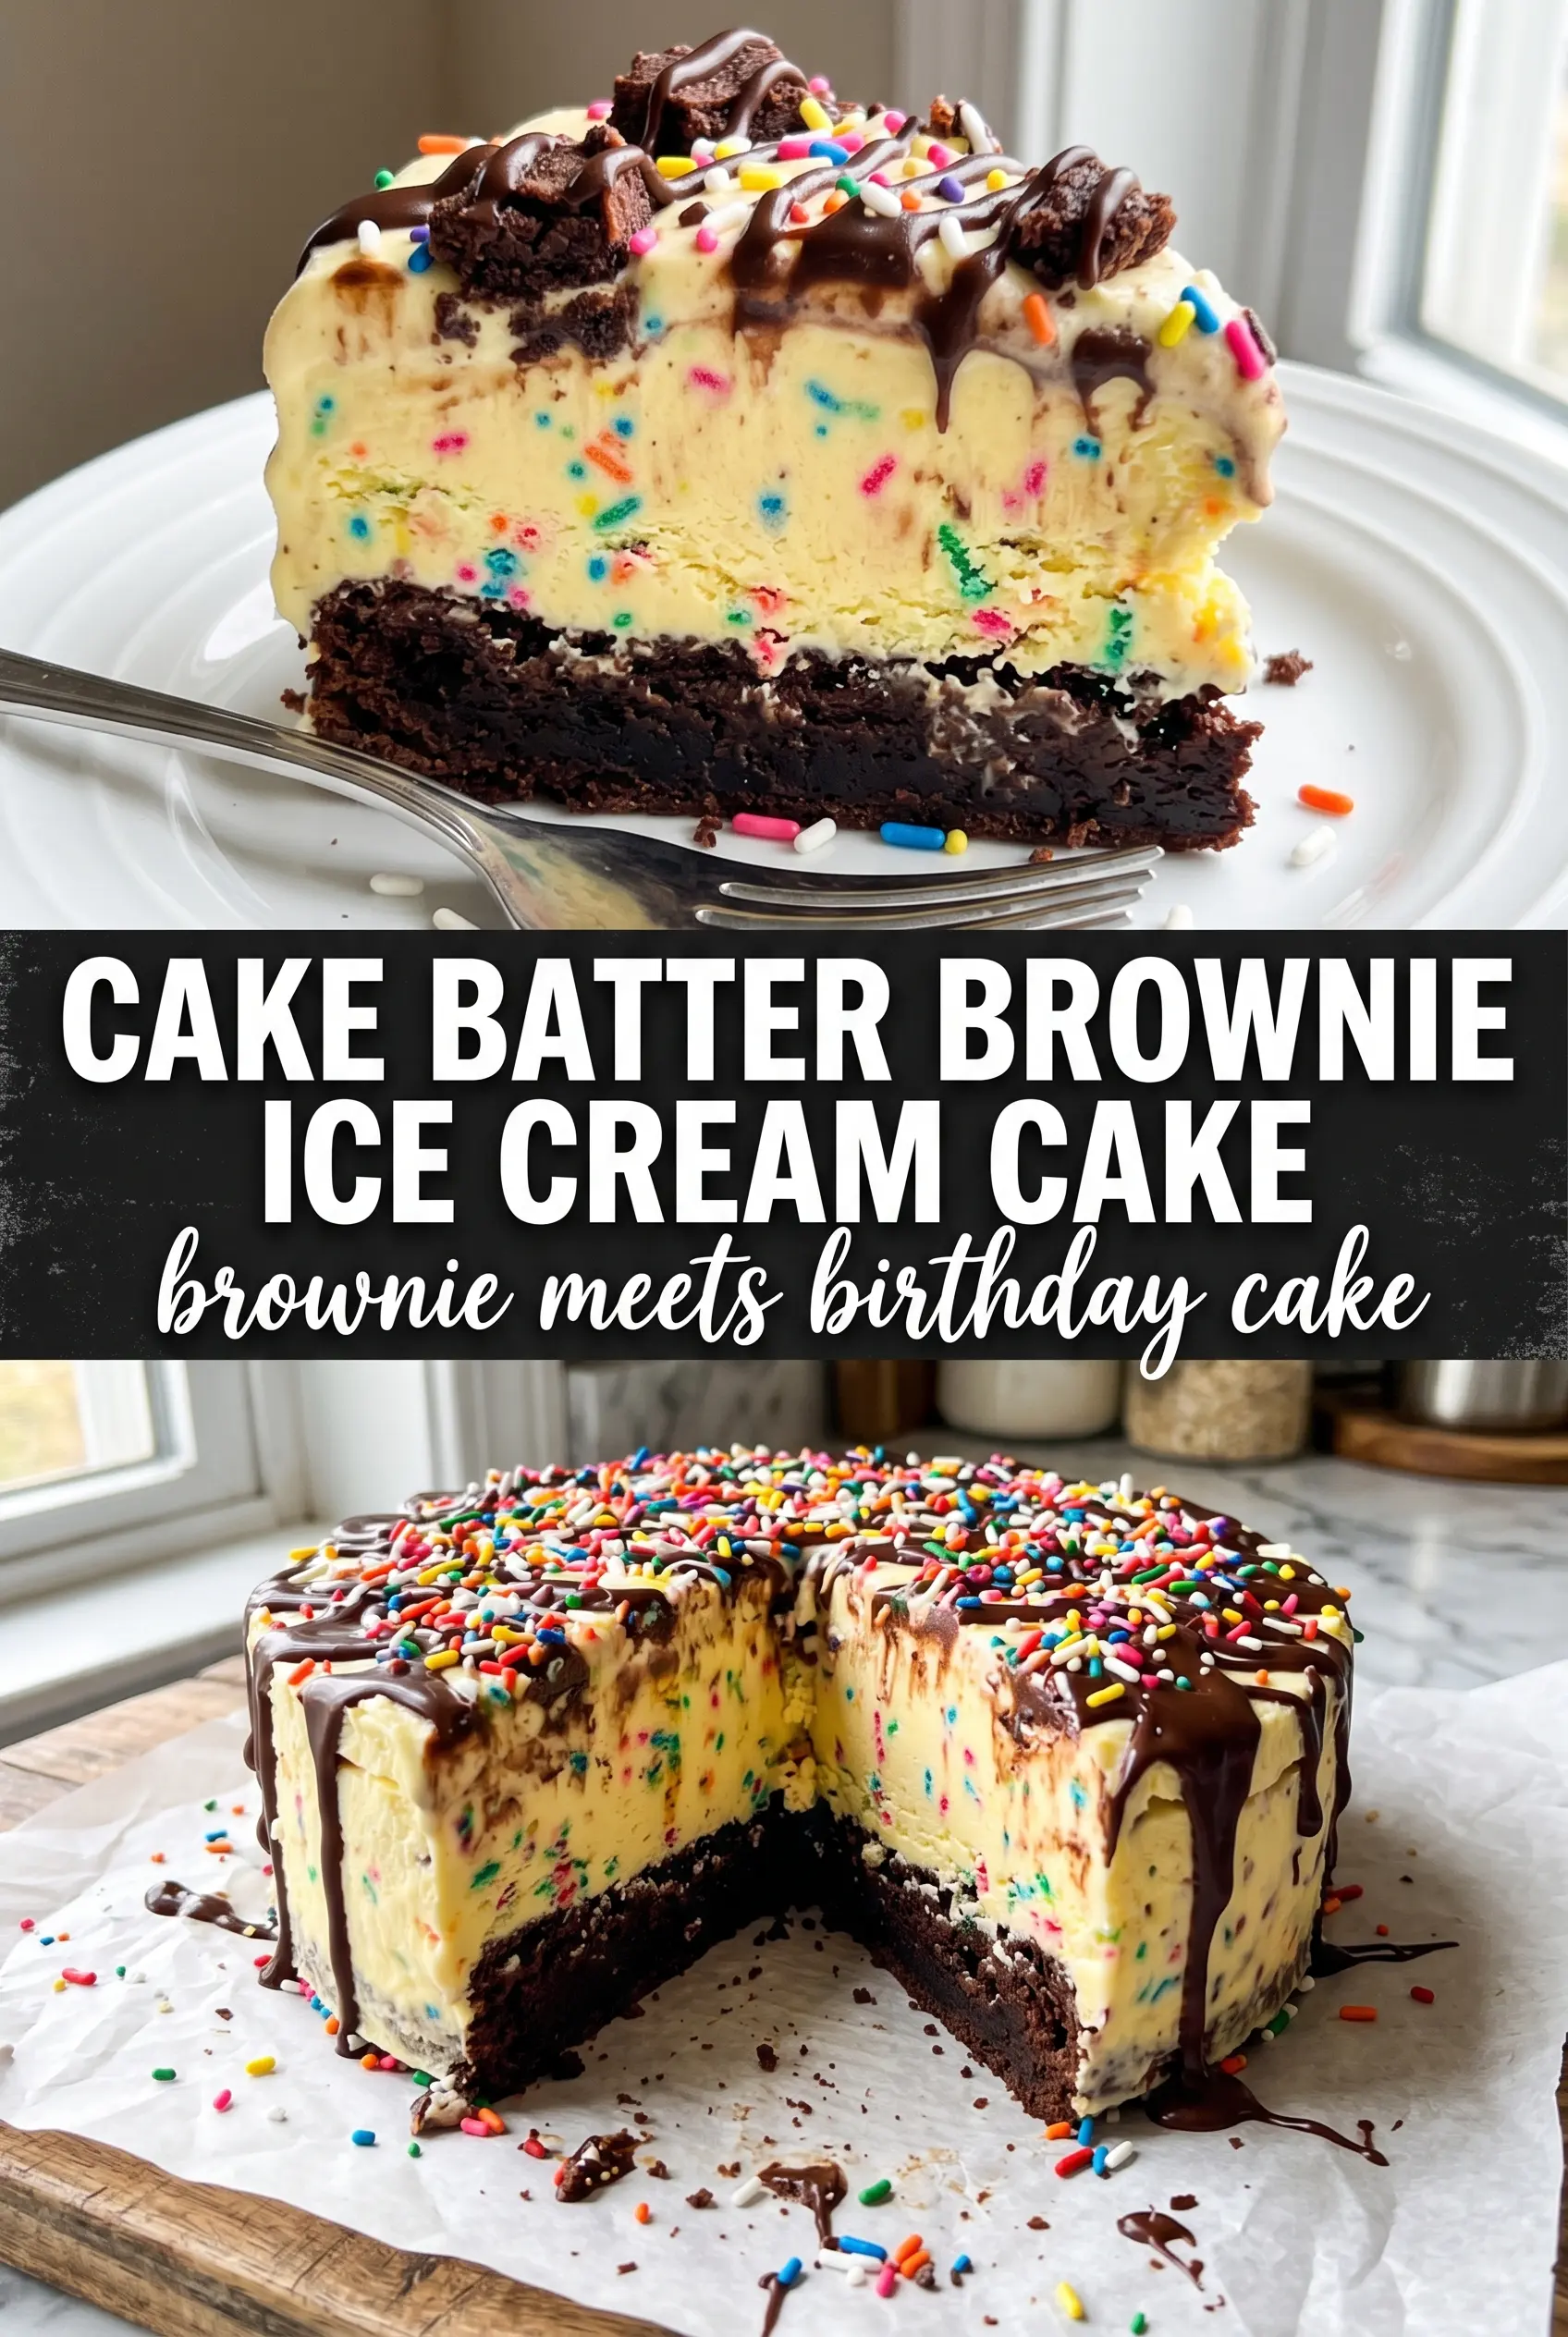
Fudgy brownie, cake batter ice cream, and a ribbon of hot fudge make this frozen dessert feel like a birthday party cut into thick squares. The brownie base stays dense and chewy under all that creaminess, so every slice gives you contrast instead of just sweetness. It’s the kind of dessert that gets louder the second it hits the table.
The trick is starting with a brownie layer that’s completely cool before the ice cream goes on. If there’s any warmth left in the pan, the ice cream softens too fast and you lose those clean, distinct layers. Folding the sprinkles into softened ice cream instead of scattering them only on top keeps the whole middle funfetti-speckled, which matters when you slice into it.
Below you’ll find the little details that keep the layers neat, the fudge swirled instead of muddy, and the cake firm enough to slice without collapsing. I’ve also included a few easy swaps for making it your own without losing that over-the-top birthday cake feel.
The brownie stayed chewy even after freezing, and the fudge ribbon kept each slice from tasting flat. I let it sit on the counter for about 10 minutes before cutting, and it came out in clean layers with the sprinkles still bright.
Love the birthday-cake crunch of this brownie ice cream cake? Save it to Pinterest for the next party when you want a frozen dessert with fudgy layers and rainbow sprinkles.
The Part That Keeps the Layers from Turning Muddy
The biggest mistake with an ice cream cake like this is rushing the layering. If the brownie is still warm, the ice cream melts into the crumb and you lose the clean line that makes each slice look good. If the hot fudge is too hot when it goes on, it can tunnel through the ice cream instead of staying in a ribbon.
Let the brownie cool all the way down. Not just to room temperature on the counter, but fully set and no longer holding any residual heat in the center of the pan. Work with ice cream that’s softened enough to spread, not soup-soft, and the layer will hold its shape while still blending easily with the sprinkles.
- Brownie mix — A boxed mix is fine here because the ice cream and fudge are doing the heavy lifting. Bake it in a 9×13 pan so you get a base that’s thin enough to cut through cleanly but sturdy enough to support the filling.
- Cake batter or birthday cake ice cream — This is the flavor anchor. If you can only find one of those versions, either works; the sprinkles and fudge carry the birthday-cake idea even if the label changes.
- Rainbow sprinkles — Fold them into the ice cream, not just over the top. That keeps the inside playful and stops the whole cake from tasting plain once you cut past the decoration.
- Hot fudge sauce — Use a thick sauce, not a thin chocolate syrup. It should sit on top in glossy swirls and settle into pockets without disappearing into the ice cream.
- Whipped topping — This gives the top a soft, cloudlike finish that slices better than soft whipped cream after a long freeze. Freshly whipped cream works too, but it won’t hold as long in the freezer.
What Each Ingredient Is Actually Doing in This Ice Cream Cake
- Base layer (cookies, cake, or graham cracker) — This provides structure and stability. Crushed and mixed with butter creates a firm foundation.
- Ice cream (the main star) — Use quality ice cream or make homemade. Softness matters for layering.
- Sauce or topping between layers (fudge, caramel, or fruit) — This adds moisture, flavor, and prevents dryness. Don’t skip this layer.
- Frosting or whipped cream (optional outer layer) — This prevents freezer burn and adds creaminess. Stabilized whipped cream works best.
- Freezing time (at least 4-6 hours) — This sets the layers so cake slices cleanly. Longer freezing prevents melting during serving.
- Room temperature before serving (5-10 minutes) — This softens the cake slightly for better texture. Serve immediately after thawing.
- Toppings (chocolate, nuts, cookies, or sprinkles) — These add visual appeal and texture. Add right before serving.
- Storage (in freezer at 0°F or below) — This prevents ice crystal formation and maintains quality. Cover with plastic wrap.
Building the Frozen Cake So It Slices Cleanly
Start with a Fully Cooled Brownie Base
Bake the brownie mix in a 9×13 pan and let it cool all the way before doing anything else. The surface should feel cool to the touch and the center should not give off any warmth. If you rush this part, the ice cream starts melting before the cake is even assembled, and the bottom layer turns soft instead of fudgy.
Spread the Ice Cream Before It Gets Too Loose
Let the cake batter ice cream soften just enough to spread, then fold in the rainbow sprinkles. You want the texture of soft-serve, not melted custard, because melted ice cream leaves gaps and refreezes with icy edges. Spread it over the brownies in an even layer, pushing it into the corners so every slice gets a solid cross-section.
Swirl the Fudge, Don’t Stir It Through
Drizzle the hot fudge over the ice cream and run a knife through it in loose figure-eights. That keeps distinct pockets of fudge instead of a brown streak running through the whole pan. If the fudge is too warm, chill it for a few minutes first so it sits on top long enough to swirl instead of sinking straight down.
Freeze in Two Stages for Clean Slices
Freeze the cake until completely firm, then add the whipped topping and more sprinkles. That extra top layer works better after the first freeze because it stays fluffy instead of blending into the ice cream. Give it the final freeze time before slicing, and use a sharp knife dipped in hot water for the cleanest cuts.
How to Bend This Cake Without Ruining the Funfetti Look
Make it gluten-free with a GF brownie mix
A gluten-free brownie mix works well here because the ice cream layer hides any small textural differences. Bake it a few minutes less than the box suggests if the edges tend to dry out, since a dry base gets tough once frozen.
Swap in chocolate ice cream for a deeper brownie vibe
Chocolate ice cream changes the cake from birthday-cake sweet to more like a brownie sundae slab. It’s a richer, less playful version, so keep the sprinkles and fudge on top if you still want that party look.
Use homemade whipped cream instead of whipped topping
Fresh whipped cream gives a cleaner dairy flavor and a softer finish, but it doesn’t hold as long in the freezer. Spread it on just before serving if you want the most stable slices, or accept a softer top after a long freeze.
Keep it nut-free by checking the brownie mix and toppings
Most of the recipe is naturally nut-free, but boxed brownie mixes and sprinkles can be processed in shared facilities. If that matters in your kitchen, read the labels and choose a brand that clearly avoids cross-contact.
Storage and Reheating
- Refrigerator: This cake is meant for the freezer, not the fridge. In the refrigerator it softens fast and the layers collapse.
- Freezer: Store covered for up to 1 week for the best texture. After that, the ice cream starts to pick up freezer flavor and the brownie can get icy at the edges.
- Reheating: No reheating here. For clean slices, let the cake sit at room temperature for 8 to 12 minutes before cutting so the knife moves through the brownie instead of cracking the frozen top.
Answers to the Questions Worth Asking
Cake Batter Fudge Brownie Ice Cream Cake
Ingredients
Equipment
Method
- Bake the brownie mix in a 9x13 pan according to package directions, then cool completely. Keep the top surface dry and fully cooled so the ice cream layer won’t melt or slip.
- Fold the rainbow sprinkles into the softened cake batter or birthday cake ice cream until evenly dotted. Use a gentle fold so the sprinkles spread through the ice cream rather than clump.
- Spread the sprinkle ice cream over the cooled brownies in a thick, even layer. Press lightly to level the surface for clean slices later.
- Drizzle the hot fudge sauce over the top and swirl with a knife. Create visible ribbon streaks without fully mixing them into the ice cream.
- Freeze for 6 hours until completely firm. The edges should look set and the center should hold shape when you gently press the surface.
- Cover with the whipped topping and shower generously with rainbow sprinkles. Add extra sprinkles while the topping is fresh so they adhere.
- Freeze for 2 more hours before slicing. Let the cake sit at room temperature for 5 minutes for easier cutting and neater layers.


