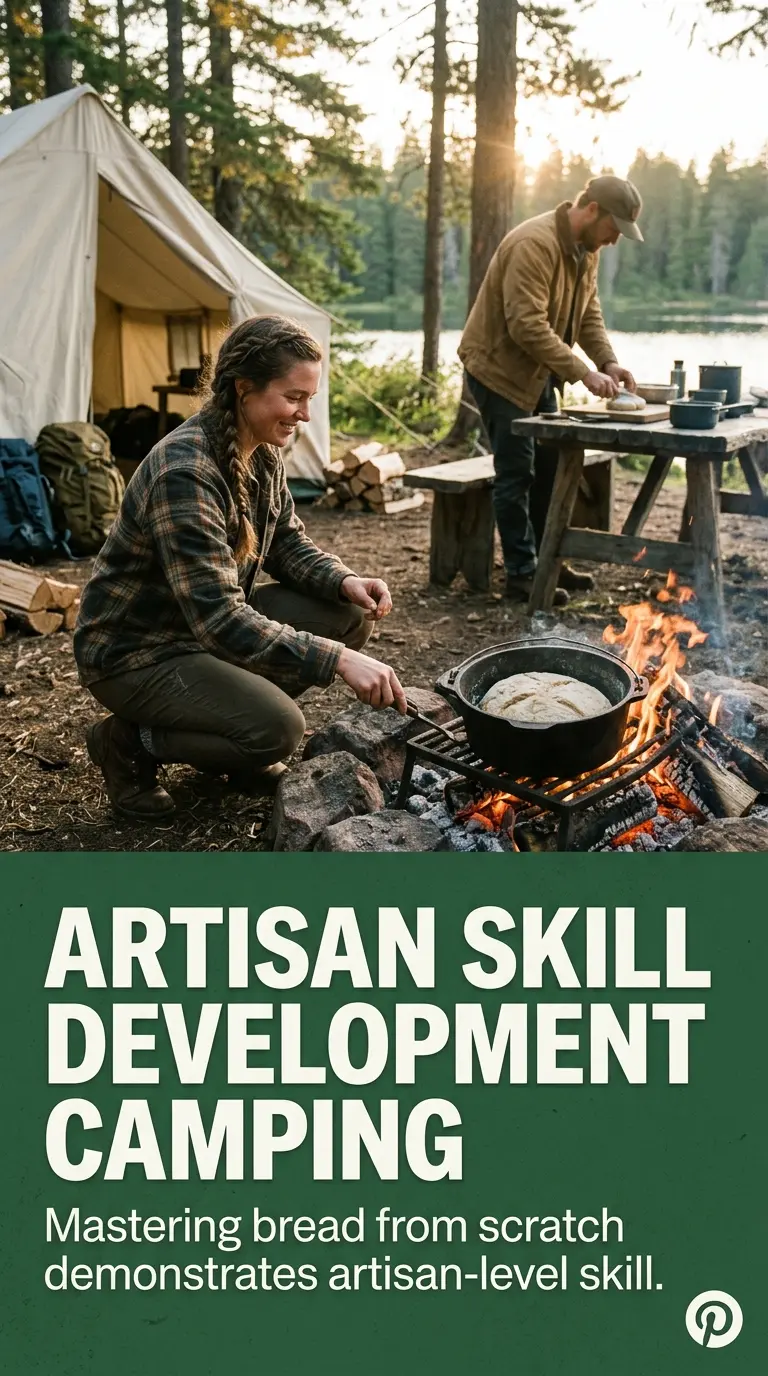
Campfire bread turns simple dough into something warm, crisp-edged, and a little smoky, with a fluffy center that pulls apart while it’s still hot. The spiral shape cooks evenly when you keep it over coals and rotate the stick often, so the outside turns golden without burning before the middle sets. It’s the kind of bread that disappears fast because people keep reaching for one more piece.
This version leans on a short ingredient list and a dough that’s just sticky enough to cling to the stick without sliding off. The powdered milk adds a little richness and helps the crust brown better over open heat, while the sugar gives the bread a deeper color and a subtle hint of sweetness. The biggest difference here is patience with the fire: coals give you steady heat, and steady heat is what bakes the bread through without turning the outside black.
Below, I’ll walk through the part that matters most: shaping the dough so it stays on the stick, and judging doneness by color and feel instead of guessing. There’s also a few smart swaps and troubleshooting notes if your dough feels too dry or starts to tear while you wrap it.
The dough wrapped around the stick without slipping, and the bread cooked all the way through before the outside got too dark. We brushed the finished pieces with butter and everyone kept grabbing another one.
Save this campfire bread for smoky, golden stick bread that bakes right over the coals.
The reason campfire bread works over coals, not flames
The mistake that ruins most stick bread is heat that’s too aggressive. Flames scorch the outside before the dough has a chance to set, which leaves you with a burnt shell and a gummy center. Coals give you even, radiant heat, so the bread cooks from the outside in at a pace that actually matches the dough.
That spiral shape matters too. It creates more surface area for browning while still letting the heat reach the inner layers, and rotating the stick keeps one side from taking all the heat. If the dough starts to ooze or slide, it usually means the rope was too thick or the stick was too hot when the dough went on.
- Coals — They cook the bread steadily and evenly. Flames are too harsh for this style of bread.
- The spiral wrap — This helps the dough brown all over instead of just on one side.
- Constant rotation — A slow turn every few seconds keeps the crust from blistering or burning.
- Moderate dough thickness — About 1 inch thick is enough to cook through without staying raw in the center.
What each ingredient is actually doing in this campfire dough
- All-purpose flour — This gives the bread enough structure to wrap and hold its shape. Bread flour will make it a little chewier, but all-purpose is the easiest to work with around a campfire.
- Baking powder — This is the lift. Since there’s no yeast here, baking powder is what keeps the inside light instead of dense.
- Powdered milk — It adds a subtle dairy richness and helps the bread brown better over the fire. If you don’t have it, you can leave it out, but the crust won’t have quite the same color or flavor.
- Sugar — Just enough to help with browning and give the bread a gentle sweetness. It also balances the salt, especially if you’re serving the bread plain with butter.
- Water — Add it gradually. The dough should be tacky, not wet enough to slip off your hands.
- Roasting sticks — Use clean, food-safe sticks or metal roasting sticks. If the stick is too narrow, the dough can spin loosely and cook unevenly.
Shaping and roasting the dough so it cooks through
Mixing the Dough
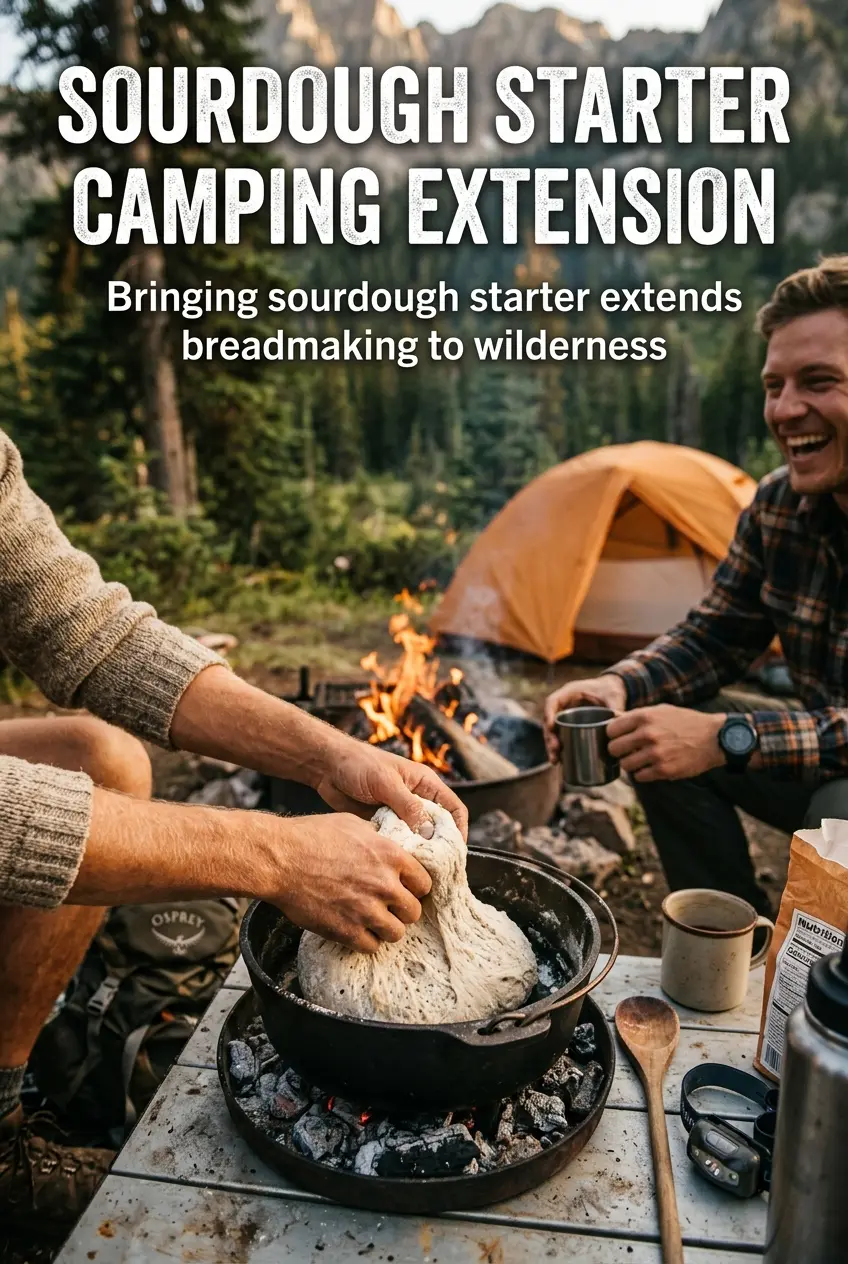
Stir the dry ingredients together first so the baking powder and powdered milk are evenly distributed. Add the water a little at a time and stop as soon as the dough comes together into a soft mass. If it feels dry and cracks when you press it, it needs a splash more water; if it’s sticky enough to smear all over your hands, dust in a little flour.
Rolling and Wrapping
Divide the dough into 10 equal portions and roll each one into a rope about 1 inch thick. Wrap it around the stick in a spiral, pressing the seam lightly so it grips but doesn’t get compacted. If the rope is too thick, the outside will brown before the center cooks, and if it’s too thin, it can dry out or tear while you turn it.
Roasting Over the Coals
Hold the dough over hot coals, not open flames, and rotate it constantly. You’re looking for a deep golden color and a dry-looking surface that feels set when you tap it gently. If the bread is getting dark too fast, move it higher; if it’s pale after several minutes, the fire isn’t hot enough and you need better coals.
Finishing and Serving
Slide the bread off the stick while it’s still warm and serve it right away with butter or jam. The crust is best in that first hot window, when the outside is crisp and the inside still steamy. If you wait too long, the bread loses that contrast and turns more bread-like than campfire special.
How to adapt campfire bread when the fire, ingredients, or crowd changes
Dairy-free campfire bread
Skip the powdered milk and add a small extra spoonful of flour to keep the dough balanced. You’ll lose a little browning and richness, but the bread still works well over coals and tastes great with a savory topping or olive oil.
Slightly sweeter version
Increase the sugar by another tablespoon if you want a more noticeable sweet edge. This version browns a little faster, so keep it farther from the heat and rotate it even more often.
Gluten-free version
Use a cup-for-cup gluten-free flour blend that already contains xanthan gum. The dough may feel softer and a little more fragile, so wrap it a bit thicker and handle it gently while turning.
Storage and Reheating
- Refrigerator: Store leftovers in an airtight container for up to 2 days. The bread softens as it sits, so the crust won’t stay crisp.
- Freezer: Freeze fully cooled bread in a sealed bag for up to 1 month. Thaw at room temperature before reheating; freezing works, but the texture is best fresh.
- Reheating: Warm in a dry skillet over low heat or briefly over low coals. High heat will dry the bread out fast and can make the outside tough before the middle warms up.
Answers to the questions worth asking before you start
Campfire Bread
Ingredients
Method
- Combine all-purpose flour, baking powder, salt, sugar, and powdered milk in a large bowl or zip-top bag. Mix until evenly distributed so the rise is consistent.
- Add water and mix until dough forms. Stir or shake until the dough is slightly sticky and cohesive.
- Divide the dough into 10 portions. Keep portions covered so the surface doesn’t dry out.
- Roll each portion into a long rope about 1 inch thick. Use gentle pressure so the rope stays uniform along its length.
- Wrap each dough rope around the end of a roasting stick in a spiral pattern. Leave a little space between turns to help the bread cook through and brown.
- Hold the wrapped stick over campfire coals (not flames), rotating constantly. Roast for 12-15 minutes until golden brown and cooked through.
- Slide the bread off the stick and serve warm. Serve with butter or jam if desired.