Campfire grilled cheese turns into something special the second the bread hits the heat. The outside goes deeply golden and crisp, the cheese melts into a stretchy layer, and the whole sandwich picks up that smoky edge you only get from cooking over a fire. It’s simple food, but it feels like exactly the right thing when you want lunch to be hot, fast, and worth the extra few minutes at the grate.
The trick is keeping the heat steady and moderate. Campfire flames run hot and uneven, which is how bread burns before the cheese has time to melt. Butter on the outside gives you the crust, while a good melting cheese like American or cheddar gives you the pull. If you’ve ever had grilled cheese that came off the fire with dark bread and cold centers, this version fixes that by slowing the cook down just enough.
Below you’ll find the small details that matter most: how to manage the fire, which cheese melts cleanly, and the easiest way to keep the sandwich together when you flip it.
The bread got perfectly crisp over the coals, and the cheddar melted all the way through without leaking out everywhere. My kids asked for a second round right after lunch.
Want that smoky, melty campfire grilled cheese again? Save this one for the next cabin trip or backyard fire night.
The Heat Gap That Keeps the Bread Golden and the Cheese Melty
Most campfire sandwiches fail for one simple reason: the fire is too aggressive. Direct flame will scorch the bread before the center softens, especially if the cheese starts cold. The better move is medium heat over a grate or in a cast iron skillet set just off the hottest part of the fire, where the bread can toast at the same pace the cheese warms.
Butter belongs on the outside of the bread, not inside the sandwich. That gives you the crisp shell you want and helps the slices brown evenly. If the bread is browning too fast, pull it a little farther from the flame and let the sandwich sit another minute; rushing the heat only leaves you with a good-looking crust and an under-melted middle.
What the Bread, Butter, and Cheese Are Each Doing Here
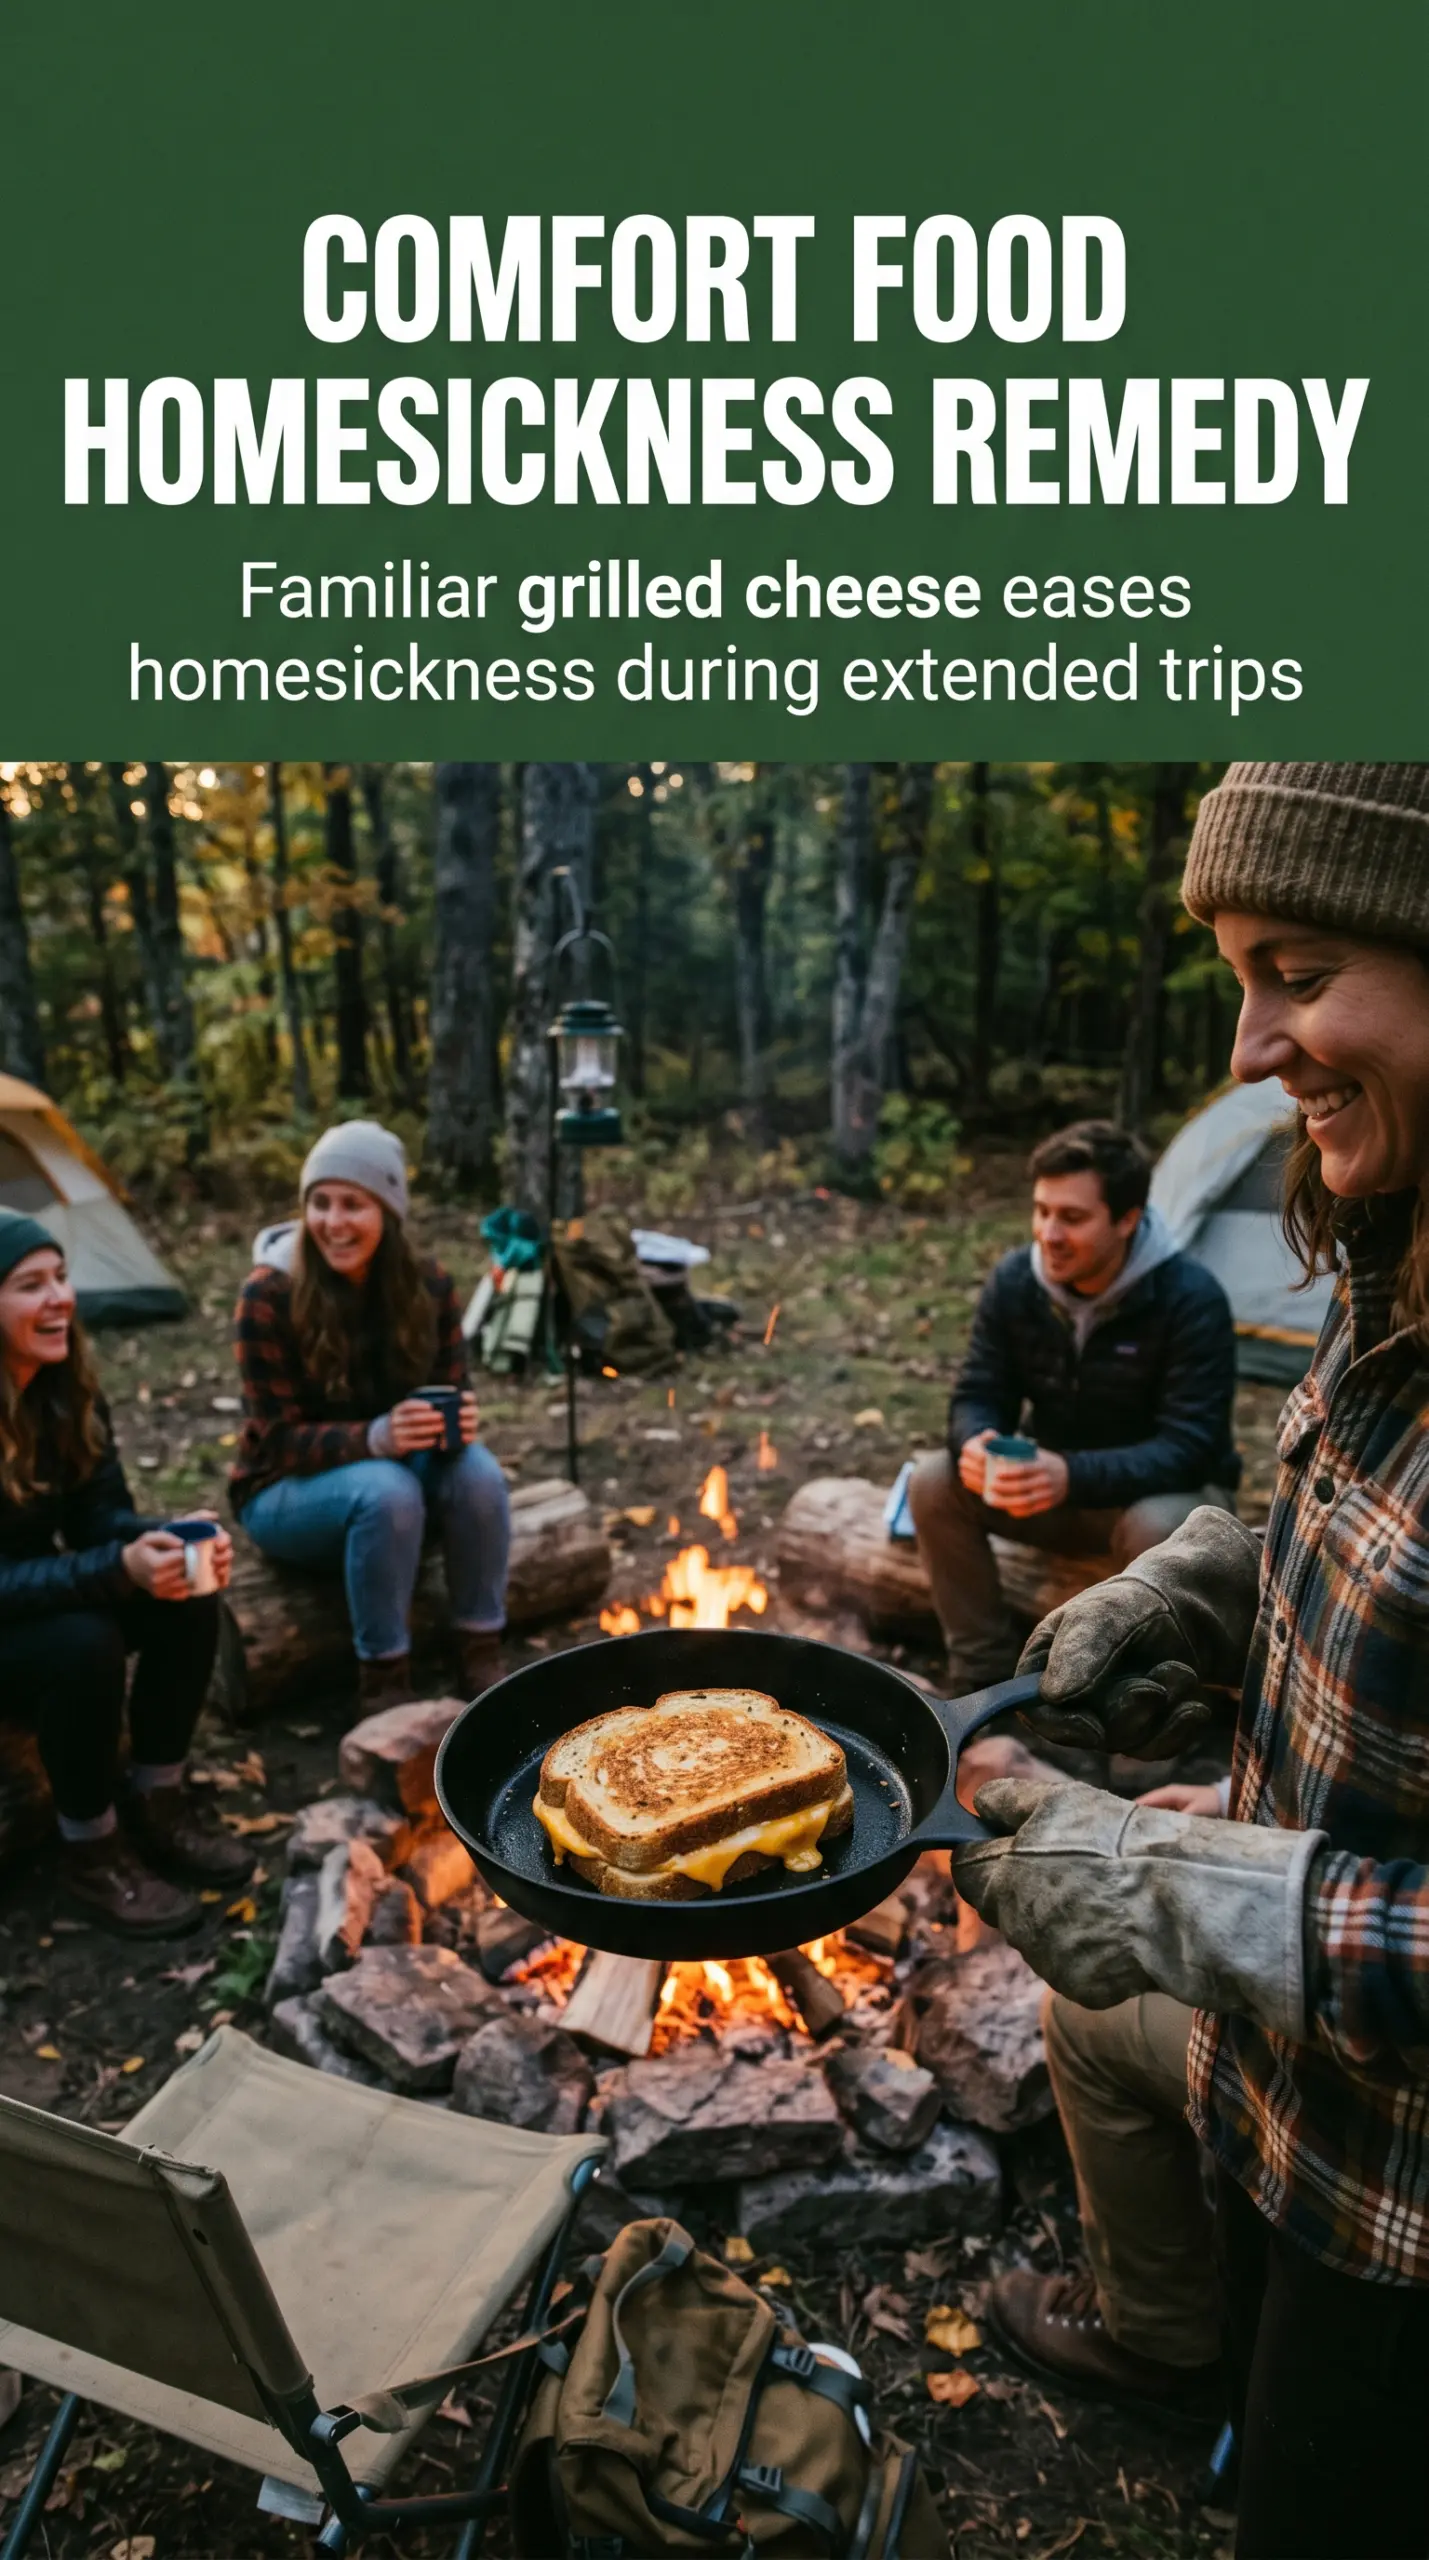
- Bread — A sturdy sandwich bread holds up best over the fire. Thin, soft sandwich bread can work, but very airy slices tend to sag once the cheese starts melting. If you’re using sourdough or a rustic loaf, keep the slices even so both sides brown at the same rate.
- Cheese — American melts the smoothest, cheddar gives you more bite, and Swiss brings a nuttier finish. Sharp cheddar is fine, but if it’s your only cheese, grate it or use thinner slices so it melts before the bread overcooks. Pre-sliced cheese is honestly convenient here and works well.
- Butter — Softened butter spreads evenly and helps every inch of the bread toast. Cold butter tears the bread, and melted butter is harder to control on uneven picnic bread. Use enough to coat the whole outside surface, because dry spots are the first places to burn.
Building the Sandwich So Nothing Leaks Before the Center Melts
Butter the Outside Generously
Spread softened butter on one side of each bread slice in an even layer. That buttered side becomes the outside of the sandwich, so it needs full coverage from edge to edge. Missed corners turn pale and dry while the rest browns, which is how you end up with patchy toast instead of an even crust.
Stack the Cheese in the Middle
Place the cheese between two slices of bread with the butter facing out. Press the sandwich lightly so the layers hold together, but don’t smash it flat; compressed bread loses some of the air that helps the crust stay crisp. If the cheese hangs over the edge, trim it back a little, because melted cheese dripping into the grate is what causes flare-ups.
Cook Over Steady Heat
Set the sandwiches on a campfire grate or in a cast iron skillet over medium heat. Let them cook for 4 to 5 minutes on the first side until the bottom is deeply golden and releases easily. If you try to flip too early, the bread can stick or tear, so wait for that clean release before turning.
Finish the Melt Without Burning the Crust
After flipping, cook the second side until the cheese is fully melted and the bread is evenly browned. If the outside looks right before the cheese is soft, move the sandwich to a cooler spot on the grate or lower the pan slightly away from the hottest coals. Cut it in half right away and serve hot so you catch the cheese while it’s still stretching.
How to Adapt This Campfire Grilled Cheese for Different Camps and Cravings
Dairy-Free Grilled Cheese
Use a plant-based butter and a dairy-free meltable cheese slice that’s designed for heat. The texture won’t be quite as stretchy as classic dairy cheese, but the outside still browns well if you keep the heat moderate and don’t rush the flip.
Extra-Crisp Cast Iron Version
A cast iron skillet gives you the most even browning and is the safest option if the fire is hot and unpredictable. The sandwich cooks a little more slowly than over open grate heat, but the crust comes out more uniform and you get less risk of scorching.
Smokier, Sharper Flavor
Swap one slice of American for sharp cheddar or Swiss if you want a more pronounced cheese flavor. The sandwich will lose a little of the ultra-creamy melt you get from American, but the filling tastes richer and stands up better to the campfire smoke.
Storage and Reheating
- Refrigerator: Store leftovers for up to 2 days. The bread softens a bit, but the sandwich still reheats well if you keep it wrapped.
- Freezer: Freezing isn’t my first choice here. The bread can turn a little tough after thawing, and the cheese texture is never as good as fresh.
- Reheating: Warm it in a dry skillet over low heat until the outside crisps again and the cheese loosens. Don’t use high heat, or the bread will darken before the center warms through.
Answers to the Questions Worth Asking
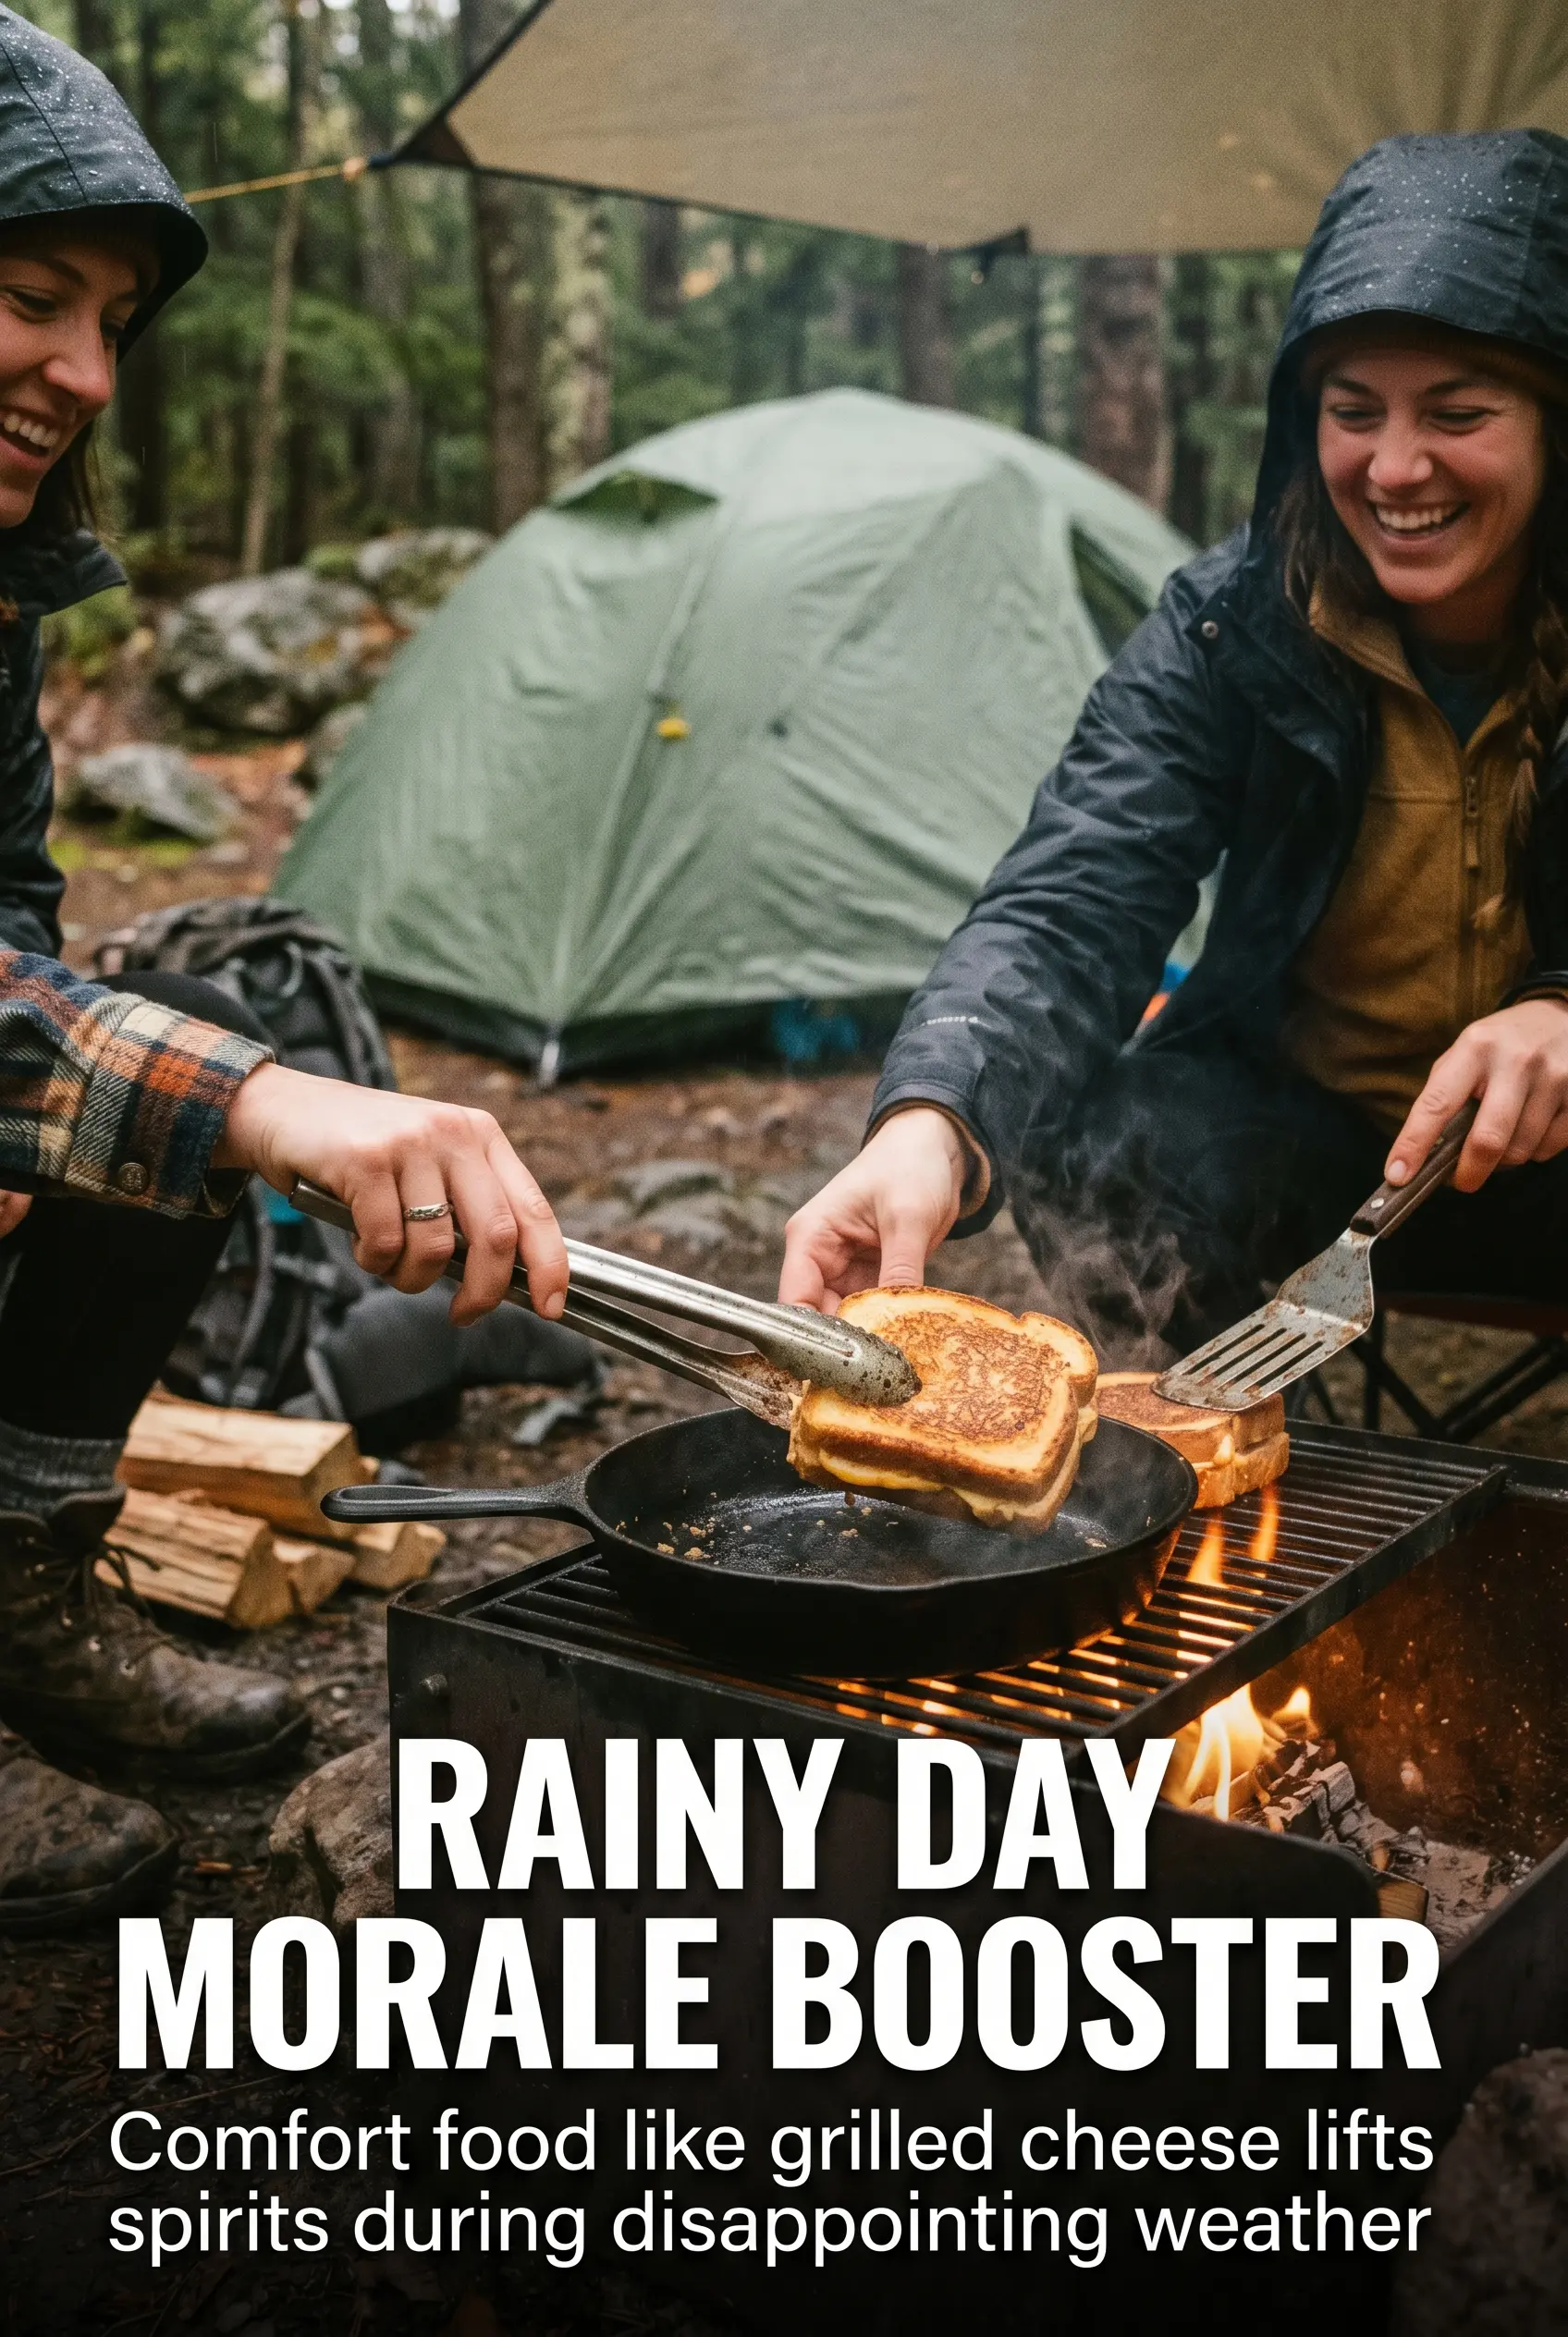
Campfire Grilled Cheese
Ingredients
Equipment
Method
- Butter one side of each bread slice generously so the outside browns well.
- Place cheese between two slices of bread, with the buttered sides on the outside.
- Place the sandwiches on a campfire grate or in a cast iron skillet over medium heat.
- Cook for 4-5 minutes per side until the bread is golden brown and the cheese is fully melted.
- Remove from heat, cut in half, and serve hot so you get the visible cheese pull.


